
When it comes to choosing the best hardwood floor underlayment, there isn't a single magic bullet. The right choice really hinges on your subfloor and how the wood is being installed. That said, for most homes, a high-quality felt or dense rubber underlayment is tough to beat, delivering excellent sound reduction and long-term durability. These materials give solid hardwood the firm footing it needs while keeping things quiet.
The Unsung Hero Beneath Your Hardwood Floors
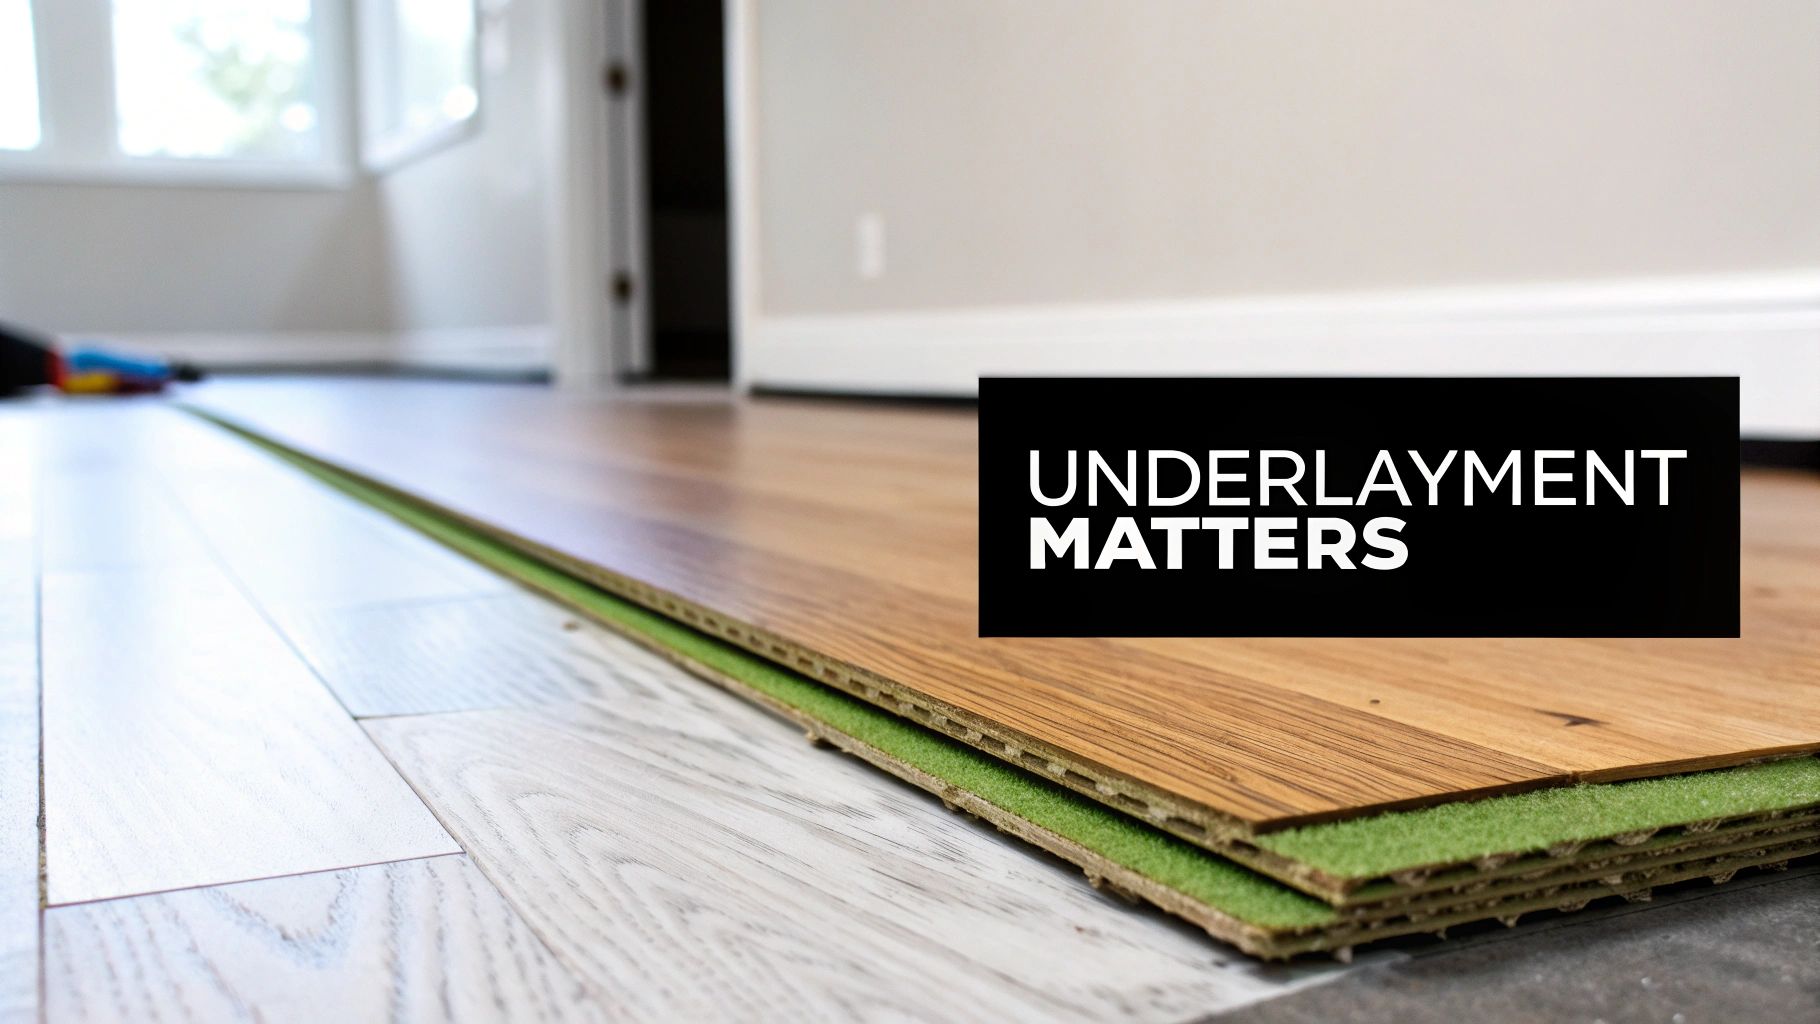
Think of underlayment as the secret foundation supporting your gorgeous hardwood floors. It's that hidden layer doing all the heavy lifting, making sure your big investment looks fantastic and performs beautifully for years to come. You'll never see it once the floor is down, but skipping it is like building a house without a proper foundation—it's just asking for trouble down the road.
This thin but powerful layer is a true multi-tasker, handling several jobs that are critical to the comfort, stability, and lifespan of your hardwood. A smart choice here can head off a long list of common flooring headaches, from annoying squeaks and moisture damage to uneven wear.
What Does Underlayment Actually Do?
At its heart, underlayment delivers on a few key promises. Understanding these functions is the first step in picking the right material for your home, whether you're in Cumming, Johns Creek, or anywhere in between.
We've summarized its main jobs in this quick-reference table.
Quick Guide to Underlayment Benefits
| Key Function | What It Does for Your Floor | Your Real-World Benefit |
|---|---|---|
| Sound Absorption | Acts as a buffer to deaden impact noise and block airborne sound. | A quieter home. No more loud footsteps echoing through the house, especially on upper floors. |
| Moisture Protection | Creates a vapor barrier to stop moisture from wicking up from the subfloor. | Protects your hardwood from warping, cupping, and mold growth caused by a damp concrete slab or crawl space. |
| Subfloor Leveling | Smooths over minor imperfections, dips, and bumps in the subfloor. | A perfectly flat, stable surface for your hardwood, preventing planks from shifting or separating. |
| Cushion & Stability | Provides a slight give underfoot and supports the tongue-and-groove joints. | A more comfortable floor to walk on and less stress on the wood, which helps prevent squeaks. |
As you can see, each function plays a vital role in creating a floor that doesn't just look good, but feels good and lasts a lifetime.
A properly prepared subfloor is the foundation of reliable hardwood floor installation and long-term performance. Without the right underlayment to bridge the gap, even the highest-quality hardwood can fail prematurely.
Why It's a Non-Negotiable Investment
Choosing the right underlayment isn't just an add-on; it's an essential part of protecting your entire flooring system. Beyond its basic functions, a good underlayment can make a huge difference in your daily life. It can help fix squeaky hardwood floors before they even start by ensuring the tongue-and-groove system locks together tightly and stays that way.
Ultimately, this layer is your insurance policy against the most common flooring failures. Taking the time to understand your options, which we’ll dive into next, means you're setting yourself up for years of trouble-free enjoyment. For a deeper look, check out our complete guide on https://flacksflooring.com/finding-the-best-underlayment-for-hardwood-floor/.
A Breakdown of Common Underlayment Types

Choosing the right underlayment can feel like navigating a maze of materials, each one promising to be the best. To cut through the noise, let's think of it like picking tires for a car. You wouldn't put racing slicks on the family SUV for a trip to the mountains, and you wouldn't use knobby off-road tires for your daily city commute. It's the same with underlayment—the right choice depends entirely on the "road conditions" of your home.
This section is your guide to the most common players in the game: foam, cork, rubber, and felt. We’ll get into the nitty-gritty of where each one shines and where it might fall short, giving you the practical know-how to make a smart decision without needing an engineering degree. Let's demystify these materials and find the perfect match for your hardwood floors.
Foam: The Versatile and Budget-Friendly Option
Foam underlayment is what most people picture first, and for good reason. It's the go-to for many homeowners, especially when installing a floating engineered hardwood floor. Think of it as the reliable sedan of the underlayment world—it gets the job done well in most everyday situations without breaking the bank.
Its biggest advantage is versatility. You can find foam in various densities and thicknesses, and many products come with a vapor barrier already attached. This is a huge plus if you're installing over a concrete subfloor in a basement, as it simplifies the job and helps protect your beautiful new floors from moisture creeping up from below.
But a word of caution: not all foam is created equal. A cheap, flimsy foam might feel like a bargain, but it can compress over time and lose its supportive qualities, leading to a squishy feel underfoot. For hardwood, you absolutely want a dense, high-quality polyethylene or polypropylene foam that provides firm support.
Cork: The Eco-Conscious Sound Blocker
If peace and quiet are at the top of your list, look no further than cork. Harvested from the bark of cork oak trees, it's a natural, renewable material that’s simply fantastic at absorbing sound. It’s especially good at muffling impact noise—the thud of footsteps, a dropped toy, you name it. This makes it the hands-down best choice for second-story rooms, condos, and apartments where you don't want to disturb the neighbors below.
Beyond its acoustic magic, cork is naturally resistant to mold and mildew, which is a great bonus. It also provides excellent thermal insulation, helping your floors feel a bit warmer in the winter. Its dense structure gives incredible support to hardwood planks, preventing them from flexing and helping to eliminate annoying squeaks down the road.
You're not alone in thinking this is important. The global underlayments market hit a whopping USD 25.36 billion in 2023 and is barreling towards USD 39.42 billion by 2032. Why the boom? Because a quality underlayment like cork can cut noise transmission by up to 20-25 decibels, turning a noisy house into a peaceful retreat. You can dive deeper into these trends with insights from Econ Market Research.
Rubber: The Premium Durability Powerhouse
When you need the absolute best in durability and sound insulation, rubber underlayment takes center stage. Often made from recycled tires, it's an incredibly dense and resilient material that can take a beating. It offers superior sound reduction against both impact noise (footsteps) and airborne noise (voices, TV), making it a premium choice for home theaters, music rooms, or even high-traffic commercial spaces.
Rubber's density provides unmatched support for hardwood, meaning there’s virtually zero compression over time. This makes it an ideal partner for nail-down and glue-down installations where a rock-solid, stable base is non-negotiable. It also feels substantial and comfortable underfoot while providing great thermal insulation.
The main tradeoff with rubber is the price tag; it's generally the most expensive option. But for projects where top-tier performance is a must, the investment in rubber pays for itself in longevity and acoustic comfort. It’s the luxury SUV of underlayments—powerful, premium, and built to last.
Felt: The Traditional Choice for Density and Insulation
Felt is a classic, time-tested option that has been used for generations, especially for nail-down solid hardwood floors. Made from recycled fibers, felt is dense, strong, and provides a firm cushion that supports the wood without adding any bounce or sponginess. This density is crucial for nail-down jobs, as it allows the fasteners to hold securely without punching straight through a flimsy material.
One of felt's best features is its excellent thermal insulation, or R-value. It can make your floors feel noticeably warmer and even contribute a little to your home's energy efficiency. While it does a decent job of absorbing sound, it generally won't block impact noise as effectively as high-end cork or rubber.
Just make sure you choose the right kind. Some modern felts are treated with a moisture barrier, while traditional asphalt-saturated felt paper (sometimes called tar paper) is used primarily to prevent squeaks between the hardwood and the subfloor.
To help pull all this information together, here’s a quick comparison of the main materials.
Underlayment Materials At a Glance
| Material | Best For | Sound Reduction Level | Moisture Protection | Average Cost |
|---|---|---|---|---|
| Foam | Floating floors, budget-conscious projects, concrete subfloors (with vapor barrier) | Good | Good (when built-in) | Low |
| Cork | Second-story rooms, condos, sound-sensitive areas, eco-friendly builds | Excellent | Fair (naturally resistant) | Moderate |
| Rubber | High-traffic areas, home theaters, premium soundproofing needs | Superior | Excellent | High |
| Felt | Nail-down solid hardwood, thermal insulation, firm support | Good | Fair (barrier required) | Low-Moderate |
Understanding these core materials is the first major step. With this knowledge, you're well-equipped to match the right underlayment to your specific flooring project and get the results you're looking for.
Matching Underlayment to Your Installation Method
Choosing the right hardwood underlayment isn’t about just grabbing a roll of something off the shelf. It’s about creating a perfect partnership between your new floor and the way it’s installed. Think of it like a sports team—you wouldn’t put a heavyweight boxer in a marathon. The wrong underlayment can sabotage even the most professional installation, leading to squeaks, instability, or even total adhesive failure down the road.
Your installer’s method—nail-down, glue-down, or floating—is the single most important factor that dictates your underlayment choice. Each technique has completely different needs for support, density, and material compatibility. Getting this pairing right is a non-negotiable step for a floor that performs flawlessly for decades.
Underlayment for Nail-Down Hardwood Floors
The nail-down method is the old-school classic for solid hardwood, creating a floor that feels incredibly sturdy and permanent. For this technique, you need an underlayment that is thin, dense, and offers minimal compression. The goal here isn't cushioning; it’s really about providing a simple slip sheet and a slight sound buffer between the hardwood and the wood subfloor.
A thick or spongy underlayment is the absolute enemy of a nail-down installation. Why? It creates too much space between the nail and the subfloor, which allows the floorboards to move up and down slightly with every step. That movement, which we call deflection, is the number one cause of those maddening squeaks that can drive you crazy. Over time, it can even damage the tongue-and-groove joints.
For this reason, the best choices are tried-and-true:
- Felt Paper (15# or 30#): This traditional material is dense, resists tearing from fasteners, and helps ensure a tight, secure hold. It’s excellent at minimizing wood-on-wood squeaking.
- Rosin Paper: A very thin, basic paper that acts purely as a slip sheet. Its main job is to reduce friction and noise between the floor and the subfloor.
Underlayment for Glue-Down Installations
When you glue a floor down, you’re creating one solid, fully bonded surface. This is a common approach for engineered hardwood, especially over concrete or plywood subfloors. Here, the underlayment must be specifically designed to work with powerful adhesives. You can't just throw any material down, because the wrong one can prevent the glue from curing properly and lead to a complete installation failure.
The best underlayment for this method acts as a "glue sandwich," bonding securely to the subfloor below and the hardwood planks above. These products are engineered to be permeable to the adhesive, allowing it to form a permanent, unyielding bond that locks everything into a single, cohesive unit.
The underlayment for a glue-down application must be more than just a cushion; it must become an integral, structural part of the flooring system. It has to allow for a perfect chemical bond while also providing sound dampening and moisture protection.
If you’re installing over a concrete slab, moisture control becomes absolutely critical. Many modern glue-down underlayments incorporate a robust vapor barrier right into the product to protect the wood from damage. To get a better sense of the challenges involved, you can learn more about our specific processes for hardwood floor installation on concrete.
Underlayment for Floating Floors
A floating floor isn't physically attached to the subfloor at all. The planks (usually engineered hardwood) are clicked together, and the entire floor "floats" as a single, large panel. This installation method relies heavily on the underlayment for cushion, stability, and often, moisture protection.
Because the floor isn’t nailed or glued down, the underlayment plays a huge role in how it feels underfoot. It’s what absorbs impact, reduces that hollow "clicking" sound, and smooths over minor imperfections in the subfloor.
Many premium foam, cork, and rubber underlayments are designed specifically for floating floors. These often come with convenient features like a pre-attached vapor barrier and self-adhesive strips to make installation a breeze. They are a popular and highly effective choice for this modern installation style.
How to Choose the Right Underlayment for Your Home
Picking the best underlayment for your new hardwood floors isn't just about grabbing a roll off the shelf. It’s about playing detective and figuring out exactly what your specific space needs to make those floors last a lifetime. Think about your subfloor, the humidity in your area, and even how much you care about noise—each one is a clue leading you to the perfect choice.
Get this decision right, and you're not just installing a floor; you're protecting a major investment. Let's walk through the clues you need to gather to make a smart, informed decision.
Start with Your Subfloor
The first and most important piece of the puzzle is what’s underneath everything: your subfloor. Are you working with concrete or wood? The answer completely changes the game, especially when it comes to moisture.
Concrete Subfloors: If you're installing in a basement or on a ground-level slab, you've got concrete. Concrete is porous, meaning it can pull moisture right up from the ground. For these situations, a vapor barrier is non-negotiable. Many modern underlayments, particularly foam and rubber, have a vapor barrier built right in, which is a great all-in-one solution. Without it, moisture will inevitably get trapped, causing your beautiful hardwood to cup, warp, or even grow mold.
Plywood or OSB Subfloors: In most upper levels of a home, you’ll find a wood subfloor. These aren't as susceptible to ground moisture, but they still need a little something to account for ambient humidity and prevent annoying squeaks. For nail-down installations, a simple, breathable layer like felt or rosin paper is often all you need.
If you're going over concrete, you absolutely must verify it's dry enough for hardwood first. You can find a complete walkthrough in our guide on how to test concrete for moisture. Don't skip this step!
Assess Your Moisture and Climate Needs
Moisture is the undisputed #1 enemy of hardwood flooring. Your underlayment is the first line of defense, and its role becomes even more critical in humid climates. For anyone living in places like Cumming and Forsyth County, Georgia, being proactive about moisture control is everything.
This isn't just a local concern; it's a driving force in the industry. The floor underlayment market is currently valued at around US$1,497 million and is expected to grow to US$1,911 million by 2031, with a huge chunk of that growth coming from advanced products designed for hardwood. Why? Because moisture-resistant underlayments are proven to slash the risk of subfloor damage by 60-80% in damp regions. A quality vapor-barrier underlayment can block up to 95% of moisture trying to sneak through, preventing the kind of warping that ruins nearly 30% of improperly installed floors within just five years.
This handy decision tree shows how your installation method points you toward the right underlayment.
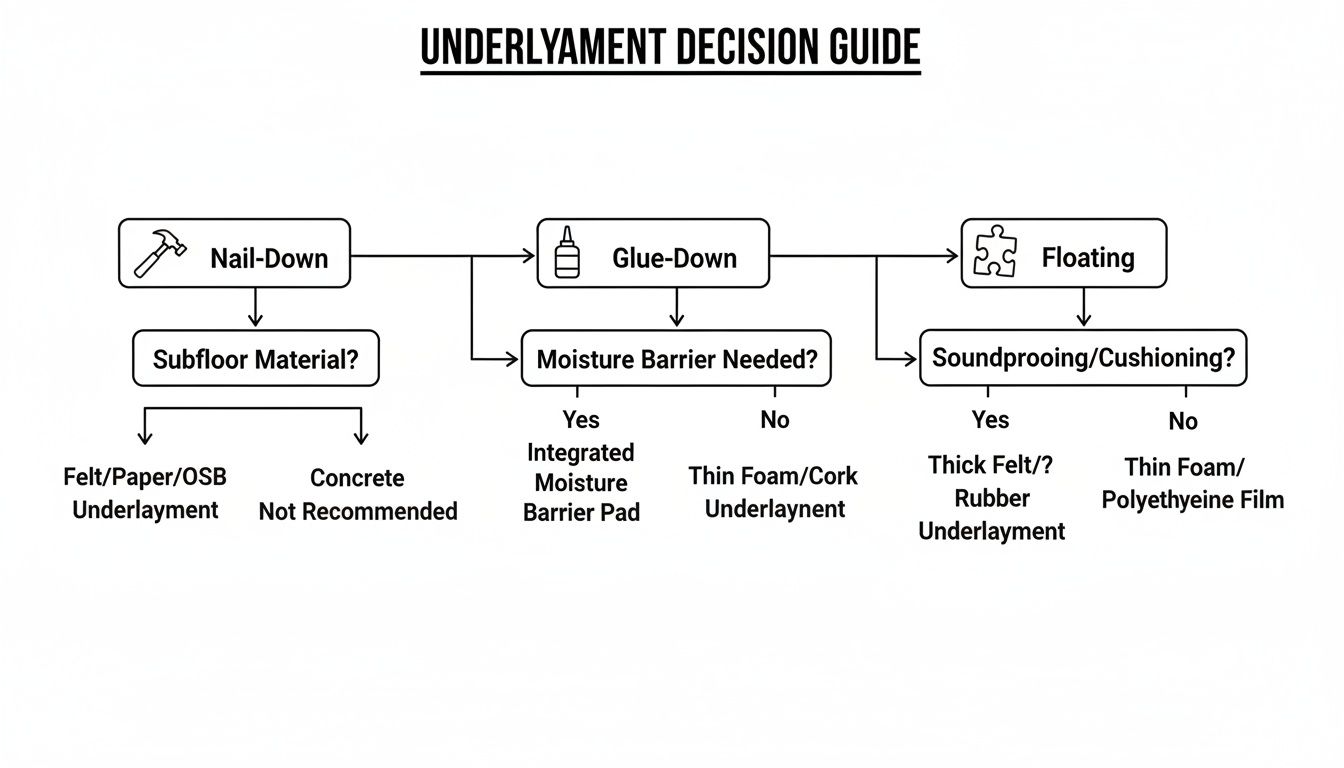
As you can see, nail-down and glue-down floors have very different needs than the more forgiving floating floor systems.
Decode Sound Ratings and Thickness
Is a quiet, peaceful home at the top of your list? If so, you need to look at the sound ratings. Underlayments are tested for two different kinds of sound:
- Sound Transmission Class (STC): This tells you how well the material blocks airborne noise—things like voices, TVs, or music. The higher the STC rating, the quieter your space will be.
- Impact Insulation Class (IIC): This measures how well the material muffles impact sounds, like footsteps or something being dropped. A high IIC is a must-have for second-story rooms, condos, and apartments.
Generally, dense materials like cork and rubber will give you the best STC and IIC numbers, making them fantastic choices for soundproofing.
Now, let's talk thickness. It's easy to assume that thicker is better, but with hardwood, that's a mistake. An underlayment that’s too thick (usually anything over 3mm) creates a spongy, unstable feeling under your feet. That excessive give puts a ton of stress on the tongue-and-groove joints of the wood planks, which can lead to squeaks and, eventually, broken boards.
Key Takeaway: You're looking for firm, solid support—not a bouncy cushion. Always, always check the hardwood manufacturer's installation guide for their recommended underlayment thickness. Straying from their specs could void your warranty.
By carefully weighing your subfloor, local climate, and your personal needs for sound and comfort, you can confidently choose an underlayment that will keep your floors looking beautiful for years to come.
Common Underlayment Mistakes and How to Sidestep Them
Even the highest-quality hardwood underlayment will fail if it's not installed correctly. Tiny missteps during installation can completely negate its moisture-blocking benefits or lead to those infuriating squeaks that drive homeowners crazy.
For instance, just overlapping the seams of a vapor barrier isn't enough to stop moisture. And if you grab whatever cheap painter's tape is lying around? You can all but guarantee those seams will eventually open up, letting damaging moisture sneak right through.
To get it right the first time, think of it as a simple "Do This, Not That" process.
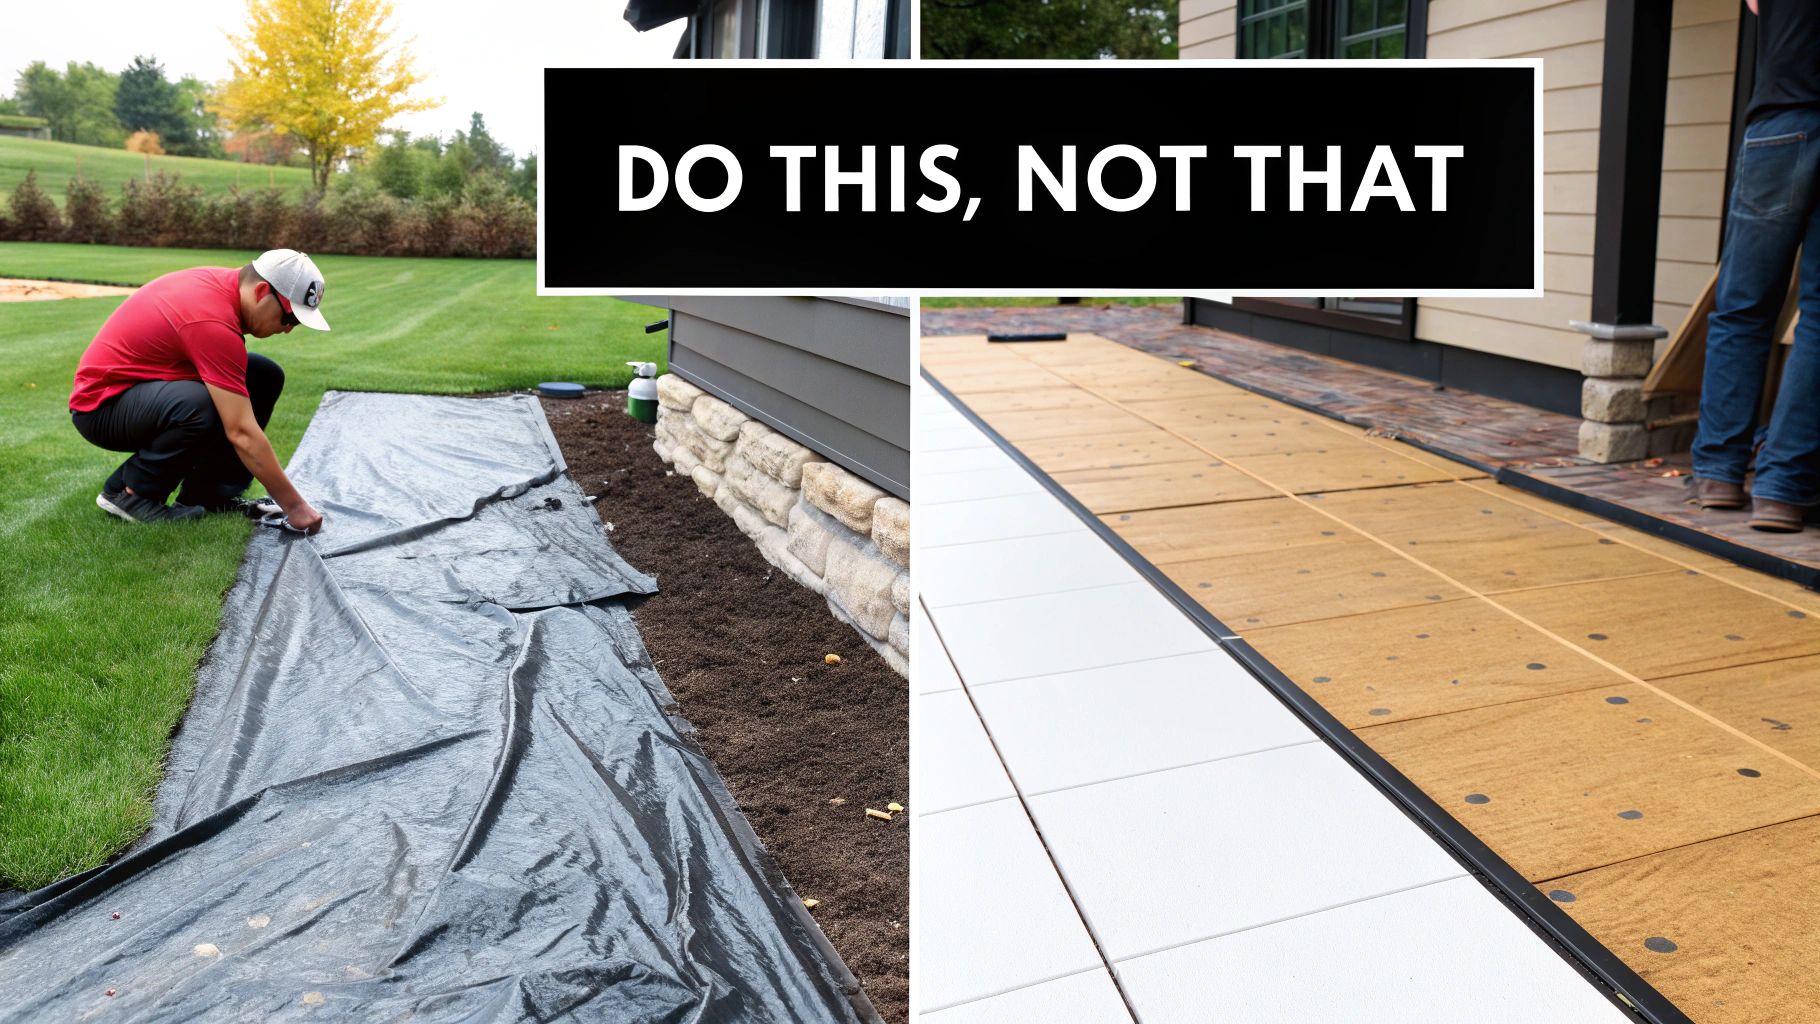
Here's what I mean:
- Do This: Seal every seam with the manufacturer's recommended waterproof tape. Make sure you overlap each edge by at least 6 inches for a solid, continuous barrier.
- Not That: Don’t just let the seams overlap without taping them. That’s an open invitation for moisture to find a way in.
- Do This: Pick an underlayment thickness that matches your hardwood's specifications—typically 2mm for engineered floors and 3mm or more for solid hardwood.
- Not That: Don’t assume thicker is always better. An underlayment that's too thick creates instability, causing the floor to move and squeak.
Let's break these common blunders down a bit further.
Mistake #1: Not Sealing Vapor Barrier Seams
Leaving vapor barrier seams untaped creates obvious weak points in your defense against moisture. Without a proper, airtight seal, moisture from the subfloor will find its way up and under your beautiful new hardwood. It's a slow but certain path to damage.
Always use the specific tape recommended by the underlayment manufacturer. Run it carefully along every single seam, pressing it down firmly to create a strong, lasting bond.
- Give the tape a quick inspection before you start laying boards over it.
- Keep the edges of the underlayment perfectly flat—any wrinkles can become tiny channels for moisture to travel.
Mistake #2: Choosing the Wrong Thickness
An underlayment that’s too thick is a recipe for disaster. It can make your floor feel spongy underfoot and puts a ton of stress on the tongue-and-groove joints. Before long, you'll hear those telltale squeaks and might even notice planks starting to feel loose.
Just stick to the hardwood manufacturer's guidelines on thickness. Matching the underlayment to your flooring material eliminates up to 90% of common installation failures.
Key Insight: A mismatched underlayment thickness is the #1 cause of annoying squeaks and a floor that just doesn't feel solid.
Mistake #3: Skipping Subfloor Prep
This is one of the most common shortcuts, and it's always a bad idea. Dust, debris, or an uneven surface will prevent your underlayment from lying perfectly flat, creating problems down the road.
- Start by sweeping and then vacuuming the subfloor thoroughly. Get it clean.
- Find any dips or high spots. Fill in any low areas and sand down anything higher than 1/8 inch.
- Let both your hardwood and the underlayment acclimate to the room's humidity for at least 48 hours before you start.
Proper installation practices like these are why North America is leading the way in floor underlayment demand. Getting it right can extend the life of your hardwood by 25-40 years and even trim your HVAC costs by 8-12%. You can dive deeper into these findings in a recent report on floor underlayment market trends.
Mistake #4: Forgetting About Expansion Gaps
Wood is a natural material; it expands and contracts with changes in temperature and humidity. If you don't leave room for this movement, your floor can buckle and warp. You absolutely must leave a 3/8-inch gap around all walls and other fixed objects.
Use spacers during the installation to maintain a consistent gap. Don't worry, you won't see it—the gap gets covered up later by your baseboards and trim. This simple step is crucial for protecting both your floor and its warranty.
Your Final Installation Checklist
Before you lay that first plank, run through this quick mental checklist. It’ll save you a world of headaches.
- Is the subfloor completely clean, flat, and dry?
- Have I double-checked that my underlayment is the correct thickness for my floor?
- Are all the underlayment seams properly overlapped and sealed with the right tape?
- Am I using spacers to maintain the necessary expansion gaps?
- Have all the materials had at least 48 hours to acclimate to the room?
Following this simple plan ensures your underlayment can do its job perfectly. You’ll prevent moisture issues, stop squeaks before they start, and keep your warranty intact. A few extra minutes of checking your work is a small price to pay to protect your beautiful new floor.
Putting It All Together: Your Hardwood Underlayment Game Plan
So, how do you pull all this information together and make the right call? Choosing the best hardwood floor underlayment really just boils down to a clear, logical process. If you follow a structured plan, you can cut through the noise and confidently pick the perfect foundation for your new floors.
This final action plan is your simple roadmap. It's designed to make sure your choice is an informed one that will last.
A Step-by-Step Selection Checklist
Think of this as your final walkthrough before you even start the installation. By answering these five questions—in order—you’ll narrow down the options and land on the ideal underlayment that protects your investment and makes your home more comfortable for years.
What's Your Subfloor?
First things first: are you working with concrete or wood (like plywood or OSB)? If you have a concrete subfloor, which is common in basements and slab-on-grade homes, you always need a vapor barrier. No exceptions. A wood subfloor on an upper level, on the other hand, has a completely different set of requirements.How Are You Installing the Floor?
Will your hardwood be nailed down, glued down, or floated? This is probably the most critical decision you'll make. A classic nail-down installation needs a thin, dense paper, whereas a floating floor absolutely requires a cushioned underlayment to feel right underfoot.What's Your Top Priority?
Now, think about what matters most to you. If you live in a condo with neighbors below or you're installing on a second story, sound reduction (those IIC/STC ratings) is likely your main goal. For homes in damp climates like we see around Forsyth County, robust moisture protection is completely non-negotiable.
The right underlayment is more than a layer; it's a performance system tailored to your home's specific environment. Matching the product to your needs for moisture, sound, and support is the key to long-term success.
- Compare the Right Materials
With that information locked in, you can go back and look at the actual materials. Need serious soundproofing for that floating floor? Cork and high-density rubber are going to be your top contenders. If you're nailing down traditional solid hardwood, a simple felt or rosin paper is the professional standard for a reason.
When you're mapping out your project, getting your material estimates right is crucial. Specialized tools like Exayard AI construction takeoff software can really help nail down the numbers, ensuring you get accurate quantities for your underlayment and everything else.
- Talk to a Flooring Pro
Finally, run your choice by an expert. A seasoned installer has seen it all and can confirm if your pick is truly compatible with your specific hardwood, local building codes, and your home's unique environment. They can give you that final green light before you commit.
Common Questions Answered
Even with all this information, you're bound to have a few lingering questions. That's perfectly normal. When you're making a big investment in your home, you want to get every detail right. We've been helping homeowners in Cumming, Johns Creek, and beyond for decades, and we've heard it all.
To make things easier, we've compiled a quick FAQ table with straight-to-the-point answers to the questions we get asked most often.
| Question | Answer |
|---|---|
| Do I Always Need a Moisture Barrier with My Underlayment? | Yes, if you are installing over a concrete subfloor or in a moisture-prone area like a basement. Many modern underlayments have a moisture barrier built-in. For wood subfloors in dry, upper levels of a home, a simple felt or rosin paper without a barrier is often sufficient. |
| Can I Reuse My Old Underlayment for New Hardwood Floors? | It is strongly discouraged. Old underlayment is likely compressed, torn, or degraded, and it won't provide the proper support or protection for your new floors. Always start with a new, high-quality underlayment to protect your investment. |
| What Is the Best Underlayment for Reducing Noise? | For maximum sound reduction, cork and high-density rubber are the top choices. They excel at absorbing both impact noise (footsteps) and airborne sound. Look for products with high STC and IIC ratings for the best performance in condos or two-story homes. |
| Does Thicker Underlayment Mean Better Performance? | Not necessarily. The ideal thickness depends on your hardwood type and installation method. An underlayment that is too thick can create a spongy feeling and cause the floor's locking system or fasteners to fail. Follow the flooring manufacturer's recommendation, typically between 2mm and 3mm. |
Hopefully, that clears up some of the most common points of confusion. Getting these small details right at the beginning is what guarantees a beautiful, long-lasting floor you'll love for years to come.
Ready to find the perfect foundation for your new hardwood floors? The experts at Flacks Flooring have been helping homeowners in Cumming, GA, and the surrounding areas make the right choice for over 30 years. Visit our showroom or schedule an in-home consultation today!