
Keeping your vinyl floors looking brand new doesn't require a complicated routine. It really boils down to simple, consistent care. The secret isn't in harsh chemicals or back-breaking work; it's about gentle but regular maintenance that works with the material, not against it.
The Secret to a Consistently Clean Vinyl Floor

One of the best things about vinyl flooring is just how simple it is to maintain. This guide is all about giving you practical, straightforward methods to keep those floors looking pristine, whether you're tackling daily dust bunnies or getting ready for a big family get-together.
You can forget about all those expensive, specialized products. We’re going to show you how to get a professional-level clean with basic tools and simple techniques. This way, your beautiful floors stay a source of pride, not a constant chore.
Why Vinyl Is So Easy to Maintain
So, what makes vinyl such a breeze to clean? It’s all thanks to its non-porous surface. Unlike hardwood that soaks up spills like a sponge or tile that has tricky grout lines, vinyl creates a solid barrier against moisture and dirt. This quality is a huge reason for its booming popularity in homes everywhere.
The numbers back it up. The global vinyl flooring market hit an impressive USD 25.40 billion and is projected to skyrocket to USD 43.47 billion by 2034. That massive growth is fueled by vinyl's biggest benefits: it resists stains and grime way better than other options, making cleanup incredibly easy. A quick sweep and a mop with a mild cleaner are usually all it takes to keep it spotless, without worrying about the warping or fading that can plague other materials.
Key Takeaway: The trick to a clean vinyl floor isn’t about intense scrubbing. It's about working with the material’s natural dirt resistance by sticking to a consistent, gentle cleaning schedule.
Your Quick Reference Cleaning Guide
To make things even easier, I've put together a simple guide on what to do and when. Think of this as a framework to help you build good habits without overthinking it. In my experience, once homeowners truly understand what is vinyl plank flooring, they really start to appreciate its durability and straightforward care.
Here’s a quick overview of the essentials you'll need to know.
Your Vinyl Floor Cleaning Quick Guide
This table summarizes the best approach for keeping your vinyl floors in top condition, breaking down the frequency and the right tools for each job.
| Cleaning Frequency | Recommended Task | Best Tools to Use |
|---|---|---|
| Daily | Quick sweep or vacuum to remove loose dirt, dust, and pet hair. | Microfiber dust mop, soft-bristle broom, or vacuum on hard floor setting (no beater bar). |
| Weekly | Damp mop to clean up footprints, spills, and general grime. | Microfiber mop, lukewarm water, and a pH-neutral floor cleaner. |
| Monthly/Seasonally | Deep clean to tackle stubborn dirt and buildup in high-traffic areas. | Soft-bristle scrub brush, pH-neutral cleaner, and a microfiber mop for rinsing. |
Following this simple schedule prevents dirt from building up, making each cleaning session faster and more effective.
Now, let's break down those tasks into a bit more detail.
Daily Care: The main goal here is to get rid of loose debris before it gets tracked around and ground into the floor. A microfiber dust mop is fantastic for grabbing dust and pet hair, but a quick run with the vacuum (just make sure it's on the hard floor setting!) works perfectly, too.
Weekly Cleaning: This is your basic mopping day. All you need is lukewarm water mixed with a pH-neutral cleaner to wipe away any footprints, light spills, and general grime. This simple step is what prevents buildup and keeps that beautiful, natural sheen shining through.
Deep Cleaning: You’ll only need to do this once a month or maybe just seasonally. It’s for tackling that tougher, set-in dirt, especially in high-traffic zones like the entryway or kitchen. For vinyl planks with a bit of texture, a soft-bristle brush can work wonders to lift out any stubborn grime from the grooves.
Building Smart Daily and Weekly Cleaning Habits
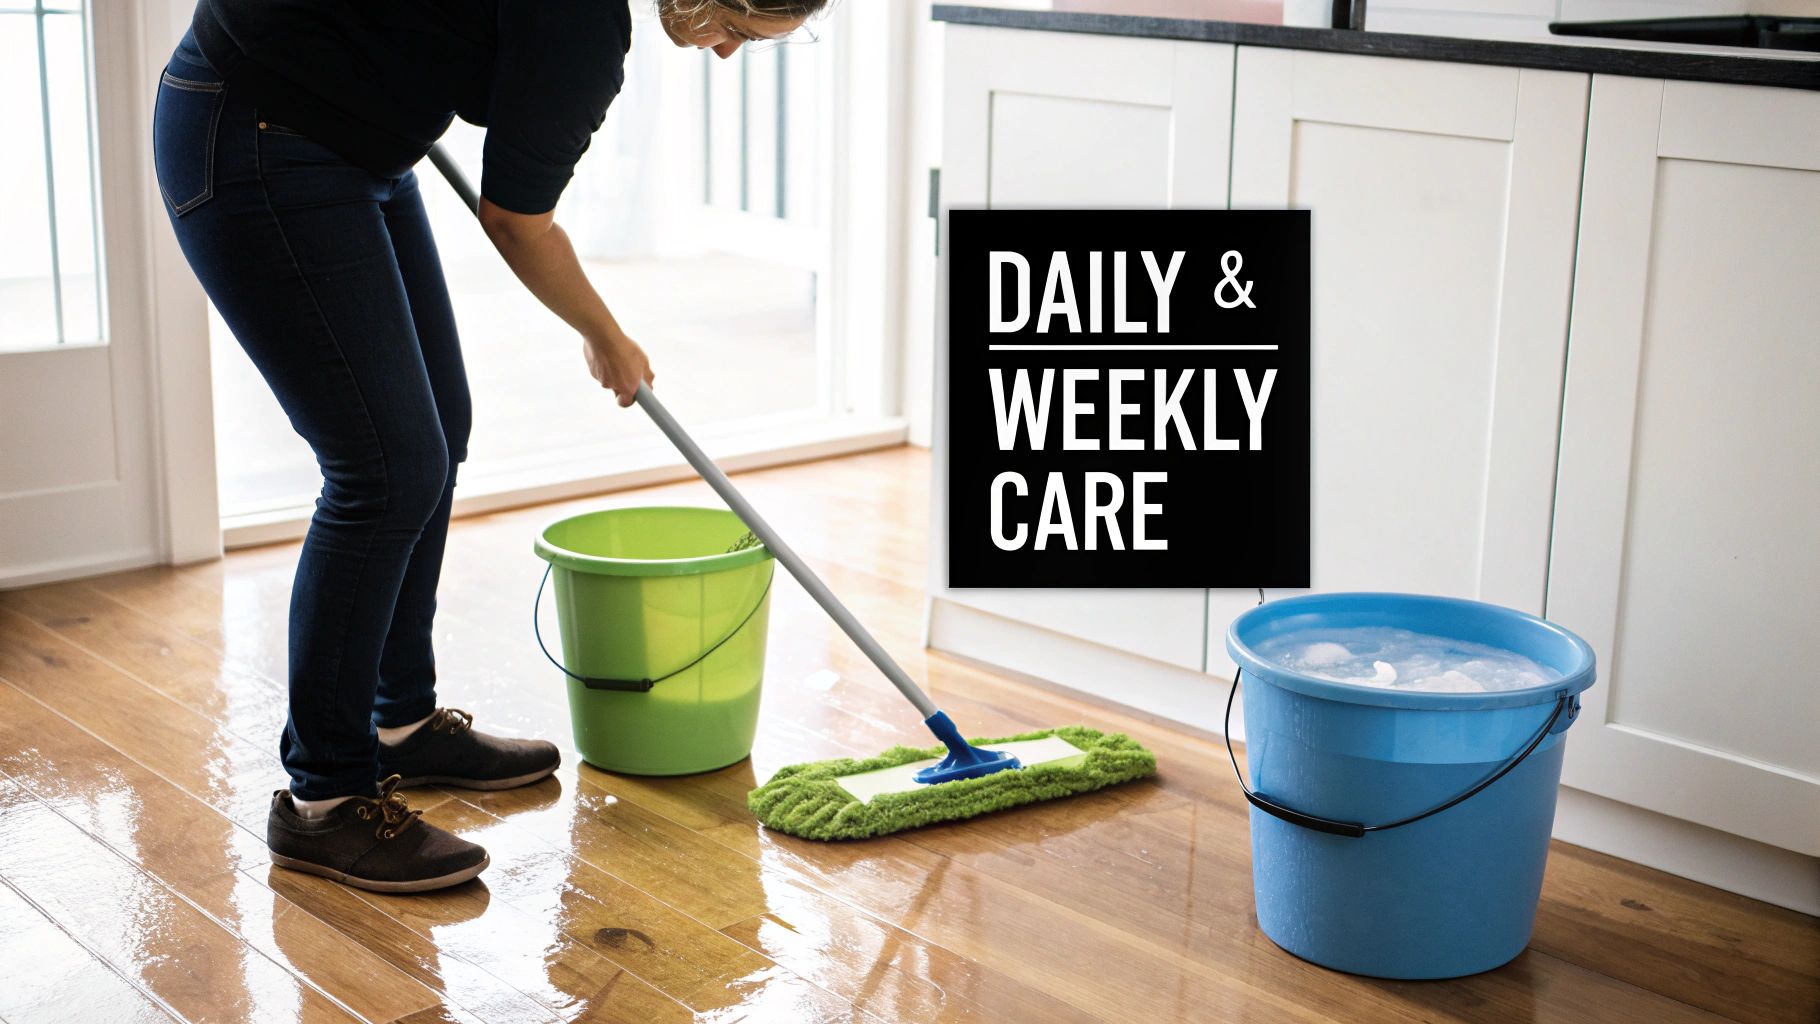
Keeping vinyl floors looking brand new isn't about marathon cleaning sessions on a Saturday. It's about building small, consistent habits that prevent dirt and grime from ever getting a foothold. Let's get beyond just "sweep and mop" and talk about the smart routines that actually work.
The key is consistency. A good weekly cleaning schedule template can be a lifesaver, breaking the work into small, manageable pieces. This way, you're just doing quick touch-ups, not tackling a massive, built-up mess.
Your Best Friend for Daily Upkeep
Every single day, your goal is to get loose grit, dust, and pet hair off the floor before they can be ground in by foot traffic. What you use for this job really matters.
A standard broom is okay, but it tends to fling fine dust into the air, which just settles right back down again. A much better tool is a microfiber dust mop. The fibers create a static charge that acts like a magnet for tiny particles, trapping them instead of just pushing them around. You'll be amazed at the difference it makes, especially if you have pets or anyone with allergies at home.
A quick five-minute sweep with a microfiber mop each day is all it takes to prevent the tiny, abrasive particles that cause micro-scratches over the long haul.
Mastering the Weekly Mop
When it's time for the weekly wet clean, a small change in your technique can make a world of difference. You want to lift the dirt off the floor, not just smear it around with dirty water. The pros use the two-bucket method, and you should too.
- Bucket One: This is for your cleaning solution—just lukewarm water and a pH-neutral cleaner.
- Bucket Two: This one is filled with plain, clean water for rinsing.
Here’s the process: dip your mop in the solution, clean a small patch of floor, then rinse the dirty mop head thoroughly in the second bucket. Squeeze it out well before putting it back into your cleaning solution. This one extra step means you're always using a clean mop and fresh solution, which is the secret to a streak-free shine.
Pro Tip: Stick with lukewarm water when you mop. Hot water doesn't clean any better and can actually dull the finish on your vinyl. Over time, it could even weaken the adhesive on LVP planks, so it's a risk not worth taking.
The Right Cleaner Makes All the Difference
You don’t need aggressive chemicals for a deep clean on vinyl. In my experience, most all-purpose cleaners do more harm than good, leaving behind a sticky film that becomes a magnet for new dirt. Always reach for a pH-neutral cleaner that’s specifically made for vinyl.
If you prefer a simple DIY approach that's completely safe for the floor's protective top layer, this is my go-to recipe:
- 1 gallon of lukewarm water
- 1/4 cup of white vinegar
The vinegar is a fantastic mild cleanser that cuts right through grime without leaving a residue. It won't damage the finish like bleach or ammonia would, making it a reliable and budget-friendly option for your weekly routine.
How to Deep Clean Vinyl for a Showroom Finish
Even with consistent care, vinyl floors occasionally need a deep reset. Think of it as a tune-up that gets into the nooks and crannies a weekly mop just can't reach—the textured grooves, the high-traffic paths, and right up against the baseboards where grime loves to settle.
This isn’t about spending hours on your hands and knees. It's about working smart, using the right approach to lift away that stubborn, built-up layer of dirt and bring back that fresh-from-the-showroom shine.
Prepping for a Deep Clean
Before a single drop of water hits the floor, you need to clear the way and get rid of all the loose debris. Start by moving smaller furniture like chairs, floor lamps, and area rugs completely out of the room. This gives you an open canvas and prevents you from just pushing dust bunnies around.
Now, grab your vacuum. Make sure you're using a soft brush attachment to avoid any accidental scratches. If you prefer, a good microfiber dust mop works just as well. The key is to be meticulous. Go over every inch of the floor, especially along the walls and in the corners. Your goal is to get 100% of the loose particles—hair, dust, and tiny bits of grit—off the floor now, so you aren't just making mud later.
Tackling Stubborn Grime the Right Way
With a clean slate, it's time to deal with the dirt that's really set in. For this job, you'll want to trade your everyday mop for something with a bit more focused power. A soft-bristle brush is perfect here; it can gently work its way into the texture of the vinyl to lift scuffs and dirt without damaging the finish.
You don't need a harsh chemical cleaner, either. A simple DIY solution is often the most effective.
- Your Cleaning Mix: In a bucket, stir one cup of white vinegar into a gallon of warm water. If you’re dealing with any greasy buildup (common in kitchens), add a few drops of a pH-neutral dish soap for extra degreasing muscle.
- The Technique: Dip your brush into the mix and start working on a small, manageable section of the floor. Use gentle, circular motions to loosen the grime, giving a little extra attention to any scuff marks or visibly dirty areas.
This targeted approach lets you apply pressure exactly where you need it without oversaturating the floor, which is crucial for protecting the planks and the adhesive underneath.
It's no surprise vinyl is gaining so much traction. Its incredible cleanability is a huge draw for homeowners. Vinyl surfaces can wipe clean in seconds, which can cut cleaning time by up to 50% compared to traditional tile that demands endless grout scrubbing. This low-maintenance appeal is a major reason North America now holds a 13.8% share of the worldwide vinyl flooring market. For more on market trends, you can check out the full report on Grandview Research.
The Final Rinse and Dry
Once you’ve scrubbed a section and loosened all that embedded dirt, you need to get it off the floor for good. This is a critical step. Grab a separate microfiber mop, dip it in clean, plain water, and wring it out thoroughly until it's just damp. Go over the area you just scrubbed to rinse away the cleaning solution and all the lifted grime.
Don’t let it air dry! Immediately follow up with a clean, dry towel or a dry microfiber cloth to wipe the section completely. This final pass prevents water spots from forming and leaves you with a streak-free, non-slip surface. By working in this scrub-rinse-dry sequence, you'll achieve a beautifully consistent finish across the entire room.
Removing Scuffs And Stains Without Damaging Your Floor
No matter how careful you are, life happens. Spills, scuffs, and stains are inevitable, but the good news is that vinyl flooring is incredibly resilient. The secret is knowing how to tackle these little mishaps quickly and gently, so you lift the stain without scratching the protective wear layer that keeps your floors looking great.
For most everyday spills like coffee, juice, or wine, a damp microfiber cloth is your best friend. The key is to blot the spill right away—don't rub! Blotting pulls the liquid up and out, while rubbing can push the stain deeper into the floor's texture.
Simple Fixes For Common Scuffs
Black heel marks from shoes or scuffs from moving furniture can look pretty dramatic, but they're almost always just surface-level marks. Before you even think about reaching for a chemical cleaner, give one of these surprisingly simple tricks a try.
- The Tennis Ball Trick: It sounds odd, but a clean tennis ball has the perfect texture for this job. Just take the ball and rub it over the scuff mark. The gentle friction often lifts the mark right off without any fuss.
- The Pencil Eraser Method: For smaller, more concentrated scuffs, a simple pink or white pencil eraser works wonders. Use it just like you would on paper, and watch the mark vanish.
These methods work because they gently lift the transferred material (like rubber from a shoe sole) off the floor's finish, rather than scrubbing the finish itself. They're a completely safe first step.
Expert Insight: I always tell my clients to start with the least aggressive cleaning method first. It's so tempting to grab a harsh chemical or a scrub brush, but those can create tiny micro-scratches that permanently dull your floor’s shine. A small, fixable problem can quickly become a permanent one.
Tackling Tougher Household Stains
Of course, some messes are a bit more stubborn and need a little extra help. For greasy kitchen spills, a few drops of pH-neutral dish soap in warm water is fantastic for cutting through the oil. If you're dealing with something like ink, crayon, or makeup, a small amount of rubbing alcohol on a soft cloth will usually dissolve the stain right away.
When choosing any cleaning product, it's really important to stick with pH neutral cleaners. Anything too acidic or alkaline can strip away your floor's protective top coat over time. This is especially critical for families with pets or small kids crawling around. If you're looking for recommendations, we've put together a comprehensive resource you can check out: https://flacksflooring.com/your-ultimate-guide-to-pet-safe-floor-cleaner/.
Here’s a quick visual guide to help you decide on the right tool for the job.

As you can see, a simple mop works for general cleaning, but for that really ground-in dirt, you'll get much better results with the targeted approach of a soft-bristle brush.
To make things even easier, I've put together a quick-reference chart for some of the most common stains you'll encounter.
Your Vinyl Floor Stain Removal Cheat Sheet
| Type of Stain | Recommended Cleaning Agent | Step-by-Step Method |
|---|---|---|
| Grease, Oil, or Crayon | pH-neutral dish soap | Mix a few drops in warm water. Apply with a soft cloth, gently rub the area, and rinse with a clean, damp cloth. |
| Ink, Hair Dye, or Makeup | Rubbing alcohol | Dampen a white cloth with rubbing alcohol and gently blot the stain until it lifts. Rinse the area with a water-dampened cloth. |
| Wine, Juice, or Ketchup | Water and baking soda paste | Mix baking soda and water to form a paste. Apply to the stain, let it sit for a few minutes, then gently wipe away with a damp cloth. |
| Scuff Marks | Tennis ball or pencil eraser | Rub the scuff mark firmly with a clean tennis ball or a standard pencil eraser until the mark disappears. |
This little guide should help you handle most spills with confidence. Remember, the trick is always to act fast and use the right tool for the specific stain you're dealing with.
Smart Ways to Protect Your Vinyl Floor Long-Term
Keeping your floor clean is one thing, but preventing damage before it even starts? That’s the real secret to keeping your floors looking brand new for years. A little proactive protection is always easier than a whole lot of reactive repair.
Honestly, the small, consistent habits you build will do more to preserve your floor's finish than any deep cleaning session ever could. This is all about setting up simple defenses that work for you around the clock—not demanding chores, just smart adjustments that safeguard your investment.
Set Up Your First Line of Defense
Think of your doorways as the main entry point for everything that wants to scratch and dull your vinyl. Dirt, grit, and tiny pebbles are like sandpaper under every footstep, slowly wearing away that protective top layer. The most effective way to stop this is with good doormats.
I recommend a two-mat system. Place a coarse, bristly mat outside each exterior door to scrape off the heavy stuff. Then, put a softer, more absorbent one just inside to catch whatever is left, like moisture and fine dust. This simple setup can trap up to 80% of debris before it ever touches your beautiful floor.
A word of caution, though: steer clear of mats with rubber or latex backings. There's a chemical reaction that can happen between that kind of backing and your vinyl, causing a permanent yellow stain over time. Look for mats with a non-staining vinyl backing or a natural fiber that won’t bleed color.
A Quick Tip: Shake out your doormats at least once a week. A mat that’s already full of dirt can't do its job. A few good shakes is all it takes to keep it effective.
Prevent Scratches Before They Happen
The number one culprit for deep scratches isn't usually foot traffic—it's your furniture. Think about the daily grind of dining chairs sliding back and forth, a coffee table getting scooted around, or a heavy sofa shifting slightly. All that movement can inflict serious damage.
The solution is simple and, in my book, non-negotiable. You need to put felt furniture pads on the bottom of every single piece of furniture that touches the floor.
This includes:
- Chairs and barstools
- Tables and desks
- Sofas and entertainment centers
- Even standing lamps and heavy decorative items
These pads are cheap and take just a few minutes to stick on, but they create a soft cushion that glides instead of grinds across the floor. Just remember to check them every few months, as they can wear down or pick up grit. Trust me, replacing a worn-out felt pad is infinitely easier and cheaper than trying to fix a deep gouge in a vinyl plank. For more ideas on keeping floors in great shape, you can learn more about waterproof vinyl tile and its impressive durability.
Guard Against Sun Damage
Just like our skin, vinyl flooring can be damaged by too much direct UV exposure. Over time, that harsh sunlight streaming through a window can cause the colors to fade, leaving you with patchy, discolored spots.
To stop this from happening, use window treatments. Curtains, blinds, or even a UV-blocking film work wonders, especially in rooms that get that intense afternoon sun. Just making a habit of closing the blinds during the sunniest parts of the day can dramatically extend the life and vibrant color of your flooring.
Got Questions About Cleaning Vinyl Floors? We’ve Got Answers.
When it comes to taking care of vinyl floors, I hear the same handful of questions all the time. People are nervous about doing the wrong thing and ruining their investment, which is completely understandable. So, let's clear up some of the most common concerns I hear from homeowners.
My goal here isn't just to give you a list of rules, but to explain why these methods work. Once you get the reasoning, you’ll be able to handle just about any cleaning challenge with confidence and sidestep those common mistakes that can cause real damage.
Can I Use a Steam Mop on My Vinyl Floor?
I’m going to be direct with this one: please don't. A steam mop is one of the worst things you can use on any vinyl flooring, especially luxury vinyl plank (LVP). While it seems like a great way to deep clean and sanitize, you're blasting intense heat and moisture directly into your floor.
That steam is notorious for working its way into the seams between planks. Once it’s in there, the heat wreaks havoc on the adhesive holding everything together. Before you know it, you’ve got planks that are peeling up at the edges, warping, or lifting completely. That kind of damage is almost impossible to fix and will likely void your warranty. A simple microfiber mop and a pH-neutral cleaner is a much safer bet.
What's the Best DIY Cleaner for a Home with Pets and Kids?
For a home full of life, you can't beat the classic solution: one gallon of warm water mixed with about 1/4 cup of white vinegar. This is my go-to recommendation, and for good reason.
Vinegar is a fantastic natural disinfectant that cuts right through grime without leaving that sticky, dulling film behind. If you want a fresh scent, just add a few drops of an essential oil like lemon or lavender. Best of all, it's completely non-toxic, which is exactly what you want when kids and pets are rolling around on the floor.
Expert Insight: The vinegar solution is brilliant because it's so simple. It gets the job done, costs practically nothing, and you have total peace of mind knowing you're not spreading harsh chemicals around your home.
Why Does My Vinyl Floor Look Dull After I Clean It?
If your floor looks hazy or dull after mopping, the culprit is almost always residue from the wrong cleaner. A lot of those all-purpose or "mop and shine" products you see in stores contain soaps, waxes, or acrylic polymers that build up a sticky film over time. Ironically, that film actually attracts more dirt.
To get back that original shine, you'll need to strip off that buildup. Mop your floor with a clean mop and plain warm water—you may need to do a few passes with fresh water each time. Once it's clean, make the switch to a pH-neutral cleaner or the vinegar solution. That will get your floors clean without leaving anything behind, letting their natural luster show through.
How Do I Prevent Scratches in a Busy Household?
With vinyl floors, an ounce of prevention is truly worth a pound of cure. If you do one thing, make it this: put felt pads on the bottom of every piece of furniture, especially things that get moved often like dining chairs and coffee tables.
A few other habits will make a huge difference, too:
- Use Good Doormats: Put a quality mat at every entrance. They’re your first line of defense against the abrasive dirt, sand, and tiny pebbles that act like sandpaper on your floors.
- Sweep or Dust Mop Often: A quick daily sweep removes all that gritty debris before it gets ground in underfoot. This simple step goes a long way in preventing those tiny micro-scratches that dull the finish over time.
Being proactive is always easier than trying to fix scratches after they've happened.
At Flacks Flooring, we believe beautiful floors are the foundation of a beautiful home. If you have more questions or are considering new flooring for your space in Cumming, GA, our team is here to help with expert advice and professional installation. Explore our flooring options at https://flacksflooring.com.