
Your commercial flooring is the handshake of your business—it makes the first impression and sets the stage for every customer interaction. A successful commercial flooring installation is a strategic investment, one that quietly shapes your brand perception, safety, and even how smoothly your business runs. This isn't just about looks; it's about building a solid, durable foundation for everything you do.
Why Your Commercial Flooring Is Your Foundation
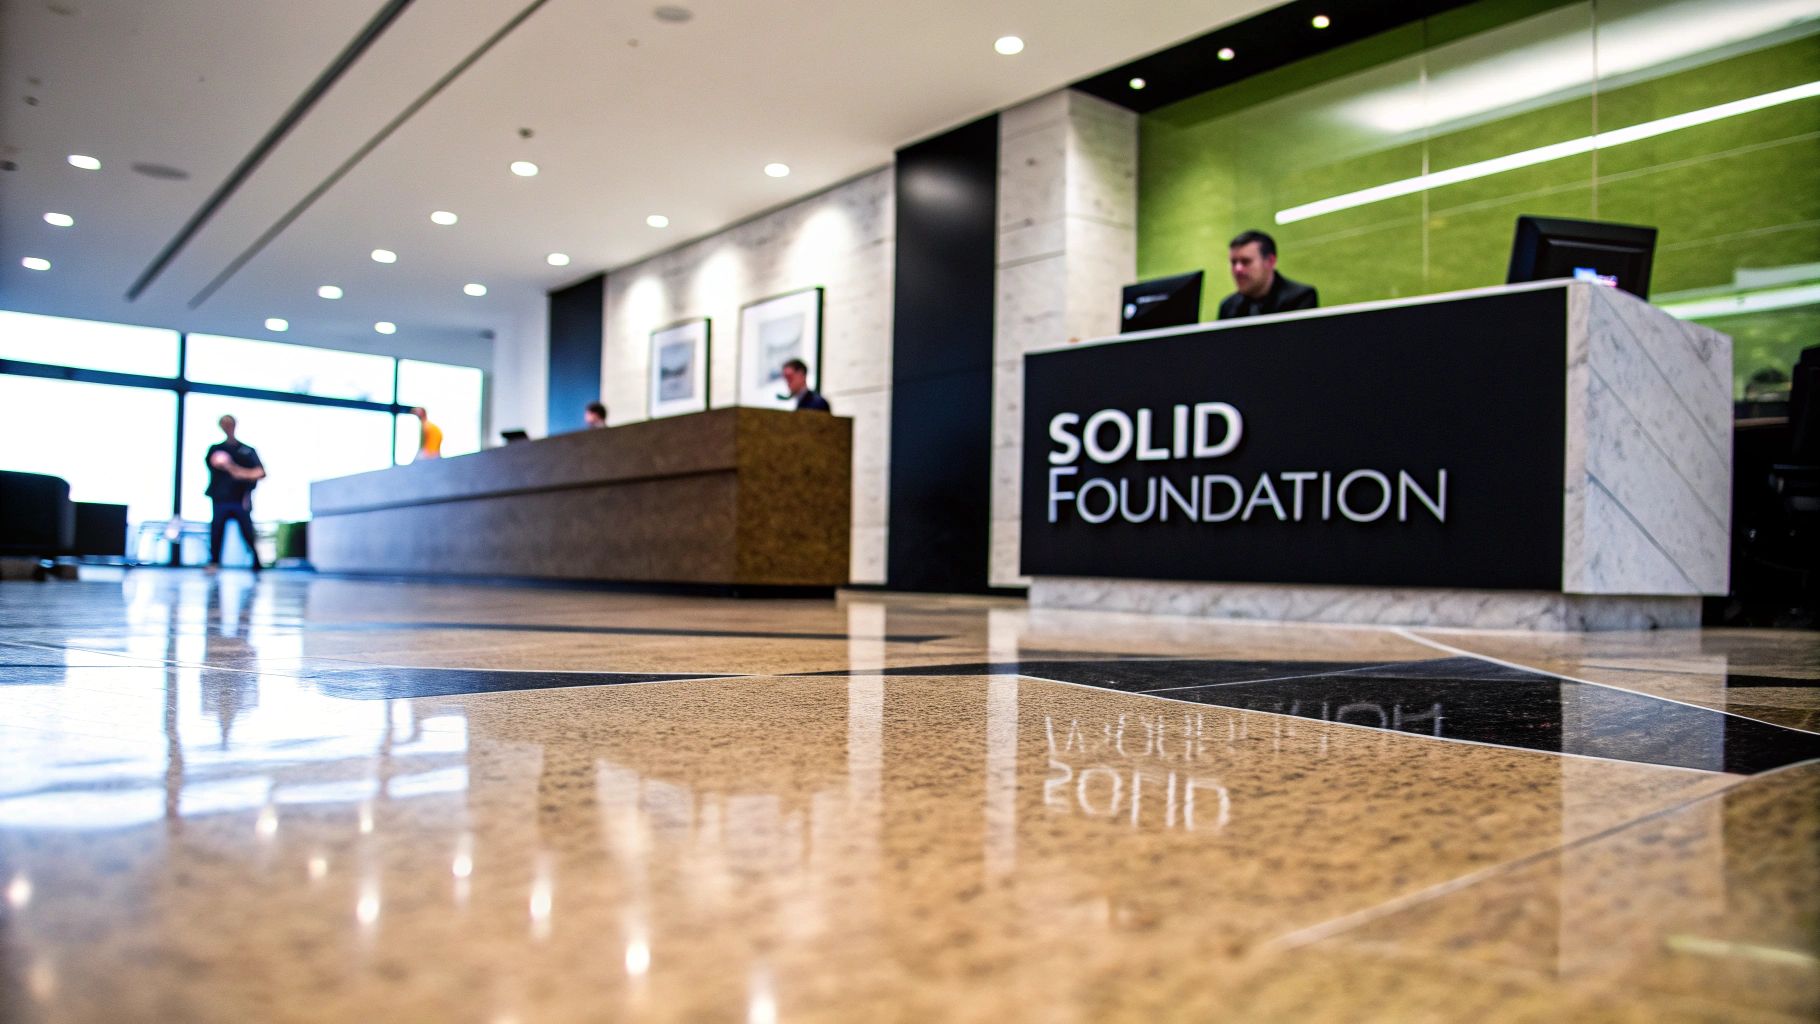
Think of your floor as the single largest piece of furniture you own. It’s the one element every single person—employee, customer, or visitor—interacts with from the moment they walk through your door. A worn-out, damaged, or poorly installed floor can silently scream neglect, while a high-quality, professional installation projects competence and a sharp eye for detail. This first impression can color a customer's trust in your brand before they’ve even said hello.
But it’s about more than just aesthetics. The right flooring is a critical piece of your operational infrastructure. It has to endure heavy foot traffic, withstand rolling carts or equipment, and contribute to a safe environment for everyone. Getting the installation right from the start ensures these functional needs are met, heading off long-term headaches that could otherwise disrupt your business.
The Strategic Value of a Professional Installation
A well-planned installation is much more than just laying down new material. It's a project that delivers real, tangible benefits across your entire organization. Investing in a quality installation from day one is a smart move that pays for itself for years to come.
Here’s what you gain:
- Enhanced Durability and Longevity: Professional installers know that the real work happens before the flooring even comes out of the box. Proper subfloor preparation, along with the right adhesives and techniques, dramatically extends the life of your investment and pushes back the need for costly replacements.
- Improved Safety and Compliance: A correct installation means no tripping hazards like bumps, gaps, or curling seams. It also ensures your floor meets critical slip-resistance and accessibility standards, which is non-negotiable for any public space.
- Reduced Long-Term Maintenance Costs: Getting it right the first time prevents common nightmares like moisture damage, bubbling, and peeling. This proactive approach saves you from expensive, disruptive repairs down the road.
The sheer scale of this sector shows how seriously businesses take their physical spaces. The global commercial flooring market was valued at around USD 158 billion and is expected to climb to nearly USD 195.4 billion by 2030. You can explore the full research on commercial flooring market trends to see how infrastructure development is fueling this demand.
A great floor is invisible in the best way possible—it performs its job perfectly without calling attention to flaws. It's the silent workhorse that supports your entire business operation from the ground up.
To give you a clearer picture, every successful project follows a few key phases. From the initial spark of an idea to the final walkthrough, understanding these steps helps set expectations and ensures a smoother process for everyone involved.
Key Stages of a Commercial Flooring Project
| Project Stage | Key Objective | Primary Stakeholders |
|---|---|---|
| Consultation & Planning | Define project scope, select materials, and establish a budget. | Business Owner, Facility Manager, Flooring Contractor |
| Subfloor Preparation | Ensure the existing floor is clean, level, and dry for installation. | Installation Crew, General Contractor |
| Material Installation | Lay the new flooring according to manufacturer specifications. | Installation Crew, Project Manager |
| Finishing & Inspection | Add final touches, clean the site, and conduct a final walkthrough. | Business Owner, Flooring Contractor, Project Manager |
Each stage is a building block for the next. Rushing the prep work, for example, will almost certainly lead to problems during or after the installation.
Ultimately, a successful commercial flooring installation is a foundational investment in your business's future. It impacts everything from first impressions and daily operations to your long-term financial health.
Choosing Materials for Your Business Needs
Picking the right material for your commercial flooring isn't just about aesthetics. It's about finding the right tool for the job. A beautiful hardwood might look great in a law office, but it would be an absolute disaster in a busy restaurant kitchen. You have to match the material to the real-world demands of your space.
Get this decision right, and your floor becomes a reliable asset. Get it wrong, and you're signing up for constant headaches, surprise maintenance bills, and potential safety issues. The goal is to choose a floor that supports your daily operations, not one that constantly gets in the way.
Matching Materials to Your Environment
Every business has its own rhythm. The first step is to really understand what your floor will go through every single day. We can boil it down to three key factors: foot traffic, maintenance capacity, and budget. These are the pillars that will support a smart flooring decision.
This flowchart breaks down how to think through these factors when planning your commercial flooring installation.
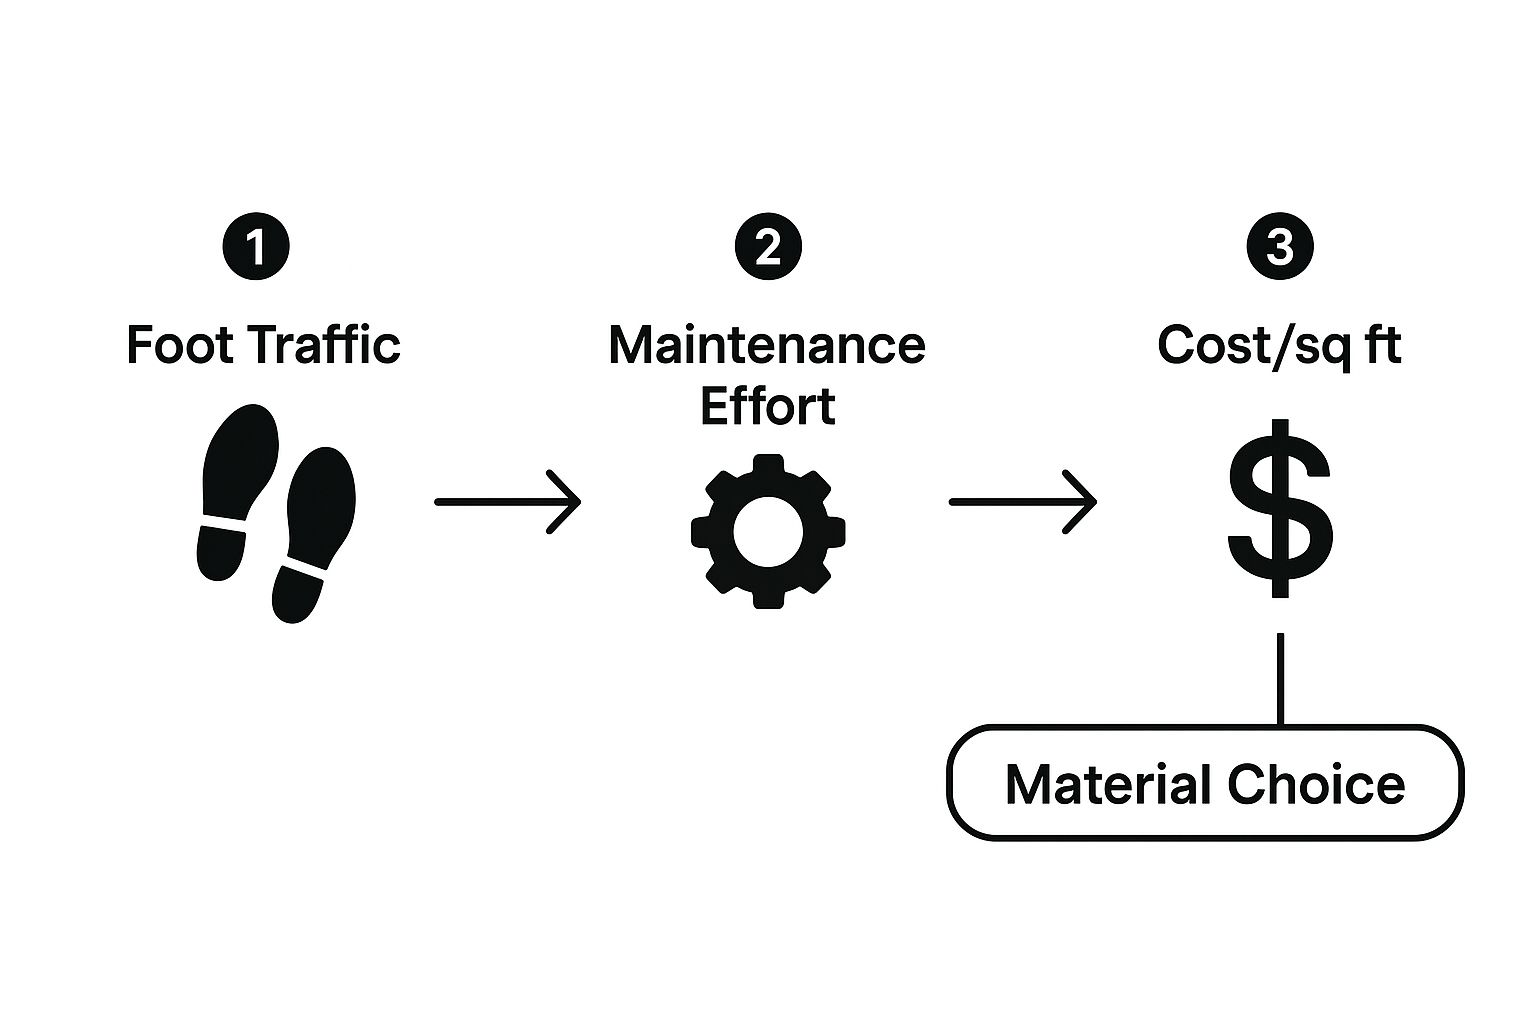
As you can see, once you balance the daily abuse your floor will take with the time and money you can commit to upkeep, the best options start to become obvious.
Your flooring isn't just a surface—it's an operational asset. Choose a material that works with your business, not against it, by prioritizing performance and durability over fleeting design trends.
Think about a hospital hallway. It's a 24/7 runway for gurneys, heavy equipment carts, and staff moving at a fast pace. For a space like that, a seamless, non-porous material like sheet vinyl is a perfect fit. With no grout lines to trap bacteria and incredible resilience, it’s built for sterile, high-demand environments.
Now, picture a corporate office trying to impress clients. The goal is to project success and stability. Here, something like engineered hardwood or high-end carpet tiles makes more sense. They offer a premium look, help quiet the space, and can easily handle moderate foot traffic while looking sharp. It's all about understanding what the space needs to do.
A Look at Popular Commercial Flooring Options
With a clear picture of your needs, you can start digging into the actual materials. Each one brings something different to the table, making them better suited for certain jobs.
Here’s a quick comparison of the heavy hitters in the commercial flooring world.
Commercial Flooring Materials Comparison
| Material | Best For (Use Case) | Durability Rating (1-5) | Maintenance Level | Average Cost (per sq ft) |
|---|---|---|---|---|
| Luxury Vinyl Tile (LVT) | Retail, Healthcare, Offices | 4 | Low | $2 – $7 |
| Commercial Carpet Tile | Offices, Hotels, Libraries | 3 | Medium | $3 – $8 |
| Polished Concrete | Warehouses, Showrooms | 5 | Very Low | $3 – $12 |
| Epoxy Floor Coatings | Garages, Kitchens, Labs | 5 | Low | $3 – $10 |
| Sheet Vinyl | Hospitals, Schools | 4 | Low | $1 – $4 |
This table gives you a starting point, but the real story is in how these materials perform on the ground.
- Luxury Vinyl Tile (LVT): This is the Swiss Army knife of commercial flooring. LVT gives you the look of wood or stone without the high cost or fussy maintenance. It's tough, water-resistant, and versatile enough for almost any setting, from a doctor's office to a boutique shop.
- Commercial Carpet Tile: Nothing beats carpet for sound absorption and comfort, which is why it's a go-to for offices and hotels. The modular design is its secret weapon—if a tile gets stained or damaged, you just pop it out and replace it. No need to tear up the whole floor.
- Polished Concrete: For pure, brute-force durability, it’s hard to beat polished concrete. It’s a fantastic choice for industrial spaces, warehouses, or any spot that has to stand up to heavy machinery and constant abrasion. Plus, it offers a clean, modern aesthetic with almost zero upkeep.
- Epoxy Floor Coatings: Think of epoxy as a suit of armor for your concrete. It creates a seamless, non-porous surface that’s incredibly resistant to chemicals, stains, and impacts. That's why you see it everywhere from auto shops and commercial kitchens to manufacturing plants.
The global flooring market is massive, valued at USD 360.7 billion, which shows just how many businesses are making these same decisions. While tough materials like vitrified tiles hold a big piece of the market, options like LVT are catching up fast because they balance performance, design, and cost so well. You can dive into the numbers with a full flooring market analysis.
If you’re still trying to narrow it down, our guide on the best commercial flooring takes a closer look at the pros and cons of each material to help you find the perfect match.
The Commercial Installation Process Explained

A great commercial flooring installation is a lot like a well-rehearsed stage play. What you see at the end—the beautiful, finished floor—is the grand finale. But it's only possible because of the meticulous, often invisible, work that happens behind the scenes.
Understanding these steps helps you set realistic timelines, plan for any brief disruptions, and get a final product that not only looks great but lasts for years. Each phase builds on the one before it, so there are no shortcuts. From the very first measurement to the final walkthrough, precision is everything.
Phase 1: Site Assessment and Subfloor Preparation
Before a single tile or plank is ever brought in, the whole process kicks off with a detailed site assessment. This is way more than just measuring the square footage. It’s a deep dive into the space itself. A pro installer will be on the lookout for moisture issues, check the condition of the subfloor, and spot any potential challenges, like an uneven concrete slab or a funky room layout.
This naturally leads to the single most important part of the entire project: subfloor preparation.
Think of your subfloor as the foundation of a house. If it's cracked, damp, or uneven, anything you build on top of it will eventually fail. It’s no different with flooring. Over 90% of flooring failures can be traced right back to a poorly prepared subfloor.
This is where the real work begins. Installers will grind, patch, and clean the subfloor to create a perfectly smooth, dry, and solid surface. They might use a self-leveling compound to fill in low spots or a heavy-duty grinder to take down high spots. This painstaking effort is what guarantees your new floor lays flat, bonds correctly, and won't develop ugly bumps, bubbles, or weak points later on. For any areas prone to moisture, understanding the complete waterproof flooring process is key to preventing long-term damage.
Phase 2: Material Acclimation and Layout Planning
With the subfloor prepped and ready, the new flooring materials can finally be delivered. But hold on—they can't be installed just yet. First, they need to acclimate. This simply means letting the materials sit in the room where they’ll be installed, typically for 24 to 72 hours, so they can get used to the building’s unique temperature and humidity.
Skipping this step is a recipe for disaster. It prevents future gaps, warping, or buckling that can happen when materials expand or shrink after they've been installed. Once acclimated, the crew will map out the layout, making sure seams are placed in less obvious spots and are positioned for maximum durability in high-traffic zones.
Phase 3: Installation and Finishing Touches
Now for the main event. With all the prep work done, the actual installation can start. Using specialized tools and the right adhesives for the job, the team will carefully lay the flooring. For materials like Luxury Vinyl Tile (LVT) or carpet tiles, this involves a lot of precise cutting and fitting. For others, like sheet vinyl or epoxy coatings, the goal is to create a seamless, monolithic surface.
But the job isn't over when the last piece is down. The finishing touches are what separate a good job from a great one.
- Installing Transition Strips: These create a safe and clean transition between different types of flooring, like where the LVT in a hallway meets the carpet in an office.
- Adding Wall Base: This trim protects the bottom of your walls from scuffs and gives the entire installation a clean, polished look.
- Thorough Site Cleanup: A professional crew won’t leave a mess. They’ll haul away all the old flooring, scraps, and debris, leaving your new space ready to go.
The final step is a walkthrough with you or your project manager. This is your chance to inspect the work up close, ask any questions, and make sure every detail is perfect before signing off. It’s a process playing out in more buildings than you’d think—the global demand for flooring is expected to reach an incredible 26.1 billion square meters by 2027.
Budgeting Your Commercial Flooring Project
Thinking about the cost of a commercial flooring installation is a bit like planning a wedding. You see the price per plate, but that’s just the starting point. Venue fees, staff, rentals—all those little things add up to the real total. It's the same with flooring. The price per square foot for the material is a big piece of the puzzle, but it’s far from the whole picture.
To get a realistic budget, you have to look past the shiny new flooring samples and account for everything else involved. Getting this right from the start means no nasty surprises when the final invoice arrives.
Uncovering the Hidden Costs
Several behind-the-scenes services are essential to a professional installation, and each one has a price tag. A good contractor will itemize these for you, but it pays to know what you’re looking for so you can spot anything that’s missing.
Here are the usual suspects that can inflate your budget:
- Labor Rates: This is a huge chunk of the cost. Installers might charge by the square foot or by the hour. What you'll pay depends on how tricky the job is, the material you've chosen, and the going rates in your area.
- Subfloor Preparation: We've talked about this already, but it's worth repeating: the subfloor has to be perfect. That could mean grinding down concrete, pouring self-leveling compounds, or fixing cracks. None of that is free.
- Furniture and Fixture Management: All that stuff—desks, shelves, heavy equipment—has to go somewhere. Some flooring companies will handle the heavy lifting as part of their service, while others expect you to clear the space yourself. You need to know which it is.
- Removal and Disposal of Old Flooring: Ripping out the old carpet or tile and hauling it away is a job in itself. You'll almost always see this as a line item on a professional quote.
A detailed quote is your best friend. It should break down every single cost, from the glue to the disposal fees. If a quote looks fuzzy or way too cheap, be skeptical. What they aren’t telling you will probably show up as an extra charge later on.
To get a preliminary handle on your material needs, a square footage cost estimator can be incredibly helpful. It gives you a solid baseline before you even pick up the phone, so you can walk into conversations with contractors feeling prepared.
Realistic Cost Scenarios
Let's look at how this plays out in the real world. Here are two common business examples that show how the exact same material could lead to wildly different project costs.
Scenario 1: The 1,500 sq ft Office Space
Imagine a small professional office in Cumming that wants to ditch its dated carpet for some modern Luxury Vinyl Tile (LVT). The layout is simple—a reception area and a few private offices.
- Material: Mid-grade LVT at $4 per sq ft.
- Subfloor: The concrete underneath is in decent shape, just needing a few patches.
- Logistics: The furniture is mostly standard desks and chairs that can be moved around without a major production.
- Estimated Total: In this case, the final cost will stick pretty close to the basic material and labor figures. The subfloor prep is minor and the furniture shuffle is straightforward.
Scenario 2: The 10,000 sq ft Retail Store
Now picture a large retail store in Johns Creek upgrading to polished concrete to handle heavy foot traffic and pallet jacks. The floor they have now is old, worn-out vinyl composite tile (VCT) that needs to go.
- Material: The process of polishing the existing concrete.
- Subfloor: This is where the real work is. The old VCT and the stubborn glue underneath have to be scraped up, the concrete needs to be ground smooth, and significant cracks must be filled.
- Logistics: We’re talking heavy-duty retail shelving, massive display cases, and pallets of inventory. Everything has to be moved, probably in phases, to keep the store from shutting down completely.
- Estimated Total: The cost here will be driven by the labor, not the material. VCT removal, intense concrete prep, and the logistical nightmare of working around an active retail environment are the real budget-busters.
At the end of the day, asking the right questions and insisting on a fully itemized quote is the best way to make sure your commercial flooring installation budget is grounded in reality.
How to Find a Qualified Flooring Contractor
You can pick the best flooring material on the market, but its real-world performance and lifespan come down to one thing: the quality of the installation. A successful commercial flooring installation is only as good as the team putting it in. Hiring the right partner is the difference between a floor that looks great for decades and one that starts failing in a matter of months.
This isn't about chasing the lowest bid. It's about finding a genuine specialist. A seasoned commercial contractor brings a level of experience, the right credentials, and a battle-tested process that a general handyman just can't replicate. Taking the time to properly vet your installer is the single most important thing you can do to protect your investment.
Verifying Essential Credentials
Before you even get into the details of your project, there are a few non-negotiables. Think of these as the baseline requirements that protect you from liability and prove you're dealing with a legitimate professional. Don't just take their word for it—ask to see the paperwork.
Here are the absolute must-haves:
- Proof of Licensing: A valid contractor's license confirms they meet state and local regulations to do the work legally.
- Comprehensive Insurance: Ask for certificates of both general liability and worker's compensation insurance. This is what protects your business if an accident happens on your property.
- Bonding: A surety bond is your financial safety net. It protects you if the contractor fails to finish the job or doesn't meet their contractual obligations.
These credentials are your first line of defense. Any hesitation from a contractor to provide them is a massive red flag.
Choosing a licensed, insured, and bonded flooring contractor isn't just a best practice; it's a critical risk management strategy. It ensures accountability and gives you recourse if the project doesn't go as planned, potentially saving you thousands in the long run.
It's also worth remembering that your role in managing the project is just as crucial. In fact, this practical guide to contractor management offers a great framework for how to source, hire, and oversee the pros who will bring your new floor to life.
Questions to Ask Every Potential Contractor
Once you've nailed down the basics, it's time to dig deeper. Your goal here is to find the perfect fit for your specific project by understanding their experience, process, and communication style. Treat it like an interview for a key business partner.
Use this checklist to guide your conversations:
- Experience with Your Chosen Material: Have you installed this exact type of flooring—whether it's LVT, epoxy, or polished concrete—in a commercial space like mine before? Ask for photos.
- Portfolio of Similar Projects: Can you show me completed jobs in businesses similar to mine? It’s one thing to see a showroom, but another to see how the floor holds up in a real-world retail store in Milton or a busy medical office in Johns Creek.
- Project Management Process: Who is my day-to-day point of contact? How do you handle updates, progress reports, and unexpected issues?
- Team and Subcontractors: Is the work done by your own crew or do you use subcontractors? If you use subs, are they also fully licensed and insured?
- Warranties Offered: What kind of warranty do you offer on your labor? This is separate from the manufacturer's warranty on the material, so be sure to get the details in writing.
- Detailed, Itemized Quote: Can you provide a comprehensive quote that breaks down every single cost? This should include subfloor preparation, removal of the old floor, and any other potential fees.
The answers you get will tell you everything you need to know about their professionalism and expertise. A confident, experienced contractor won't just have the answers ready—they'll be happy to provide all the documentation you need to feel good about your decision.
Common Installation Mistakes to Avoid

Even with the best materials money can buy, a commercial flooring project can go south quickly because of a few common, but totally avoidable, mistakes. These aren't just little cosmetic hiccups; they're the kinds of errors that lead to peeling corners, tripping hazards, and a floor that fails years before its time.
Knowing what these pitfalls are is half the battle. Getting these details right from the start is the difference between a floor that looks good for a year and one that performs beautifully for decades. Let’s walk through the most common slip-ups we see and, more importantly, how to sidestep them.
Overlooking Subfloor Preparation
I can't stress this enough: rushing to lay the new floor without properly prepping the subfloor is the single biggest mistake in any commercial flooring installation. A subfloor that’s uneven, dirty, or damp is a ticking time bomb for your new investment.
Think of it like painting a dirty, bumpy wall. The paint will bubble, crack, and peel almost immediately. It’s the exact same concept for flooring.
- Bubbling or Peeling: Any dust, debris, or moisture left on the subfloor will prevent adhesives from creating a solid bond. This is why you see vinyl tiles or planks start to lift at the edges.
- Cracking and Gaps: An uneven subfloor creates stress points. For rigid materials like LVT or tile, this pressure will eventually cause cracks or lead to gaps forming between the pieces.
- Telegraphing: This is when you can see the ghosts of the old floor through the new one. Every little bump, old glue ridge, or imperfection in the subfloor will eventually show through the surface.
A great installer lives by a simple rule: your new floor will only ever be as good as the subfloor it's sitting on. They'll spend the necessary time grinding, leveling, and deep cleaning the concrete slab until it’s perfect.
Ignoring Material Acclimation
Another easy-to-avoid mistake is skipping acclimation. Flooring materials, especially things like LVT and hardwood, are like living things—they expand and contract with changes in temperature and humidity. They need time to get used to their new home.
This means letting the new flooring sit in the room where it will be installed for at least 24 to 72 hours before you put it down. If you install it fresh off the truck, it will expand or shrink later. That movement is what causes planks to buckle, boards to warp, and ugly gaps to appear between seams. It's a simple waiting game that prevents a world of headaches.
For a deeper dive into common oversights, you can explore these flooring renovation mistakes and misconceptions.
Using Incorrect Adhesives or Tools
Flooring adhesive isn't a one-size-fits-all product. Using the wrong glue for your specific material and subfloor conditions is a recipe for disaster. A true professional will read the manufacturer's spec sheet like it’s a legal document. They know that the right chemical bond is non-negotiable for a floor that lasts.
The same goes for tools. Not using a 100-pound roller on new vinyl, for instance, means the adhesive won't fully transfer and bond, which leads to bubbling. These details might seem small, but they are precisely what separates a professional commercial flooring installation from a costly failure.
Frequently Asked Questions
A big project like a commercial flooring installation always comes with a lot of questions. I hear them all the time from business owners in Cumming, Johns Creek, and beyond. Let's tackle some of the most common ones so you know exactly what to expect.
How Much Business Disruption Should I Expect?
This is usually the first question I get, and for good reason. "How do I get this done without shutting down my business?" The short answer is: a good crew makes it their mission to keep you operational. We know downtime costs you money.
We have a few proven ways to work around your schedule:
- Phased Installations: We can tackle the project in logical chunks. That means one section of your facility can stay open for business while we work on another.
- After-Hours Work: We’re no strangers to working nights, weekends, or even holidays. If your business is closed, that’s the perfect time for us to get in there and get the job done.
- Clear Communication: A solid plan is key. Your project manager should sit down with you and map out a detailed schedule. You’ll know exactly which areas will be off-limits and when, so you can plan your operations without any surprises.
What's the Difference Between Material and Labor Warranties?
Understanding your warranties is a huge part of protecting your investment. People often don't realize that a commercial flooring installation actually comes with two different kinds of protection. I like to compare it to buying a new car: the manufacturer has a warranty on the car itself, and the dealership might offer a separate guarantee on any service they perform.
A material warranty protects the flooring product from factory defects. A labor warranty protects you from mistakes made during the installation. You absolutely need both.
Here’s what that looks like in practice:
- Material Warranty: This comes straight from the manufacturer (think Shaw, Mohawk, etc.). It covers issues with the product itself—things like the top layer peeling off or a defect in the pattern.
- Labor Warranty: This is your installer’s promise that they did the job right. It covers workmanship errors, like seams that start to lift or bubbles that appear because the subfloor wasn't prepped correctly.
How Quickly Can We Use the New Floor?
I know how tempting it is to get back on your new floor the second the crew packs up, but patience here is crucial. The adhesives and finishes need time to cure—that is, to fully harden and bond. If you rush it, you risk undoing all that great work and seriously shortening the life of your floor.
The "don't walk on it" time really depends on the materials:
- Adhesives: For most types of flooring that use glue, you'll need to wait 24 to 72 hours. That means light foot traffic at most, and definitely no heavy furniture or rolling carts until it's fully set.
- Finishes and Coatings: If you've got something like polished concrete or an epoxy coating, the wait can be longer. These materials often need several days to a week to reach their maximum strength and durability.
Your installer will give you the exact timeline for your specific products. Sticking to their recommendation is the single best thing you can do to guarantee a floor that looks great and performs well for years to come.
Ready to transform your commercial space with a floor that’s built to last? The experts at Flacks Flooring have over 30 years of experience providing high-quality, professional installations for businesses throughout Forsyth County. Visit us online to schedule your consultation and get started.