
Floor molding is more than just a decorative trim; it’s a critical functional element that bridges the gap between your walls and floors, creating a seamless, polished look. Choosing the right profile not only enhances your home’s aesthetic but also provides essential protection for your walls and conceals unsightly expansion gaps left after flooring installation. From the classic elegance of baseboards to the functional simplicity of quarter round, understanding the different types of floor molding can transform a good flooring project into a truly great one.
This comprehensive guide will walk you through the most popular options available, from baseboards and shoe molding to specialized transition strips like T-molding and reducers. For professionals and enthusiasts aiming to visualize these intricate details before installation, this guide to 3ds Max interior design visualization offers powerful tools for planning the perfect look. We will explore the unique characteristics, materials, and best-use cases for each type of molding, ensuring you have the practical knowledge to select the perfect profile. Whether you’re a DIY homeowner or a seasoned contractor, this breakdown provides the actionable insights needed to finish your next renovation to perfection.
1. Baseboards (or Base Molding)
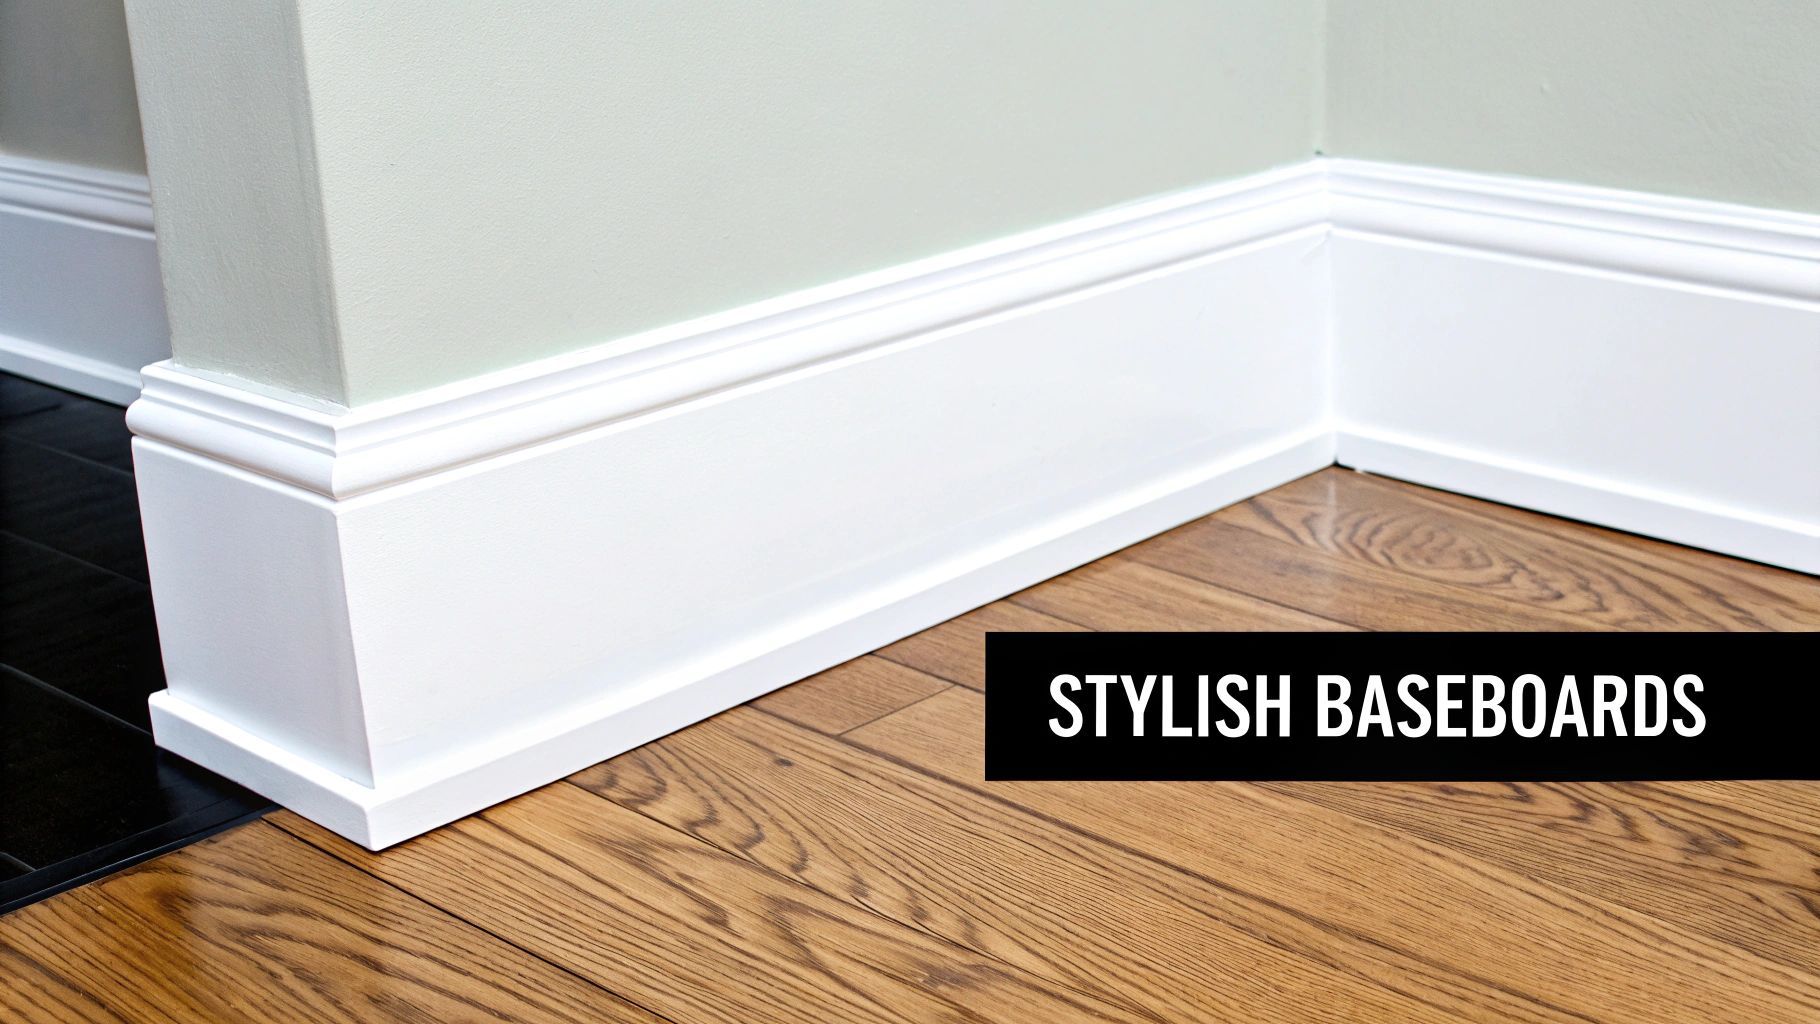
Baseboards are the foundational element of floor molding, serving as the visual and functional transition between the wall and the floor. This essential trim conceals the often uneven gap where flooring material meets the wall, creating a clean, finished look. Beyond aesthetics, baseboards provide a durable barrier, protecting the base of your walls from scuffs, kicks, and impacts from furniture or vacuum cleaners.
Defining Your Space with Baseboards
The profile and height of a baseboard dramatically influence a room’s architectural style. In modern homes, a simple, flat-stock baseboard with a square or slightly beveled edge offers a minimalist, clean line that complements uncluttered design. Conversely, historic Victorian or Colonial homes often feature tall, ornate baseboards with intricate curves and details, adding a sense of grandeur and tradition. This versatility makes baseboards a fundamental choice among the different types of floor molding for setting the stylistic tone of any interior.
Installation Tips for a Professional Finish
Achieving a seamless, professional look with baseboards requires careful planning and execution. For a durable installation, use a combination of construction adhesive and finishing nails.
- Pre-Finish for Cleanliness: Paint or stain your baseboards before you install them. This prevents accidental marks on your walls and floors, resulting in a much crisper final appearance.
- Measure Twice, Cut Once: Plan your layout to minimize joints and waste. When joining two pieces on a long wall, use a scarf joint (a 45-degree angled cut on both ends) for a less noticeable seam than a butt joint.
- Material Matters: In areas prone to moisture, like bathrooms, kitchens, or basements, opt for moisture-resistant materials such as PVC, vinyl, or specially treated MDF to prevent warping and mold growth.
- The Final Seal: After installation, apply a thin bead of paintable caulk along the top edge where the baseboard meets the wall. This fills any small gaps and creates a truly integrated, seamless look.
2. Quarter Round Molding
Quarter round molding is a small, versatile trim piece with a profile that forms one-quarter of a full circle. It is most commonly used to conceal the gap between the bottom of a baseboard and the flooring material, but it can also be used alone where a baseboard is impractical. This subtle molding provides a clean, curved transition and is an essential component among the different types of floor molding for achieving a polished final look.
A Versatile Finishing Touch
The primary function of quarter round is to hide imperfections and expansion gaps, particularly with floating floors like laminate or luxury vinyl plank that require space to contract and expand. Its simple, curved shape is less of a stylistic statement and more of a functional problem-solver. It works well in a variety of settings, from modern apartment complexes needing a clean finish against concrete floors to kitchen renovations where it can neatly bridge the gap between cabinetry toe-kicks and new tile flooring.
Installation Tips for a Flawless Transition
Proper installation is key to making quarter round appear as an intentional, integrated part of your trim work. For a secure fit that allows the floor to move, nail the quarter round into the baseboard, not the floor itself.
- Secure with Finish Nails: Use finish nails spaced approximately 12 to 16 inches apart for a secure attachment that won’t easily pull away from the baseboard.
- Caulk Before Painting: For a truly seamless appearance, apply a thin bead of paintable caulk along the top seam where the quarter round meets the baseboard before you paint.
- Accommodate Curves: For slight curves or uneven walls, flexible vinyl or polymer quarter round is an excellent choice. It can bend to follow imperfections, creating a continuous line where rigid wood might show gaps.
- Prepare for Staining: If you are using wood quarter round, be sure to sand it lightly before applying stain. This opens the wood grain and helps ensure a uniform color absorption that matches your other trim.
3. Shoe Molding
Shoe molding is a small, flexible trim installed along the bottom edge of a baseboard where it meets the floor. While often mistaken for quarter round, it typically has a more refined profile, often less than a perfect quarter-circle, adding a decorative touch. Its primary function is to cover any gaps or uneven lines between the baseboard and the flooring surface, ensuring a clean, seamless transition. This makes it an indispensable finishing piece, particularly when installing new floors against existing baseboards.
Adding a Refined Finishing Touch
Shoe molding is considered a step up in elegance compared to its simpler counterparts. In high-end residential homes with hardwood or stone floors, it provides a sophisticated finishing detail that elevates the entire room. Traditional Victorian or Colonial homes often feature more ornate shoe molding profiles that coordinate with elaborate baseboards, enhancing the home’s historic character. Its ability to flex and conform to uneven floors makes it one of the most practical and aesthetically pleasing types of floor molding for achieving a truly professional look.
Installation Tips for a Professional Finish
Proper installation of shoe molding is key to its effectiveness and appearance. Unlike baseboards, shoe molding should always be nailed into the baseboard, not the floor, to allow for natural expansion and contraction of the flooring material.
- Coordinate the Profile: Select a shoe molding profile that complements your existing baseboard design. The styles should work together to create a cohesive look rather than appearing as a mismatched afterthought.
- Secure but Subtle Fastening: Use a brad nailer with small-gauge finish nails to attach the molding to the baseboard. This provides a strong hold with minimal nail holes, which are easy to fill and conceal.
- Pre-Finish for Precision: Just as with baseboards, you should paint or stain your shoe molding before installation. This prevents messy paint lines on your baseboards or flooring.
- Maintain an Expansion Gap: If installing with floating floors like laminate or LVP, ensure the shoe molding covers but does not press down tightly on the flooring, respecting the required expansion gap.
4. Hardwood Floor Trim
Hardwood floor trim, also known as solid wood molding, offers an unparalleled level of elegance and continuity by perfectly matching the material of the floor itself. Milled from hardwoods like oak, maple, cherry, or walnut, this type of molding creates sophisticated transitions and borders that elevate a room’s entire aesthetic. It’s the go-to choice in luxury homes and historic restorations where a seamless, high-end finish is paramount.
Achieving Cohesive Elegance
The primary advantage of hardwood floor trim is its ability to create a visually unified design. Unlike painted MDF or PVC, solid wood trim can be stained and finished to match the exact species and tone of your hardwood flooring, eliminating visual breaks and making spaces feel more integrated and expansive. For those considering this premium option, understanding the nuances of solid hardwood flooring can help in selecting the perfect complementary trim profiles, from baseboards to reducers. This cohesion is why hardwood trim is a staple in high-end hotels, custom-built homes, and premium commercial spaces.
Installation Tips for a Professional Finish
Installing solid wood requires attention to detail, as the material responds to its environment. Proper handling and installation are key to a lasting, beautiful result.
- Acclimate the Wood: Let the hardwood trim sit in the room where it will be installed for 48-72 hours. This allows the wood to adjust to the home’s temperature and humidity, preventing future shrinking or swelling.
- Prevent Staining: When nailing, use stainless steel or coated fasteners. Standard nails can react with the tannins in wood, especially oak, and cause unsightly black rust stains over time.
- Ensure an Even Stain: Before applying stain, use a pre-stain wood conditioner. This prevents blotchiness and helps the wood absorb the color uniformly for a more consistent finish.
- Leave an Expansion Gap: Always install the trim after the flooring is complete, leaving a small expansion gap (typically 1/4 inch) between the trim and walls to accommodate natural wood movement.
5. T-Molding (Transition Strips)
T-molding is a specialized transition strip, aptly named for its distinct ‘T’ shape. This type of floor molding is expertly designed to bridge the gap between two different flooring surfaces that are at a similar height. Its primary role is to create a safe, smooth, and aesthetically pleasing boundary, such as where a hardwood floor in a living room meets a tiled kitchen floor. T-molding gracefully conceals the seam while accommodating the natural expansion and contraction of floating floors like laminate or vinyl plank.
Unifying Different Flooring Materials
T-molding is the great unifier among the different types of floor molding, essential in modern open-concept homes where various flooring materials often coexist. For example, it provides a clean transition from a carpeted bedroom to a tiled bathroom or from a laminate hallway into a hardwood entryway. The ‘T’ profile neatly covers the expansion gaps required for both flooring types, preventing debris from getting trapped and protecting the edges of the flooring from damage. Its availability in various materials, including wood, metal, and vinyl, allows it to coordinate with or stylishly contrast both adjoining surfaces.
Installation Tips for a Professional Finish
A secure and clean T-molding installation is key to its function and appearance. Proper preparation ensures a durable and virtually invisible transition between flooring zones.
- Mind the Gap: Before installation, ensure there is an appropriate expansion gap (typically 1/4 to 1/2 inch) between the two flooring materials for the T-molding to fit into.
- Secure the Track: Most T-molding systems use a metal track that is screwed or glued to the subfloor in the gap. The T-molding then snaps securely into this track for a fastener-free look.
- Measure Heights Accurately: This molding works best when both floors are at the same level. If there is a slight height difference, you may need a reducer instead. Always test-fit the piece before final installation. For more details on choosing the right transition, you can explore various flooring transitions for your home.
- Coordinate Colors: Select a T-molding that either matches the dominant flooring material or acts as a deliberate accent. A well-chosen color can make the transition appear seamless and intentional.
6. Reducer Molding (Transitional Profile)
Reducer molding provides a smooth and safe transition between two types of flooring that have different heights. This sloped profile is specifically engineered to bridge the gap where a thicker flooring material, like hardwood or tile, meets a thinner one, such as vinyl or low-pile carpet. By creating a gentle ramp, it eliminates abrupt edges that can be unsightly and pose a significant tripping hazard, making it a critical component for seamless multi-material floors.
Unifying Different Flooring Levels
The primary function of a reducer is to create visual and functional continuity between distinct spaces. It’s an indispensable piece among the different types of floor molding for open-concept homes where, for example, a hardwood living area flows into a tiled kitchen. Similarly, it’s used in doorways to transition from a hallway’s laminate flooring to a bedroom’s plush carpeting. The reducer’s gradual slope makes the height difference almost unnoticeable, ensuring a cohesive and professionally finished look that ties the entire home together.
Installation Tips for a Flawless Transition
A secure and well-placed reducer is key to its effectiveness and longevity. Proper installation prevents movement and ensures the transition remains safe and stable over time.
- Precise Measurement is Key: Before purchasing, accurately measure the height difference between your two floors. Reducers come in various profiles, and selecting one that matches your specific height variance is crucial for a perfect fit.
- Secure with Adhesive and Fasteners: For maximum stability, apply a strong bead of construction adhesive to the subfloor and then secure the reducer molding with finishing nails. This dual approach prevents it from shifting under foot traffic.
- Match the Higher Floor: To create the most natural visual flow, choose a reducer molding that matches the color and material of the higher flooring surface. This makes the transition appear as a deliberate and integrated design element.
- Ensure Clean Edges: Both flooring materials should have a clean, straight edge where they will meet the reducer. This allows the molding to sit flush and cover the expansion gap properly, resulting in a cleaner, more durable installation.
7. Stair Nose (Bullnose) Molding
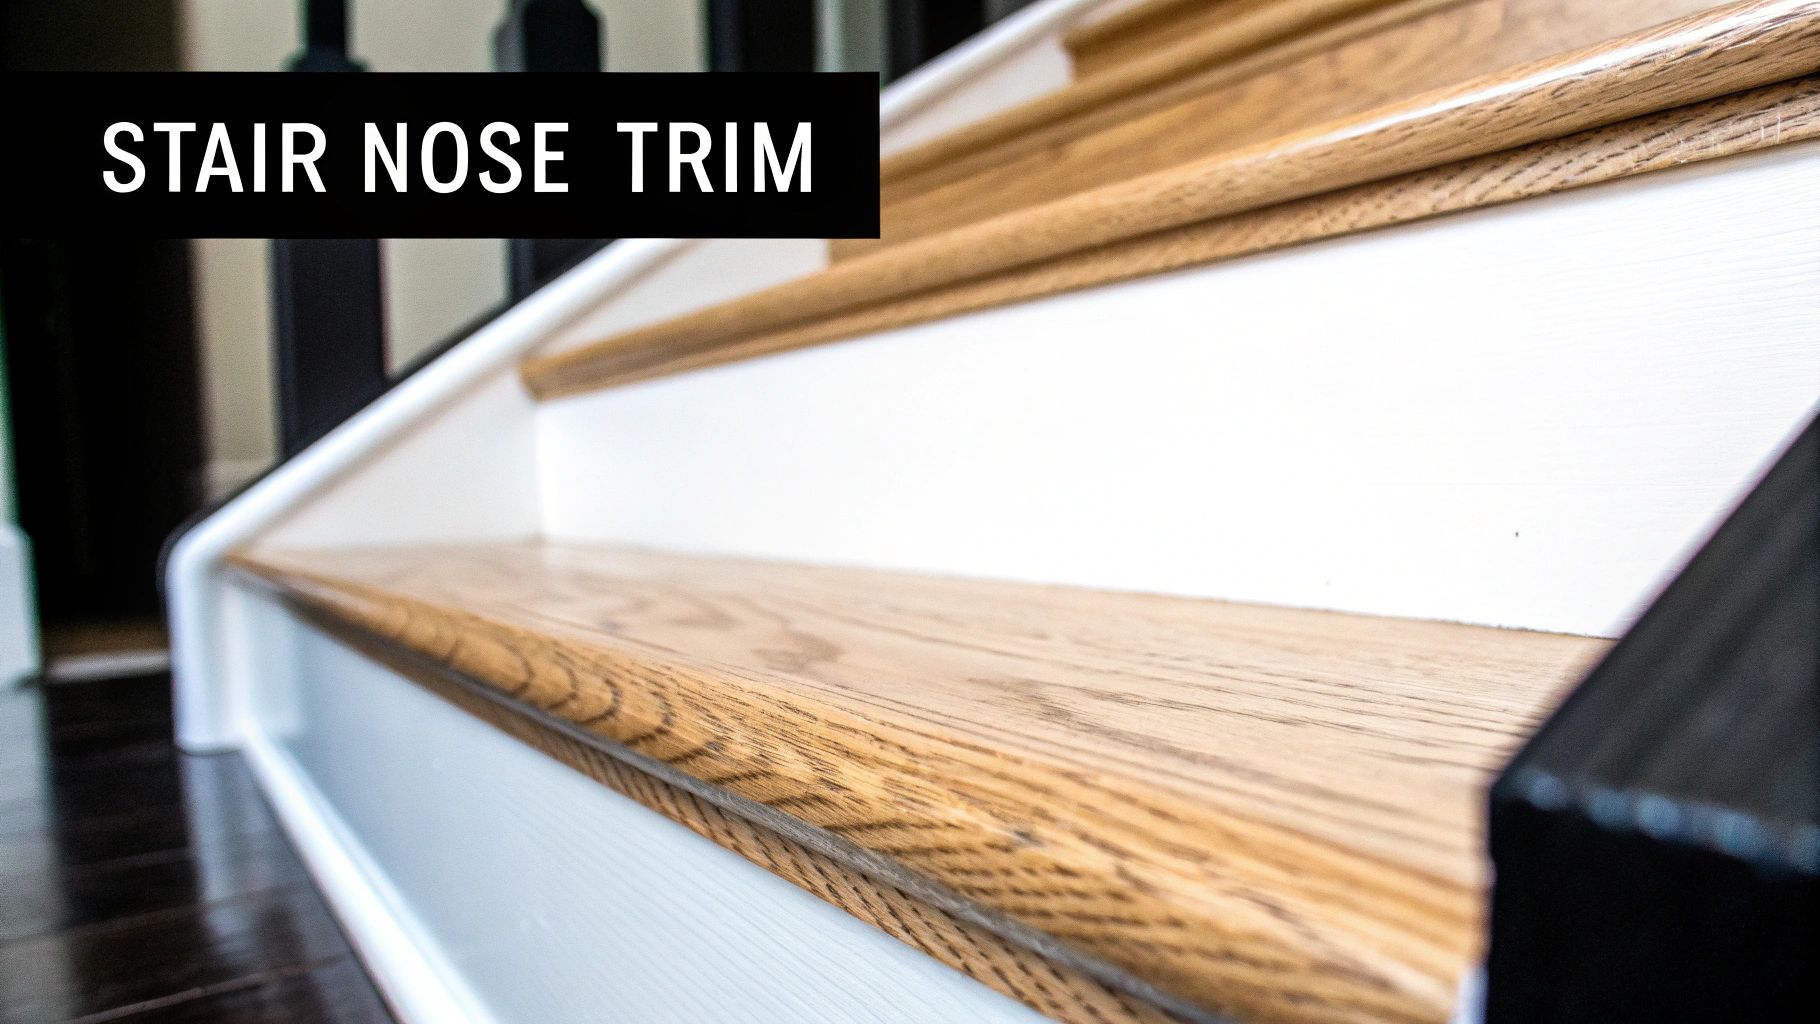
Stair nose molding, often called bullnose, is a specialized trim designed for the leading edge of a stair tread. It provides a smooth, rounded transition from the horizontal surface of the step to the vertical riser, covering the seam where the flooring material ends. This trim is critical for safety, as it creates a durable and finished edge that reduces the risk of tripping, while also protecting the exposed edge of the flooring from chipping and wear in high-traffic areas.
Creating Seamless Stair Transitions
The primary function of a stair nose is to seamlessly integrate flooring materials like laminate, vinyl, or engineered wood into a staircase. In a modern home with a floating laminate staircase, a matching stair nose creates a cohesive, waterfall effect. For commercial buildings or rental properties, a heavy-duty vinyl or metal stair nose offers superior durability, protecting the owner’s investment against constant foot traffic. This piece is a non-negotiable component among the different types of floor molding when extending hard surface flooring onto stairs.
Installation Tips for a Professional Finish
Installing stair nose molding correctly is crucial for both the longevity of your stairs and the safety of those using them. A secure fit prevents movement and potential hazards.
- Pre-Finish for Precision: It is always best to stain or finish your stair nose molding before installation. This ensures a clean, professional look without getting finish on the stair treads or risers.
- Measure Each Step: Do not assume all your stairs are identical. Measure each step individually before cutting your molding to ensure a perfect fit and minimize gaps.
- Adhesive and Fasteners: For maximum durability, use a strong construction adhesive on the subfloor of the tread, and supplement it with finishing nails or screws driven into the subfloor, not just the flooring material.
- Ensure a Level Surface: Before installation, make sure the stair tread is completely level and free of debris. An uneven surface will compromise the adhesive bond and can lead to a squeaky or loose stair nose over time.
8. Vinyl and Luxury Vinyl Plank (LVP) Molding Systems
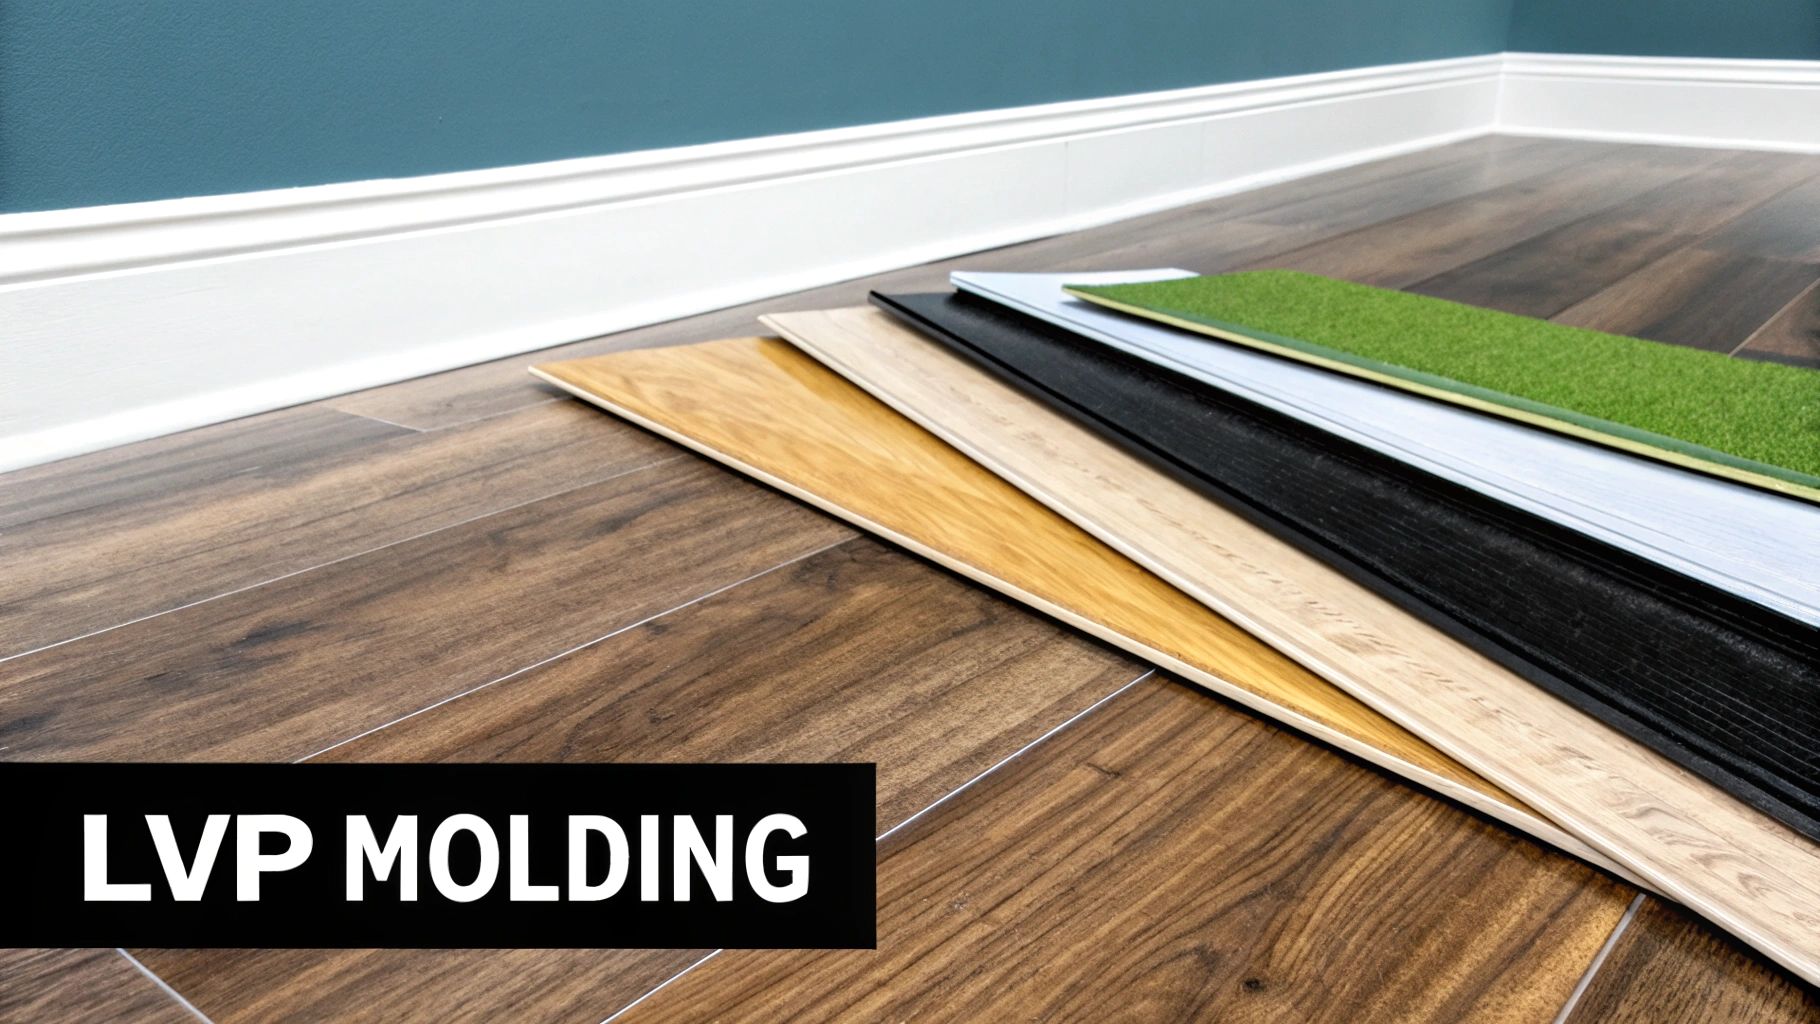
Designed to complement the growing popularity of luxury vinyl plank (LVP) and vinyl tile flooring, these coordinated molding systems offer a complete, water-resistant solution. Made from durable polyvinyl chloride (PVC), these trim pieces are engineered to perfectly match the color, texture, and finish of their corresponding flooring planks. This creates a cohesive and seamless look while providing the same moisture resistance and durability as the floor itself, making them ideal for basements, bathrooms, and kitchens.
Creating a Cohesive and Durable Finish
Vinyl and LVP molding systems are more than just baseboards; they typically include a full range of profiles like quarter rounds, T-molding for transitions, and stair nosing. This system-based approach eliminates the guesswork of matching wood or MDF trim to a vinyl floor, ensuring a professional and integrated appearance. These molding options are a prime example of how different types of floor molding have evolved to meet the demands of modern flooring materials. Their inherent resistance to scuffs, scratches, and water damage makes them a practical choice for high-traffic commercial spaces and rental properties where longevity and low maintenance are key priorities.
Installation Tips for a Professional Finish
Installing vinyl molding requires precision, as the materials and methods can differ from traditional wood trim. Many systems use a track-and-trim or adhesive-based installation.
- Choose a Matching System: For a perfect match in color and grain, always purchase the molding system made by the same manufacturer as your specific LVP flooring.
- Acclimatize Everything: Just like the flooring planks, allow the vinyl molding pieces to acclimate to the room’s temperature and humidity for at least 48 hours before installation to prevent expansion or contraction issues.
- Prepare the Surface: If using adhesive-backed trim, ensure the wall surface is clean, dry, and free of dust or grease. A poorly prepared surface will lead to weak adhesion.
- Use the Right Tools: A sharp utility knife or a fine-toothed miter saw blade designed for plastic will provide the cleanest cuts without chipping or melting the material. For more details on the flooring these systems support, you can learn more about luxury vinyl plank flooring.
Comparison of 8 Floor Molding Types
| Item | Complexity (🔄) | Resource Needs & Cost (💡) | Expected Outcome (⭐) | Ideal Use Cases (📊) | Key Advantages (⚡) |
|---|---|---|---|---|---|
| Baseboards (or Base Molding) | 🔄 Moderate — cutting, caulking, painting | 💡 Low–Medium: wood/MDF/vinyl, nails, caulk, paint | ⭐ Clean finished look; protects walls | 📊 General residential & commercial wall-to-floor transitions | ⚡ Cost-effective, versatile, easy to replace |
| Quarter Round Molding | 🔄 Low — simple cuts, fast install | 💡 Minimal: small stock, finish nails or adhesive | ⭐ Functional, subtle gap coverage | 📊 Budget projects; filling small gaps at baseboards | ⚡ Very affordable, quick install, flexible for curves |
| Shoe Molding | 🔄 Low–Moderate — precise corner cuts | 💡 Low–Medium: molded trim, brad nails, caulk; pre-finish available | ⭐ Neat gap concealment with modest decoration | 📊 Traditional/upscale interiors needing refined finish | ⚡ Conceals gaps; replaceable without removing baseboard |
| Hardwood Floor Trim | 🔄 High — acclimation, precise milling & finish | 💡 High: solid hardwood, staining/finish, professional labor | ⭐ High-quality, durable, cohesive with hardwood floors | 📊 Upscale homes, historic restorations, premium projects | ⚡ Long-lasting, refinishable, improves perceived value |
| T-Molding (Transition Strips) | 🔄 Moderate — precise height alignment & fastening | 💡 Medium: wood/metal/vinyl T-strip, fasteners or track | ⭐ Smooth, safe transition between same-height floors | 📊 Transitions between similar-height materials (tile↔wood/carpet) | ⚡ Accommodates expansion; protects edges; professional finish |
| Reducer Molding (Transitional Profile) | 🔄 Moderate — measure slope and fit carefully | 💡 Medium: sloped profiles in wood/vinyl/metal, adhesive/fasteners | ⭐ Gradual height reduction; reduces trip risk | 📊 Areas with height differences between flooring materials | ⚡ Prevents tripping; cost-effective vs re-leveling floors |
| Stair Nose (Bullnose) Molding | 🔄 Moderate–High — precise cuts per tread | 💡 Medium–High: stair-specific profiles, adhesive, fasteners | ⭐ Rounded, durable stair edge; improved safety | 📊 Stairs with laminate/LVP/engineered wood treads | ⚡ Protects edges, provides safer, finished stair appearance |
| Vinyl & LVP Molding Systems | 🔄 Low — often click-lock or adhesive-backed | 💡 Low–Medium: PVC trims matched to LVP collections | ⭐ Waterproof, consistent finish; durable in wet areas | 📊 Moisture-prone rooms, basements, LVP installations | ⚡ Waterproof, easy DIY install, low maintenance |
Choosing the Right Molding for Your Forsyth County Home
Navigating the world of floor molding can feel complex, but as we’ve explored, understanding the distinct roles of each type is the key to a polished, professional finish. From the foundational presence of baseboards to the subtle gap-covering function of quarter round and shoe molding, these elements are far more than just decorative afterthoughts. They are the essential final touches that protect your walls, conceal necessary expansion gaps, and create seamless transitions between different flooring surfaces.
The journey through the different types of floor molding reveals a solution for every scenario. Whether you’re bridging two floors of equal height with T-molding, safely transitioning down to a lower surface with a reducer, or ensuring a secure and elegant edge on your stairs with stair nose molding, the right piece is available. Modern materials like vinyl and LVP now come with their own dedicated molding systems, ensuring a perfect match in both color and durability for contemporary flooring projects.
From Theory to Practice: Making Your Final Selection
The ultimate decision rests on a few key factors: the type of flooring you have, the architectural style of your home, and the specific functional need you’re addressing. For instance, the delicate curve of shoe molding might complement the historic charm of a home in downtown Cumming, while a sleek, simple baseboard profile is often better suited for a modern aesthetic.
The material of your molding is just as crucial as its shape. Your choice between MDF, solid wood, or vinyl will impact not only the final look but also the molding’s durability and resistance to moisture. The selection of your primary flooring material is the first critical step; for example, understanding the best flooring for different homes can guide you toward compatible molding options that will stand up to your household’s unique demands.
Key Takeaway: Your floor molding is a functional necessity and a design opportunity. By carefully selecting the right profile and material, you elevate your flooring from a simple surface to a fully integrated and beautifully finished design element.
Ultimately, mastering these concepts empowers you to make informed decisions that protect your investment and enhance your home’s value. Don’t underestimate the impact of these finishing details. They are the hallmark of a well-executed flooring installation, turning a good project into a great one and ensuring your space looks cohesive and complete for years to come.
Ready to find the perfect molding to complete your flooring project? The experts at Flacks Flooring have the deep product knowledge and design expertise to guide you through every option. Visit our showroom to see these different types of floor molding firsthand and receive personalized recommendations for your Forsyth County home.