
Thinking about installing your own vinyl flooring? You absolutely can. It's one of the most rewarding and straightforward home improvement projects you can tackle, even with little experience. Modern luxury vinyl planks (LVP) and tiles (LVT) are practically designed for the DIYer, with simple click-lock systems that snap together without any messy glue or nails.
The result? A professional-looking floor for a fraction of what you’d pay an installer.
Why Vinyl Flooring Is a Great DIY Choice
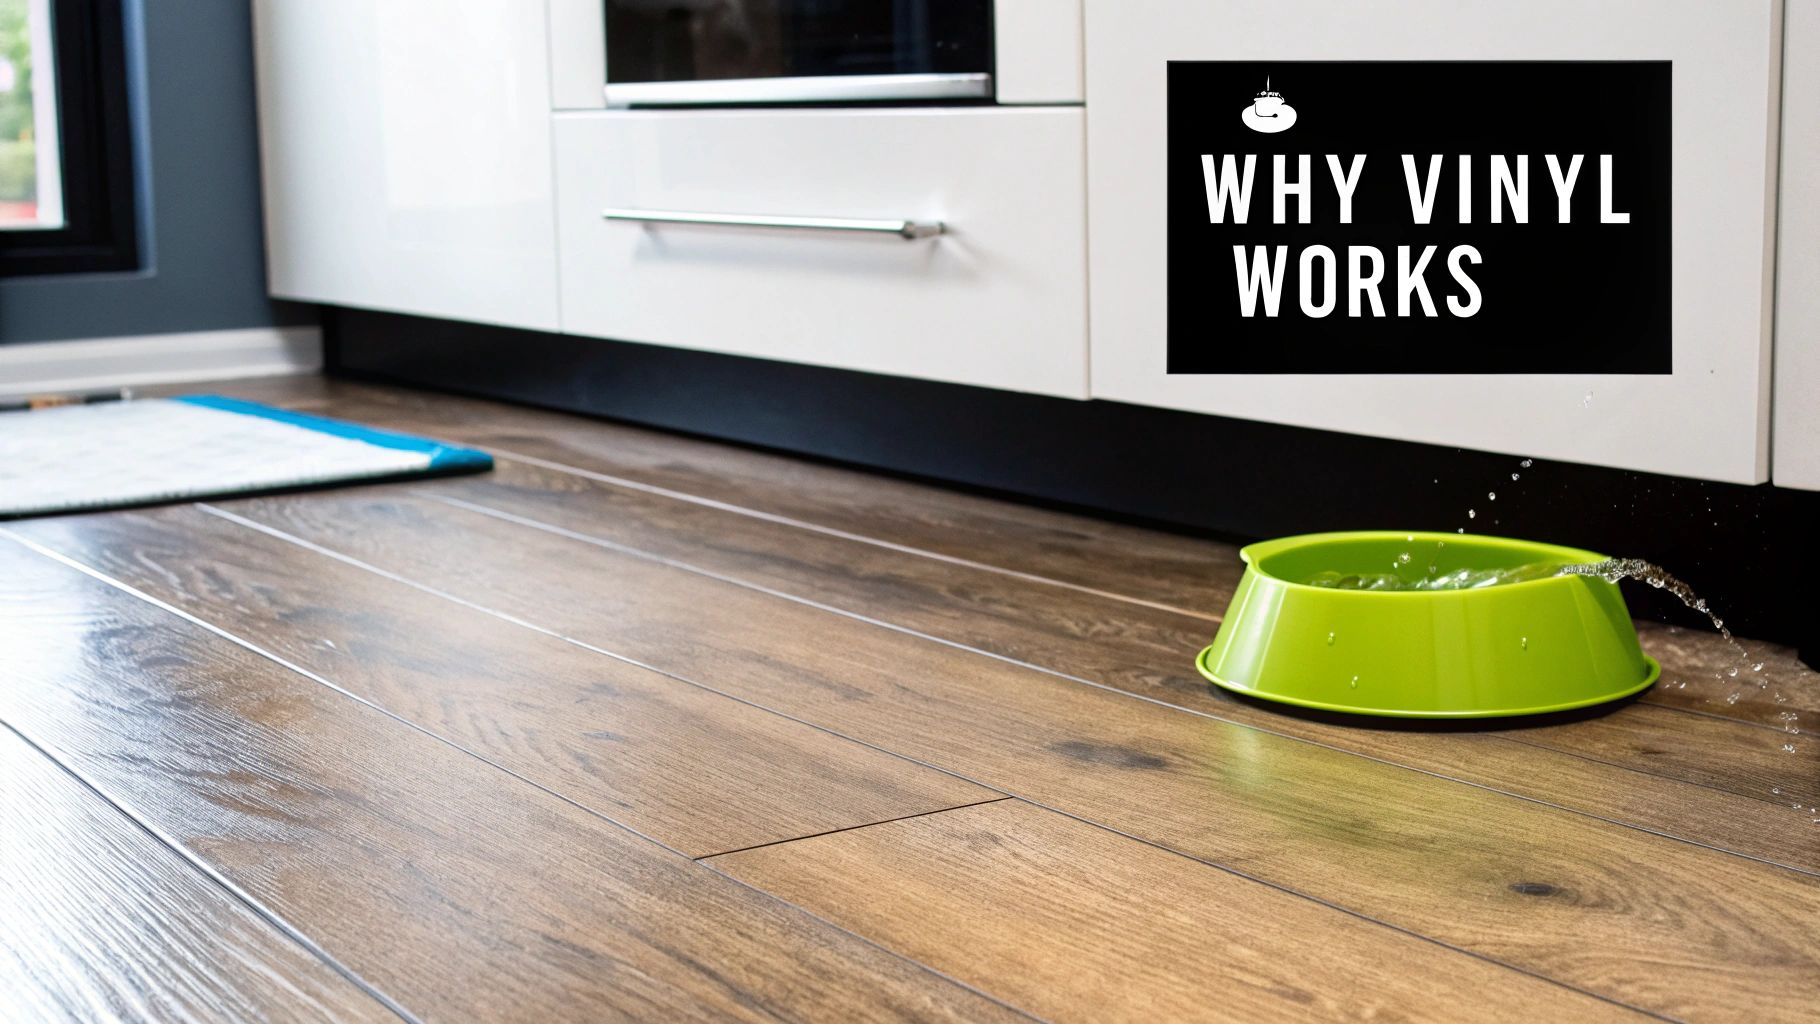
Going the DIY route with vinyl is about more than just saving a few bucks on labor. You're choosing a material that's incredibly tough, stylish, and—most importantly—forgiving for first-timers. Forget the cheap, plastic-y linoleum of the past. Today’s vinyl flooring is a high-performance product that does an amazing job of mimicking natural materials.
It's Durable and Looks Deceptively Real
Thanks to some pretty incredible 3D printing technology, modern Luxury Vinyl Plank (LVP) and Luxury Vinyl Tile (LVT) have textures and patterns that are almost impossible to tell apart from real hardwood, stone, or ceramic. You get that high-end look without the high-end price tag or the high-maintenance headaches. If you're new to the material, it's worth taking a moment to understand what vinyl plank flooring is and what makes it tick.
This realism doesn't mean it's delicate. Vinyl is built for the chaos of a busy home. Its protective wear layer stands up to scratches, scuffs, and stains from pets, kids, and constant foot traffic, making it a perfect fit for hallways, kitchens, and living rooms.
The real magic of DIY vinyl flooring is its practicality. It gives you the power to completely transform a room with your own hands, using a material that’s truly designed for real life.
The Practical Perks Are Hard to Beat
Beyond its good looks, vinyl flooring solves a lot of common household headaches. Its most famous feature? It's waterproof. Not "water-resistant," but 100% waterproof in the case of most LVP and LVT products. This makes it a no-brainer for rooms where moisture is a constant battle.
You can install it with total confidence in:
- Kitchens: Spills and splashes are just part of the daily routine.
- Bathrooms: It handles humidity and water from tubs and showers without warping.
- Basements: It creates a great barrier against dampness from a concrete subfloor.
People are catching on. The residential demand for vinyl flooring is expected to grow by about 5.2% each year through 2030, driven by homeowners who want stylish, durable, and low-maintenance options that don't break the bank.
And let’s not forget about cleaning. A quick sweep and a damp mop are all you need to keep your floors looking brand new. That means less time scrubbing and more time enjoying your new space.
Vinyl Flooring Types at a Glance
With a few different options out there, it helps to see how they stack up. Here's a quick comparison of the most popular types you'll find for a DIY project.
| Vinyl Type | Best For | Installation Method | Typical Cost (per sq. ft.) |
|---|---|---|---|
| Luxury Vinyl Plank (LVP) | Mimicking hardwood floors in any room, including basements. | Click-Lock (Floating) | $2.50 – $5.00 |
| Luxury Vinyl Tile (LVT) | Replicating stone or ceramic in kitchens and bathrooms. | Click-Lock or Glue-Down | $2.50 – $5.00 |
| Sheet Vinyl | Large, seamless coverage in utility rooms or bathrooms. | Glue-Down | $1.00 – $2.50 |
| Peel-and-Stick Tile | Budget-friendly updates and low-traffic areas. | Self-Adhesive | $1.00 – $2.00 |
For most DIY projects, LVP and LVT are the top contenders because their click-lock systems are so user-friendly and deliver a truly polished, professional finish.
Get Your Plan and Tools in Order
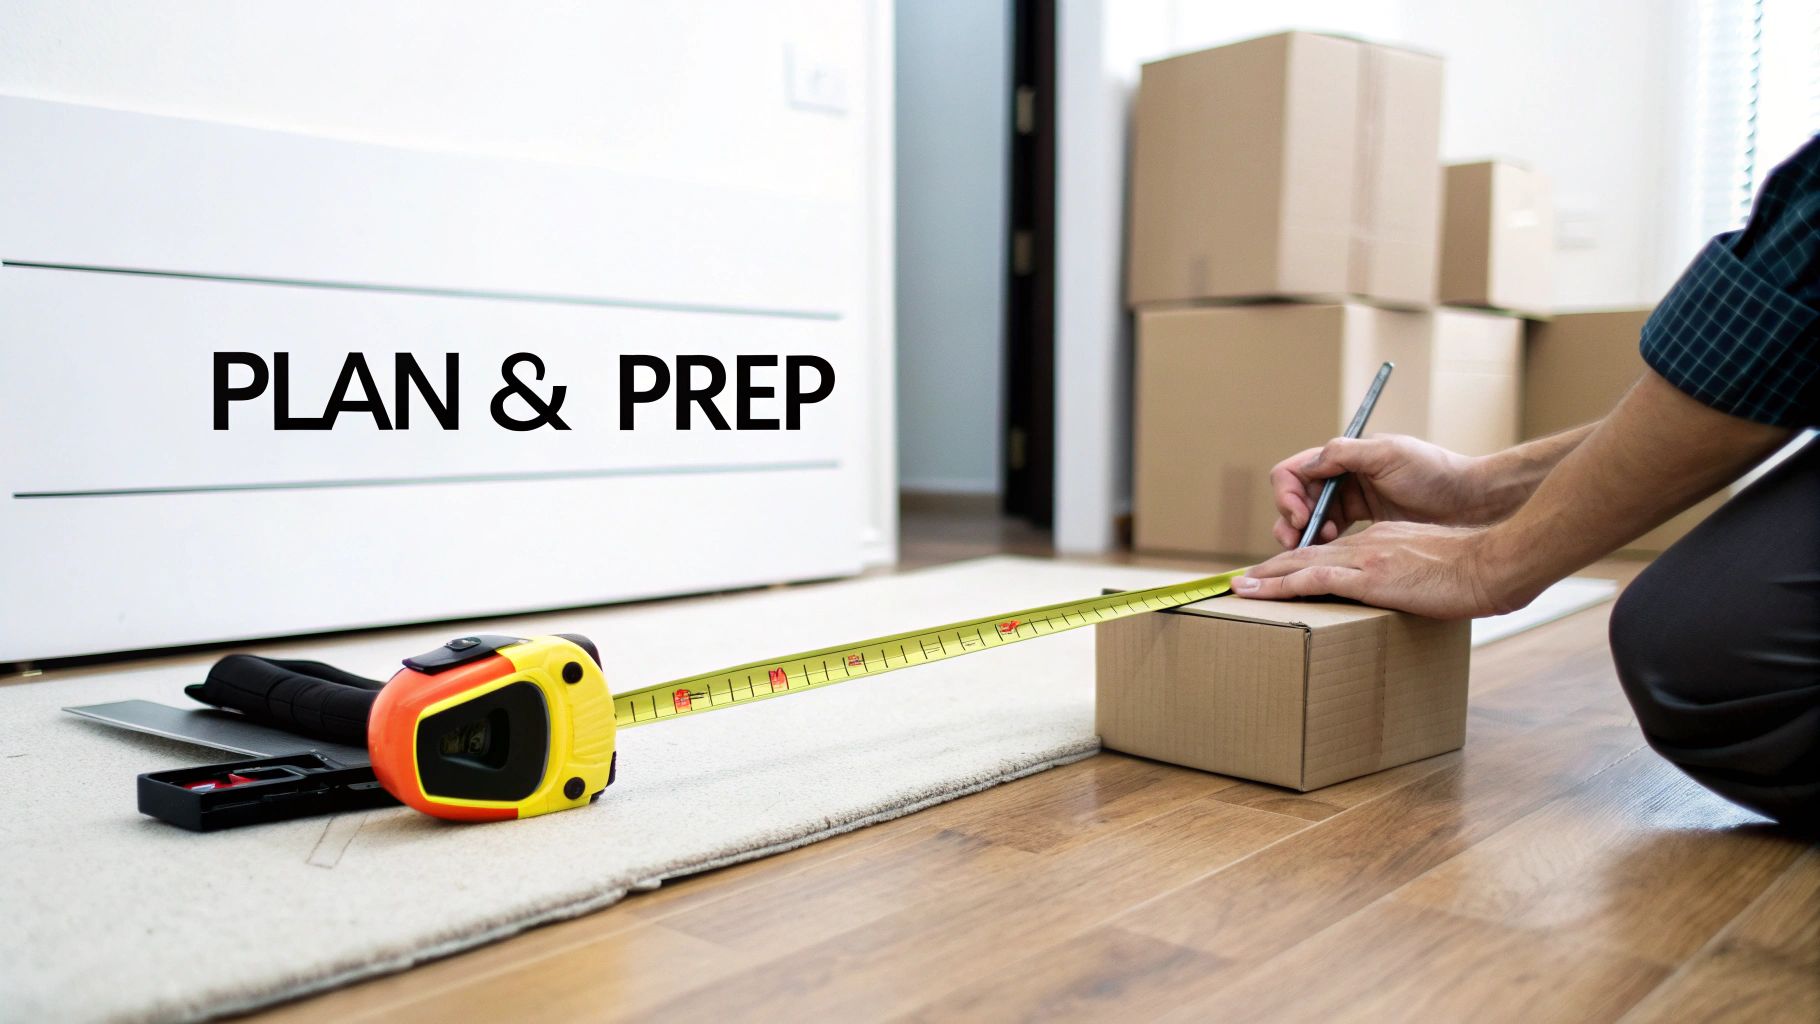
Any successful DIY project starts long before you lay the first plank. The time you spend planning and getting your materials together is what separates a frustrating ordeal from a rewarding weekend project. Honestly, getting this part right makes the actual installation feel surprisingly easy.
The biggest rookie mistake I see is under-ordering the flooring. A quick measurement just doesn't cut it. You have to factor in mistakes, tricky cuts around doorways, and just life. This is where the 10-15% overage rule becomes your safety net.
Calculating How Much Flooring You Really Need
First things first, grab a tape measure and sketch out your room. For a simple square or rectangular space, just multiply the length by the width to get your square footage. So, if your room is 10 feet by 12 feet, you're looking at 120 square feet.
Now for the overage. For a straightforward room, add 10% (12 square feet in our example), which means you need to buy 132 square feet of flooring. If the room has a bunch of weird angles or you're a bit nervous about your first diy flooring vinyl project, do yourself a favor and bump that up to 15%.
Pro Tip: Whatever you do, don't subtract small areas like closets or built-ins from your total. It’s far better to have a few extra planks at the end than to be one short on that final, agonizing row. That leftover box is also a lifesaver if you ever need to replace a damaged plank down the road.
If you're tackling an L-shaped room or one with an alcove, just break it down into smaller, manageable rectangles. Measure each one, add the totals together, then calculate your overage. This simple, methodical approach will save you a headache and a trip back to the store.
The Waiting Game: Why Acclimation Matters
Once you get your beautiful new vinyl planks home, the urge to rip open the boxes and get started is strong. Fight it. Your flooring needs to get used to its new home—specifically, the temperature and humidity levels. This crucial waiting period is called acclimation.
Skipping this step is a recipe for disaster. I've seen it happen. Down the line, you could face:
- Gapping: The planks shrink after you install them, leaving ugly gaps between the seams.
- Buckling: The planks expand, pushing against each other and creating weird humps or peaks in your floor.
Just lay the unopened boxes flat in the room where you'll be installing them for at least 48 hours. This lets the material stabilize and ensures you get that tight, professional-looking fit that will last.
Your DIY Flooring Toolkit
Having the right tools ready to go makes all the difference. While this isn't a massive construction job, a few key items will make your work faster, safer, and much more precise. Before you start, it's worth checking your garage for these essential tools for homeowners.
Here’s a look at what you should have on hand.
Must-Have Tools
- Tape Measure: Absolutely non-negotiable for accurate measurements.
- Utility Knife: A fresh, sharp blade is your best friend for scoring and snapping planks.
- Speed Square: This ensures every cut is perfectly straight and your layout stays square.
- Tapping Block & Pull Bar: These are lifesavers. They protect the plank edges and help you lock the seams tight, especially on that tricky last row against the wall.
- Rubber Mallet: Use this with the tapping block to gently persuade planks into place without damaging them.
- Pencil: For marking all your cuts. Simple, but essential.
Tools That Make Life Easier
- Jigsaw or Multi-Tool: If you have to cut around door jambs, vents, or pipes, one of these is worth its weight in gold.
- Knee Pads: Trust me on this one. Your knees will thank you.
- Vinyl Plank Cutter: This is a step up, but it makes clean, dust-free cuts much faster than any saw.
With your room measured, your flooring acclimated, and your tools at the ready, you’ve laid the groundwork for a smooth installation. Now you’re ready for the most important part of the entire process: prepping the subfloor.
Getting Your Subfloor Ready for a Perfect Finish
Here’s a hard truth every seasoned pro and dedicated DIYer learns, often the hard way: your brand-new vinyl floor is only as good as the subfloor it’s sitting on. This is not the glamorous part of a diy flooring vinyl project, but it is, without a doubt, the most critical. Rushing or skipping subfloor prep is the #1 reason floors fail—leading to those annoying clicking sounds, separating planks, and a floor that just wears out way too fast.
Think of the subfloor as the foundation for your project. You wouldn't build a house on a shaky foundation, and the same logic applies here. Taking the time to get this right is your insurance policy for a floor that looks professional, feels solid underfoot, and lasts for years to come.
See What You’re Working With
Before you can fix anything, you have to know what you're up against. The first move is to get the room completely empty. Pull out all the furniture, then get to work removing the old flooring and baseboards. Once you’re down to the bare subfloor—whether it’s plywood, OSB, concrete, or even old tile—it’s time for a close-up inspection.
Don't be afraid to get on your hands and knees. You're hunting for:
- High and Low Spots: Any significant dips or bumps will eventually show through the new vinyl.
- Cracks or Gouges: These create weak points that can cause problems down the road.
- Loose Panels or Squeaks: If plywood or OSB panels are moving, they need to be secured.
- Moisture Damage: Look for stains, discoloration, or soft spots. These are red flags for bigger problems that must be fixed first.
A long, straight edge, like a 6-foot level, is your best friend here. Lay it across different parts of the floor. If you can slide a dime (about 1/8 inch) under it, that spot needs some attention.
Fixing Common Subfloor Problems
Once you've mapped out the problem areas, you can start making things right. Your goal is simple: get the subfloor clean, flat, and dry. The material you're working with dictates the game plan.
Tackling Wood Subfloors
For plywood or OSB, the usual suspects are high spots, low spots, and movement. You can often knock down high spots, like raised seams between sheets, with a belt sander. For annoying squeaks or loose panels, drive flooring screws down into the joists to lock everything in place.
Pro Tip: Don't use drywall screws! They seem like a quick fix, but they're brittle and can easily snap under the stress of foot traffic. Always grab screws made specifically for flooring—they’re designed to hold tight and keep things quiet.
Dips and low spots need a different approach. You'll want to fill them with a floor patch or embossing leveler. It's a paste-like compound that you trowel into the low area, feathering the edges so it blends seamlessly with the surrounding floor.
Prepping a Concrete Slab
Concrete brings its own set of challenges, especially in basements or on a ground floor. The biggest concern is always moisture. Before you do anything else, run a quick moisture test. Just tape a 2×2 foot square of plastic sheeting to the floor, sealing all four sides. Come back in 24-48 hours. If you see condensation trapped under the plastic, you’ve got a moisture issue and will absolutely need a vapor barrier underlayment.
When it comes to leveling uneven concrete, self-leveling compound is a DIY miracle. You just mix the powder with water, pour it over the low spots, and it naturally spreads out to create a perfectly flat, smooth surface as it cures. If you're facing some serious dips, learning how to level uneven floors is a skill that will pay for itself over and over. For high spots, you can usually rent a concrete grinder to take them down.
Can You Install Over Your Old Floor?
I get this question all the time, and the answer is a solid "maybe." In some cases, you can lay vinyl plank right over an existing hard-surface floor, but only if it checks a few important boxes.
| Existing Floor Type | Can You Install Over It? | Key Considerations |
|---|---|---|
| Ceramic Tile | Yes, often | Must be level, no loose tiles. Grout lines might need to be filled. |
| Sheet Vinyl | Yes, usually | The old vinyl must be a single layer and glued down tight. |
| Hardwood | Yes, with caution | The wood needs to be solid, flat, and free of moisture problems. |
| Laminate | No | Never install a floating floor on top of another floating floor. |
| Carpet | Absolutely Not | Always rip out carpet and the padding underneath. No exceptions. |
If you decide to go over ceramic tile, your main hurdle will be the grout lines. Deep grout lines can "telegraph" through the new vinyl over time, creating faint lines where the grout used to be. The fix is to skim-coat the entire tile surface with an embossing leveler. This fills in the grout lines and gives you one perfectly flat plane to work on. It's a small extra step that makes a world of difference.
Installing Planks and Making Clean Cuts
This is the moment of truth. All that prep work pays off now, as you finally get to see your new floor come to life. With a clean, flat, and dry subfloor ready to go, you can start laying planks. The secret to a pro-level finish isn't speed—it's starting straight and thinking one step ahead.
Laying That All-Important First Row
The first row you lay is everything. It dictates the alignment for the entire room, so it has to be perfect. Never, ever trust that your wall is straight. Spoiler alert: it's not. Grab your tape measure, mark a few points out from the wall, and snap a chalk line. This is your new "straight" guide.
A little math right now will save you a world of hurt later. Measure the width of the room and divide it by the width of a single plank. Why? Because this tells you how wide your very last row will be. If you're left with a tiny, awkward sliver (anything less than a third of a plank's width), you'll want to adjust. The pro move is to rip your first row down a bit. This way, your first and last rows will be similar in size, giving the whole room a balanced, deliberate look.
The Score-and-Snap Method for Straight Cuts
Forget about lugging a miter saw in and out of the room. For most of your cuts, all you need is a utility knife and a square. The "score and snap" method is the go-to for DIY flooring vinyl projects because it's fast, clean, and ridiculously easy to master.
Here’s all there is to it:
- Measure and Mark: Use your tape measure and a pencil to mark your cut line on the plank.
- Score the Line: Line up a speed square with your mark and press down firmly with your utility knife, scoring a single, clean line across the plank's surface. You’re not trying to cut through it, just create a deep groove.
- Snap It: Just apply a bit of pressure, and the plank will snap cleanly along your scored line.
This technique is perfect for the straight cuts you'll make at the end of each row. It’s quiet, makes zero dust, and you can do it right there on the spot.
Stagger Your Seams for a Natural Look
You want your floor to look like real wood, not a grid. To do that, you have to stagger the seams. This just means you avoid having the short ends of the planks line up with the ones in the next row, which creates an unnatural "H" pattern. You're aiming for a random, organic layout.
A good rule of thumb is to keep the seams in adjacent rows at least 6-8 inches apart. An easy way to do this (and reduce waste) is to use the leftover piece you cut from the end of one row to start the next one—as long as it’s a decent length. Understanding how the planks connect is also a big help. If you're new to this, our guide on what click-lock vinyl flooring is breaks down the mechanics.
Key Takeaway: A staggered floor doesn't just look better; it's also structurally stronger. By distributing the seams, the interlocking planks reinforce each other, creating a more stable and durable floor.
Tackling Tricky Cuts Around Obstacles
Sooner or later, you'll hit a doorway, a vent, or some pipes. Don't panic. These obstacles are what separate a decent DIY job from a great one, and they're easier to handle than you think.
For door jambs, the cleanest finish comes from undercutting the frame. Take a scrap piece of your flooring, lay it against the jamb, and rest a handsaw or multi-tool flat on top of it. Cut straight through the bottom of the wood. Now you can slide your new plank right underneath for a seamless, professional fit. No ugly gaps.
When you run into a vent or pipe in the middle of a plank, templates are your best friend.
- Grab a piece of paper and trace the outline of the obstacle.
- Transfer the template to your plank.
- Use a jigsaw to carefully cut out the shape.
It's this kind of workability that has fueled the vinyl flooring explosion. The global market was valued at around USD 55.58 billion in 2024 and is expected to hit USD 116.83 billion by 2033. That incredible growth comes from the material's versatility and its uncanny ability to mimic natural materials, making it a top choice for homes and businesses alike.
Sometimes, installation doesn't go as smoothly as planned. Here’s a quick troubleshooting guide for common hiccups.
Common Installation Problems and How to Fix Them
| Problem | Likely Cause | Quick Fix |
|---|---|---|
| Planks won't click together | Debris in the locking mechanism or planks are at the wrong angle. | Check the grooves for any dirt or dust. Try connecting the planks at a slightly higher or lower angle until you feel it lock in. |
| Gaps are appearing between planks | Subfloor isn't perfectly flat, or the first row wasn't straight. | Use a tapping block and mallet to gently tap the planks together. For larger issues, you may need to pull up a section and re-level the subfloor. |
| Floor feels spongy or bouncy | Significant dips or high spots in the subfloor. | The affected area needs to be pulled up. Use a self-leveling compound for low spots or sand down high spots before reinstalling. |
| Corners or edges are lifting | Plank wasn't fully seated, or the subfloor is uneven right at the edge. | Apply firm pressure to see if it will click into place. If not, you may need to use a small amount of flooring adhesive under the corner. |
Getting these things right from the start is what makes all the difference.
This infographic is a great visual reminder of those foundational prep steps we covered.
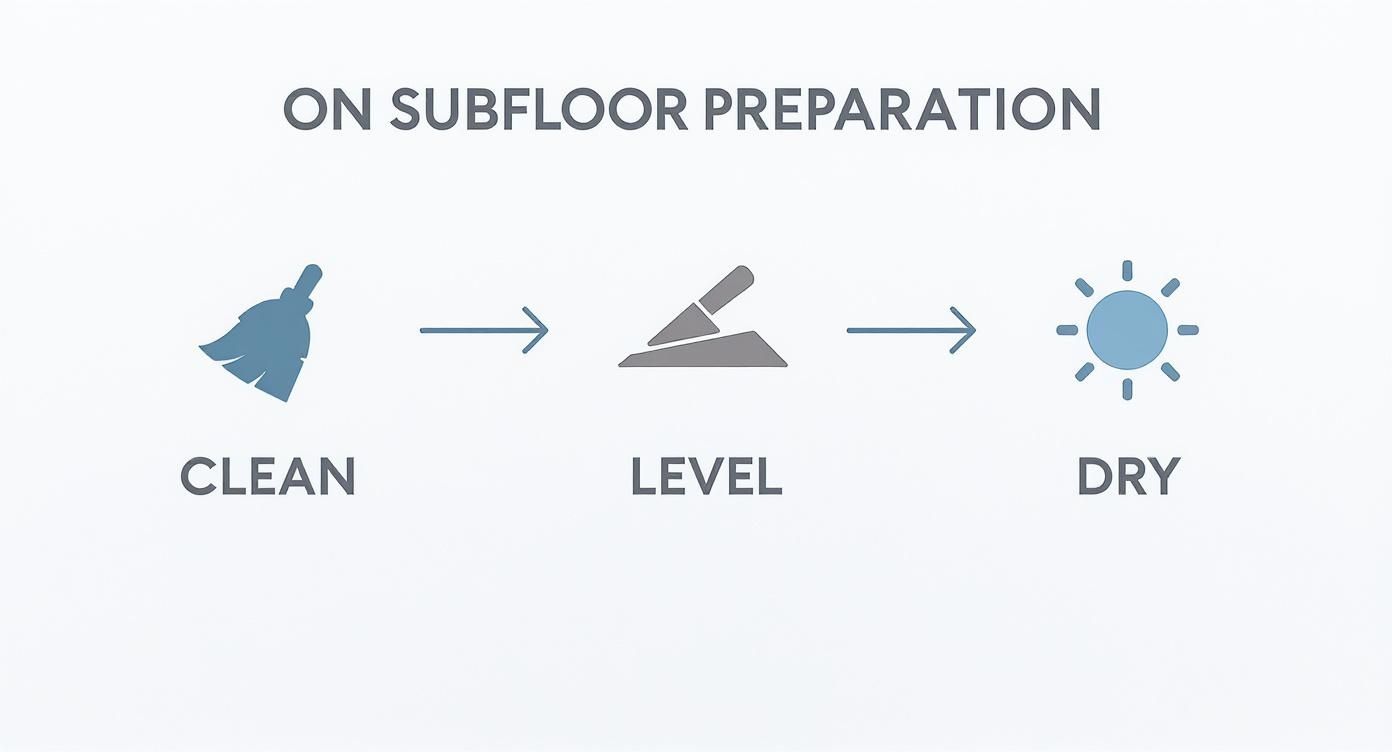
Remembering to keep the subfloor clean, level, and dry is non-negotiable. The quality of your final floor is a direct reflection of the quality of your prep work.
Putting on the Final Touches and Long-Term Care
With all the planks clicked into place, the toughest part is over. Now it's all about the details—the finishing work that takes your floor from looking like a good DIY job to a truly professional installation. These last steps are crucial for creating clean lines, seamless transitions, and ensuring your floor has a long, happy life.
The first order of business is to address the expansion gap you left around the room's perimeter. This is where your trim work comes in.
Installing Baseboards and Molding
You've got a couple of paths you can take here. You can either carefully reinstall the old baseboards you pried off, or you can go for a totally fresh look with new ones. If your old trim is in decent condition, putting it back is a great way to save a bit of cash.
If you're going new, cutting clean corners is the name of the game. Nothing beats a miter saw for this. It lets you slice those perfect 45-degree angles for both inside and outside corners, making everything fit together like a puzzle.
A few tips from the trenches for a flawless finish:
- Measure Twice, Cut Once: It’s a cliché for a reason. Double-check your wall measurements before a single piece of wood meets the blade.
- A Nail Gun is Your Friend: You can definitely use a hammer and finish nails, but a brad nailer is faster, easier, and leaves much smaller holes to fill later.
- Caulk for a Seamless Look: Once the baseboards are on, run a thin bead of paintable caulk along the top edge where it meets the wall. This tiny step hides any small gaps and makes the trim look like it was built right in.
Sometimes, you might find a small, persistent gap between the bottom of your baseboard and the new floor. Don't sweat it. This is exactly what quarter-round or shoe molding was made for. This small, flexible trim fits snugly into that corner, covering up any little imperfections perfectly.
Creating Seamless Transitions
Your new floor has to meet up with the rest of the house, and you want those meeting points to be smooth and safe. Transition strips are designed to bridge the gap between different flooring types, preventing trips and protecting the edges of your planks.
Think of transition pieces as non-negotiable. They manage height differences between floors and shield the exposed edges of your vinyl from chipping and damage over time.
You'll run into a few common situations:
- Connecting to Carpet: Look for a transition strip with a toothed edge that bites into the carpet, holding it securely.
- Meeting Another Hard Surface: A T-molding is the go-to for joining your vinyl to another floor of the same height, like hardwood or tile.
- Handling Height Differences: A reducer strip creates a gentle slope down to a lower floor, like old sheet vinyl or a concrete slab.
These strips usually come with a metal track that you screw directly into the subfloor. The decorative top piece then just snaps right in, hiding all the hardware.
Long-Term Care and Maintenance
One of the best things about your new diy flooring vinyl is how tough it is, but a little routine care will keep it looking brand new. The good news? It’s incredibly easy. That protective wear layer on top does most of the hard work for you.
Proper aftercare is just as important as the installation itself. If you're looking for general advice on maintaining surfaces, you might find some good care tips for laminated products helpful.
For day-to-day cleaning, a quick pass with a soft-bristle broom or a vacuum (on the hard floor setting!) is all you need. For a deeper clean, a damp mop and a pH-neutral floor cleaner are perfect. Just be sure to avoid harsh chemicals, wax-based polishes, or steam mops, as they can dull or damage the finish.
Here's the single best piece of advice I can give you: put felt pads on the bottom of all your furniture. This cheap and easy trick is your number one defense against scratches from moving chairs, tables, and couches.
This blend of durability and easy care is why the vinyl flooring market is booming. The global market was pegged at USD 38.94 billion in 2024 and is expected to climb to USD 82.85 billion by 2032, all thanks to homeowners who want style that can stand up to real life. You can check out more on vinyl flooring's market growth at databridgemarketresearch.com.
Got Questions About Your DIY Vinyl Flooring Project?
Tackling a DIY flooring vinyl project for the first time? It's natural to have questions. Getting the right answers now will save you a ton of headaches later and give you the confidence to do the job right. Let's walk through some of the most common things people ask.
Can I Just Lay Vinyl Planks Over My Old Floor?
Good news—in many cases, yes! This is one of the biggest time-savers when it comes to vinyl. You can usually install modern floating vinyl planks right over existing hard surfaces like ceramic tile, old sheet vinyl, or hardwood.
The catch is that the old floor has to be in solid shape. It needs to be secure, clean, and flat. If you've got a wobbly tile or a creaky hardwood board, you've got to fix that first. For tile floors, if your grout lines are deep, you'll want to skim-coat the surface with an embossing leveler. It's an extra step, but it prevents those lines from telegraphing through your beautiful new floor down the road.
Here's the golden rule: You can never install vinyl over soft flooring like carpet. The carpet and pad have to come out, no exceptions. It’s also a really bad idea to install a floating floor (like vinyl) over another floating floor (like laminate), as it can cause instability and movement issues.
What's This "Expansion Gap" I Keep Hearing About?
An expansion gap is simply a small space you leave around the edge of the entire room. We’re usually talking about 1/4 inch (or 6mm). This gap should be between the edge of your vinyl planks and any fixed object—walls, door jambs, kitchen islands, you name it.
It might seem small, but that little gap is incredibly important. Vinyl, like pretty much any material in your house, expands and contracts with temperature and humidity changes. Without that breathing room, the planks can push against the walls and each other, causing the floor to buckle, warp, or even pull apart at the seams.
And don't worry, you won't see it when you're done. The gap gets completely covered up by your baseboards or new quarter-round molding, leaving you with a perfectly clean, professional-looking finish.
How Do I Keep My New Vinyl Floor Looking Good?
This is the easy part. One of the best things about vinyl is how simple it is to maintain. No fancy cleaners or equipment needed.
A quick sweep with a soft broom or a pass with a vacuum is all you need for daily cleaning. Just be sure to set your vacuum to the hard floor setting and turn off the beater bar—that spinning brush can scratch the finish over time.
For a deeper clean, a damp mop and a pH-neutral cleaner mixed with water are all it takes. Just wring the mop out well so you're not leaving puddles. To protect that top wear layer for years to come, make sure to avoid a few things:
- Abrasive scouring pads or steel wool. These will absolutely scratch the surface.
- Harsh chemicals like bleach or ammonia, which can dull the finish.
- Waxes and oil-based polishes. They don't make it shine; they just leave a sticky, dull film.
- Steam mops. The intense heat can damage the plank’s locking system and adhesives.
Oh, and the best tip I can give you? Put felt pads on the bottom of all your furniture legs. It's a cheap and easy trick that will prevent countless scratches from sliding chairs and tables.
Ready to find the perfect flooring for your next project? The team at Flacks Flooring has over 30 years of experience helping homeowners in Cumming, Johns Creek, and throughout Forsyth County. Explore our selection of high-quality waterproof and hardwood flooring to get started. Visit our showroom or schedule an in-home consultation at https://flacksflooring.com.