
A flooring moisture barrier is a protective membrane laid between your subfloor and your new flooring. It’s designed to stop moisture vapor from seeping up and destroying your investment.
Think of it as a top-tier raincoat for your foundation. It’s your first, and most important, line of defense against the warping, buckling, and mold that can ruin beautiful floors.
Your Floor’s First Line of Defense Against Moisture
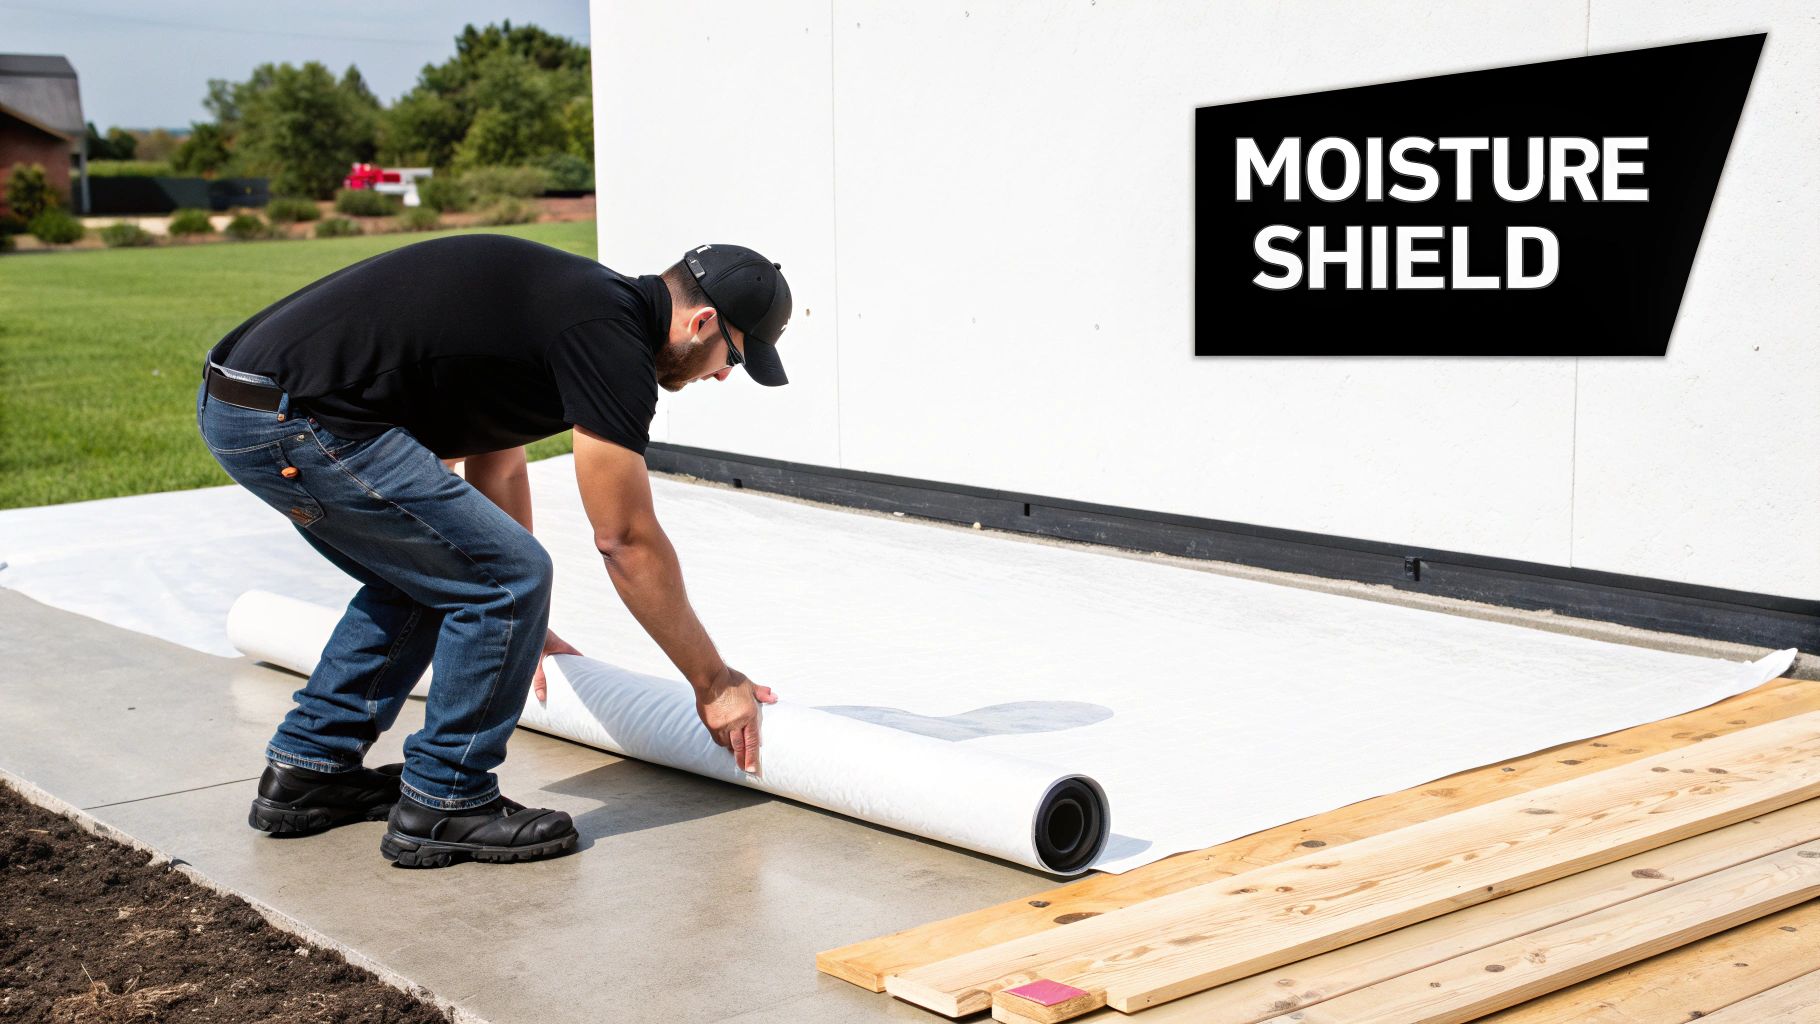
Picture your gorgeous new hardwood or luxury vinyl floors. Now, imagine a hidden enemy: water vapor, silently rising from the concrete slab below. Here in the humid climate of Cumming and Forsyth County, this isn’t a possibility—it’s a constant reality. This invisible force is all it takes to make your stunning new floors warp, swell, and even harbor mold.
A flooring moisture barrier is the crucial shield that stands between your floors and that persistent threat. It isn’t just a nice add-on; it’s a non-negotiable part of any healthy, long-lasting flooring system in our part of North Georgia.
Why Moisture Barriers Are So Important
Believe it or not, concrete is a lot like a sponge. It’s porous and slowly releases moisture vapor over time, a process called vapor transmission. In a high-humidity environment like ours, this process kicks into overdrive. A moisture barrier stops this cold, keeping the space right under your floors dry and stable.
This protection is absolutely vital for several reasons:
- Prevents Floor Damage: It’s what keeps hardwood from cupping, laminate from swelling at the seams, and flooring adhesives from breaking down.
- Inhibits Mold Growth: By cutting off the moisture supply, you take away the one thing mold and mildew need to grow and create an unhealthy home.
- Preserves Your Warranty: Most flooring manufacturers require a proper moisture barrier over concrete subfloors. Skipping it will almost certainly void your warranty.
A common mistake is thinking “waterproof” flooring doesn’t need a barrier. While the planks themselves might resist water, the seams and locking systems aren’t invincible. Constant vapor pressure from below can still compromise the installation, and trapped moisture can lead to a musty, unhealthy situation.
Here’s a quick breakdown of what a moisture barrier really does for your home.
Moisture Barrier At a Glance What It Does and Why It Matters
| Key Aspect | What It Means for Your Floors |
|---|---|
| Blocks Vapor Transmission | Stops invisible moisture from your concrete slab from reaching the flooring material. |
| Prevents Structural Damage | Protects against warping, cupping, buckling, and swelling of your floorboards. |
| Inhibits Mold & Mildew | Eliminates the damp conditions needed for unhealthy mold to grow beneath your floors. |
| Stabilizes Adhesives | Ensures that the glue used to install your floors doesn’t fail due to moisture. |
| Maintains Warranty | Fulfills a critical requirement set by most major flooring manufacturers. |
As you can see, this simple layer plays a huge role in the success of your flooring project.
The secret is out. More and more homeowners and contractors are recognizing this as an essential step. The global market for floor moisture barriers has ballooned into an industry valued at around $2.47 billion. It’s even projected to hit $4.18 billion by 2032, which just goes to show how critical this protection has become.
Protecting your home from moisture is a foundation-to-roof concern. Just as your floors need a barrier from below, your roof needs one from above; for example, learning how torch down roofing offers a powerful defense against persistent moisture shows just how important this concept is for protecting the entire home. What happens under your feet is just as important as what happens over your head.
How to Assess Your Home’s Moisture Risk
Before you can pick the right shield for your floors, you’ve got to know what you’re fighting. Not every home here in Cumming or Forsyth County has the same moisture problems, so figuring out your specific risk is step one. You can’t solve a problem you haven’t properly measured.
Often, the biggest troublemakers are the ones you can’t see. Moisture lurks in concrete subfloors, hides in crawl spaces, and even hangs in the air. Around North Georgia, our famous humidity means concrete slabs—especially in basements or on-grade foundations—are constantly wicking moisture up from the ground.
This is exactly why professional moisture testing isn’t just a “nice-to-have.” It’s essential. Skipping this step is like a doctor writing a prescription without a diagnosis; you’re just gambling with the health of your brand-new floors.
Decoding the Data from Moisture Tests
When a flooring pro starts talking about testing your subfloor, they’re gathering critical intel to protect your investment. Think of these tests as a “weather report” for your concrete, telling us precisely what your new flooring will be up against day in and day out.
There are two main professional tests, and each gives us a different piece of the puzzle:
- Relative Humidity (RH) Testing: This is the gold standard today. We drill a small hole, insert a probe, and measure the moisture inside the slab. The RH reading tells us the internal moisture level, which is a fantastic predictor of how your flooring will behave once it’s sealed on top.
- Moisture Vapor Emission Rate (MVER) Testing: You might hear this called a calcium chloride test. It measures how much moisture vapor is actually coming out of the concrete’s surface over 24 hours. This tells us the rate of flow—how hard that moisture is pushing up against your flooring’s backing and adhesive.
Here’s a simple way to look at it: RH testing tells you how much water is in the sponge (your concrete), while MVER testing tells you how fast water is evaporating from the sponge’s surface. You really need both for a complete picture.
Why This Data Is Your Best Defense
Once you have these numbers, you can have a real, productive conversation with your flooring contractor. Asking, “What were the RH and MVER readings?” puts you in the driver’s seat and keeps your installation team accountable. A true professional won’t just give you the numbers; they’ll explain what they mean for your project. You can dive deeper into this process in our guide on how to test concrete for moisture.
For instance, a high RH reading might mean we need a seriously tough, low-permeance moisture barrier. A high MVER number could change the entire game, dictating which adhesive—if any—can be used. This data-first approach takes the guesswork out of the equation and prevents those heartbreaking, expensive failures down the road. Understanding the top 5 causes of water damage in relation to your home’s unique situation is the key to protecting your flooring for years to come.
Choosing the Right Type of Moisture Barrier
Once you have a handle on your home’s specific moisture risk, it’s time to pick the right shield for the job. Flooring moisture barriers aren’t a one-size-fits-all solution; the best choice hinges entirely on your subfloor, the new flooring you’ve picked out, and the unique moisture conditions you’re up against.
Think of it this way: you wouldn’t use a rain poncho in a hurricane. Selecting the right barrier is just as critical for a long-lasting, worry-free floor. Let’s walk through the most common types we see here in Cumming and Forsyth County to understand where each one really shines.
The Classic: 6-mil Polyethylene Sheeting
The old standby for a reason. 6-mil polyethylene sheeting is the most straightforward and common option. Just picture a durable plastic sheet, like a heavy-duty tarp, rolled out over your concrete subfloor before the new floor goes down. Its job is simple: create an unbroken barrier that stops moisture vapor dead in its tracks.
This is an excellent, cost-effective choice for any floating floor—that is, floors that click together and aren’t glued or nailed down. It’s a must-have for:
- Laminate Flooring: The high-fiber core of laminate is like a sponge for moisture, so this barrier is absolutely non-negotiable.
- Floating Luxury Vinyl Plank (LVP): Even though LVP itself is waterproof, this barrier protects the locking mechanisms and prevents that musty smell of trapped moisture from ever developing.
- Floating Engineered Hardwood: The plastic sheet shields the wood from the constant, low-level humidity that concrete slabs release.
The secret to its success is a perfect installation. You have to overlap the seams by at least six inches and tape them securely to create one continuous, impenetrable shield.
The Painted-On Protector: Liquid-Applied Membranes
Now, imagine painting a waterproof jacket directly onto your concrete. That’s exactly what a liquid-applied moisture barrier does. This high-tech product is rolled or troweled on like thick paint and cures into a seamless, monolithic membrane bonded directly to the slab.
This is the go-to solution for any flooring that needs to be glued down. A loose plastic sheet would just get in the way of the adhesive, preventing a solid bond.
A liquid-applied membrane essentially becomes a new, waterproof top layer of the subfloor. This gives the flooring adhesive a perfect surface to grab onto while completely blocking any moisture from creeping up from below. It’s the professional standard for protecting expensive, glue-down hardwood floors.
This is the only real choice for direct-glue hardwood, engineered wood, and some types of luxury vinyl tile. It guarantees the flooring adhesive sticks tight to the barrier, not to a flimsy sheet of plastic.
The All-in-One Solution: Underlayment with a Built-in Barrier
For the ultimate in convenience, you have 2-in-1 or 3-in-1 underlayment. Think of it as the combo meal for your flooring project. These modern products pack multiple functions into one easy-to-install roll.
A typical 3-in-1 underlayment will give you:
- A Built-in Moisture Barrier: The essential vapor protection is already integrated.
- Sound Dampening: A foam or fiber layer deadens the sound of footsteps.
- Cushioning: Adds a touch of comfort and helps smooth out tiny subfloor imperfections.
This is a fantastic, time-saving option for floating floors because it consolidates two or three installation steps into a single one. If you’re looking at LVP, it’s worth exploring different underlayment for vinyl plank options that have this feature built right in.
To help you decide, this chart breaks down the options based on flooring type and installation needs.
Comparing Moisture Barrier Types for Your Flooring Project
Here’s a practical look at these common options to help you see which one fits your project.
| Barrier Type | Best For | Key Advantage | Consideration |
|---|---|---|---|
| 6-mil Poly Sheeting | Floating floors (Laminate, LVP, Engineered Wood) over concrete. | Very affordable and widely available. | Seams must be perfectly overlapped and taped to be effective. |
| Liquid-Applied Membrane | Glue-down floors (Hardwood, Engineered Wood, LVT) over concrete. | Creates a seamless, permanent bond with the slab for superior protection. | More expensive and requires careful, methodical application. |
| 2-in-1 or 3-in-1 Underlayment | Floating floors where sound reduction and comfort are also desired. | All-in-one product simplifies and speeds up installation. | Can be pricier than poly sheeting; ensure the “perm rating” is right for your needs. |
Each type has its place, and the right one ensures your flooring investment is protected from the ground up.
This decision tree gives you a clear visual path for navigating the choice based on your home’s specific subfloor.
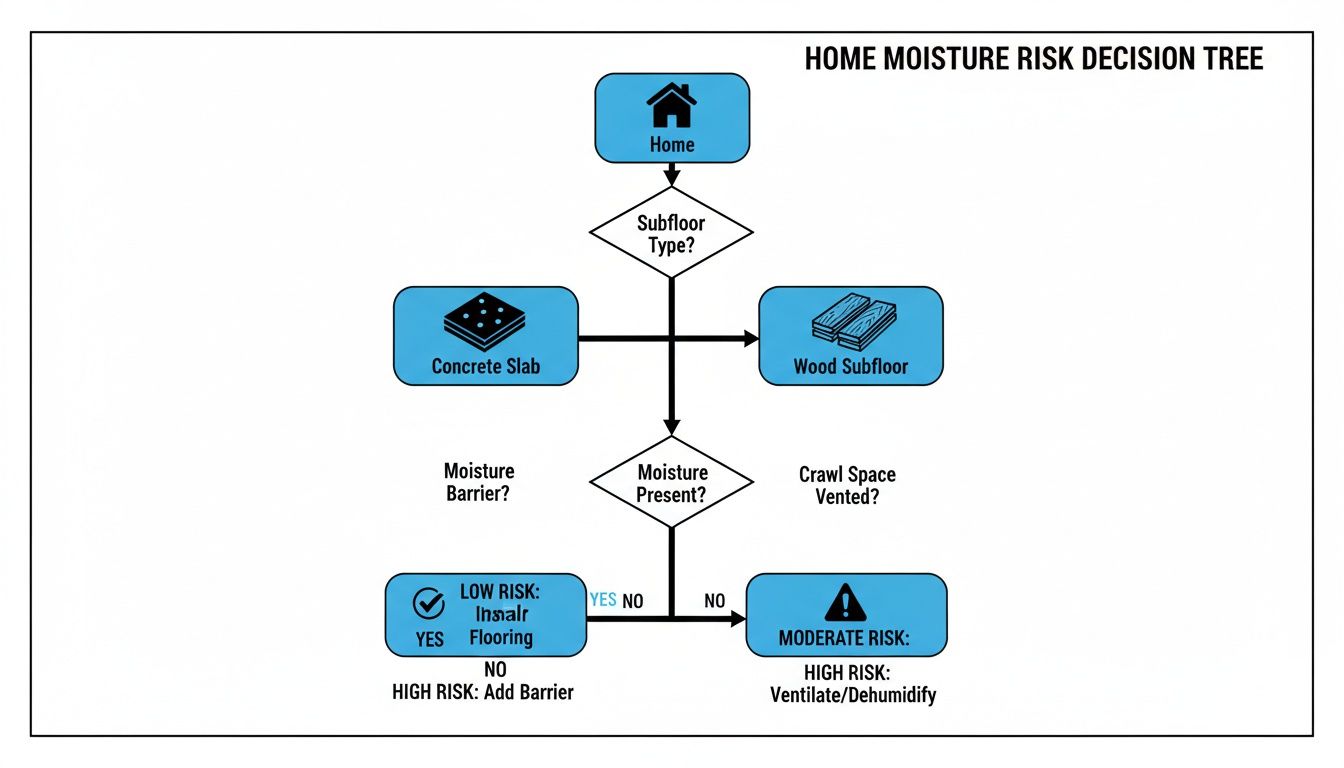
As the guide shows, your subfloor—whether it’s a concrete slab or a wood-framed floor over a crawlspace—is the very first thing to consider when building your moisture protection strategy.
Critical Installation Steps for Lasting Protection
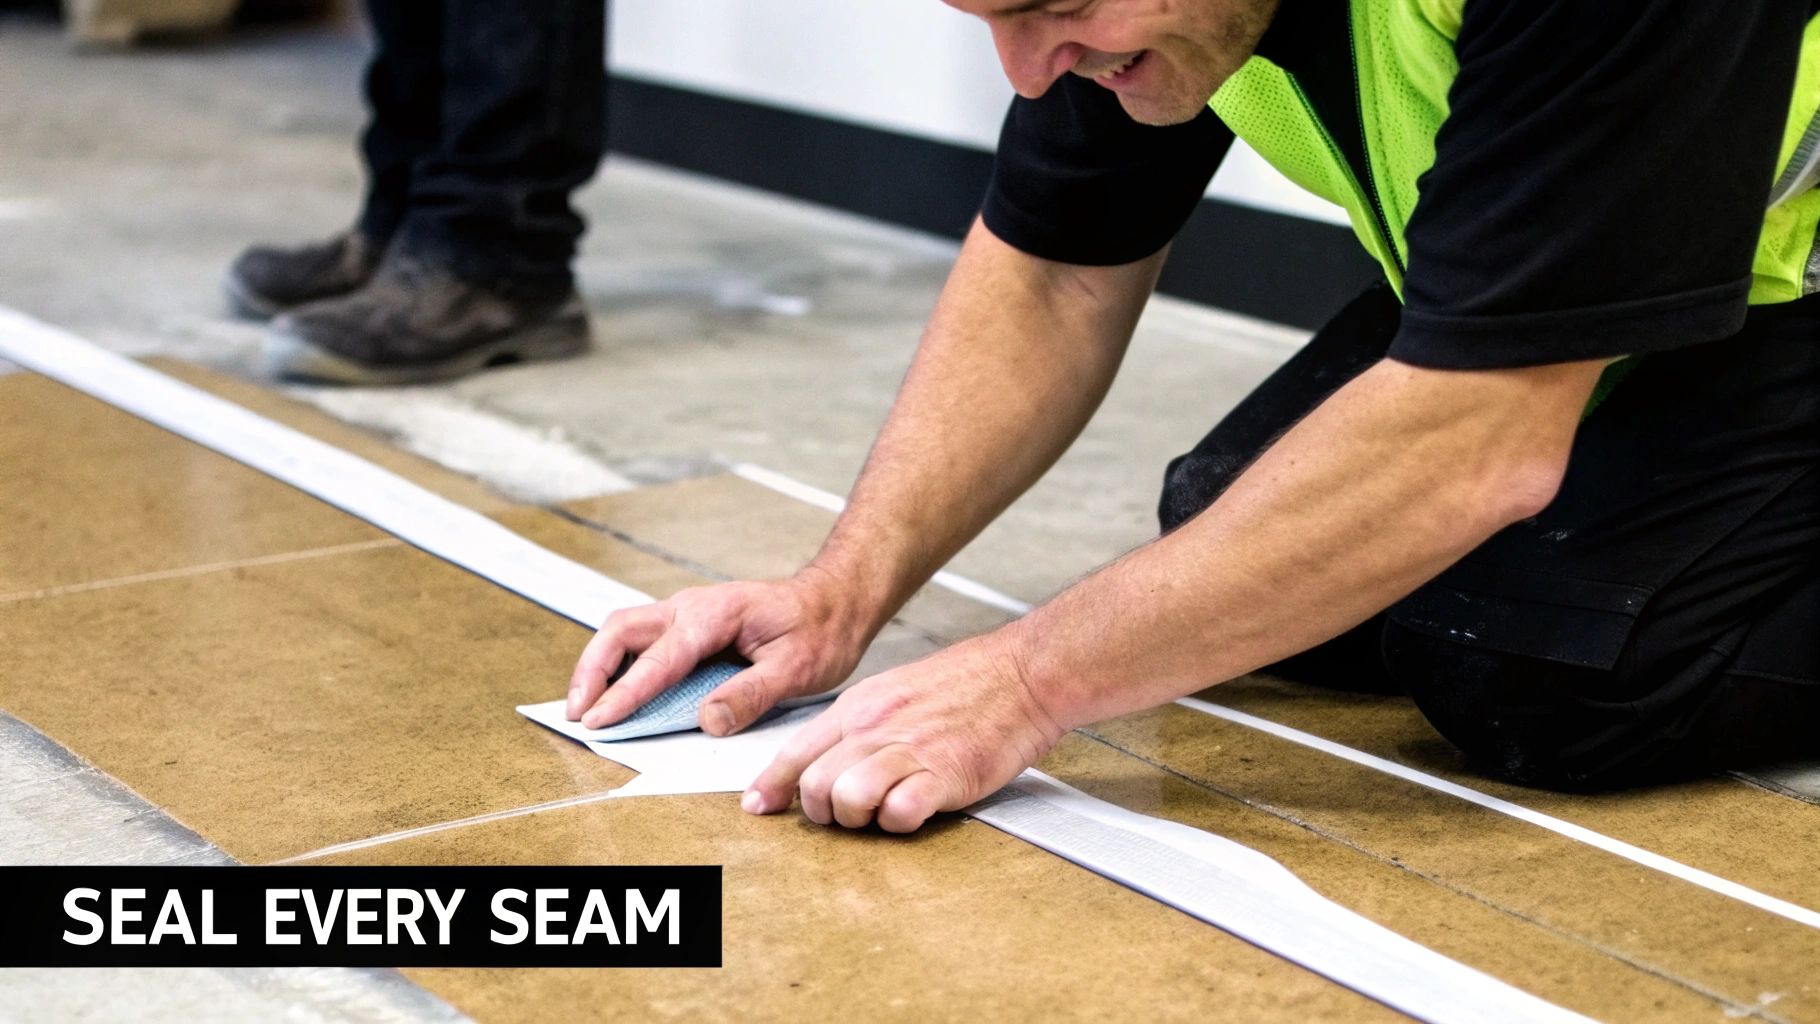
Choosing the right moisture barrier is only half the battle. The other half—the part that actually makes or breaks your floor—is getting the installation right. I can’t stress this enough: even the best, most expensive barrier material is completely worthless if it has a single unsealed seam or the subfloor wasn’t prepped properly. The details aren’t just details; they’re everything.
Think of it like building a submarine. One tiny, missed gap in a seam is all it takes for the whole thing to fail under pressure. It’s the exact same principle for your moisture barrier, which has to stand up to the constant, invisible pressure of water vapor pushing up from the ground and through your concrete slab. Precision is the name of the game.
This is where hiring a true professional pays for itself. An experienced installer knows the “why” behind every step, turning a simple roll of plastic or bucket of goo into a scientifically sound defense for your beautiful new floors.
The Foundation of Success: Subfloor Preparation
You can’t build a strong house on a shaky foundation, and you can’t install a good moisture barrier on a dirty, uneven subfloor. This first step is hands-down the most important, and ironically, it’s the one most often rushed.
Before any barrier material even comes out of the truck, the concrete slab has to be:
- Spotlessly Clean: We’re talking about removing every last bit of dust, debris, old glue, and any paint or curing compounds. Anything left behind can stop a liquid membrane from bonding correctly or create tiny pinholes in a sheet barrier.
- Bone Dry: After a thorough cleaning, the slab needs enough time to dry out completely. Laying a barrier over a damp surface just traps that moisture underneath, creating a five-star resort for mold and mildew.
- Flat and Smooth: Any big cracks need to be filled, and high spots have to be ground down. A rough, jagged surface can easily puncture a sheet-style barrier as it’s being laid out or when the new flooring is installed on top.
Mastering the Art of the Seam
Once the subfloor is prepped and ready, the focus shifts to creating a single, continuous shield. This is where the techniques differ depending on the type of barrier, and it’s also where tiny mistakes can lead to huge headaches down the road.
With polyethylene sheeting, the rules are simple but strict. Every sheet needs to overlap the next by at least 6 to 8 inches. Then, you have to seal that entire overlap with a high-quality tape approved by the manufacturer. The goal isn’t just to tape them together; it’s to basically weld them into one giant, unbroken sheet that vapor can’t sneak through.
When using liquid-applied membranes, it’s all about getting a consistent, even coat with no pinholes. You have to apply the material at the right thickness specified by the manufacturer. If it’s too thin, it won’t offer real protection. Too thick, and it might not cure properly.
It’s not enough to just cover the main floor. A critical step is to run the moisture barrier several inches up the base of the perimeter walls. This creates a sort of “bathtub” effect, stopping moisture from creeping around the edges of the barrier and getting to your flooring from the sides.
The demand for these careful, professional installations is skyrocketing. The flooring underlayment market, which includes these essential barriers, was recently valued at USD 3.5 billion. It’s projected to climb to USD 5.8 billion by 2032, which tells you that proper moisture protection is no longer an optional upgrade—it’s becoming the standard. You can dig into the numbers in this flooring underlayment market report.
At the end of the day, a moisture barrier is a complete system, not just a product off a shelf. Every overlap, every seam, and every edge has to work together perfectly. Cutting corners on prep or rushing the installation is a gamble that almost never pays off, making a professional job the smartest way to protect your flooring investment for years to come.
Common Moisture Barrier Mistakes to Avoid
Putting in a flooring moisture barrier is one of the smartest things you can do for your home, but one simple mistake can make it completely worthless. Learning from the most common pitfalls will save you from the nightmare of a failed floor and thousands in repairs. These slip-ups might seem small, but they can lead to some serious damage down the road.
Think of your moisture barrier like the hull of a boat. A single tiny hole or an unsealed seam is all it takes for water to get in and cause major problems. The same idea applies here—attention to detail isn’t just a goal, it’s an absolute must. Let’s walk through the most frequent, and costly, mistakes that homeowners and even some contractors make.
Skipping the Moisture Test Before You Start
By far, the single biggest mistake is assuming you don’t need to test the subfloor. A lot of people think that just because a concrete slab looks and feels dry, it’s good to go. That’s a huge gamble, especially here in Georgia where our humid climate means concrete is constantly wicking moisture up from the ground.
Without a proper RH or MVER test, you’re just guessing. You have no real data on how much moisture vapor your barrier actually needs to block. This often leads to picking a barrier that can’t handle the load and gets overwhelmed, causing your floors to cup, the adhesive to fail, or mold to start growing within months. Always, always insist on a documented moisture test before a single plank of flooring is laid.
Picking the Wrong Barrier for Your Flooring
Not all moisture barriers are created equal, and choosing the wrong one for your specific flooring is a classic blunder. It’s like bringing a rain poncho to a hurricane—you’re just not equipped for the conditions.
A perfect example is laying down basic 6-mil plastic sheeting under a glue-down hardwood floor. The adhesive has nothing to grab onto except a loose piece of plastic, which is a guaranteed recipe for failure.
- The Mistake: Using a simple poly sheet for a glue-down application.
- The Solution: Glue-down floors demand a liquid-applied membrane. This product bonds right to the concrete, creating a seamless, waterproof surface that the flooring adhesive can firmly grip.
Your flooring manufacturer’s warranty is your safety net, but it has rules. Using the wrong type or thickness of moisture barrier is one of the fastest ways to void that warranty, leaving you on the hook for the entire replacement cost.
Botching the Seams and Edges
Even if you choose the perfect barrier, a sloppy installation will ruin the whole project. Tiny gaps, unsealed overlaps, and punctures might seem like no big deal, but they become direct pathways for moisture vapor to get to your beautiful new floors.
Here are the most common installation errors we see:
- Not Overlapping Enough: When using sheet barriers, the seams have to overlap by at least six to eight inches. Anything less creates a weak point just waiting to let moisture through.
- Using the Wrong Tape: Grabbing a roll of duct tape won’t cut it. You need a specific, high-quality tape designed for moisture barriers, and you have to press it down firmly along the entire seam.
- Forgetting the Perimeter: The barrier needs to run a few inches up the walls, creating a shallow “bathtub” shape. If you stop it right at the edge of the floor, you’re inviting moisture to sneak in from the sides.
This focus on careful, detailed installation is becoming a global standard. Construction in humid areas, like the booming Asia-Pacific region, has reinforced just how vital these best practices are. This trend highlights a worldwide shift toward better moisture control, a standard that any quality contractor in Cumming should be following. You can find more about this global trend in construction on datainsightsmarket.com.
By steering clear of these common mistakes, you can be sure your floor is protected by a continuous, unbroken shield that will last for years.
Ensuring Your Flooring Investment Is Protected
We’ve covered a lot of ground, diving deep into the world that exists right under your feet. From understanding how invisible water vapor can wreak havoc on a brand-new floor to picking the right shield for the job, one thing should be crystal clear: a flooring moisture barrier isn’t just an optional add-on. It’s the absolute foundation of a lasting installation.
Protecting your flooring really boils down to getting a few key things right. It all starts with professional moisture testing to get an honest picture of your subfloor’s condition. From there, it’s about matching the right barrier to your specific floor—whether that’s a simple poly sheet for a floating floor or a high-performance liquid membrane for a glue-down hardwood.
And finally, it all comes together with a careful, professional installation where every seam and edge is sealed tight.
Your Next Step Toward a Secure Floor
Making the right choices upfront gives you something invaluable: peace of mind. You can relax knowing your investment is safe from the unique humidity and moisture challenges we see right here in Cumming, GA, and Forsyth County. This is about more than just dodging expensive repairs; it’s about keeping your home beautiful, healthy, and valuable for the long haul.
The success of your flooring project rests on the foundation it’s built upon. A properly tested subfloor and a professionally installed moisture barrier are the two most important factors in guaranteeing a beautiful, long-lasting result.
By now, you get the what and the why. The final piece of the puzzle is the how. A local flooring expert can bridge that gap, providing the real-world data and experience needed for a perfect installation. They can assess your subfloor, make sense of the moisture test results, and recommend the exact system that’s right for your home.
Getting that expert advice is the surest way to get the job done right the first time. You’ll end up with a gorgeous floor built on a solid, protected foundation. To learn more about how these principles work with specific products, take a look at our guide to moisture-resistant waterproof flooring options.
Frequently Asked Questions
Even after covering the basics, you’re bound to have some specific questions about your own project. Let’s tackle some of the most common things we hear from homeowners right here in Cumming and Forsyth County.
Do I Always Need a Moisture Barrier Under My New Floor?
Here in Georgia, with our notorious humidity, the answer is a resounding yes—especially if your new floor is going over a concrete slab or a crawl space. Think of concrete as a hard sponge; it’s porous and constantly wicking moisture vapor up from the ground. Without a barrier, that vapor gets trapped right under your beautiful new floor, leading to warped hardwood, failing glue, and even mold.
Even for floors billed as 100% waterproof, like LVP, a barrier over concrete is still a must. It protects the integrity of the locking systems and prevents that damp, musty smell from seeping into your home. The only way to know for certain is with a professional moisture test, but consider a good barrier your best insurance policy for that big flooring investment.
It’s worth clarifying a common point of confusion: while the term “moisture barrier” can mean anything that blocks liquid water, in the context of flooring, we are almost always talking about stopping invisible water vapor. That’s why you’ll see products specifically called vapor retarders or vapor barriers—they’re engineered for this exact job.
What Is the Difference Between a Moisture Barrier and a Vapor Barrier?
This is a great question, and honestly, the flooring industry uses these terms so interchangeably it’s easy to get confused. For your purposes as a homeowner planning a project, they effectively mean the same thing.
If you want to get technical about it, there is a small distinction:
- A vapor barrier (or vapor retarder) is a material with a specific rating for how much water vapor it allows to pass through. This is our primary concern with concrete subfloors.
- A moisture barrier is a more generic term for anything that stops liquid water.
Bottom line: When you’re looking at flooring products, if it’s called a moisture barrier, it’s designed to stop the vapor that causes all the problems.
Can I Install a Flooring Moisture Barrier Myself?
Some of the simpler materials, like the rolls of 6-mil plastic sheeting, might look straightforward enough for a weekend project. But I have to caution you here: the stakes are incredibly high if you make a small mistake.
A truly effective barrier depends on a perfectly smooth, clean subfloor and a completely sealed, continuous installation. One tiny tear, a seam that isn’t taped just right, or a small gap around a plumbing pipe can compromise the entire system. When you’re dealing with expensive hardwood or using more advanced liquid-applied membranes, professional installation is non-negotiable. The cost of replacing ruined floors and dealing with mold is always far greater than the cost of getting it done right the first time.
Will a Moisture Barrier Void My Flooring Warranty?
This is a worry we hear a lot, but the reality is the complete opposite. Nearly every flooring manufacturer requires the subfloor moisture to be below a certain level before their product can be installed. In fact, installing the correct moisture barrier is often a mandatory step to keep your warranty fully intact.
Skipping a proper barrier over a concrete slab is one of the fastest ways to get a warranty claim denied. Always, always read the installation guidelines that come with your specific flooring. Following those instructions is your absolute best protection.
Your floors are a huge part of your home’s character and value. Making sure they’re protected from the ground up is the secret to making that investment last for decades. Here at Flacks Flooring, we have the local expertise to properly test your subfloor and recommend the perfect moisture protection for your home.
Ready to start your project with peace of mind? Visit our showroom in Cumming, GA, or schedule an in-home consultation today!