
Choosing the right hardwood flooring is a big deal. It's an investment that can completely change the feel of your home. But before you get swept away by all the beautiful wood grains and stain colors, it's best to ground your decision in three key areas: picking between solid and engineered wood, figuring out how tough your floors need to be for your family's lifestyle, and setting a realistic budget. Get these right, and the rest of the process becomes so much easier.
Your First Step to the Perfect Hardwood Floor
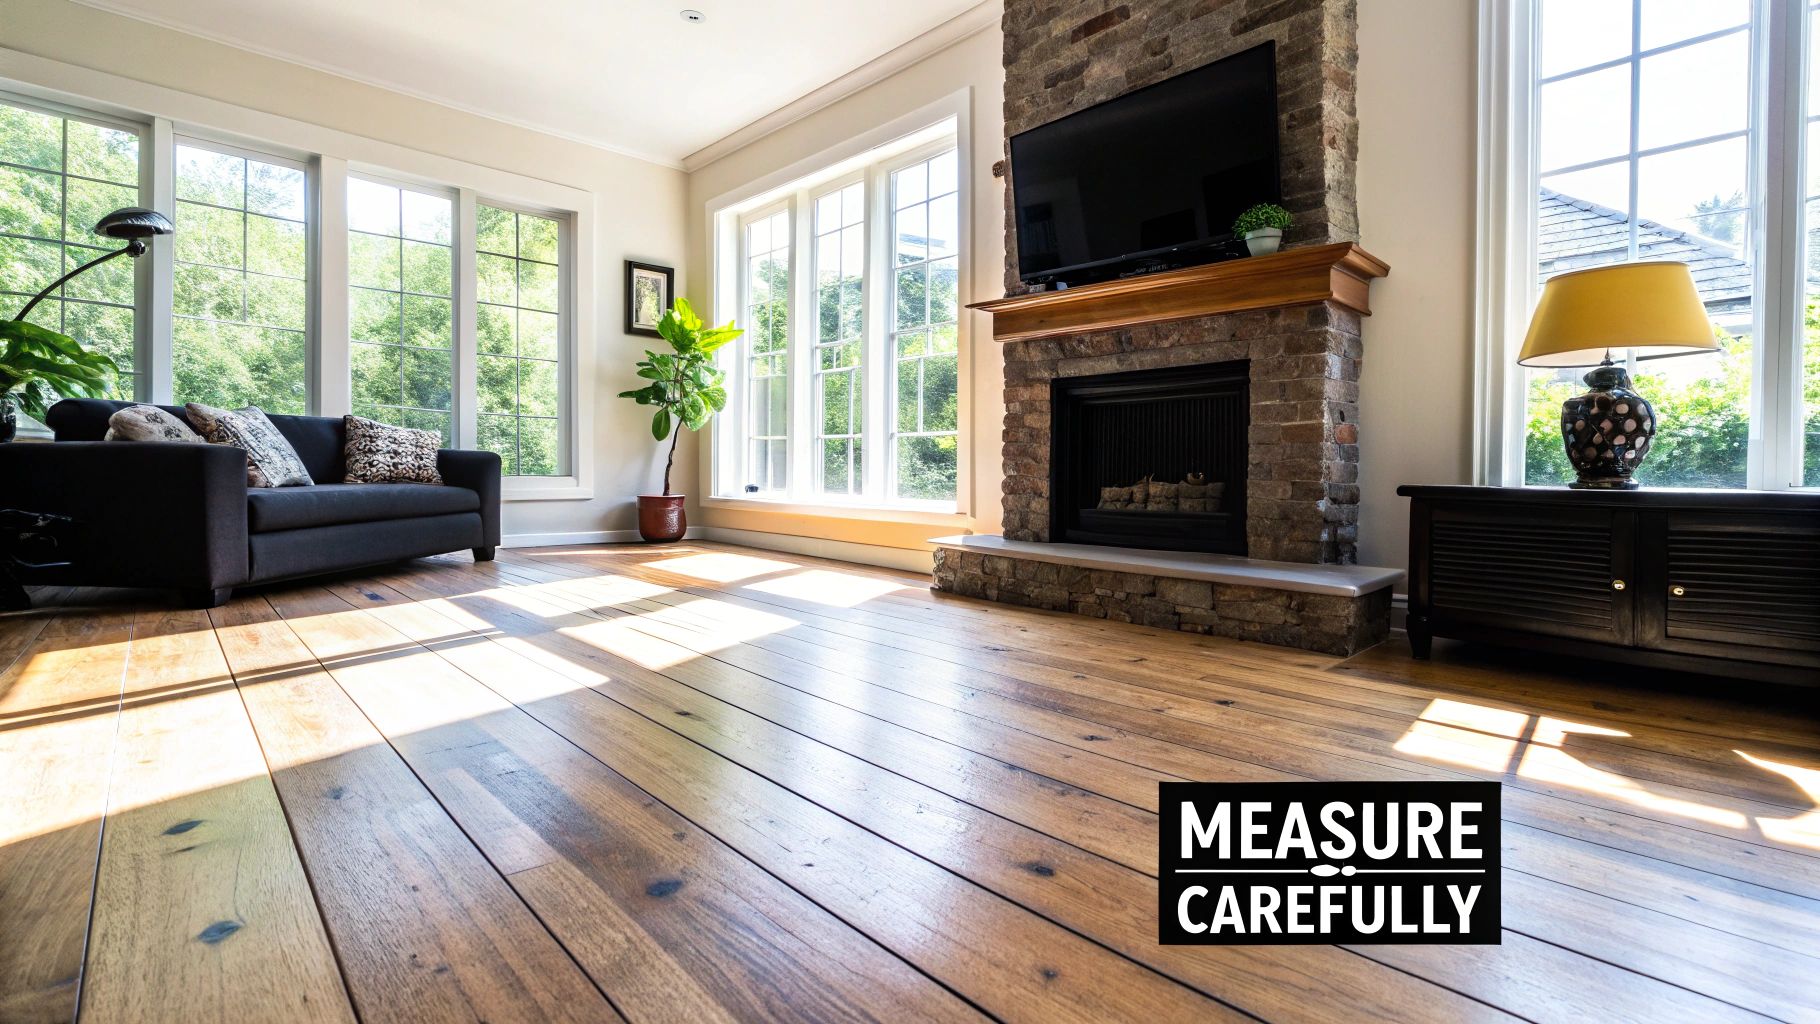
Walking into a flooring showroom for the first time can be a bit of a sensory overload. You're faced with endless rows of gorgeous wood samples, and it’s easy to feel lost. The secret to choosing the right hardwood isn't just pointing at the one that catches your eye first. It’s about taking a step back and thinking about your home’s unique environment and your family’s day-to-day life.
The most important place to start is with an honest look at your space. A living room on the main level has completely different needs than a basement playroom or a busy kitchen, where things like moisture and humidity swings are very real concerns.
Before jumping into the fun part—like comparing wood species and plank widths—let's quickly summarize the big questions you should be asking yourself from the get-go.
Quick Guide to Hardwood Flooring Decisions
| Decision Factor | Key Question to Ask Yourself | Why It Matters |
|---|---|---|
| Location | Where is this floor going? A main floor, a basement, or a bathroom? | Moisture, humidity, and the subfloor type (wood vs. concrete) will dictate whether solid or engineered wood is the better, or even possible, choice. |
| Lifestyle | How much daily wear and tear will this floor see? Think kids, pets, and parties. | High-traffic areas need harder, more durable wood to resist scratches and dents, while a quiet office can accommodate softer species. |
| Budget | What is my all-in cost per square foot, including installation and finishing? | This helps narrow down wood species and determines if you can opt for premium features like wider planks or custom finishes. |
| Installation | Am I comfortable with a professional installation, or do I need a DIY-friendly option? | Solid hardwood typically requires professional nailing or stapling, while many engineered floors offer click-lock systems for easier DIY installation. |
Thinking through these points creates a practical filter, turning a hundred overwhelming options into a handful of great choices.
Assess Your Home and Lifestyle
Before you fall in love with a particular look, you have to get real about the practical side of things. I've seen it happen time and again: homeowners pick a floor based purely on aesthetics, only to find it doesn't hold up to their lifestyle.
- Foot Traffic: Got a busy house with kids and pets tearing through? High-traffic zones like hallways and entryways demand a harder, more resilient wood that can take a beating.
- Room Location: Solid hardwood is a classic choice for most rooms above ground level. But for basements or any room on a concrete slab, engineered hardwood is usually the smarter pick because its layered construction handles moisture and temperature changes much better.
- Sunlight Exposure: Is the room drenched in sunlight for hours every day? Be aware that some wood species can fade or change color over time with constant UV exposure. This might nudge you toward a more light-stable species or a UV-protectant finish.
Durability and the Janka Scale
One of the most valuable tools you have is the Janka hardness scale. This isn't just some obscure industry number; it's a straightforward rating that measures how well a wood species resists denting and wear. Think of it as your guide to how a floor will stand up to dropped pans, dog claws, and dragged furniture.
A higher Janka rating means a harder, more durable wood. For example, Hickory is significantly harder than Walnut, making it a better choice for an active family home.
The timeless appeal of hardwood is a huge reason for its popularity. In fact, the global hardwood flooring market was valued at around USD 51.38 billion and is expected to keep growing, thanks to homeowners who want flooring that is both beautiful and long-lasting. You can dig into the numbers and see the market forecast for more details on this trend.
By starting with these foundational questions—lifestyle, location, and durability—you'll narrow down your options from an overwhelming sea of choices to a manageable list. This makes the rest of the selection process far less stressful and, frankly, a lot more fun.
Solid vs. Engineered Hardwood: A Practical Comparison
One of the first big decisions you'll make is whether to go with solid or engineered hardwood. On the surface, they can look identical, but how they’re built and where they perform best are worlds apart. Nailing this choice from the get-go is key to making sure your floors look great for decades to come.
Solid hardwood is just what it sounds like: each plank is milled from a single, solid piece of timber. It’s the classic, timeless choice you see in historic homes. This old-school construction gives it incredible longevity because it can be sanded and refinished over and over again.
Engineered hardwood, on the other hand, is a more modern construction. It’s made of a core of high-quality plywood or high-density fiberboard (HDF) with a layer of real hardwood veneer right on top. This layered build is its secret weapon—it gives the plank incredible stability.
Where Each Type Shines Best
Often, the right choice boils down to a single, critical factor: the room itself. Where you plan to install your new floor will heavily influence whether solid or engineered is the smarter investment.
Solid hardwood is fantastic for most rooms at or above ground level. Think living rooms, bedrooms, and hallways. Its one major weakness, though, is how it reacts to moisture and big temperature swings. Solid wood naturally expands and contracts, which makes it completely unsuitable for humid or damp-prone areas like basements.
This is exactly where engineered hardwood steps in. Its core layers are stacked in a cross-grain pattern, which fights the wood’s natural urge to swell or shrink. That stability makes it the go-to option for more challenging spots in the home.
- Basements: You can install engineered flooring right over a concrete slab where solid wood would quickly warp.
- Kitchens: It handles the constant shifts in temperature and humidity from cooking much better than solid wood can.
- Bathrooms: While I wouldn't recommend any wood for a full bath with a shower, engineered is a solid pick for a powder room where minor splashes are the main concern.
I’ve seen it happen too many times: someone picks a floor based only on looks, ignoring the room's environment. An engineered floor might not feel as "traditional" as solid, but it will save you the massive headache of dealing with cupped or buckled planks in a basement.
Installation Methods and Flexibility
How your floor gets put down affects both the final cost and the complexity of the job. Solid hardwood is almost always a nail-down or staple-down job. This requires a wooden subfloor and, frankly, a professional installer. It’s a permanent method that makes the floor an integral part of your home’s structure.
Engineered flooring gives you far more options. It can be nailed or glued down just like solid wood, but many products today are designed for a floating installation. In this method, the planks just click together and "float" over an underlayment without being attached to the subfloor. It's usually faster, less expensive, and much more approachable for a skilled DIYer.
This flexibility is a huge reason engineered hardwood has become so popular. It has actually overtaken other hardwood products to capture the majority of the market share, a trend driven by its stability in all sorts of conditions. You can dig deeper into this shift by checking out the global hardwood flooring market analysis.
Refinishing Potential and Longevity
The ability to refinish a floor is one of the biggest draws of hardwood. This is where solid wood has traditionally held the crown. Since it’s solid through and through, it can be sanded and refinished four to six times, giving you what is essentially a brand-new floor every 10 or 20 years.
With engineered hardwood, the refinishing potential comes down entirely to the thickness of its wear layer—that top slice of real wood.
| Wear Layer Thickness | Potential Refinishes | Estimated Lifespan |
|---|---|---|
| 1-2 mm | 0-1 times | 20-30 years |
| 3-4 mm | 2-3 times | 40-80 years |
| 5 mm+ | 3-5 times | 80-100+ years |
A high-quality engineered plank with a thick wear layer can absolutely rival the lifespan of solid hardwood. It’s the best of both worlds: durability and stability. Always, always check the product specifications before you buy. A cheap engineered board with a paper-thin veneer can't be refinished at all.
Matching Wood Species and Hardness to Your Lifestyle
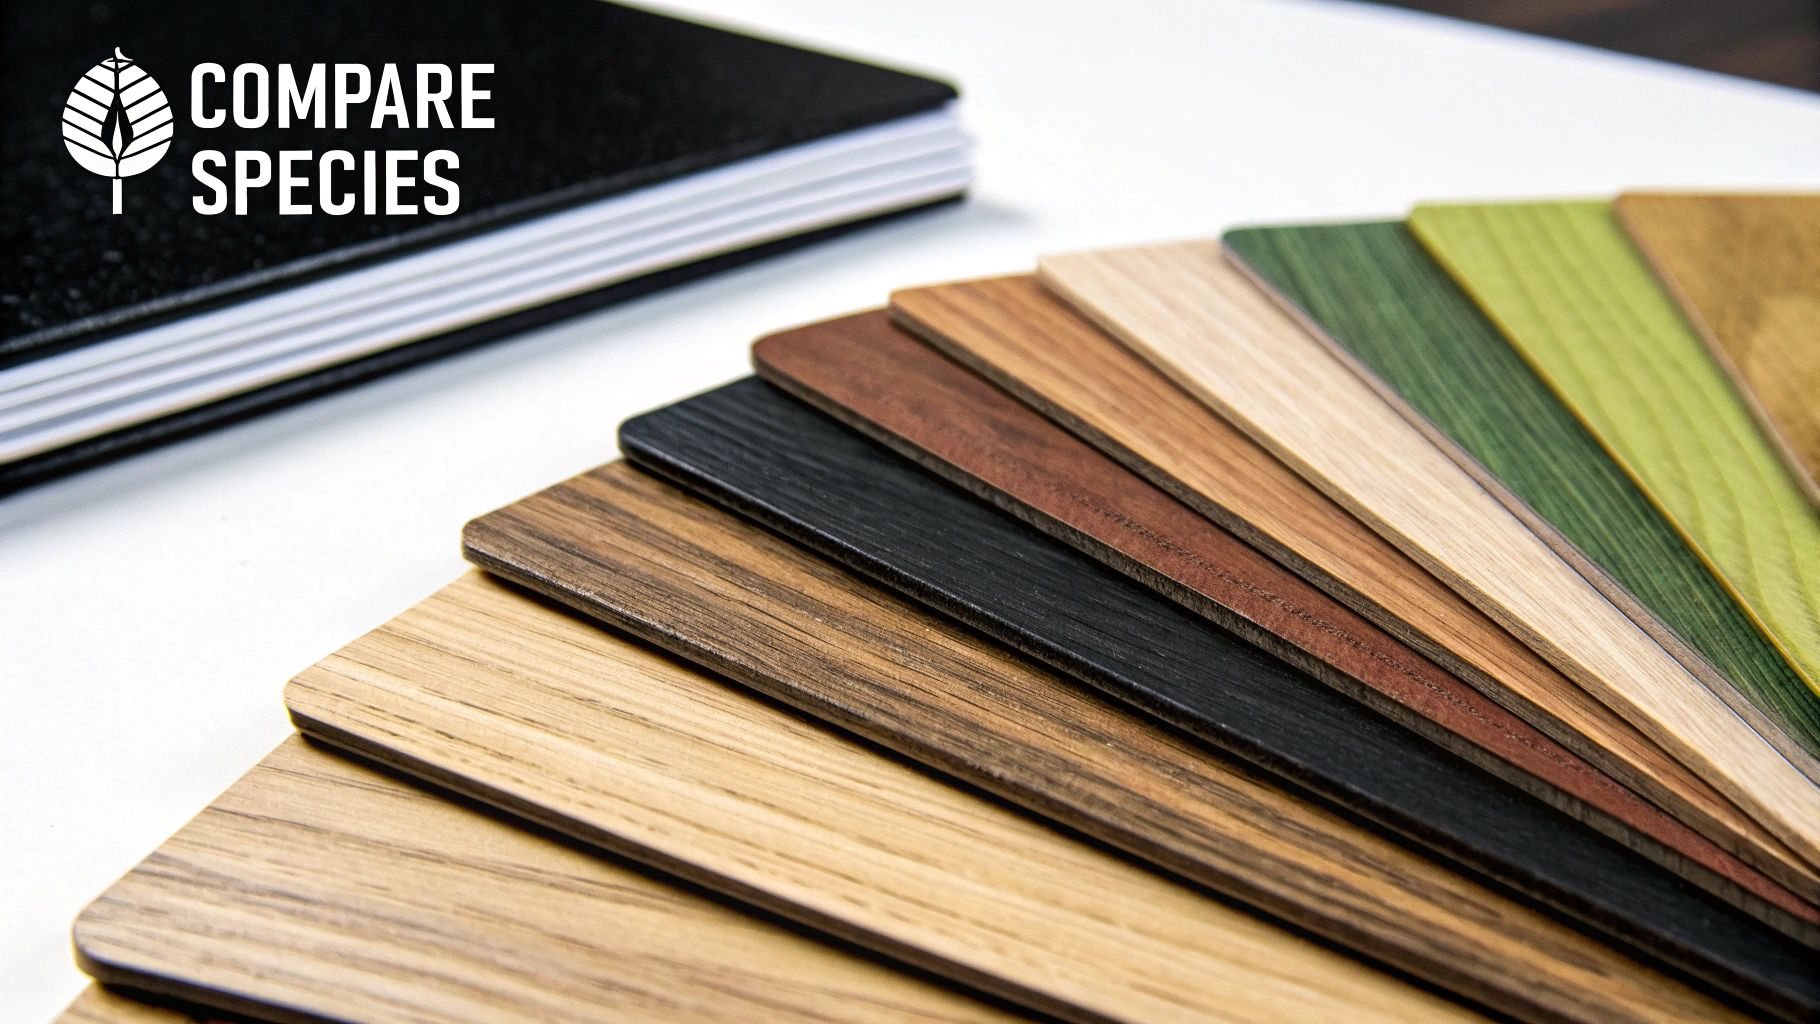
Choosing a hardwood species isn't just about picking a color you like from a small sample. It’s about finding a floor that fits the real-life rhythm of your home. A species that looks beautiful in a quiet, formal living room might not stand a chance in a chaotic entryway with kids, pets, and dropped grocery bags.
The secret is to think about each wood species as having its own unique personality and strength. This is where the Janka hardness scale becomes an incredibly practical tool. It's simply a rating that tells you how well a type of wood can resist dents and dings. The higher the number, the tougher the floor.
For a busy family with a big dog and active kids, you need a species that can hold its own. This is where you look at powerhouse woods like Hickory or Brazilian Cherry. Their high Janka ratings mean they won't easily dent when a toy truck gets dropped, making them a smart choice for those high-traffic battlegrounds in your home.
Finding the Right Balance of Beauty and Brawn
On the other hand, you have softer, more character-rich woods like Walnut or American Cherry. These species have a gorgeous, refined look with stunning grain patterns, but they are more susceptible to showing life's little mishaps. They're a fantastic fit for quieter spaces, like a home office or a formal dining room that doesn't see a ton of action.
But it’s not just about hardness; the wood’s grain pattern plays a huge role in how the floor looks day-to-day.
- Oak (Red and White): A timeless classic for good reason. Oak has a prominent, open grain that does a fantastic job of hiding minor scratches and everyday wear. It’s the undisputed workhorse of the hardwood world.
- Maple: Known for its clean, subtle grain and light, creamy tones. While it’s quite hard, its smooth appearance can sometimes make small scratches or even a bit of dust more noticeable.
- Hickory: If you love a rustic look, hickory is for you. It has a dramatic grain with a lot of color variation from one plank to the next. As one of the hardest domestic woods, it’s exceptionally durable for the most active households.
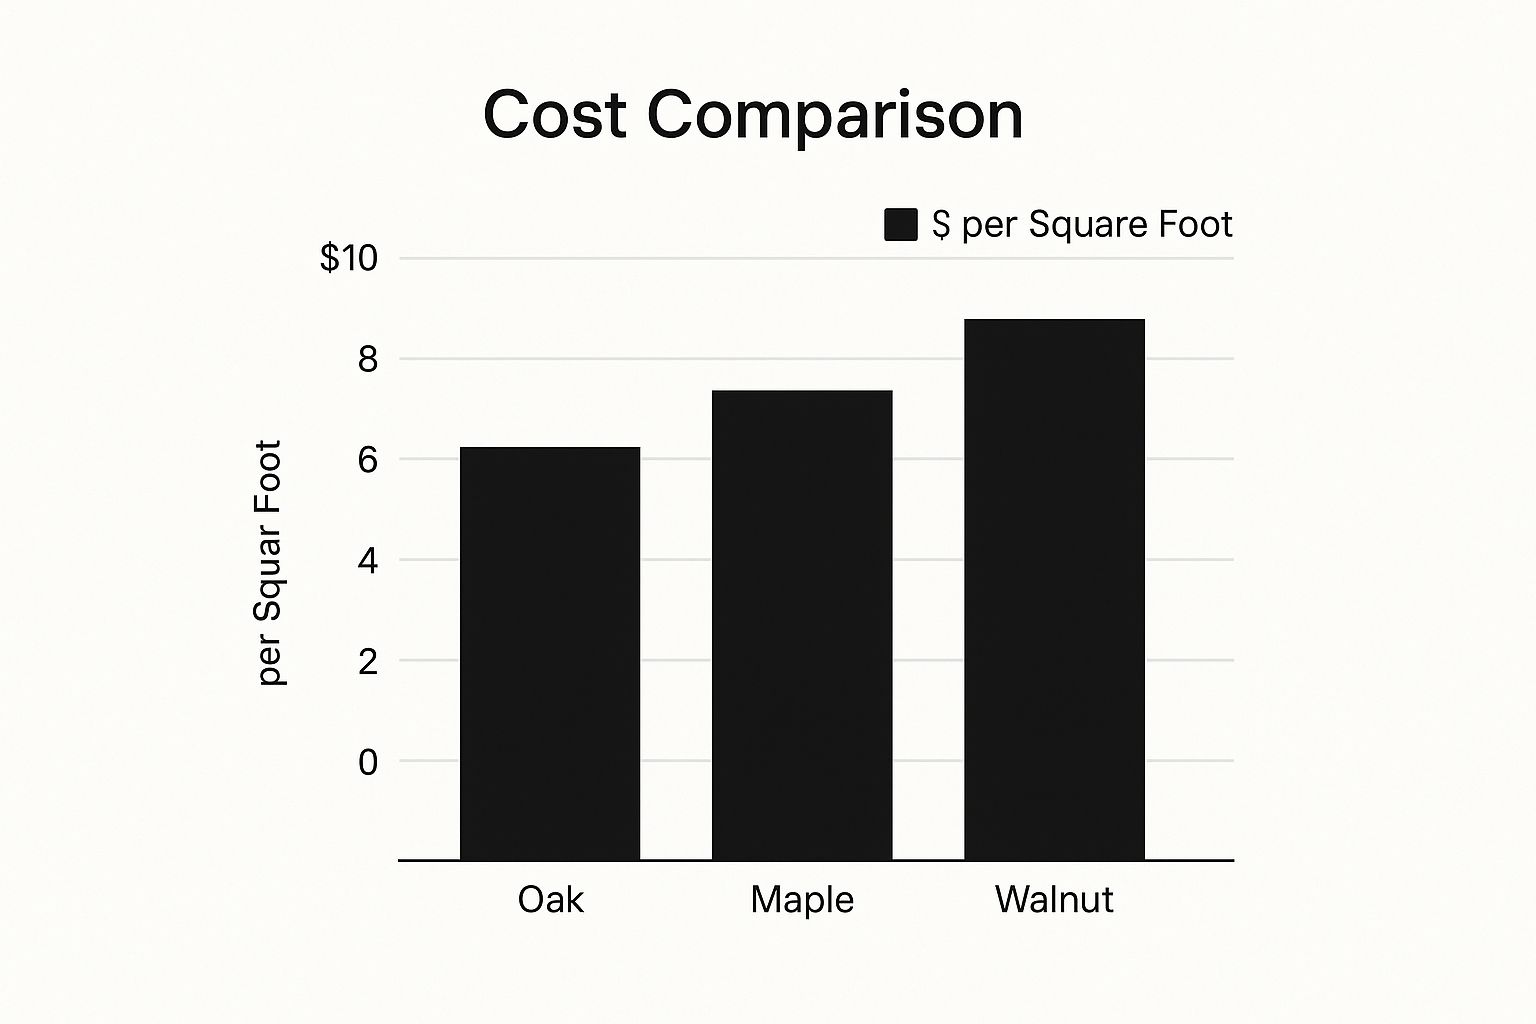
Think of the wood's grain as a kind of built-in camouflage. A prominent grain like Oak's will forgive a lot, masking minor imperfections. A smoother grain, like you see in Maple, offers a clean, modern aesthetic but might need a bit more attention to keep it looking pristine.
Understanding these little details is what helps you choose a floor you'll love for years, not just for the first few months. For a deeper look into the specific traits of different options, our guide to hardwood species is a fantastic resource.
To make this even clearer, let's look at how the Janka scale applies to some of the most common woods you'll be considering.
Janka Hardness Scale for Popular Wood Species
| Wood Species | Janka Hardness Rating (Approx.) | Best For (Lifestyle) |
|---|---|---|
| American Cherry | 950 | Low-traffic areas like bedrooms, formal living rooms. |
| Red Oak | 1290 | Great all-around choice for most households; hides wear well. |
| White Oak | 1360 | Slightly harder than Red Oak; excellent for kitchens and entries. |
| Hard Maple | 1450 | Very durable for active families, but shows scratches more easily. |
| Hickory | 1820 | Extremely tough; perfect for homes with large pets and kids. |
| Brazilian Cherry | 2350 | Exceptionally hard; ideal for the highest traffic commercial or residential areas. |
As you can see, there’s a huge range in durability. A wood like Hickory is nearly twice as hard as American Cherry, which is a critical difference in a busy home.
How Different Woods Age and Develop Character
One of the most beautiful things about hardwood is that it evolves. Exposure to sunlight and everyday life will cause the wood’s color to mature and deepen over time, a process known as developing a patina. This isn't a defect—it’s the hallmark of an authentic, natural material.
Some species change more noticeably than others. American Cherry, for instance, is famous for aging from a light, pinkish-red to a much deeper, richer reddish-brown. Maple, on the other hand, tends to take on a subtle, warm yellow hue over the years. Knowing this helps you picture not just how your floors will look when they’re installed, but how they’ll gracefully age with your home.
Understanding Finishes, Stains, and Textures
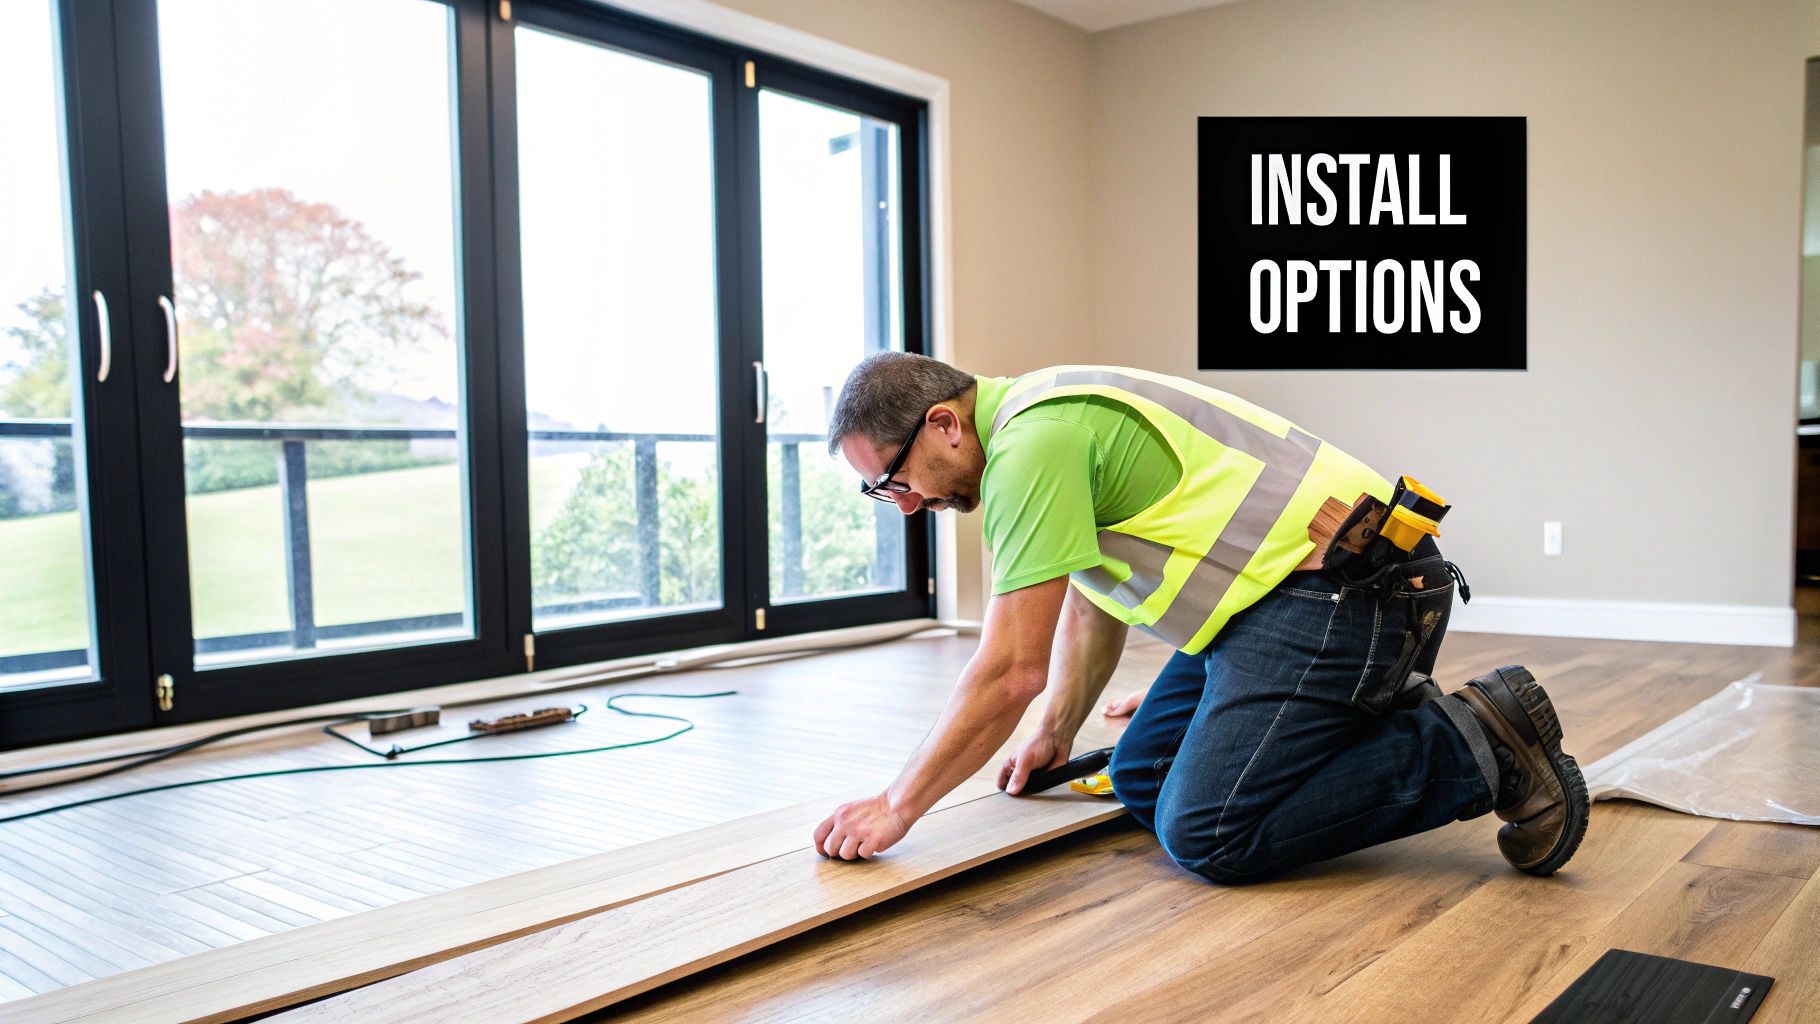
If the wood species is the foundation of your floor, then the finish, stain, and texture are what give it a soul. These details are where you truly personalize your space. They don't just shape the final look; they're also crucial for protecting your investment from the realities of everyday life.
One of the biggest forks in the road is deciding between prefinished and site-finished flooring. Prefinished boards come straight from the factory with their finish and stain already baked on, which makes for a quick, clean installation day. On the other hand, site-finished flooring is installed raw, then sanded, stained, and sealed right there in your home. This gives you unparalleled control over the final look, but it's a more involved process.
Prefinished vs. Site-Finished Flooring
Out of the box, prefinished flooring often wins on durability. The finishes are applied in a controlled factory setting, typically using incredibly hard aluminum oxide coatings cured under UV lights. The result is a tough-as-nails surface that’s ready for foot traffic immediately. Plus, you get to skip all the dust and potent fumes that come with finishing a floor on-site.
Site-finishing, however, is where true customization happens. You can dial in the exact stain to match your cabinetry or trim and achieve a perfectly seamless, sealed surface from wall to wall. The trade-off is time and disruption. The whole process can take a few days and involves a good deal of noise, dust, and strong odors while the finish cures.
Choosing the Right Protective Finish
That clear topcoat is your floor's first line of defense. You'll mainly run into two categories: polyurethanes and penetrating oils. Each offers a distinct look, feel, and level of protection.
- Oil-Based Polyurethane: This is the old-school workhorse. It’s known for its exceptional durability and for giving wood a warm, amber glow that deepens over time. It does have a strong smell during application and takes longer to fully cure.
- Water-Based Polyurethane: A much more modern choice, water-based poly dries fast, has a very low odor, and stays crystal clear. It won’t yellow over time, so it preserves the wood's natural color. Early versions got a bad rap for durability, but today's premium water-based finishes are incredibly tough.
- Natural Oils: Finishes like tung oil or hardwax oils work by soaking into the wood grain instead of sitting on top like a film. This creates a gorgeous, low-sheen, matte look that feels incredibly organic underfoot. While they're fantastic for spot repairs, they do need more regular upkeep than a polyurethane finish.
Thinking about how these coatings work is similar to looking at paint vs stain options for wood on other surfaces. The core principles of protecting the wood while achieving a certain look are the same.
Stains and Textures That Define Your Style
The stain is where your design vision really comes to life. A dark floor can make a room feel cozy and dramatic, while a light floor can make it feel open and airy. The choice can completely change the atmosphere. If you're stuck, our guide on the pros and cons of dark vs. light hardwoods is a great place to start.
But color is only half the story. The surface texture adds another layer of character—and practicality.
A textured finish does more than just add visual interest—it's a practical way to hide the minor scratches and dents that are an inevitable part of life, especially in a busy home.
You'll come across a few common textures:
- Smooth: The timeless classic. It's elegant, refined, and works with just about any decor style.
- Wire-Brushed: This technique scrapes out the softer wood grain, leaving a subtle texture that highlights the wood’s natural patterns and does a great job of concealing minor wear.
- Hand-Scraped: This creates a rustic, lived-in look with long, irregular scrapes across the plank. It gives you a floor that feels beautifully aged from day one.
Figuring Out What Your New Hardwood Floors Will Really Cost
Putting in a new hardwood floor is a serious investment in your home. The key to keeping the project enjoyable and stress-free is knowing the real cost before you even start. That price you see on the little sample board? That’s just the beginning. To avoid sticker shock later, you have to look past the cost of the wood itself and factor in everything else that goes into the final bill.
The per-square-foot price of the hardwood is, of course, the biggest chunk of your budget. But it's often less than half of what you'll actually spend. It's a bit like buying a car—the sticker price is one thing, but then you have taxes, fees, and other options. With flooring, those "options" are actually crucial materials you can't skip.
These extra materials are what make a floor last. They work together as a complete system to support the beautiful wood you've picked out.
Uncovering the "Hidden" Costs
Once you start getting quotes, you'll see line items for materials you probably haven’t thought about. These are the unsung heroes of a great flooring job, the things that ensure stability, protect against moisture, and give you that polished, professional look.
- Underlayment: This is a thin layer that sits between the subfloor and your new hardwood. It helps with sound, adds a bit of cushion, and can act as a moisture barrier.
- Adhesives and Fasteners: Depending on how the floor is installed, you’ll need either gallons of specialized flooring glue or thousands of nails or staples.
- Moisture Barriers: If you're installing over a concrete slab or in a basement, a dedicated vapor barrier isn't optional—it's essential to stop your beautiful wood from warping and cupping down the road.
- Trim and Moldings: Don't forget the finishing touches! You'll need quarter-round, baseboards, and transition strips to cover the necessary expansion gaps and create a clean edge where the floor meets walls or changes to tile or carpet.
The biggest mistake I see homeowners make is getting tunnel vision on the wood's price per square foot. A smart, realistic budget adds 15-20% on top of the raw material cost to cover these essential supplies and any surprises you might find with the subfloor.
Professional Installation vs. The DIY Route
The next big line item is labor. While installing the floor yourself seems like a surefire way to save a buck, you need to be brutally honest about your skills, the time you have, and the specialized tools you'll need. Hiring a pro will typically add $3 to $12 per square foot to your total, depending on where you live and the complexity of the job.
What are you paying for? Experience. A professional crew knows how to avoid common DIY disasters, like leaving too little room for expansion, which can cause the floor to buckle and heave when the humidity changes. They also handle the back-breaking work of prepping the subfloor—a critical step that means getting it perfectly clean, flat, and dry. Discovering you need to level a subfloor can easily add hundreds or even thousands to a project, and that's something a pro will spot from the get-go.
Getting Contractor Quotes You Can Trust
To nail down your final budget, your best bet is to get at least three detailed quotes from installers with a good reputation. A solid quote is more than just a number at the bottom of a page; it’s a transparent breakdown of exactly what you’re paying for.
Here’s what to look for in a good quote:
- Itemized Material Costs: It should clearly list separate prices for the flooring, underlayment, adhesive, and all trim pieces.
- Detailed Labor Charges: This should break down the cost for tearing out the old flooring, prepping the subfloor, and the actual installation.
- Disposal Fees: Ask if they include the cost of hauling away your old carpet or flooring. You don't want that surprise at the end.
- A Clear Timeline: The quote should give you a good idea of when the project will start and how long it's expected to take.
By planning for every single expense, from the glue to the last piece of trim, you turn a potentially nerve-wracking purchase into a confident, well-managed home improvement project. This financial roadmap is what ensures you get the stunning floors you want, without any budget-busting drama along the way.
Installation Insights and Long-Term Care
You've finally picked out the perfect hardwood—a huge decision, but the job isn't quite done. How your floor is installed and cared for will make all the difference, turning a beautiful product into a feature you'll love for decades. Skimping on these final steps can undo all that careful planning.
One of the most crucial, and often skipped, steps is acclimation. Wood is a living, breathing material. It swells and shrinks with humidity and temperature shifts. Before any work begins, the unopened boxes of flooring need to sit in the room where they'll be installed for several days. This lets the wood get used to your home's unique climate, preventing ugly gaps or buckling later on.
Understanding Installation Methods
Once the wood is properly acclimated, it’s time for installation. The right method really comes down to what kind of subfloor you have and the type of hardwood you chose. There are three main ways to get the job done.
- Nail-Down: This is the classic approach for solid wood planks going over a wooden subfloor. A special flooring nailer secures each board, creating an incredibly sturdy floor. It’s a job best left to a pro.
- Glue-Down: If you have a concrete subfloor, this is often the go-to method, especially for engineered wood. A strong adhesive is spread across the subfloor, bonding the planks directly to it.
- Floating: Most common with engineered floors that feature click-lock edges. The planks simply lock into one another and rest—or "float"—on top of a thin underlayment. It's the quickest and most approachable method for a DIY project.
Hiring a professional installer is often the best route for a flawless, long-lasting finish. Taking the time to properly vet your contractors is essential; you may want to consult a comprehensive contractor hiring checklist to make sure you find the right person for the job.
Protecting your investment starts the moment the installation is finished. A simple, consistent cleaning routine is far more effective than trying to fix problems down the road.
Simple Steps for Lasting Beauty
Keeping your hardwood floors looking great doesn't require a ton of effort. It's all about consistency and using the right tools to stop damage before it starts.
Your first line of defense is a soft-bristle broom or a vacuum with a hard floor attachment. Regular sweeping gets rid of the fine dirt and grit that can act like sandpaper under your feet, slowly scratching and dulling the finish.
When spills happen, act fast. Wipe them up with a slightly damp cloth and then dry the spot immediately. Remember, standing water is wood's worst enemy.
Finally, a few preventative measures go a long way. Stick felt pads on the bottom of all your furniture legs to prevent scratches. Place good-quality mats at all exterior doors to catch dirt, grit, and moisture before anyone steps inside. These small habits will keep your hardwood looking incredible for years.
Common Questions About Choosing Hardwood
Even after you’ve narrowed down the species and style, a few lingering questions always seem to pop up. Let's tackle some of the most common ones I hear from homeowners, so you can move forward with confidence.
What's the Best Way to Pick a Color?
This is probably the number one question. The best way to approach it is to think about the natural light and overall feel of your space.
Lighter woods, like a natural maple or a pale white oak, are fantastic for making smaller or darker rooms feel bigger and brighter. They have an airy quality that can really open things up.
On the flip side, deep, rich tones like walnut or a dark-stained hickory create a dramatic, cozy atmosphere. These work beautifully in larger rooms that get plenty of sunlight, where their bold character won't overpower the space.
Pro Tip: Never, ever choose a color based on a tiny sample in a showroom. Bring large sample boards home and live with them for a few days. See how they look in the morning light, at midday, and at night under your artificial lighting. It's the only way to know for sure.
Can I Really Put Hardwood in My Kitchen?
Ah, the great kitchen debate. The short answer is yes, but you have to be smart about it.
If you’re set on the warmth of wood in your kitchen, engineered hardwood is the far superior choice over solid wood. Its layered construction gives it much better stability against the humidity and temperature swings that are just a part of kitchen life.
That said, no wood floor is waterproof. You have to be diligent about wiping up spills immediately. To get the full picture, it's worth exploring the hardwood flooring pros and cons before making a final decision.
What Should I Expect to Pay for Installation?
Installation costs are a moving target. They really depend on your location, the complexity of the job, and the specific installation method.
As a ballpark, you can expect professional labor to run anywhere from $3 to $12 per square foot.
- On the lower end: A simple floating installation for an engineered floor.
- On the higher end: A more complex nail-down or glue-down job, especially if your subfloor needs a lot of prep work.
Your best bet is to get at least three detailed quotes from reputable, insured installers. This gives you a clear picture of what the project will actually cost in your area.
Ready to find the perfect hardwood for your home? The experts at Flacks Flooring are here to guide you through every step of the process, from selection to installation. Visit our showroom or schedule an in-home consultation today at https://flacksflooring.com.