
When you find a dog pee spot on your hardwood floor, you’re in a race against the clock. The key is to act fast—blot the area immediately with a good absorbent cloth to lift as much liquid as possible. Then, you need the right tool for the job: a pH-neutral cleaner or, even better, an enzymatic cleaner made specifically for hardwood. This will break down the uric acid before it has a chance to cause a permanent stain.
Why Dog Urine Wrecks Hardwood Floors
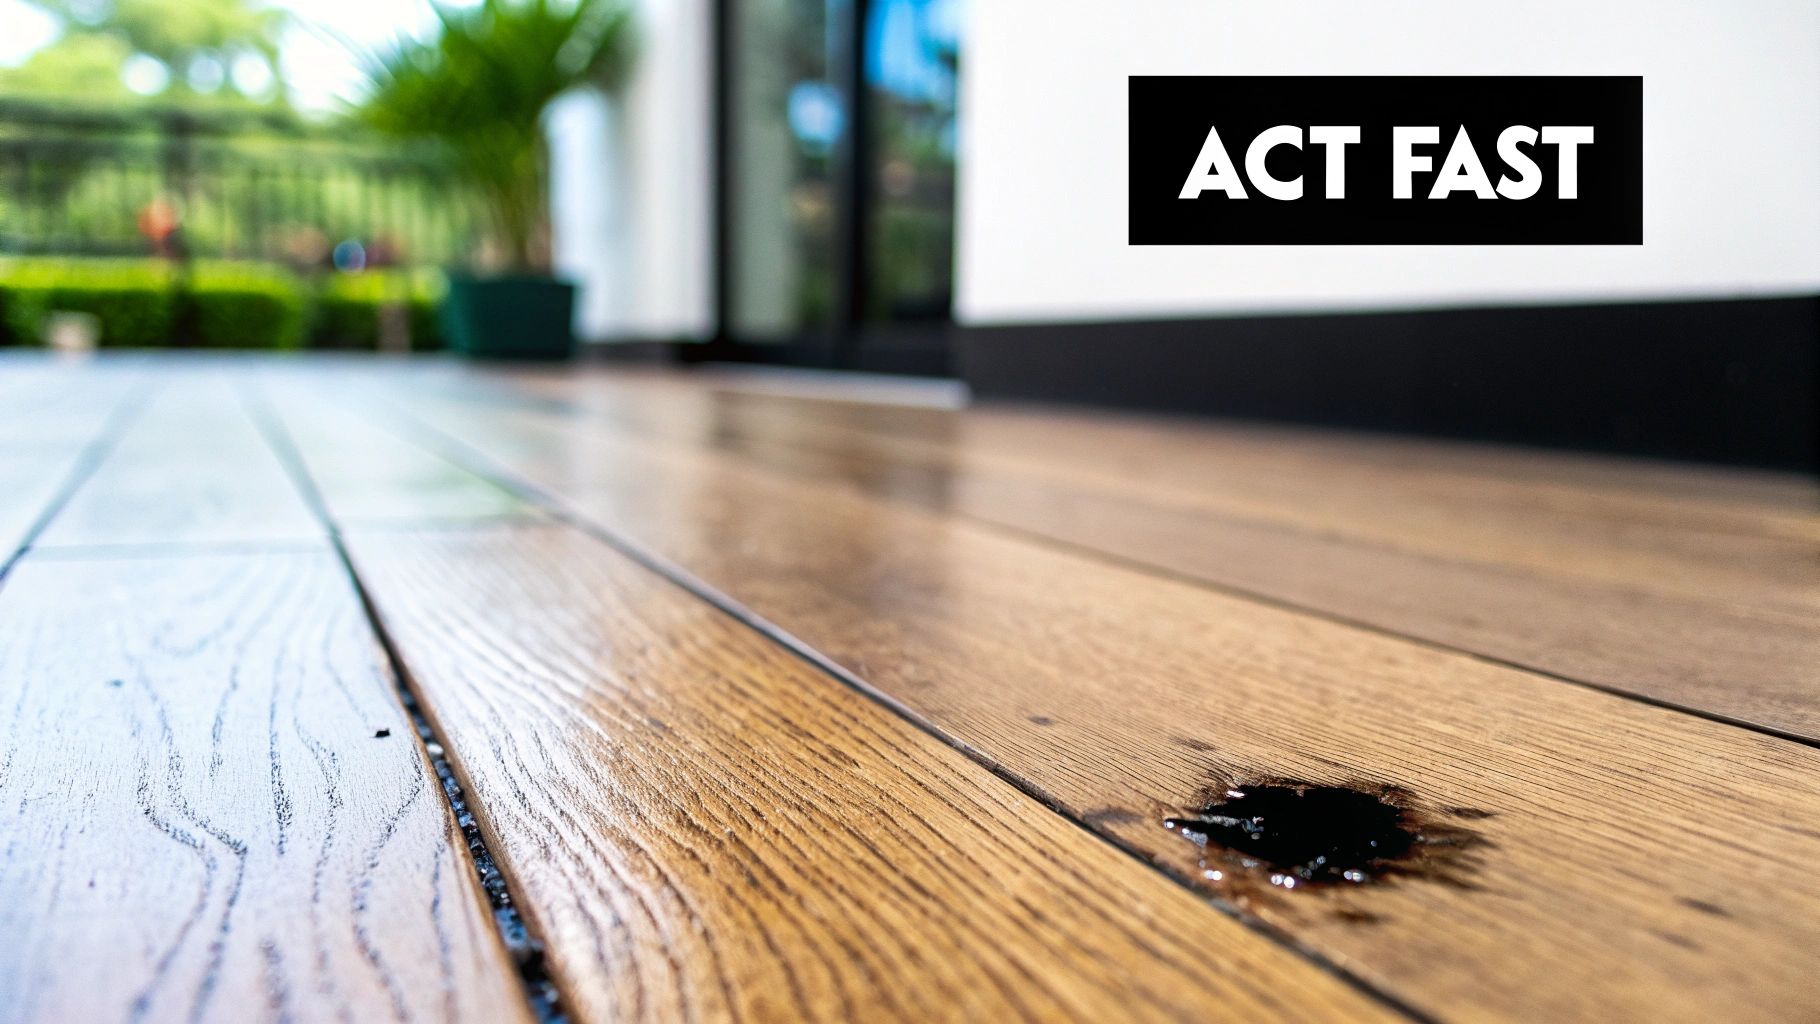
Finding a pet accident on your beautiful hardwood is more than just a surface-level mess. What you're dealing with is a chemical assault on your flooring, and understanding what's happening beneath the surface is the first step to preventing lasting damage.
The problem lies in dog urine's main component: uric acid. This stuff is corrosive and, worse, it doesn't dissolve in water. If you let it sit, the acid works its way past your floor's protective finish and soaks right into the wood fibers. Once it's in there, it forms stubborn salt-like crystals that are a nightmare to remove.
The Science of Stains and Smells
Ever wonder why that pee smell comes back on a humid day? It's those uric acid crystals. Bacteria start feeding on the urine and release ammonia gas, which is the source of that potent, lingering odor.
But the smell is only half the problem. This same process is what causes those ugly, deep black stains. The ammonia has a chemical reaction with the natural tannins in the wood, essentially burning it from the inside out. This leaves a permanent dark mark that you can't just wipe away.
That’s why a simple all-purpose cleaner won't cut it. You might clean up the puddle, but you'll leave the uric acid crystals behind. They'll continue to off-gas and damage the wood long after the surface feels dry.
The most critical factor is how quickly you act. Research shows that if you don't clean up a urine spot within the first 10 minutes, there's a 67% greater chance of it leading to visible stains and odors you just can't shake.
Sealed vs. Unsealed Floors: A Critical Difference
How much time you have depends entirely on your floor's finish. Knowing what you're working with is half the battle.
- Sealed Hardwood: If your floors have a modern polyurethane finish, you have a temporary shield. This seal buys you a short but crucial grace period to get the spill cleaned up before it soaks into the wood.
- Unsealed or Oiled Hardwood: These floors are incredibly vulnerable. With no protective topcoat, they absorb liquids almost instantly. A pee accident on unsealed wood is an emergency that needs immediate attention to prevent deep, irreversible damage.
This is a common headache for pet owners. A 2019 study found that 72% of dog owners with hardwood floors reported at least one accident a year, but only 41% managed to clean it within that vital 10-minute window. To dig deeper, you can learn more about what happens when dog pee soaks into wood floors.
Your First Response to a Fresh Puddle
The moment you spot a fresh accident, the clock starts ticking. When you have hardwood floors, how you react in those first few minutes can mean the difference between a simple cleanup and a permanent, dark stain. The instinct is often to start scrubbing, but that's the last thing you should do. Your immediate goal is damage control.
The absolute worst thing you can do is wipe or smear it. That just spreads the urine over a larger area and pushes it deeper into the wood grain, especially into the vulnerable seams between the boards. Your mantra should be blot, blot, blot.
The Proper Blotting Technique
First, grab something highly absorbent. Paper towels will do in a pinch, but I've found that thick microfiber cloths are much better. Their tiny fibers are designed to pull in and trap liquid far more effectively.
Lay a generous layer of cloths right over the puddle. Apply firm, steady pressure straight down—don't rub. You want to soak up as much of the urine as you can. As the cloths become saturated, swap them out for fresh, dry ones and do it again. Keep repeating this until a new cloth comes away almost completely dry. You're trying to lift the liquid out of the wood, not just move it around on the surface.
Pro Tip: If the puddle is near a seam where two floorboards meet, really focus your blotting pressure right on that line. Urine wicks into those little gaps in a heartbeat and can cause hidden damage long after the top looks clean.
Your First Line of Defense: A DIY Solution
Once you've blotted up all the excess liquid, it’s time for a quick, initial clean. You don't need to break out the heavy-duty commercial cleaners just yet. A simple, homemade solution works wonders to neutralize the ammonia and start breaking down the uric acid before it can really set in.
Just mix equal parts white vinegar and warm water in a spray bottle. Vinegar's acidity is perfect for cutting through that initial smell and cleaning the surface. It's a great tool, but you have to be smart about it. It’s worth taking a moment to understand how to properly use vinegar on hardwood floors so you don't accidentally dull your floor's finish.
Lightly mist the spot with your vinegar solution. Don't drench the wood. Let it sit for just two to three minutes—that’s all it needs. This short dwell time lets the vinegar do its job without posing a risk to the polyurethane coating that protects your floor.
After a few minutes have passed, take a fresh, clean microfiber cloth and gently wipe the area, always moving with the grain of the wood. Your goal here is to leave the surface completely dry to the touch.
Cleaners You Must Never Use
In a moment of panic, it's easy to grab the first cleaning bottle you see under the sink. This can be a disastrous and costly mistake for your beautiful hardwood.
Avoid these at all costs:
- Bleach: It might seem like a good disinfectant, but bleach will permanently strip the color and finish right off your floor, leaving a faded, discolored blotch that you can't fix.
- Ammonia-Based Cleaners: Many common glass cleaners and all-purpose sprays contain ammonia. Since urine already contains ammonia, adding more will only make the odor stronger. Worse, it can actually attract your dog back to the same spot to mark it again.
- Steam Cleaners: The combination of intense heat and moisture is the ultimate enemy of hardwood floors. Steam forces moisture deep into the wood's pores, which can cause the boards to warp, cup, and swell.
By following this immediate action plan, you've handled the initial crisis like a pro. You've removed the source of the problem and neutralized the immediate threat, which perfectly sets the stage for a deeper, more targeted cleaning with an enzymatic cleaner later.
Choosing Your Hardwood Cleaning Arsenal
When you're dealing with a pet accident on your hardwood floors, reaching for just any old cleaner under the sink is a huge mistake. I've seen it happen time and again: a simple puddle turns into a permanent, dark stain or a lingering smell that just won't quit. Picking the right cleaning solution isn't just a suggestion—it's the single most important step in protecting your beautiful floors.
The real problem with dog urine isn't what you can see; it's the uric acid crystals left behind. Most household cleaners can wipe away the liquid, but they do absolutely nothing to break down these crystals. That’s why the odor comes back, especially on humid days, and why your dog keeps returning to the same spot. You need something that gets to the root of the problem.
The Power of Enzymatic Cleaners
This is where enzymatic cleaners come in, and frankly, they’re the gold standard for a reason. These aren't just soaps or detergents. They're packed with beneficial bacteria that produce enzymes specifically designed to break down and literally "eat" the organic proteins and uric acid in pet urine.
Instead of masking the scent with a perfume, an enzymatic cleaner eliminates it at the source. Think of it as deploying a microscopic cleanup crew that digests the entire mess. This process completely neutralizes the odors that signal to your dog, "This is the spot!"
Don't just take my word for it. One revealing study found that 85% of homeowners ultimately needed either a specialized enzymatic cleaner or professional help to fully get rid of urine damage. Standard products simply weren't up to the task.
This really drives home how crucial it is to use a product built for the unique chemistry of pet urine from the get-go.
This infographic lays out the basic, non-negotiable process for tackling a fresh accident.
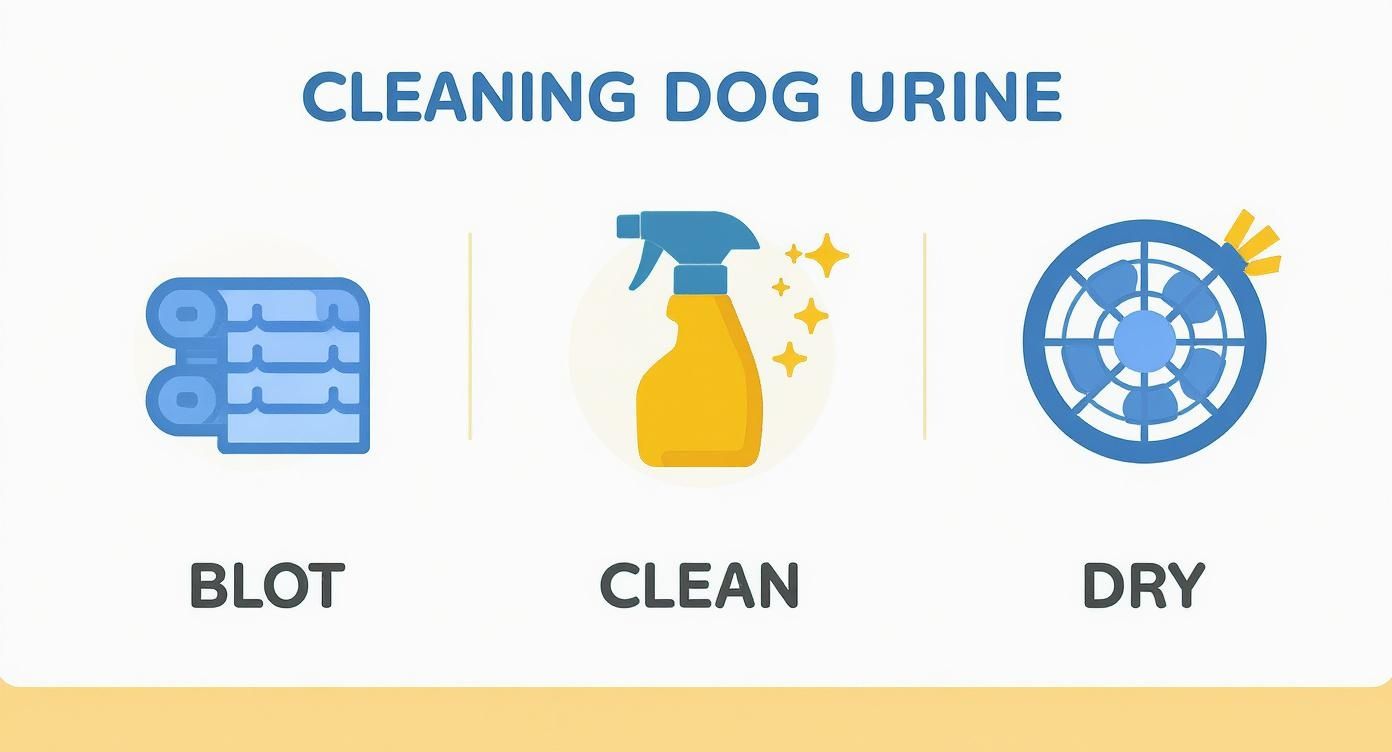
Blot, clean, and dry. Following these three steps immediately is your first line of defense against lasting damage.
Comparing Your Cleaning Options
While enzymatic cleaners are my top recommendation, it's good to know what else is out there and when you might use it. Here’s a quick rundown of the pros and cons I've seen in the field.
When choosing a product, it's helpful to weigh its strengths against your specific needs—is the stain fresh or old? Is your primary concern the odor or a visible mark?
Hardwood Floor Cleaning Solutions Compared
| Solution Type | Effectiveness on Odor | Effectiveness on Stains | Safety for Wood Finish | Best For |
|---|---|---|---|---|
| Enzymatic Cleaner | Excellent | Very Good | Excellent (when used as directed) | Fresh and old accidents; completely eliminating odors. |
| pH-Neutral Cleaner | Fair | Fair | Excellent | General, routine cleaning; very fresh, minor puddles. |
| Baking Soda Paste | Good | Good | Good | Drawing out moisture and odor from older, set-in stains. |
| Hydrogen Peroxide (3%) | Poor | Good (on dark stains) | Use with Extreme Caution | A last-resort for dark, oxidized stains on light-colored wood. |
This comparison shows there's no single perfect solution for every scenario, but an enzymatic cleaner comes closest to being a universal fix for pet urine.
- pH-Neutral Cleaners: These are your go-to for everyday mopping because they're incredibly gentle on your floor's polyurethane finish. But for a urine accident, they just don't have the muscle to break down the proteins causing the real trouble.
- DIY Baking Soda Paste: I've seen this work wonders on stubborn, older stains. A thick paste of baking soda and a bit of water, left on the spot for a few hours, can be surprisingly effective at pulling deep-seated moisture and odors out of the wood grain. For more ideas, you can explore some great natural floor cleaning solutions.
- Hydrogen Peroxide (With Extreme Caution): This is a Hail Mary pass. If you have a dark, ugly stain on a light-colored floor, a cloth lightly dampened with 3% hydrogen peroxide can sometimes bleach it out. This is a bleaching agent, so you absolutely must test it in an inconspicuous area first, like inside a closet, or you risk creating a light spot that's just as bad as the original stain.
No matter which method you choose, speed is everything. Research confirms what I’ve seen for years: enzymatic cleaners were effective in 76% of cases when applied within 30 minutes. Wait more than two hours, and that success rate drops to a dismal 32%. Acting fast with the right tools in hand makes all the difference.
How to Tackle Old Stains and Lingering Smells
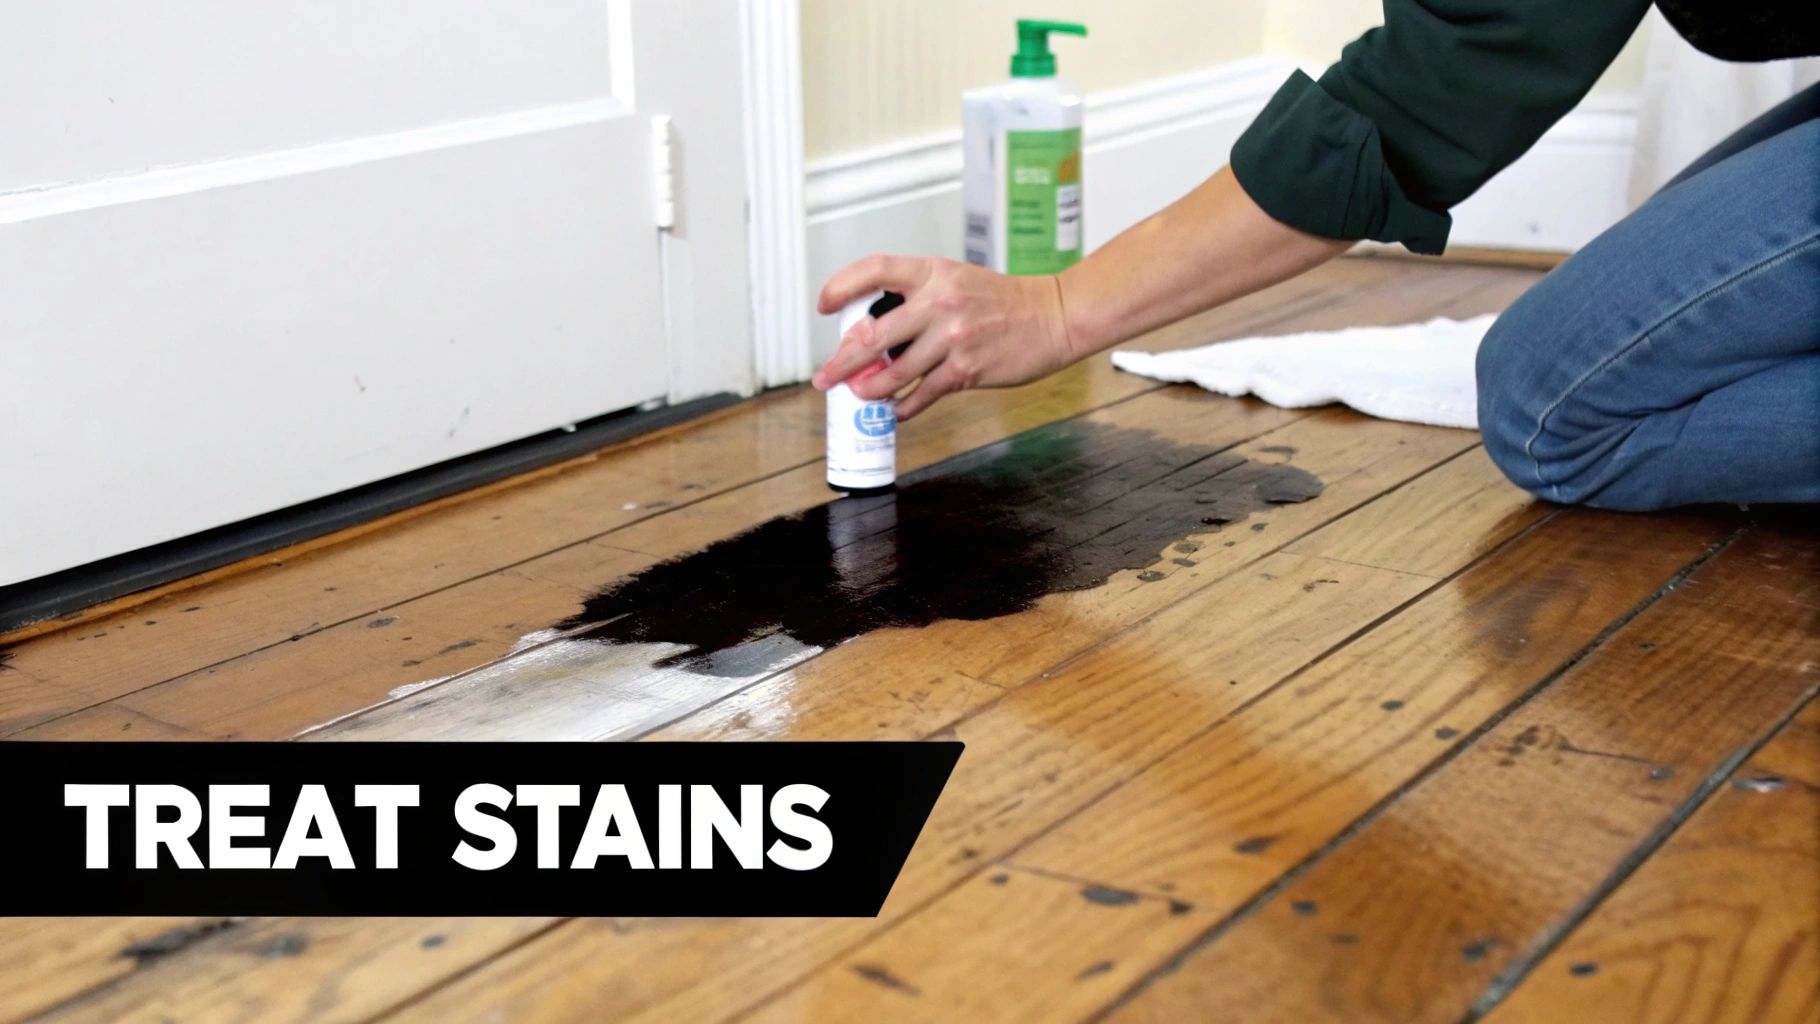
Finding an old, set-in urine stain on your hardwood is a completely different ballgame than mopping up a fresh accident. These aren't just puddles; they're dark, oxidized spots that have had weeks, maybe even months, to seep deep into the wood fibers and react with the tannins. This is where the real work begins.
Fresh spills are a race against the clock. Old stains, on the other hand, are more like a careful extraction mission. The uric acid has already crystallized within the wood, and the ammonia has likely created a dark chemical burn. This is why those spots often come with a stubborn odor that seems to reappear whenever it gets humid.
When you're dealing with stubborn smells from past pet accidents, learning some effective strategies for eliminating home odors can be a huge help. You have to remember you’re not just cleaning a stain; you’re trying to reverse a chemical reaction.
Using a Baking Soda Paste to Draw Out Odors
For older stains where the moisture and smell are locked deep in the grain, a simple baking soda paste can work wonders. Baking soda is a natural absorbent and deodorizer, which is exactly what you need to pull that embedded gunk out.
It's easy to make. Just mix baking soda with a small amount of water until you get a thick paste, something like the consistency of peanut butter. You don't want it to be runny. Slather this paste generously over the entire stain, making sure it's completely covered with a thick layer.
Now, you just have to be patient. Let the paste sit on the stain for several hours, or even overnight. As it dries, it pulls the deep-seated moisture and odor-causing particles right to the surface. Once it's totally dry and crusty, you can gently vacuum it up with a soft brush attachment.
Lightening Dark Stains with Hydrogen Peroxide
If a dark black or gray stain is still staring back at you after your first attempts, it’s a sign the ammonia has oxidized the wood. For this, you might need to bring out a more powerful tool: 3% hydrogen peroxide. Be very careful here, because peroxide is a bleaching agent.
Critical Warning: Hydrogen peroxide can and will lighten your wood floor. It's a last-ditch effort best reserved for dark stains on light-colored wood, like maple or light oak. Always, always test it in a hidden spot first—like inside a closet—to see how your floor finish reacts.
If you decide to go for it, soak a clean white cloth in 3% hydrogen peroxide and lay it directly over the stain. To keep it from evaporating too quickly, you can cover the cloth with a small piece of plastic wrap.
Let it sit for two to four hours, but make sure to check on it every so often to see how it’s progressing. When you're done, remove the cloth, wipe the area with a fresh, water-dampened cloth to neutralize any remaining peroxide, and then dry it completely. You might need to repeat this, but remember that every application risks lightening the wood even more.
Knowing When to Call for Help
Sometimes, a stain is just too deep. If you’ve tried these methods and that dark spot just won't budge, or if you notice the wood feels soft or has started to warp, the damage has likely gone beyond a simple surface fix.
At this point, your only real options are to have a professional sand and refinish the area, or in the worst-case scenario, replace the damaged boards entirely. Knowing when you’ve reached the limit of what a DIY repair can do can save you a lot of time and prevent you from accidentally causing more expensive damage to your beautiful hardwood floors.
Protecting Your Floors from Future Accidents
Cleaning up after your dog is one thing, but preventing the accident in the first place? That's the real win. After you’ve gone through all the trouble of neutralizing a urine spot, the last thing you want is a repeat incident. Let’s talk about how to proactively protect your beautiful hardwood floors so you and your furry friend can live together without worry.
Your floor’s finish is your absolute best friend in this battle. A solid, well-maintained coat of polyurethane is like a waterproof jacket for your wood—it buys you critical time to get to a puddle before it has a chance to soak in and cause a permanent stain. Without that seal, your floor is vulnerable to every little spill.
Building Good Habits and a Pet-Friendly Space
Beyond the physical state of your floor, a bit of smart pet management can make all the difference. This isn't just about house-training a puppy; it’s about maintaining good habits for life. Learn to read your dog’s signals. That little circle dance, the low whine, or an intense sniffing session in a corner are all classic "I need to go NOW" signs.
Creating designated "safe spots" can also be a game-changer. A comfy, washable dog bed gives them a place that’s theirs and theirs alone. For puppies, senior dogs, or any pet prone to accidents, it's worth looking into the pros and cons of reusable vs. disposable dog pee pads. They can be a lifesaver.
Smart, Practical Ways to Protect Your Floors
You can also physically shield your floors in high-traffic areas or common accident zones. Think of it as setting up a few smart defenses.
- Waterproof Rug Pads: I always recommend these. Slip one under every area rug, especially in the living room or dining room. It creates a hidden, impermeable barrier that stops urine dead in its tracks before it ever reaches the wood.
- Strategic Mats: Place durable, easy-to-wash mats by the doors and under your pet's food and water station. These catch the little drips and dribbles that are bound to happen.
- Annual Finish Check: At least once a year, take a close look at your floors, especially in hallways and other busy spots. If the finish looks thin or worn, getting it resealed is a small job compared to the nightmare of replacing stained boards.
These simple steps really do work. One study I read noted that homeowners who used protective rug pads saw a 45% reduction in urine-related floor damage. On top of that, applying a fresh coat of polyurethane sealant each year resulted in a 33% decrease in the severity of stains and odors.
A well-maintained floor finish is your number one defense. It’s the barrier that stands between a minor cleanup and a permanent stain. Proactive care is always less work than reactive repair.
When you combine a strong floor finish with smart pet management and a few physical barriers, you're building a solid defense system. For a more in-depth look, check out our full guide on protecting your floors from pets. This approach puts the odds back in your favor, helping keep your hardwood looking great for years.
Common Questions About Dog Urine on Hardwood
So, you've tackled the immediate mess, but a few questions are probably still nagging you. That's completely normal. Caring for hardwood floors, especially with a four-legged friend in the house, comes with its own set of worries.
Let's clear up some of the most common questions I hear from homeowners. Getting solid answers will give you the confidence to handle the next accident like a pro, knowing exactly what to do—and more importantly, what to avoid.
Can I Use a Steam Cleaner on Dog Pee Stains?
This is a hard no. In fact, it's one of the worst things you can do for a urine stain on wood. It seems logical, right? Steam is hot, it sanitizes, it must be great for this. Unfortunately, it's the exact opposite.
The high heat from a steam cleaner essentially "cooks" the uric acid and proteins in the pee, chemically bonding them to the wood fibers. Think of it like setting a stain permanently. You’ll lock in the smell and the discoloration forever. On top of that, you're forcing hot, pressurized moisture into a material that hates it, which can cause the planks to warp, swell, and cup. You could end up with irreversible damage.
Expert Takeaway: Using a steam cleaner on pet urine is a one-way ticket to a permanent stain and potential floor damage. The heat locks in the odor and the moisture can wreck the wood itself.
What if My Hardwood Floors Are Unsealed or Oiled?
If your floors are unsealed or have an oil finish, you have to act with extreme caution. These finishes offer very little protection against moisture, meaning liquids soak in almost instantly. A small puddle can become a big problem in a matter of seconds.
For these types of floors, your only move is to blot, and blot immediately, with a clean, dry towel. Whatever you do, don't add more liquid to the situation—no water, no vinegar, and definitely no all-purpose cleaners. They'll just soak right into the wood grain along with the urine, leaving you with water spots or worse.
With oiled floors, after blotting it completely dry, you’ll probably need to re-apply some of the protective oil to that spot to restore the finish. Honestly, for unsealed or oiled wood, your best bet is calling a flooring professional right away.
How Do I Know if a Urine Stain Is Permanent?
Sometimes, no matter how quickly you act or what you try, the stain just won't budge. You'll know a stain is likely permanent if it has turned a deep black or dark gray and stays that way after multiple cleaning attempts. This dark discoloration means the ammonia from the urine has chemically burned the tannins in the wood.
Another tell-tale sign is the texture. If the wood feels soft or spongy when you press on it, or if you can see the boards are cupping or warping, the damage has gone far beyond the surface. At this point, a DIY fix isn't going to cut it. The only real solution is to call in a professional to sand the floor down to bare wood and refinish it. In the most severe cases, the damaged planks will need to be replaced entirely.
At Flacks Flooring, we get it—life with pets happens. If you're dealing with stubborn stains or damaged boards in Cumming, Johns Creek, or Milton, our team is ready to help. Contact us for a consultation and we'll walk you through the best options for restoring your beautiful hardwood floors.