
Before you can fix those annoying gaps in your laminate flooring, you have to play detective. Why are they there in the first place? Just knocking a plank back into position without figuring out the root cause is a temporary fix at best—that gap will almost certainly reappear.
Understanding what is laminate flooring is the first step. It’s a composite product designed to float over your subfloor, meaning it isn't nailed or glued down. This clever design allows the entire floor to expand and contract as one giant sheet with changes in temperature and humidity. Those gaps are often just a sign that this natural movement has gone a little off track.
The Two Big Culprits: Climate and Installation

Here in North Georgia—from Cumming to Milton—we get a real taste of all four seasons. The humid summers make laminate planks swell, and the dry winter air, especially when the heat is on, causes them to shrink. This constant cycle of expansion and contraction is a major reason gaps start to show up between boards.
But the weather isn't always to blame. A huge number of gap issues I see trace back to the initial installation. A professional installer knows to leave an expansion gap of 8-12 millimeters around the entire perimeter of the room, hidden by the baseboards. If that space isn't there, the floor has nowhere to go when it expands, causing it to buckle or push against itself. Then, when it shrinks back, you're left with gaps. In fact, industry data suggests that improper expansion allowance is behind more than 40% of all laminate flooring gaps.
Expert Insight: I always tell homeowners to think of their laminate floor as a single, large panel. If you pin it down with ultra-heavy furniture (like a massive bookshelf) or if the baseboards are installed too tightly against it, you're restricting its natural movement. This puts immense stress on the locking joints, eventually causing them to separate.
Don't Forget to Look Underneath
Another sneaky cause is an uneven subfloor. If the surface below your laminate has high spots or low dips, it creates weak points. Every time you walk over these areas, the planks flex and bend in ways they weren't designed to. Over time, that constant movement puts too much strain on the locking mechanisms, and they simply give up, creating a gap. A properly prepped, flat subfloor isn't just a recommendation—it's essential for a floor that will last.
To help you get started, here's a quick guide to connect what you're seeing with what's likely causing it.
Diagnosing Your Laminate Floor Gap Problem
| Symptom | Likely Cause | First Action Step |
|---|---|---|
| Small, consistent gaps across the whole floor, especially in winter. | Seasonal Shrinkage | Monitor and control your home's humidity. Aim for a stable 35-55% year-round. |
| Gaps appearing only at the ends of boards (short sides). | Planks Sliding/Settling | Check for obstructions along the walls. The floor might be pinned, preventing even movement. |
| A single, large gap in one specific area. | Uneven Subfloor or Locked Planks | Gently press on the boards around the gap. If they feel spongy or move up and down, a subfloor issue is likely. |
| Floor is "tenting" or buckling up in the middle of the room. | No Expansion Gap | The floor is expanding and has nowhere to go. You'll need to remove the baseboards to check for proper clearance. |
This table should give you a solid starting point. Once you have a good idea of the "why," you can move on to the "how" with much more confidence.
Getting Your Tools Ready for a Pro-Level Repair
Jumping into a repair without the right gear is a recipe for disaster. It's like trying to cook a five-star meal with just a fork—you'll get frustrated, and the results won't be pretty. Taking a few minutes to gather the proper tools is the single best thing you can do to turn a potential headache into a job you can be proud of.
Trust me, this isn't the time to improvise. I’ve seen homeowners try to use a regular steel hammer directly on a plank, and it almost always ends with a chipped or cracked board. That’s why a rubber mallet is an absolute must-have; it delivers the force you need without the harsh impact.
Your Essential Repair Kit
To tackle those gaps in your laminate floor the right way, you’ll need a few specific items. You can find everything at local hardware stores in Cumming or Johns Creek, and the small investment will pay for itself in a job well done.
- Rubber Mallet: Your go-to for tapping planks without damaging the finish.
- Tapping Block: This little piece of heavy-duty plastic is a lifesaver. It fits right into the plank’s groove, spreading the force from the mallet evenly to protect the delicate locking edges.
- Pull Bar: This Z-shaped metal bar is your best friend when you’re working on gaps near a wall. It hooks onto the end of the plank, letting you tap it shut from the other side where a mallet just can't fit.
- Pry Bar: You'll need this to gently remove baseboards or quarter-round molding without splintering the wood.
- Utility Knife: Great for trimming away any little bits of underlayment or old caulking that might be in the way.
- Pencil & Measuring Tape: Basic, but essential. You'll need them if you have to cut or adjust any trim pieces when you're done.
Here's a pro tip from years of doing this: never, ever skip the tapping block. If you're in a pinch and don't have one, a small scrap piece of the same laminate flooring works perfectly. Its groove is a perfect match for the plank you're trying to move.
What You'll Need for Smaller Fixes
Sometimes a gap is just too small to justify pulling up trim, or it's the result of a tiny chip. In those cases, you can skip the heavy-duty tools and go for a more cosmetic approach.
A tube of color-matched wood putty or sealant is a fantastic tool for these tiny, stubborn gaps. It does a great job of hiding the imperfection and, just as importantly, keeps dirt and grime from getting wedged in the joint. The trick is getting the color right, so always bring a spare piece of flooring or a very clear photo with you to the store.
Proven Methods for Closing Laminate Floor Gaps
Alright, you've figured out why your floor is gapping and you've got your tools ready to go. Now for the satisfying part: making those gaps disappear. Fixing separated laminate planks isn't about raw power; it's about finesse and using the right technique for the job. Some gaps just need a little coaxing, while others demand a more deliberate approach.
We'll start with the simplest tricks for small separations and then move on to the tried-and-true professional methods. The key here is patience. If you try to force a plank, you risk snapping its locking mechanism, and that turns a minor annoyance into a real headache.
The No-Tools Shoe Method for End Gaps
Sometimes, a single plank at the end of a row has just worked itself loose, leaving a tiny but noticeable gap on its short side. Before you reach for a single tool, give this surprisingly simple trick a shot.
Find a pair of clean, rubber-soled shoes with decent grip. Plant one foot firmly on the plank next to the gapped one. Then, using the toe of your other shoe, press against the exposed end of the problem plank and give it a firm, shuffling push. You'd be surprised how often that little bit of friction is all it takes to nudge the board right back into place.
Tapping Planks Back into Place
For gaps that are a bit more stubborn or run across several boards, it's time to bring out the tools. The tapping method is what the pros use, and for good reason—it’s safe and incredibly effective when you do it right.
First things first: you need to gently pry off the baseboard or quarter-round molding along the wall closest to the gap. This is a crucial step because it gives the flooring room to move. With the trim out of the way, you can start closing those gaps row by row.
- Set the Tapping Block: Fit your tapping block snugly against the long edge of the first plank in the row you need to shift. Make sure the block's little lip is securely seated in the plank’s groove.
- Tap, Don't Hammer: With your rubber mallet, give the tapping block a few firm but controlled taps. Think of it as persuading the plank, not punishing it.
- Work Down the Line: Move along the row, tapping each plank in sequence. This distributes the force evenly and keeps you from accidentally creating a new gap further down. You'll see the separations tighten up as you go.
A Quick Word of Caution: Never, ever hit the laminate directly with your mallet or a hammer. That tapping block is non-negotiable. It spreads the force of the impact evenly across the plank’s edge, protecting the delicate locking system from chips or cracks. A broken tongue and groove is a much bigger problem than a simple gap.
Using a Pull Bar for Tricky Spots
What do you do about those gaps right up against the wall where a tapping block won't fit? This is exactly what a pull bar was designed for. That Z-shaped piece of metal is about to become your best friend.
Hook the short, flat lip of the pull bar over the end of the gapped plank. The taller, vertical end should be facing you. Now, you can gently tap that vertical section with your mallet, which pulls the plank toward you, cinching the gap tight. It lets you apply targeted force in tight corners without scuffing the wall or damaging the floor.
This image shows how these essential flooring tools work together.
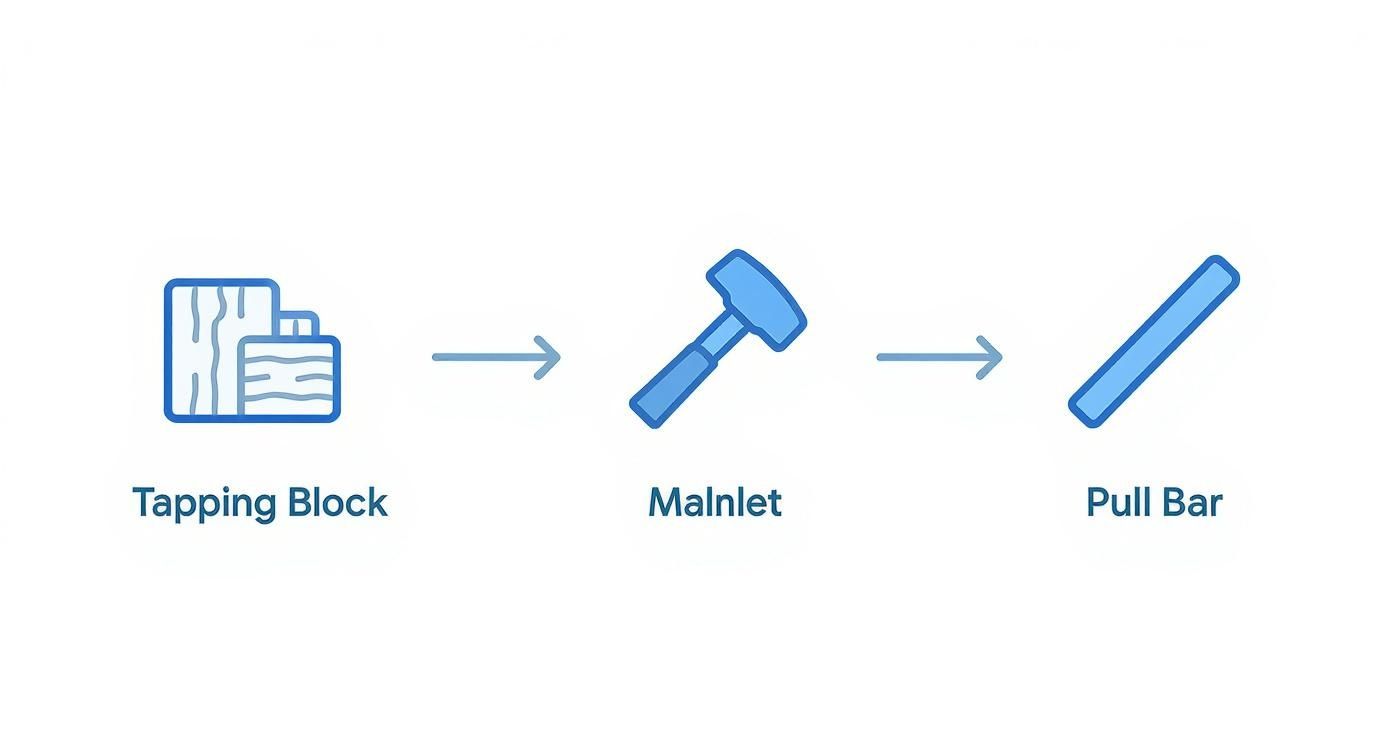
You can see how each tool has a specific job, from the tapping block protecting the plank edge to the pull bar reaching where other tools can't.
Once you’ve closed up all the gaps, step back and admire your work. Run your hand over the seams to feel for any unevenness. When everything looks and feels right, you can reinstall the baseboard. Just be sure to nail it directly to the wall, not the floor. Your floor needs that freedom to expand and contract naturally.
Handling Advanced Repairs and Damaged Planks

Sometimes you’ll find a gap that just won't cooperate, no matter how much you persuade it with a tapping block. This usually happens when the plank's locking mechanism is compromised or if the floor has settled under too much tension. When you’re facing a stubborn gap or a plank that's been visibly chipped or gouged, it's time to shift from closing gaps to performing a more direct repair.
The good news? This doesn't automatically mean you have to pull up half the room. For those small but persistent gaps, a simple cosmetic fix is often the smartest and easiest solution.
When to Use a Cosmetic Fix
For those tiny, hairline gaps that are more of an eyesore than a real problem, color-matched wood putty is your go-to solution. The real trick here is getting a putty that blends seamlessly with the main color of your laminate.
- Apply It: Using a flexible putty knife, press a small amount of filler firmly into the gap.
- Smooth It Out: Scrape off any excess right away, making sure the putty sits flush with the flooring surface.
- Let It Cure: Give it plenty of time to dry based on the manufacturer's instructions before you walk on it.
This quick fix can make a nagging gap all but disappear, giving you a smooth, clean finish.
Expert Tip: In high-traffic areas or near doorways where there's a bit more movement, I'd recommend using a flexible flooring sealant instead of a hard putty. These products are designed to handle minor expansion and contraction, which makes the repair last a whole lot longer.
Replacing a Damaged Plank in the Middle of the Floor
What if a plank is badly scratched, chipped, or has water damage? A little filler won't cut it. At first, the idea of replacing a single board right in the middle of a room sounds like a nightmare, but it's a very manageable project that saves you from the massive job of disassembling the entire floor. It just takes a bit of precision and patience.
You’ll need a circular saw with a plunge-cut feature, a sharp chisel, a mallet, and of course, a new plank.
First, you have to carefully remove the old board.
- Set Your Blade Depth: Adjust your circular saw so the blade is set just a fraction deeper than the thickness of the laminate. This part is critical—you absolutely want to avoid cutting into your subfloor.
- Make the Plunge Cuts: Carefully plunge the saw into the center of the damaged plank. Cut two parallel lines, keeping them about an inch away from the long edges. Make sure you stop these cuts about an inch from each end of the board.
- Finish with a Chisel: Use your chisel and mallet to gently cut that last inch at each end, connecting your two saw cuts. You should now have a long, removable rectangle.
- Remove the Center: Pry out that center section you just cut. This instantly relieves the tension holding the plank in place.
- Lift Out the Edges: The remaining edges of the plank, which were interlocked with the surrounding floor, can now be collapsed inward and lifted out easily.
Once the old plank is out, vacuum up any dust and debris. Now, you have to prep the new plank. Carefully trim off the bottom part of the groove on one long side and one short side. This modification is what allows the new board to drop into place without having to be angled and locked in.
Apply a thin bead of wood glue to the tongues of the surrounding planks, then carefully set the new plank in place. Put something heavy on it to hold it down securely while the glue dries, and you're all set.
This kind of targeted repair is becoming more common. In fact, the market for laminate flooring repair services is projected to grow at a 3.7% to 6% CAGR globally through 2035. This just goes to show that more and more homeowners see the value in maintaining their floors rather than going through a full replacement.
How to Keep Those Laminate Gaps from Coming Back
Fixing a gap in your laminate flooring feels great, but the real win is making sure it stays fixed for good. Honestly, long-term success isn't just about the one-time repair; it's about creating a stable environment where your floor can thrive. Think of it as preventative care—a few simple habits are a whole lot easier than dragging out the tools every winter.
By far, the most powerful tool you have for preventing gaps is controlling the climate inside your home.
Laminate flooring is a bit like a living thing. It expands and contracts with the seasons. Here in Georgia, we know all about humid summers that cause planks to swell, followed by dry winter air from the furnace that makes them shrink right back. This constant back-and-forth movement is the number one enemy of a tight, seamless floor. Your goal is to smooth out those dramatic swings.
Master Your Indoor Climate
The sweet spot for laminate is maintaining a consistent indoor relative humidity level, ideally somewhere between 35% and 55% all year. That might sound technical, but managing it is actually pretty straightforward.
-
During Humid Summers: Running a dehumidifier, especially in a basement or on the main level, works wonders. It pulls that excess moisture out of the air before your flooring can soak it all up, preventing the planks from swelling and putting stress on the joints.
-
During Dry Winters: Once the heat kicks on, the air inside gets incredibly dry. A whole-home humidifier is best, but even a good portable one can add much-needed moisture back into the environment. This stops your planks from shrinking and pulling apart.
A Worthwhile Investment: I always tell homeowners to grab a simple digital hygrometer. They're inexpensive and give you a real-time reading of your home’s humidity, taking all the guesswork out of when to fire up the humidifier or dehumidifier.
Revisit the Foundation of a Good Install
Beyond climate, the fundamentals of the original installation play a huge part in preventing gaps down the road. A properly installed floor has a built-in defense system against all that movement. The most critical piece of this is the expansion gap—that little bit of space left around the edge of the room, hidden neatly under your baseboards. This gap gives the entire floor room to breathe without buckling or separating.
Another thing I see all the time is floor friction. Heavy furniture can literally pin your floating floor to the subfloor in one spot.
Imagine a massive, solid wood bookcase or a heavy sectional sofa. If it’s sitting directly on the laminate, it stops the whole floor from expanding and contracting as one cohesive unit. This creates tremendous stress on the locking joints in other parts of the room, which can eventually just give up. The fix is simple: put felt pads under the feet of all your heavy furniture. This allows the floor to slide freely underneath, exactly like it was designed to. A clean floor also helps reduce friction; you can learn more about the best way to clean laminate wood floors to keep them in top shape and moving freely.
Knowing When to Call a Flooring Professional
A successful DIY project isn’t just about having the right tools; it’s about knowing your limits. While many fixes for gapping laminate are well within a homeowner's reach, some problems are just symptoms of a much bigger issue that a mallet and tapping block can't solve. It’s crucial to recognize when to put the tools down and pick up the phone.
Making that call isn't giving up. It's the smartest move you can make to protect your home's value and structural integrity. Sometimes, what looks like a simple gap is really just the tip of the iceberg.
Red Flags That Scream "Get an Expert"
Certain issues go far beyond a simple plank that's drifted apart. If you spot any of these warning signs, especially in a Cumming or Forsyth County home where subfloor conditions can be unpredictable, it’s time to get a professional opinion.
- Widespread Gapping: Are you seeing gaps open up all over the place, not just in one or two spots? This suggests a systemic problem.
- Buckling or Tenting: This is when planks push upwards, creating a peak or "tent" in the floor. It's a clear sign of intense pressure.
- Spongy or Bouncy Spots: If you walk across a certain area and it feels soft or gives way underfoot, something is definitely wrong underneath.
These aren't minor cosmetic flaws. They often point to serious underlying issues like a major subfloor problem, excessive moisture, or a fundamentally flawed installation that needs an expert eye to diagnose and fix properly.
An experienced flooring contractor has the tools and know-how to spot problems you can't see. They can accurately measure subfloor moisture and flatness, which are often the real culprits behind a failing laminate floor.
Finding the Right Local Pro
The DIY spirit is strong, and that's great for minor fixes. In fact, the laminate flooring repair market is expected to shoot past $800 million by 2033, largely because people prefer to fix small gaps themselves rather than pay for a full reinstallation. You can learn more about this trend and why simple DIY methods have become so popular since 2021 over at beflooring.com.
But when the job is too big, a pro is your best bet. If you've decided professional help is the way to go, understanding how to go about finding the best renovation contractor can save you a lot of headaches.
Focus on finding insured contractors right here in the Milton or Johns Creek area who have a proven track record. Always ask for references, read online reviews, and insist on a detailed, written estimate that breaks down all the costs for labor and materials. A true professional won't just give you a price; they'll explain exactly what’s causing the problem and lay out a clear plan to fix it for good.
At Flacks Flooring, we want to empower you with knowledge, but we also know that some jobs need a professional touch to protect your investment. If you're dealing with a complex flooring issue, stop by our showroom or schedule an in-home consultation for expert advice you can trust.