
The secret to a great peel-and-stick flooring job isn't in how you lay the tiles—it's what you do before you even open the box. Your subfloor has to be perfectly clean, dry, and level. Getting this part right is the single most important thing you can do for a long-lasting, professional-looking floor. It ensures the adhesive grabs on tight and prevents annoying issues like lifting corners or bubbling down the road.
Your Foundation for a Flawless Floor
Peel-and-stick flooring has absolutely exploded in popularity, and for good reason. It’s incredibly DIY-friendly. In fact, the market for self-adhesive vinyl floors is on track to become a nearly $7 billion industry by 2033, all because homeowners want great-looking floors without the headache of a complicated installation. You can find more details on these market trends in this comprehensive report on self-adhesive vinyl floors.
But don’t let the simplicity fool you. The real magic isn't in the tiles themselves; it's in the prep work. Think of your subfloor like the foundation of a house. If it’s not solid, level, and clean, everything you put on top of it is going to have problems.
Before you get started, it's a good idea to gather all your tools and materials in one place. Having everything you need on hand from the beginning makes the whole process go much smoother and helps you avoid interruptions.
Essential Tools and Materials Checklist
Gather everything you need before you start. This checklist covers all the essential tools and materials for a smooth peel and stick flooring installation.
| Category | Item | Purpose |
|---|---|---|
| Preparation | Broom & Dustpan | For sweeping up large debris. |
| Preparation | Shop-Vac | To remove fine dust and particles that a broom misses. |
| Preparation | Degreasing Cleaner | Cuts through grease, wax, and grime for a truly clean surface. |
| Preparation | Floor Patch/Leveler | Fills cracks, holes, and low spots in the subfloor. |
| Installation | Tape Measure | For accurate measurements of the room and tiles. |
| Installation | Utility Knife | For scoring and cutting tiles to fit around edges and obstacles. |
| Installation | Straightedge/T-Square | To guide your utility knife for perfectly straight cuts. |
| Installation | Chalk Line | To snap straight reference lines on the floor. |
| Finishing | J-Roller or 100-lb Roller | To press tiles down firmly and ensure a strong adhesive bond. |
Once your toolkit is ready, you can dive into the most crucial part of the project: the subfloor inspection.
Inspecting and Prepping Your Subfloor
Before a single tile touches the floor, you need to give that subfloor a thorough inspection. Get down there and run your hand across the surface to feel for any bumps or rough spots. Use a long straightedge or a level to check for dips. Any little imperfection, no matter how small, will eventually "telegraph" through the new vinyl, creating visible flaws and weak spots where the adhesive can fail.
Your goal is a surface that is:
- Completely Clean: This means no dust, grease, wax, or anything else that could get between the tile and the subfloor. You'll likely need a good degreasing cleaner to get it truly spotless.
- Totally Dry: Moisture is the number one enemy of flooring adhesive. Make absolutely sure the subfloor is bone-dry before you start.
- Perfectly Smooth: Fill in any cracks, nail holes, or low spots with a patching compound. Once it’s cured, sand it down so it’s completely flush with the rest of the floor.
A common mistake is thinking a quick sweep is good enough. I've seen it time and again—fine dust is the top reason for adhesive failure. It prevents the tile from making that full, secure bond you need for a floor that lasts.
Addressing Common Subfloor Challenges
Different subfloors come with their own unique quirks. If you’re installing over concrete, for instance, you have to test for moisture and will probably need to apply a latex-based primer to seal the porous surface and help the tiles stick.
Working with an uneven wood subfloor? You may need to spend some extra time learning how to level uneven floors to create a suitable base.
If you plan on laying your new floor over an old one, you have to be honest about its condition. Is it perfectly flat and secure? If you're dealing with old ceramic tile, your best bet is often to pull it up. A good DIY guide to remove ceramic tile can walk you through that process. Skipping this foundational work is a gamble that rarely pays off, almost always leading to peeling corners and shifting tiles down the road.
Mapping Out Your Installation for a Professional Look
The difference between a DIY job and a pro-level floor is all in the planning. Before you even think about peeling the back off a single tile, you need a solid game plan. Taking a few minutes to map out the layout will save you a world of frustration and prevent that classic rookie mistake: ending up with tiny, awkward slivers of tile against a highly visible wall.
First things first, find the true center of the room. Grab your tape measure and find the midpoint of two opposite walls, making a small mark for each. Then, snap a chalk line connecting those two points. Do the exact same thing for the other two walls. Where those two chalk lines cross? That's your ground zero—the starting point that will guide the entire installation.
Performing a Dry Lay
With your reference lines snapped, it's time for a dry lay. This is your dress rehearsal. Lay the tiles out along your chalk lines, but keep the adhesive backing on. Start from your center point and work your way out toward the walls. This simple test run gives you a clear picture of how the finished floor will look and, more importantly, what size your final cuts will be against the walls.
If your dry lay reveals that you'll be stuck with pieces less than half a tile wide against a wall, you've got to adjust. Shifting your layout now is a simple fix; trying to precisely cut and fit a paper-thin sliver of vinyl later is a nightmare.
This step is also your chance to see how the pattern flows around doorways, floor vents, or built-in cabinets. It's all about catching potential problems before they're stuck to your floor.
Before you can even get to this stage, your subfloor needs to be in perfect shape. This infographic walks through the critical prep work that ensures your tiles stick properly and look great for years to come.
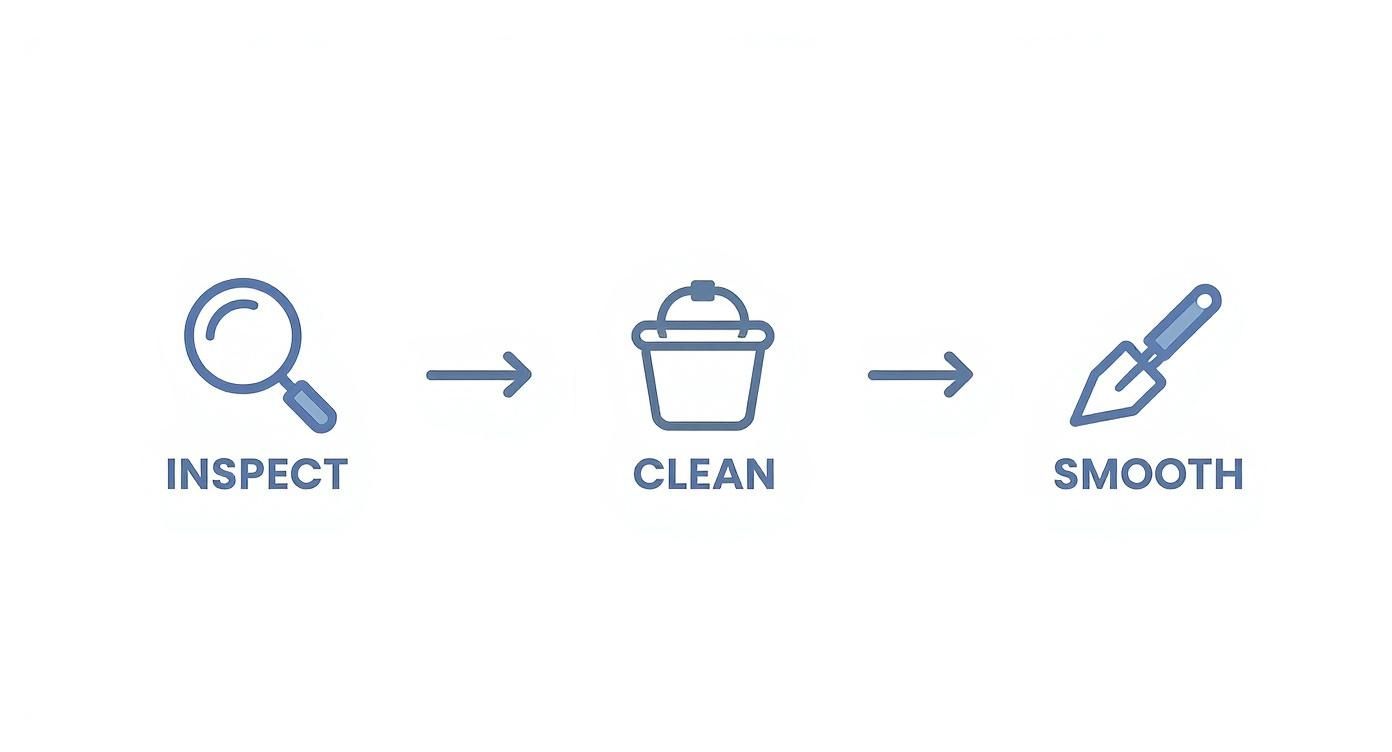
As you can see, inspecting, cleaning, and smoothing the surface aren't just suggestions—they are mandatory steps for a floor that will last.
Choosing Your Pattern
While a simple grid is a perfectly fine choice, don't be afraid to add a little personality with a different pattern. Here are a few popular options I've seen work really well:
- Staggered (Brick) Pattern: This is my go-to for hiding slight imperfections in a subfloor. You just offset each row by half a tile's length. It breaks up the grid and gives the room a more dynamic, modern feel.
- Diagonal (Diamond) Pattern: Setting the tiles at a 45-degree angle to the walls can be a game-changer, making a small room feel much more spacious. Just be warned, it involves more cutting and you'll have more waste.
- Checkerboard Pattern: It’s a classic for a reason. Alternating two different colors gives you that timeless, retro vibe that’s perfect for kitchens, mudrooms, or bathrooms.
Once you’ve settled on a pattern and your dry run looks good, you're officially ready to start sticking tiles down. This prep work might seem tedious, but it’s what guarantees every single tile contributes to a floor you can be proud of.
The Art of Cutting and Fitting Tiles Perfectly
With your layout planned and chalk lines snapped, the real fun begins. This is where the room starts to transform, and your vision comes to life, one tile at a time. The process is pretty straightforward, but precision is key.
Start by peeling back just a small corner of the paper backing. Try your best not to touch the adhesive; the oils from your fingers can weaken the bond.
Carefully align your first tile right at the intersection of your center lines. Once you're happy with its position, slowly pull away the rest of the backing as you press the tile down, smoothing it out from the center towards the edges. This little trick helps push out any trapped air bubbles and gives you a solid, even stick. Make sure to apply firm pressure across the whole tile.
Mastering the Cuts for a Flawless Fit
Laying the full tiles in the middle of the room is the easy part. The real mark of a good flooring job is how well you handle the edges and any obstacles. For those straight cuts you'll need along the walls, the "score and snap" method is your go-to technique.
Here’s the simple, foolproof way to do it:
- Lay the tile you need to cut directly over the last full tile you installed.
- Grab another full tile and place it on top, butting it right up against the wall. This tile is now your guide.
- Use the edge of that top tile to draw a line on the tile underneath it.
- Now, take the tile you just marked. Using a sharp utility knife and a straightedge, score it firmly along your pencil line. You're just making a deep scratch, not trying to cut all the way through.
- Finally, just snap the tile along the line. You'll get a clean, perfect break.
This overlay method is brilliant because it automatically accounts for walls that aren't perfectly straight, giving you a custom-fit piece every time.
A common rookie mistake is to measure the gap with a tape measure and then transfer that number to the tile. Walls are almost never perfectly straight. The overlay method ensures your piece fits the unique contour of your wall, not some ideal measurement.
Navigating Tricky Obstacles
Eventually, you'll hit something that isn’t a straight line—think door jambs, pipes, or floor vents. This is where a little patience and a paper template will save you a world of frustration.
Just grab a piece of construction paper or even some cardboard and create a template of the weird shape. Trace the outline of the object, cut out the template, and double-check the fit. Once it's perfect, trace that shape onto your vinyl tile and carefully cut along the line with your utility knife. Go slow with these cuts; a steady hand is far more important than speed.
The simplicity and low cost of this process are exactly why so many DIYers love this type of flooring. Peel-and-stick often hits that sweet spot between budget and effort. The material cost typically runs between $1.50 to $4.00 per square foot, and you can knock out an average-sized room in just a few hours. That’s a huge win compared to other options.
Many homeowners find themselves comparing peel-and-stick to luxury vinyl plank (LVP). While LVP is a fantastic product, it's good to know the differences. If you're weighing your options, our guide on what luxury vinyl plank flooring is offers a great deep dive. But by mastering these simple cutting techniques, you can get a professional-looking floor with peel-and-stick without the higher cost and installation headaches of other materials.
Adding the Finishing Touches That Matter
With all your tiles perfectly cut and fitted, you can breathe a sigh of relief—the heavy lifting is officially done. Now it's time for the final details that pull everything together, transforming your project from a well-laid floor into a professionally finished room.
These last steps are pretty straightforward, but they're absolutely essential for getting a durable, polished look that lasts.
Your first job is to make sure every single tile has a rock-solid bond with the subfloor. You pressed each one down by hand as you went, but that’s rarely enough to guarantee a permanent hold. For this, you really need a 100-pound floor roller. You can typically rent one from any local hardware store for a few hours.
Start in a corner and methodically roll over the entire floor. Don't rush it; let the weight of the roller do the work. This pressure is key—it pushes out tiny, hidden air bubbles and activates the full strength of the adhesive, ensuring every inch of every tile is permanently bonded.
A lot of people are tempted to skip the floor roller, thinking hand pressure is good enough. I've seen it happen time and again, and it's a critical mistake. Floors can develop lifting corners or bubbles months down the road simply because this step was missed. That uniform pressure is the best insurance policy you have for a long-lasting installation.
Installing Trim for a Clean, Professional Look
Once the floor is fully secured, it's time to deal with the edges of the room. You probably have a small, intentional gap between your last row of tiles and the wall. This expansion gap is necessary, but it needs to be covered for a clean, seamless look. This is where trim comes in.
Installing baseboards or quarter-round molding is what truly completes the job. This trim isn't just for looks; it serves two important purposes:
- It neatly hides the expansion gap, creating a smooth visual transition from the floor to the walls.
- It protects the edges of your new flooring from getting chipped or damaged from daily life.
The type of molding you choose can really influence the room's final style. There are tons of options, from simple quarter-round to more decorative baseboards. If you're not sure where to start, looking into the different types of floor molding can help you pick the perfect style for your space.
After you've cut and installed the trim, there's just one last thing to do: a quick cleanup. Sometimes, a tiny bit of adhesive can squeeze up through the seams between tiles when you're using the roller.
Just grab a clean cloth, lightly dampen it with mineral spirits, and gently wipe away any residue. Let it dry, and that’s it. Your beautiful new floor is officially complete and ready for years of enjoyment.
Dealing With Common Installation Hiccups
Even when you follow every step to the letter, things can still go sideways. You might lay a tile that just won't stick, or maybe a corner pops up a few days later. Don't sweat it—these are super common issues, and the fixes are usually pretty simple. Honestly, knowing how to troubleshoot these little problems is what separates a DIY job from a pro-looking finish.
Most of the time, the problem comes down to one of three things: a speck of dust you missed, a little lingering moisture, or just not using enough muscle when you pressed the tile down. The good news is, you can fix it.
What to Do When a Tile Just Won't Stick
You’ve lined it up perfectly, pressed it down, and… nothing. It’s just not grabbing. This is almost always a subfloor problem. The adhesive on these tiles is powerful, but it's no match for a layer of fine dust or a slick, greasy spot.
First thing's first: gently lift the tile and take a look at both the subfloor and the sticky side of the tile.
If you see dust clinging to the adhesive, you've found your culprit. Here’s the fix:
- Spot-clean the subfloor: Grab a clean cloth, dampen it a bit with a degreasing cleaner, and give that specific spot a good wipe. Make sure it's 100% dry before you try again.
- Give the adhesive a little boost: A hairdryer on low is your best friend here. Gently warm the back of the tile for about 15-20 seconds. This little trick helps make the adhesive extra tacky again.
- Apply serious pressure: Put the tile back in place and really lean into it with a J-roller. If you don't have one, a heavy stack of books will do. Work your way from the center out to the edges.
This simple routine solves the problem 90% of the time. If for some reason it still won't stick, you might need a vinyl tile adhesive primer, but that's pretty rare if your floor prep was solid.
Fixing Pesky Lifting Corners and Edges
It’s so frustrating to see a corner start to lift, but it’s an easy fix. This tends to happen in high-traffic spots or places where the roller might not have made full contact. The solution? A little heat and pressure, just like before.
Gently pull the corner up, use your hairdryer to warm the adhesive underneath, and then press it firmly back into place. For a truly solid bond, place something heavy—like a paint can or a stack of books—on the corner for a few hours. That little bit of extra effort ensures it stays put for good.
While peel and stick is forgiving, sometimes problems crop up that require a bit more attention. Having a basic understanding of general tile repairs can be a huge help in keeping your floor looking great for years.
How to Replace a Damaged Tile
Life happens. A dropped tool or a dragged piece of furniture can leave a nasty scratch or gouge. The beauty of tile is that you don't have to replace the whole floor—just the one damaged piece.
Swapping out a single tile is way easier than it sounds.
- Warm It Up: Grab your hairdryer and heat the entire surface of the damaged tile. This softens the glue and makes removal a breeze.
- Pry It Loose: Slide a putty knife under one of the corners and carefully work it up. The key is to go slow so you don't chip or damage the neighboring tiles.
- Clean the Spot: Once the old tile is gone, you'll probably have some sticky residue left. Scrape it off and give the exposed subfloor a thorough cleaning.
- Drop in the New Tile: Peel the backing from your replacement tile, line it up carefully in the empty space, and use your roller to press it down firmly.
This is exactly why you should always buy an extra box of flooring. Having a few spare tiles on hand means you'll always have a perfect match ready for a quick and seamless fix.
Your Top Peel and Stick Flooring Questions, Answered
Even the most straightforward project can leave you with a few lingering questions. Getting those sorted out before you start can be the difference between a smooth installation and a frustrating afternoon. Let's tackle some of the most common questions I hear from DIYers about peel and stick flooring.
Can I Just Stick This Over My Old Floor?
This is easily the number one question, and the answer is a classic "it depends." The short version is: only if the existing floor is perfectly smooth, solid, and non-cushioned. Think a single, well-adhered layer of old sheet vinyl or linoleum. If it's clean and flat, you're likely good to go.
However, you absolutely should never install peel and stick directly over certain surfaces:
- Ceramic Tile: Those grout lines are a dealbreaker. They create an uneven grid that will eventually show through your new tiles, and the adhesive won't get a proper grip.
- Cushioned Vinyl: Any flooring with a soft, squishy underlayer is a no-go. The new tiles will flex and shift, causing ugly gaps to appear between the seams.
- Floating Floors: Laminate, LVP, or any floor that isn't glued down is not a stable base. It's like building a house on a raft.
- Layers of Old Flooring: Peeling back multiple layers of old flooring is just asking for adhesion failure and an unstable surface.
If you're dealing with any of these, your best bet is to either tear out the old flooring or lay down a fresh layer of plywood underlayment. A quick skim coat of leveling compound over that will give you the perfect canvas.
Should I Bother with Extra Glue?
For the most part, no. The adhesive on a quality peel and stick tile is specifically designed to do the job on its own—but only if you've prepped the subfloor correctly. A clean, dry, and primed surface is everything.
That said, there are a couple of times when a little extra insurance is a smart move. If you're working in a bathroom or another spot with high moisture, or if the tiles just don't feel super tacky out of the box, a vinyl tile primer is your best friend. You roll a thin coat onto the subfloor, not the tile. This primer seals the surface and makes it incredibly receptive to the tile's adhesive.
Think of it this way: you're not adding more glue. You're creating the perfect "handshake" between the floor and the tile, ensuring a rock-solid bond from the start.
How Long Until I Can Use the Room Again?
I know you'll be eager to get your room back in order, but a little patience here goes a long way. You can usually walk on the floor with clean, soft-soled shoes right after you've finished rolling it, but take it easy.
The adhesive needs time to cure properly. I always recommend waiting at least 24 to 48 hours before bringing heavy furniture back in. And when you do, lift—don't drag! You'll also want to hold off on any serious mopping or cleaning for about 3 to 5 days. This gives the adhesive the uninterrupted time it needs to set up for the long haul.
At Flacks Flooring, we believe that the right advice is the first step to a beautiful floor. Our team is always ready to answer your questions and help you find the perfect flooring for your Cumming, GA home. For more personalized guidance, come see what we have to offer at https://flacksflooring.com.