
Before you even think about laying down that gorgeous new flooring, we need to talk about what's underneath. Getting your subfloor perfectly flat is the single most important prep step you can take. It’s the difference between a floor that lasts a lifetime and one that starts causing headaches in a year. The basic game plan involves finding the high and low spots, prepping the subfloor, and then using a solution like a self-leveling compound for concrete or laying new plywood for wood subfloors. This isn't just busywork; it's the foundation for a flawless, durable finish.
Why a Level Floor Is Non-Negotiable
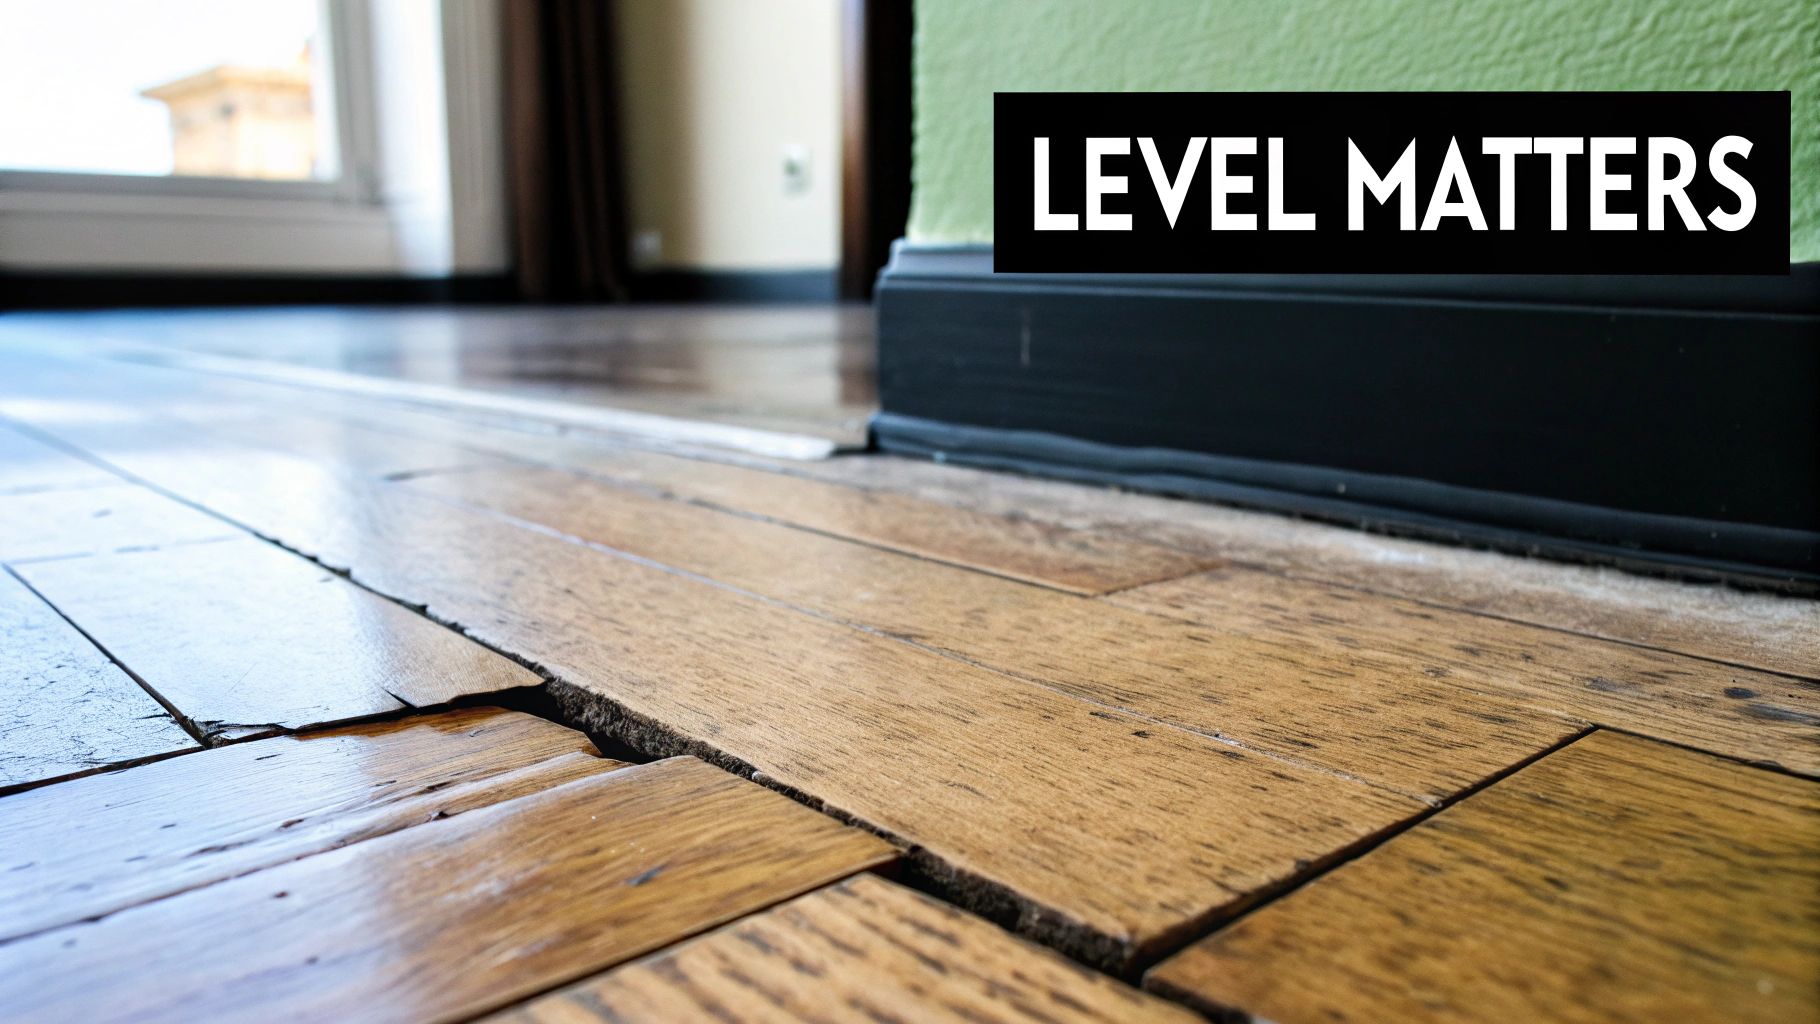
It’s easy to get excited and rush into installing the new hardwood or tile you just bought. But trust me, putting it over an uneven subfloor is a mistake you’ll regret. An imperfect base isn't a small cosmetic flaw—it's the root cause of countless flooring failures. Eventually, every dip and hump will show through on the surface.
Ignoring these issues will lead to a whole range of frustrating and expensive problems down the road. Modern flooring like laminate, engineered wood, and luxury vinyl tile (LVT) is engineered to click together tightly on a perfectly flat surface. When the subfloor isn't level, it puts constant strain on those locking mechanisms and joints.
This stress is what causes things like:
- Persistent squeaks and creaks that drive you crazy.
- Ugly gaps appearing between planks as they shift and separate.
- Cracked tiles or grout from the floor flexing under foot traffic.
- A spongy or "bouncy" feeling in certain areas of the room.
Getting to the Bottom of It
So, why are floors uneven in the first place? It usually comes down to two main things: the house settling over time or problems with the subfloor itself. It's completely normal for a home's foundation to settle over the years, which can create subtle slopes in a concrete slab. For wood subfloors, the enemy is often moisture, which can cause floor joists to sag or the plywood layers to warp and peel apart.
Figuring out the cause points you toward the right fix. If you're working with concrete, a pourable self-leveling compound is often the hero. For a wood subfloor, you might need to screw down loose boards, sand down high spots, or even install a fresh layer of plywood to create a brand-new, flat surface.
With the home renovation market booming, demand for these solutions has skyrocketed. The global self-leveling concrete market, for example, was valued at roughly USD 5 billion in 2023 and is expected to hit USD 9.10 billion by 2032. It's popular for a reason—it works incredibly well and is relatively easy for pros and savvy DIYers to use.
Key Takeaway: A flat subfloor isn't a suggestion; it's a hard requirement. Most flooring warranties become void if the subfloor fails to meet flatness standards, which is typically a variance of no more than 3mm over a 2-meter span.
Think of leveling your floor as an investment. The extra time and effort you put in now will pay off for decades, ensuring your beautiful new floor looks just as good years from now as it did on day one. Once you've got that perfect surface, you can confidently explore your options. To get started, you can learn more about how to choose flooring that will best suit your space.
Getting Your Subfloor Ready for What's Next
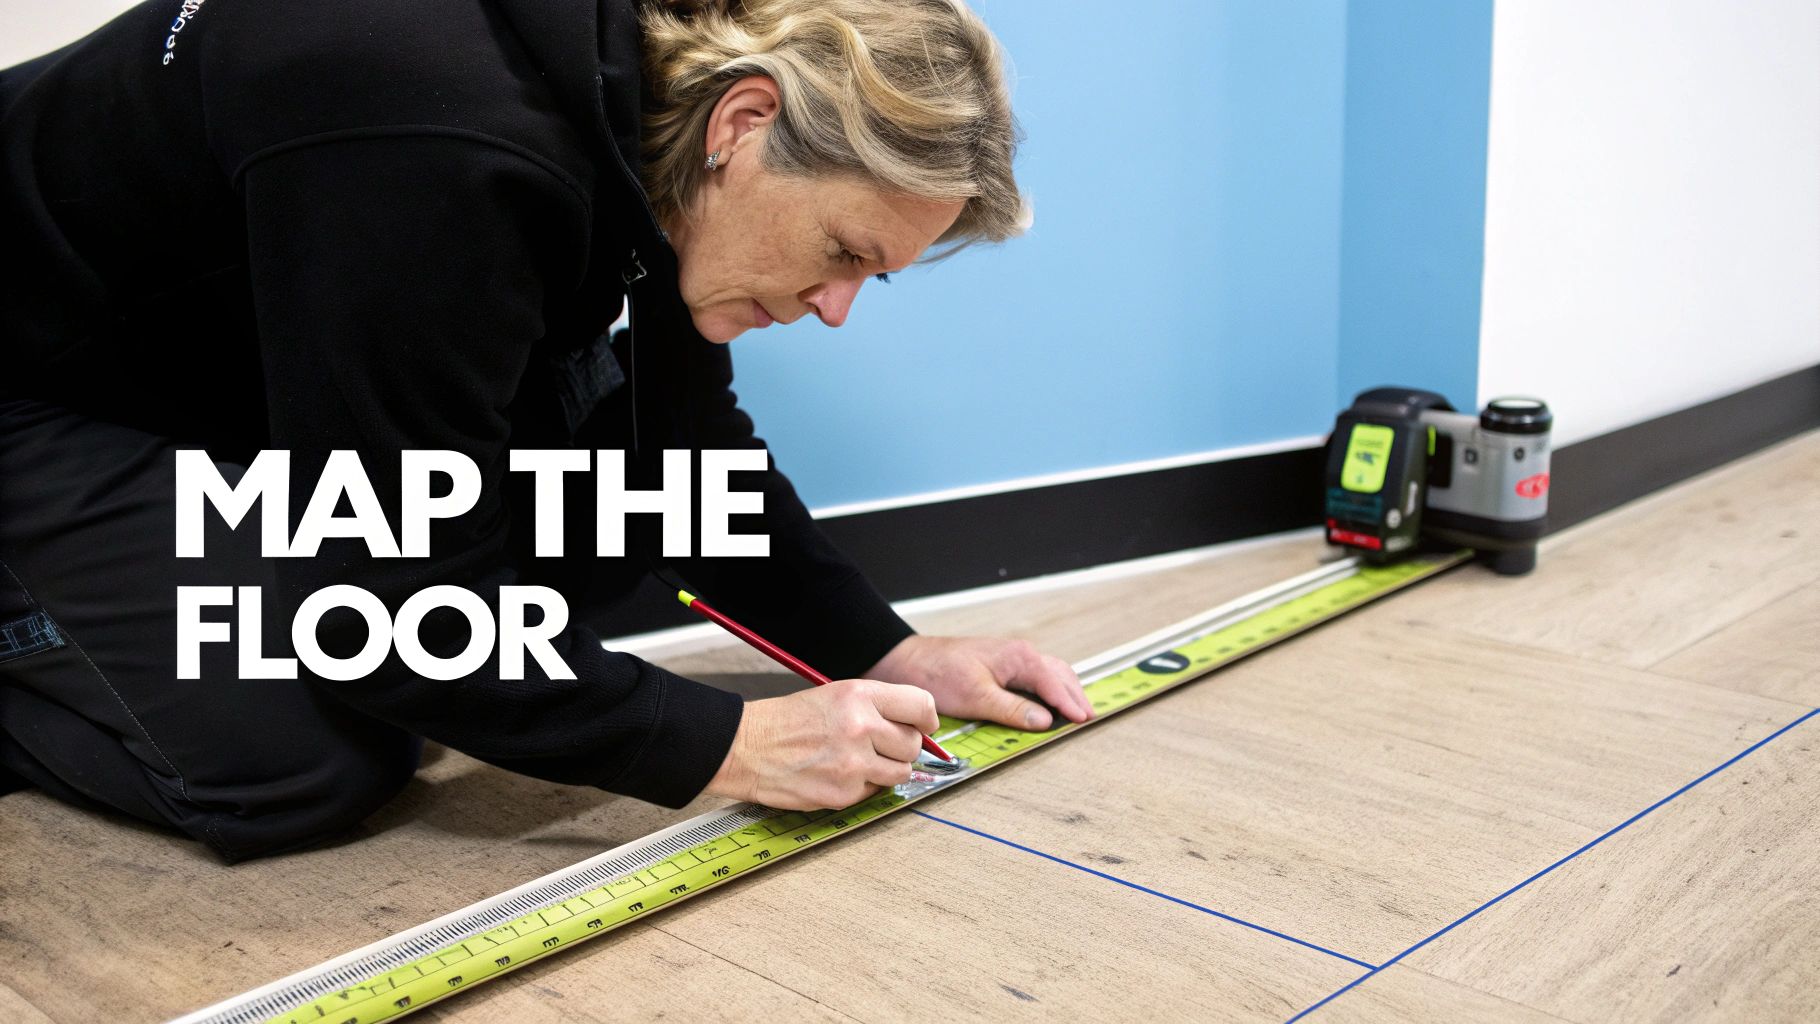
Before you can even think about fixing an uneven floor, you have to get a clear picture of what you're dealing with. This isn't just a quick glance; it's about creating a detailed map of your room’s floor. Skipping this meticulous prep work is the number one reason flooring installations fail, so this is where you need to be precise.
First things first, clear the room completely. That means all furniture, baseboards, and of course, the old flooring has to go. If you're tearing out old carpet, you’ll want to get down to a truly clean slate. We’ve got a solid guide on https://flacksflooring.com/how-to-remove-old-carpet/ if you need some pointers. Once the subfloor is exposed, give it a really good cleaning. You need to sweep and vacuum up every last bit of dust and debris—anything left behind can mess up your measurements and prevent leveling products from sticking properly.
Mapping Out the Highs and Lows
Now that the subfloor is clean, it's time to hunt down the problem spots. The best tool for this is a long, straight edge; I always recommend at least a 6- or 8-foot level. It’s far more accurate than a shorter one for spotting those long, gradual dips. A laser level is another fantastic option, especially for mapping out an entire room fast.
Lay your straight edge across the floor in every direction you can think of—lengthwise, crosswise, and diagonally. You’re looking for two things:
- Gaps under the level point to low spots or dips.
- If the level rocks back and forth like a seesaw, you've found a high spot or a hump.
Grab some chalk or a pencil and circle every single issue you find. I like to mark "H" for high spots and "L" for low spots. This gives you a visual blueprint for all the leveling work to come.
A Pro's Rule of Thumb: The industry standard for a flat floor is a tolerance of no more than a 3/16-inch dip or rise over a 10-foot span. Anything more than that is a recipe for disaster with rigid flooring like hardwood, LVP, or tile. It will lead to bouncing, squeaking, and broken joints.
Getting the Surface Ready to Level
With your floor all mapped out, the real prep work begins. Your goal is to create a surface that’s solid, spotless, and ready to bond permanently with whatever leveling material you use. The steps here will change depending on what your subfloor is made of.
For Concrete Subfloors:
- Grind down the highs. An angle grinder fitted with a diamond cup wheel is the tool for this. Wear your safety gear—this job creates a ton of dust.
- Fill the cracks. Any small, non-structural cracks need to be filled with a good quality concrete patch or epoxy filler so they don't ghost through later.
- Clean it again. After grinding, vacuum the entire floor meticulously. Any lingering concrete dust will kill the bond between your primer and leveling compound.
For Wooden Subfloors:
- Secure everything. Walk the entire floor, feeling for any bounce or listening for squeaks. Drive wood screws into any loose plywood or OSB sheets to fasten them securely to the joists. A rock-solid base is non-negotiable.
- Sand down high seams. If you have raised edges where plywood sheets meet, a belt sander will knock them down flush in no time.
- Replace any bad wood. If you find any spots that are soft, rotted from water damage, or delaminating, you have to cut them out. Replace the damaged section with a new piece of plywood of the exact same thickness.
The Priming Step You Can't Skip
I can't stress this enough: if you're using a self-leveling compound, you absolutely must prime the subfloor first. It doesn't matter if it's wood or concrete. Primer is the essential handshake between the subfloor and the leveler.
It does two crucial things: it acts as a bonding agent for a death grip, and it seals the subfloor. Sealing is key because it stops porous surfaces (like concrete or wood) from sucking the water out of the leveling compound too quickly. If that happens, the compound won't cure correctly and will end up weak and brittle.
Just roll on the primer recommended by the leveler's manufacturer, making sure to get even coverage. Follow the instructions for drying times to the letter before you move on. Taking the time to follow these detailed surface preparation steps is what separates a professional job from a DIY headache.
Choosing Your Leveling Method and Materials
Alright, with your subfloor prepped and ready to go, it’s time to decide on a game plan. How you level your uneven floor really boils down to two key factors: what your subfloor is made of (wood or concrete) and just how bad the dips and rises actually are.
There's no one-size-fits-all answer here. Getting this choice wrong can be a real headache. For example, trying to fix a deep crater with a thin layer of compound is a recipe for cracking. On the flip side, laying a whole new sheet of plywood to fix a minor dip is just making extra work for yourself. Let's walk through the options so you can make the right call.
For Concrete Subfloors, Leveling Compound Is Your Go-To
If you’re working on a concrete slab, your best friend is almost always going to be a self-leveling compound. You mix this cement-based powder with water until it has the consistency of pancake batter, pour it out, and let gravity do the heavy lifting. It naturally flows into the low spots, creating a perfectly flat and smooth surface.
These compounds are incredibly effective and have become the standard for a reason. They're used everywhere, especially in commercial projects where getting a flawless floor fast is critical. In fact, the commercial sector accounted for over 68% of the self-leveling concrete market in 2023, driven by the demand for perfect floors in places like offices and hospitals. You can read more about this market trend on snsinsider.com.
But not all levelers are created equal. You need to pick the right tool for the job:
- Standard Self-Leveling Compound: This is your workhorse for most common issues, handling dips from 1/8 inch up to about 1.5 inches deep. It flows beautifully and is perfect for covering large areas.
- Feather-Finish Compound: Got minor imperfections, hairline cracks, or just need to blend a patch into the surrounding floor? A feather-finish (sometimes called a skim coat) is what you need. You apply it with a trowel and can spread it paper-thin, right down to a "feather edge."
- Deep-Fill Levelers: For those serious dips—anything over 1.5 inches—you’ll need a specialized deep-fill compound. These are formulated to be poured thick without shrinking or cracking as they cure, something a standard leveler just can't do.
Expert Tip: Pay close attention to the bag. Every product has a specified minimum and maximum pour depth. Pouring it too thick can result in a weak, crumbly mess, while going too thin might cause it to peel away from the subfloor down the road.
For Wood Subfloors, It's a Different Ballgame
Leveling a wood subfloor usually calls for a more structural approach. While you can pour a leveling compound over wood, it requires significant prep work like laying down metal lath to give the compound something to grip. Most of the time, the goal is to build up a flat, stable plane using solid materials.
Your strategy will depend entirely on the scale of the problem. A small dip in one area might be an easy fix, but a wavy, rolling floor needs a more comprehensive solution.
When to Use Shims
If you’re dealing with a few small, isolated low spots—like a dip under a single floorboard or a slight depression in a corner—shims can be the perfect surgical fix. These are just thin, tapered wedges of wood. The idea is to carefully lift the plywood subfloor and slide shims on top of the floor joists to bring that low area up to level. It's a precise method, but it’s really only practical for very targeted adjustments.
When to Install a New Plywood Underlayment
For floors with widespread problems like multiple waves or long, gradual sags, the most bulletproof solution is to install a new layer of plywood underlayment over the whole thing. You're essentially creating a brand-new, perfectly flat surface right on top of the old one.
You’ll typically use 1/4-inch or 1/2-inch plywood, securing it with screws every 6-8 inches across the entire sheet and, most importantly, into the floor joists below. This approach bridges all the low spots and gives you an exceptionally solid base for your new flooring. It's more labor-intensive and adds a bit of height to your floor, but for seriously uneven surfaces, the result is second to none.
Comparing Floor Leveling Methods
To make the decision a little easier, here’s a quick breakdown of the two main approaches. Think about your subfloor type, your budget, and the severity of the unevenness you’re dealing with.
| Feature | Self-Leveling Compound | Plywood/Underlayment |
|---|---|---|
| Best Subfloor | Concrete | Wood |
| Cost | Moderate (per bag) | Lower material cost, higher labor |
| Best For… | Filling dips from 1/8" to 1.5"+ | Correcting widespread waviness and sagging |
| Skill Level | Beginner to Intermediate | Intermediate to Advanced |
| Mess Factor | High (wet, dusty mixing) | Moderate (sawdust) |
Ultimately, both methods lead to a flat, stable floor. Self-leveling compound is a modern, fast-acting solution perfect for concrete, while plywood offers a tried-and-true structural fix for wood subfloors. Choosing the right one for your specific project is the key to success.
How to Apply Self-Leveling Compound
This is where the magic happens. All that prep work pays off the moment you start pouring and see a lumpy, uneven floor transform into a perfectly smooth, flat surface. It can feel a little intimidating the first time, but if you work methodically, it's one of the most satisfying DIY jobs out there.
The whole game hinges on three things: getting the mix right, pouring strategically, and then gently guiding the compound where it needs to go. Let's walk through it, focusing on the little details that make a huge difference in the final finish.
This visual guide can help you double-check if a self-leveling compound is really the best move for your specific subfloor.
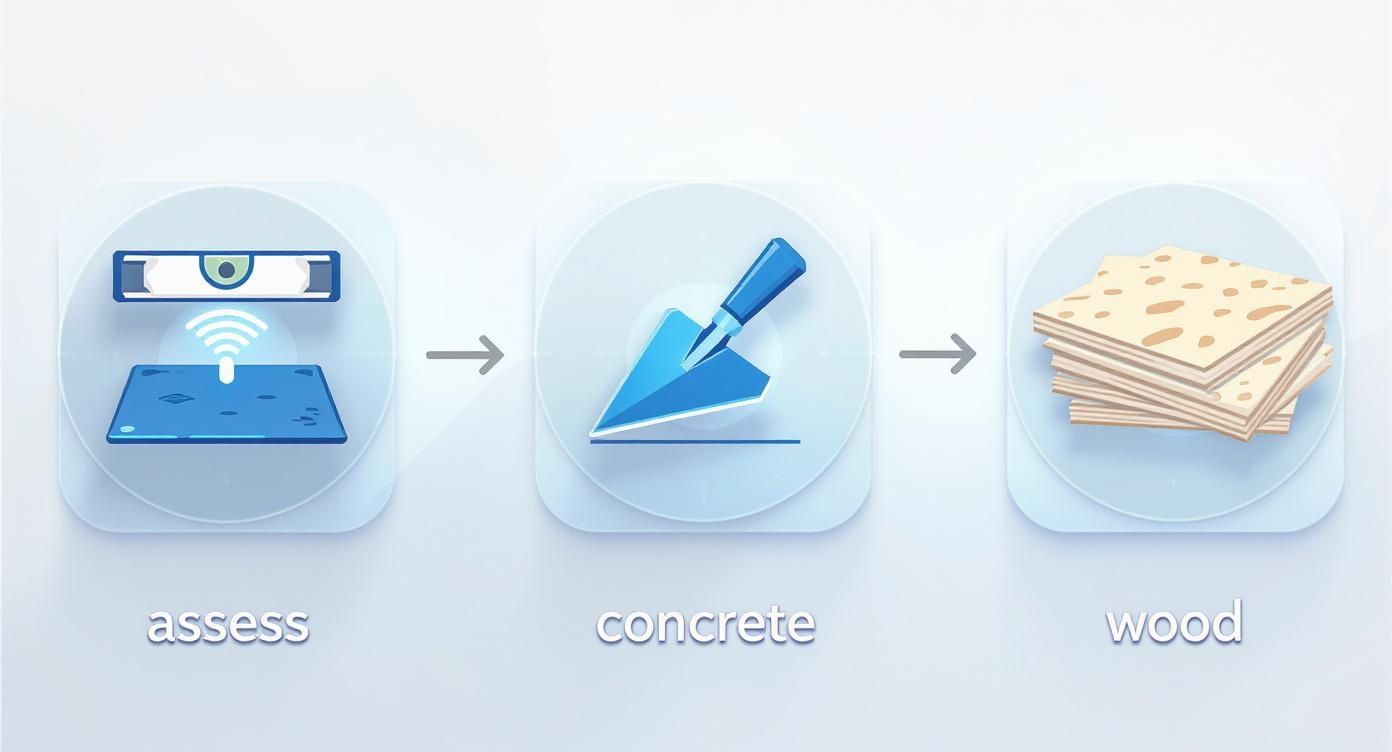
It’s a handy flowchart that breaks down the decision for either concrete or wood, pointing you toward the right solution.
Getting the Mix Just Right
If there’s one step you absolutely cannot mess up, it’s this one. A bad mix is the number one cause of failed leveling projects. Too much water, and your new floor will be weak and crack easily. Too little, and it won't flow out, leaving you with clumps instead of a level surface.
Read the manufacturer's instructions on the bag and follow them to the letter. Grab a clean 5-gallon bucket and measure your water exactly before you add a single grain of powder. This isn't the time to eyeball it—use a measuring jug.
For the mixing itself, you need a heavy-duty, low-speed drill and a paddle mixer attachment. Add the powder to the water (never the other way around) and start mixing slowly. Make sure you move the paddle all around the bucket, scraping the sides and bottom to get rid of any dry pockets. Mix for the recommended time, usually about two minutes, until it looks like smooth pancake batter with zero lumps.
Pro Tip: This job is ten times easier with a partner. While one person is pouring and spreading a batch, the other can be mixing the next one. Self-leveling compounds have a short working time, often just 15-20 minutes, so efficiency is everything.
Pouring and Spreading with Finesse
Before a drop of compound hits the floor, make sure you've dammed up any escape routes. Use foam weatherstripping or even just painter’s tape and cardboard to block off doorways, floor vents, and any big gaps at the wall. This stuff is liquid, and it will find a way out if you let it.
Start pouring in the corner farthest from your exit so you don't paint yourself into a corner—literally. Pour the mix out in long, continuous ribbons about a foot wide, working your way back across the room. You'll see gravity take over immediately as the compound begins to seek its own level and fill in all those low spots you found earlier.
Once you have a few ribbons down, you just need to give it a little encouragement. You don't really "trowel" this material like concrete. You just guide it.
- Gauge Rake: For big rooms, this is the tool to use. It has adjustable pins that let you set a precise depth, guaranteeing a consistent thickness across the floor.
- Smoothing Trowel: In smaller spaces, a simple flat trowel is perfect. Use it to gently push the compound into corners and along edges, breaking the surface tension and helping it flow.
The trick is not to overwork it. A few gentle passes are all it takes to help the material settle. If you mess with it too much, you’ll leave trowel marks and ruin that perfectly smooth finish.
Understanding Curing Times
With the floor completely covered and smoothed, your job is done. Now, you just have to wait. Curing time is not the same as drying time, and it can vary wildly depending on the product, how thick you poured it, and the room's conditions.
Most compounds are safe to walk on in 4-6 hours, but that doesn't mean they're ready for flooring. The full cure, where the material reaches its final hardness and all moisture has evaporated, can take anywhere from 24 hours to several days.
Temperature and humidity are huge factors here. A warm, dry room with a fan running will speed things up. A cold, damp basement will slow the process way down. Always check the product’s data sheet for the recommended curing time before you even think about laying down your new tile or vinyl. Patience here is non-negotiable for a floor that will last.
The good news is that these products are constantly getting better. The U.S. self-leveling concrete market is projected to grow from USD 1.02 billion in 2024 to USD 1.67 billion by 2032. This growth is driven by innovations that speed up project timelines and improve performance. You can find more self-leveling market trends on mordorintelligence.com.
Final Checks and Common Mistakes to Avoid
The self-leveling compound has set, and the floor is looking great. It's tempting to jump right into laying your new flooring, but hold on. A final quality check is what separates an amateur job from a truly professional one, and it guarantees your hard work pays off.
Grab your longest straight edge or level and give the floor one last pass. Slide it across the cured surface in every direction—north to south, east to west, and diagonally. You shouldn't feel any rocking, and you shouldn't see any significant gaps. The gold standard is a variance of no more than 3/16 of an inch over a 10-foot span.
Refining the Surface
Even the most careful pour can leave a few minor blemishes. You might notice tiny ridges where one bucket's pour met the next, or some subtle trowel marks around the perimeter. Don't sweat it; these are simple to fix.
A quick once-over with a rubbing brick or a light sanding with 80-grit paper on a pole sander will smooth everything out. You’re just looking to knock down high spots, not grind away material. Once you're done, vacuum meticulously to get rid of every last bit of dust.
Final Checkpoint: A great way to check your work is to simply run your hand over the entire surface. It should feel smooth, solid, and consistent. If you find any spots that feel chalky or soft, it could point to a problem with the mix or curing process that needs attention before you go any further.
Pitfall 1: Improper Mixing
This is probably the most common—and most damaging—mistake I see. People often add a little extra water, thinking it will help the compound flow better. While it does flow more easily, it absolutely ruins the strength of the finished product. Too much water leads to a weak, chalky surface that will crack and crumble under the weight of furniture and foot traffic.
On the flip side, not using enough water makes the mix too thick to flow and level itself out, leaving you with clumps and an uneven finish. The takeaway is simple: measure your water exactly and mix for the full time recommended by the manufacturer. You're aiming for a smooth, lump-free consistency every single time.
Pitfall 2: Skipping the Primer
Never, ever skip the primer. It’s the critical bonding agent that ensures the leveling compound sticks to the subfloor. Without it, a porous subfloor (like concrete or wood) will literally suck the water out of the leveling compound too fast.
When this happens, the compound dries out before it can properly cure. This results in a weak bond, and your new, level surface could eventually pop loose or peel right off the subfloor. Always use the primer specifically recommended for your leveling compound to create a bond that will last.
Pitfall 3: Pouring Too Thin
Every self-leveling compound has a minimum thickness specified in its instructions. Going thinner than this is asking for trouble. A layer that's too thin simply doesn't have the mass or structural integrity to bond correctly or handle the stress of daily use. It often becomes brittle and develops a network of spiderweb cracks.
Steering clear of these common mistakes is the key to a successful project. These issues don't just affect the finish; they can lead to bigger problems down the road. For example, a weak or cracked underlayment won't do you any favors if you're trying to solve noise issues, so it's a good idea to know how to fix squeaky hardwood floors and address all potential problems from the foundation up. By being patient and detail-oriented, you're not just leveling a floor—you're making a solid investment that will perform perfectly for years.
Still Have Questions About Leveling Your Floors?
Even the most well-prepared DIYer runs into questions once they get started. Leveling a floor is a job where the little details can make or break the final result, so let's tackle some of the most common questions I hear from folks taking on this project.
What’s the Real Cost to Level an Uneven Floor?
This is a tough one to nail down because the cost can swing wildly based on the method you choose, the size of your space, and whether you're rolling up your sleeves or calling in a pro.
If you're going the DIY route with a self-leveling compound, you're probably looking at a material cost between $1.50 and $5.00 per square foot. The biggest factor here isn't just the brand of compound you buy, but how deep you need to pour it. A small dip might be cheap, but a serious valley will require a lot more bags, pushing you toward that $5.00 mark pretty quickly.
Bringing in a professional will obviously add labor costs, which typically run another $2 to $5 per square foot on top of the materials. And if you're dealing with a wooden subfloor that needs new plywood, your material costs could be even higher, especially with the way lumber prices fluctuate.
And don't forget about the other stuff that adds up:
- Primer: It's not optional, but it's an easy cost to overlook.
- Tools: You might need to buy or rent a heavy-duty mixing drill, a paddle mixer, and a gauge rake to get the job done right.
- Prep materials: Think floor patching compounds for cracks or foam dams to block vents and doorways.
My advice? Always get a few quotes if you're hiring someone. If you’re doing it yourself, map out every single material you'll need beforehand to build a realistic budget and avoid those surprise trips to the hardware store.
Can I Pour Self-Leveler on a Wood Subfloor?
Yes, you can, but—and this is a big "but"—it’s a whole different ballgame than pouring over concrete. Wood requires some serious prep work to make sure your beautiful new floor doesn't fail in a year.
First things first, that subfloor has to be rock solid. No flexing, no bouncing, no movement whatsoever. Get down on your hands and knees and drive extra screws into any loose or squeaky plywood sheets to lock them down to the joists. Any give in that floor is a surefire way to crack the leveling compound later.
Next, you have to lay down a metal lath across the entire wooden surface. You’ll staple it down securely every 6-8 inches. This metal grid is like rebar for your floor; it gives the compound a strong framework to bond to.
Finally, you have to use a primer specifically made for wood subfloors. This isn't just about adhesion. This primer seals the wood, preventing it from sucking all the water out of the compound mix too fast, which would leave you with a weak, brittle surface.
A Lesson from Experience: I've seen it happen—skipping the lath and proper primer when leveling over wood is asking for a complete project failure. The compound will pop loose, crack, and delaminate. You'll have no choice but to tear it all out and start from scratch. Don't cut this corner.
How Can I Tell if My Uneven Floor Is a Serious Structural Problem?
This is probably the most critical question you can ask. Most of the time, a slight dip or slope is just the result of a house settling over the years. But sometimes, it’s a symptom of a much bigger, more expensive problem that a bag of leveler won't solve.
Keep an eye out for these red flags:
- Big, ugly cracks in your foundation walls. Be especially wary of horizontal cracks or stair-step patterns in brick or block.
- Doors and windows that have suddenly started to stick, jam, or just won't close properly anymore.
- A major, obvious slope across a whole room—we’re talking more than an inch over a 15-foot span.
If you're seeing any of these signs, particularly if they're new or getting worse, it's time to hit the brakes on your flooring project.
Your very next call should be to a structural engineer. They have the expertise to assess your home's foundation and framing to see if there's a serious underlying issue. Trying to level a floor over an unstable foundation is like putting a band-aid on a broken leg—it just hides the real problem.
Tackling a flooring project can feel overwhelming, but you don't have to figure it all out on your own. The experts at Flacks Flooring have more than 30 years of hands-on experience helping homeowners in Cumming and Forsyth County get beautiful, durable floors. Whether you just need some solid advice on subfloor prep or help finding the perfect hardwood, our team is ready to help. Visit our showroom or schedule an in-home consultation today!