
If you want to keep your wooden floors looking their best, it all comes down to a simple, consistent routine. Think of it this way: sweep or dust daily, wipe up spills the moment they happen, and clean weekly with a damp—not soaking wet—mop and the right cleaner. This small effort is your best defense against the grit and moisture that can dull a beautiful finish and damage the wood itself.
Your Foundation for Flawless Hardwood Floors
Here in North Georgia, from Cumming and Milton to Johns Creek, we know that beautiful hardwood floors are more than just a surface to walk on—they're a major investment in your home's character and value. This guide gets straight to the point, giving you the practical routines that will protect that investment for years to come.
Forget complicated steps and expensive gadgets. We're starting with the foundational habits that truly make a difference.
The Pillars of Wood Floor Preservation
After years in this business, I can tell you the secret to lasting floors isn't a magic product. It’s about building three simple, powerful habits into your home life.
- Consistent Debris Removal: Think of all the tiny bits of dirt, dust, and sand that get tracked into your house. Underfoot, that grit acts just like sandpaper, slowly grinding away at your floor's finish and creating thousands of micro-scratches. A quick daily sweep or pass with a dust mop stops this damage before it starts.
- Immediate Spill Management: Wood and water are not friends. A splash from a pet's bowl or a knocked-over glass can seem minor, but if that liquid seeps between the planks, it can lead to ugly stains, discoloration, and even warping. Wiping it up immediately is non-negotiable.
- Crucial Humidity Control: We all know how Georgia's weather can swing from sticky, humid summers to dry winters. That fluctuation causes your wood floors to expand and contract. Without a stable indoor environment, you'll see unsightly gaps between boards in the winter and potential "cupping" or buckling in the summer.
By mastering these simple, preventative habits, you can dramatically extend the life of your floor's finish and delay the need for costly refinishing by several years.
Think of these practices as a protective shield for your hardwood. To help you get into a rhythm, I've put together a quick schedule that takes all the guesswork out of it.
Your Essential Wood Floor Maintenance Schedule
This simple chart is your quick reference guide for what to do and when. Pin it up inside a cabinet or save it on your phone to keep your floors beautiful year-round.
| Frequency | Task | Why It's Important | Best Tools |
|---|---|---|---|
| Daily | Sweep or Dust Mop | Removes abrasive grit and dust that scratch the finish. | Microfiber Dust Mop or Soft-Bristle Broom |
| Weekly | Vacuum (No Beater Bar) | Captures fine dust from crevices and high-traffic zones. | Canister Vacuum with Floor Brush Attachment |
| As Needed | Spot Clean Spills | Prevents moisture damage, staining, and warping. | Soft, Absorbent Cloth |
| Monthly | Damp Mop | Cleans away grime and buildup without over-saturating the wood. | Microfiber Mop & pH-Neutral Wood Cleaner |
| Annually | Inspect Finish & Felt Pads | Identifies wear and tear early and prevents furniture scratches. | Your Eyes & High-Quality Felt Pads |
Sticking to a schedule like this makes floor care feel less like a chore and more like a simple routine. It’s the easiest way to ensure your floors stay a feature you're proud of.
Your Daily and Weekly Floor Care Rituals
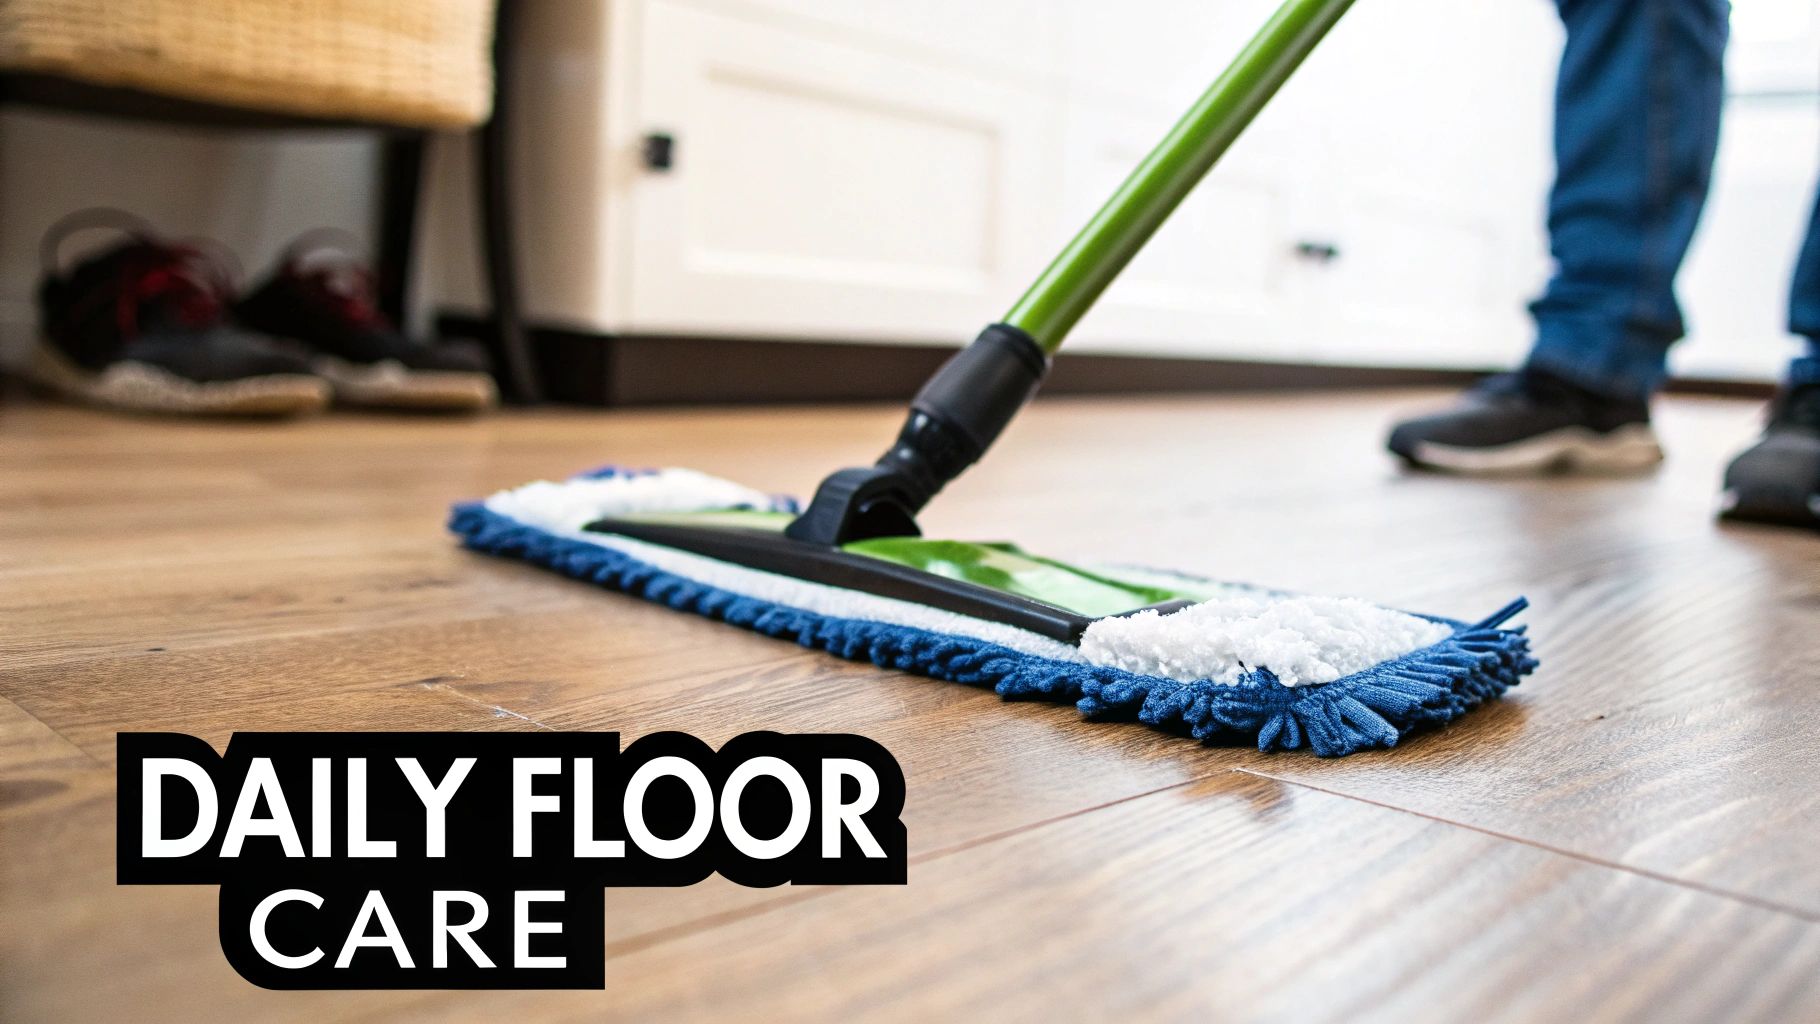
The real secret to keeping hardwood floors beautiful for decades isn’t some miracle product. It’s all about simple, consistent habits that become second nature. Think of these daily and weekly routines as your front line of defense against the kind of wear and tear that slowly dulls a floor’s finish.
Every day, tiny particles get tracked into your Forsyth County home—it’s not just dirt you can see, but microscopic grit and sand. Underfoot, this stuff acts like sandpaper, creating thousands of tiny scratches that eat away at your floor's protective layer. This is exactly why a quick daily sweep is so much more than just tidying up.
The Power of a Daily Dust-Up
Honestly, the most important thing you can do for your floors takes less than five minutes. By getting rid of those abrasive little particles every day, you stop the vast majority of surface damage before it even starts. It’s a simple habit that will keep your finish looking great for years longer than you'd expect.
The tool you use for this daily task really matters.
- Microfiber Dust Mops: These are your best friend. Unlike a regular broom that just pushes dust around, the electrostatic charge of microfiber actually grabs and holds onto fine particles, pet dander, and allergens. It’s gentler and way more effective.
- Soft-Bristle Brooms: If you’re set on using a broom, make sure it has soft, flagged bristles. Stiff plastic bristles can be surprisingly harsh, leaving fine scratches over time, especially on darker finishes or softer woods.
The single best thing you can do for your floors? A 'no shoes inside' policy. It might sound strict, but it drastically cuts down on the amount of grit and grime that even makes it onto your beautiful hardwood.
Making this small change can feel a bit awkward at first, but the long-term payoff is huge. To make it easy for everyone, set up a nice shoe rack and a bench near the door of your Cumming or Milton home. It makes the habit feel welcoming for family and guests. And of course, a high-quality doormat at every entrance is non-negotiable for catching the worst of it.
How to Vacuum the Right Way Each Week
While daily dusting handles the surface stuff, a weekly vacuuming session is crucial for pulling dirt from the edges of planks and from under furniture. But here’s the catch: using the wrong vacuum setting can do more harm than good.
The absolute key is to always disengage the beater bar. That spinning brush with stiff bristles is great for carpet, but on hardwood, it’s a recipe for scratches, scuffs, and a dulled finish.
Here’s the correct approach:
- Use the Right Attachment: Switch to a soft-bristle floor head attachment. Most modern vacuums include one specifically for hard surfaces.
- Turn Off the Brush Roll: Find the button or switch that stops the beater bar from spinning. On many models, this happens automatically when you choose the 'hard floor' setting.
- Go with the Grain: Always vacuum in the same direction the wood planks are laid. This helps lift out dust that’s settled into the tiny grooves between the boards.
This weekly deep clean is a must, especially if you have a busy home with kids and pets. It gets the embedded grime that a daily sweep just can’t reach.
Why These Small Habits Have a Big Financial Impact
These little rituals might seem minor, but their cumulative effect is massive. Consistently sweeping and gently cleaning your floors can extend their lifespan by up to 50%, pushing back the need for a costly refinishing job for years. As the global wood flooring market grows, homeowners who know how to protect their investment come out ahead.
In North America, where residential projects make up over 55% of wood flooring demand, preventing damage from abrasive grit is everything—that grit alone is responsible for 70% of all surface wear. By spending just a few minutes a day and maybe twenty minutes a week, you're not just cleaning; you're actively preserving your home's value and saving thousands in future repair costs.
Mastering Moisture with Smart Cleaning and Spill Control
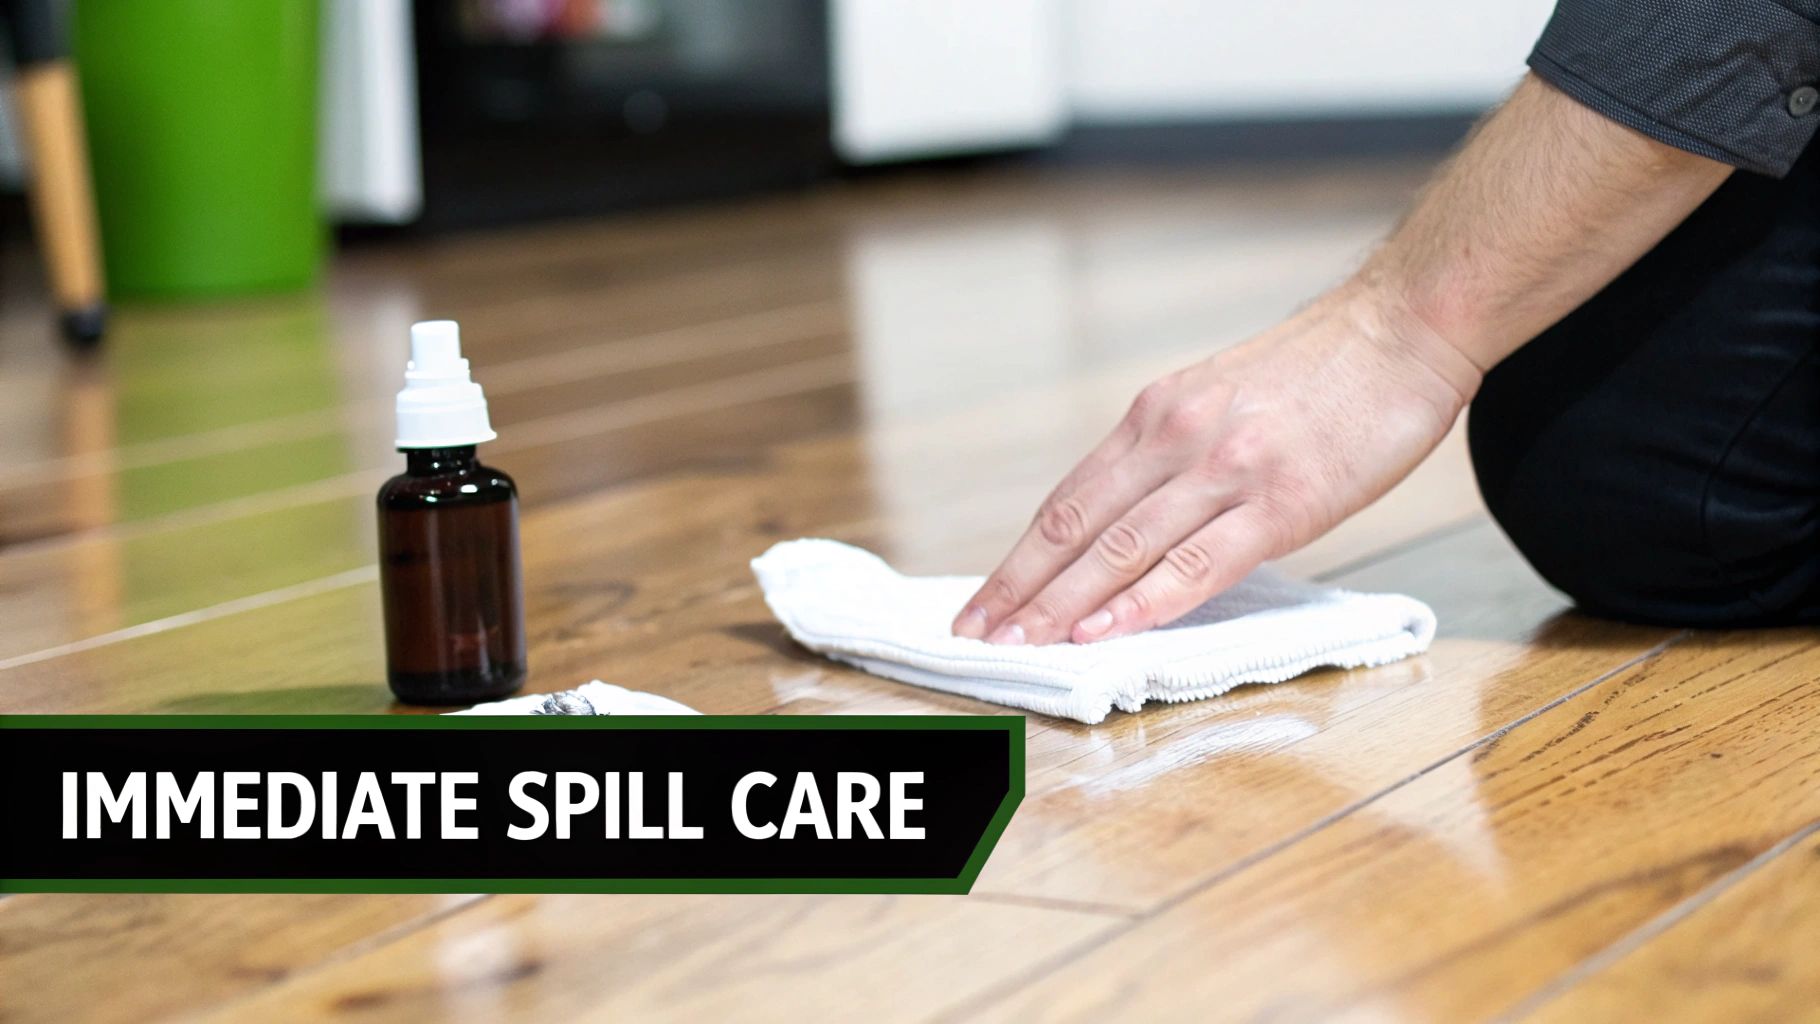
When it comes to your beautiful wooden floors, nothing is more destructive than moisture. It's a simple fact: water and wood are enemies. An unattended spill or the wrong cleaning technique can quickly lead to staining, warping, or even the dreaded delamination of your planks. Before you know it, a beautiful investment has turned into a costly repair project.
That's why mastering the art of smart cleaning and rapid spill control isn't just a suggestion—it's an essential skill for any homeowner in Cumming or Johns Creek who wants to keep their hardwood looking its best for years to come.
The Right Tools and Techniques for Cleaning
One of the biggest mistakes I see people make is thinking that a good, deep clean requires a lot of water. For hardwood, the opposite is true. The goal is to clean effectively while introducing the absolute minimum amount of moisture to the wood’s surface.
It all starts with choosing the right cleaning solution. Common household cleaners, especially those with vinegar or ammonia, are often too acidic or alkaline. Over time, they can eat away at your floor's protective finish. I've seen it happen countless times. You can learn more about why you should avoid vinegar and water solutions in our detailed guide.
Your best bet is to always opt for a cleaner with a pH-neutral formula specifically made for wood floors. These products are gentle enough to clean away dirt and grime without stripping the finish.
Once you have the right cleaner, the technique is everything. This is where the "damp mop" method becomes your go-to.
- Prepare Your Solution: Following the product's instructions, mix a small amount of your pH-neutral cleaner with water in a bucket.
- Wring It Out Completely: Dip your microfiber mop into the bucket, then wring it out until it’s barely damp to the touch. It should feel almost dry.
- Mop with the Grain: Clean small sections at a time, moving the mop in the same direction as the wood planks. This little trick helps prevent streaks and gets into the tiny grooves between the boards.
- Dry Immediately: Never, ever let water sit on the floor. Follow right behind your damp mop with a dry, clean microfiber cloth to soak up any leftover moisture.
A quick word of warning: forget about steam mops. They might seem like a great idea for hard surfaces, but the combination of high heat and moisture can force water deep into the seams of your hardwood. This is a fast track to catastrophic damage like cupping, buckling, and delamination.
Your Emergency Spill Response Plan
Life happens. A glass of red wine gets knocked over during a get-together, or the dog has an accident. In these moments, speed is your greatest ally. Acting immediately can be the difference between a minor cleanup and a permanent, ugly stain.
The moment a spill occurs, your priority is to contain and absorb it.
- Blot, Don't Wipe: Grab a clean, dry, absorbent cloth (microfiber is perfect for this) and gently blot the spill. Start from the outside and work your way in. If you wipe or rub, you’ll just spread the liquid and push it deeper into the wood grain.
- Use a Wood-Safe Cleaner: Lightly spray your pH-neutral cleaner onto a fresh cloth—never directly onto the floor itself. Gently dab the area to lift any sticky or staining residue.
- Rinse and Dry Thoroughly: Dampen a new cloth with plain water and wipe the area to remove any cleaner. Immediately follow with a dry cloth to make sure the spot is completely free of moisture.
This swift action is absolutely crucial. Some liquids, like wine or pet urine, contain acids that can begin to permanently etch your floor's finish in under 60 seconds.
The payoff for being diligent is huge. Immediate spill cleanup and using the right products can reduce the risk of staining by an incredible 85%. In a market like ours, where beautiful wood floors are a major selling point, preserving your investment is key. Proper care ensures you get to enjoy the long-term value and beauty of your floors, protecting them from issues that plague so many homes.
Navigating the Georgia Climate to Protect Your Floors
Anyone who’s lived through a Georgia summer knows what that heavy, humid air feels like. Well, your hardwood floors feel it, too. Wood is a natural material, which means it breathes—it soaks up moisture when the air is thick and releases it when things dry out. This constant expansion and contraction is the single biggest enemy to hardwood floors here in Forsyth County.
During a sweltering July in Cumming or Johns Creek, the humidity makes the wood fibers swell. If left unchecked, this can cause "cupping," where the edges of your floorboards get pushed up higher than their center. Then, when winter finally hits and we crank up the heat, the indoor air becomes bone-dry. The wood shrinks back, and suddenly you’re seeing noticeable gaps between the planks. It's a frustrating cycle, but one you can definitely manage.
Finding Your Home's Ideal Balance
The secret is to create a stable indoor environment and stop those wild swings. For hardwood, the sweet spot for indoor relative humidity is between 35% and 55%. If you can keep your home in that range year-round, you’ve won most of the battle against warping, gapping, and other moisture-related headaches.
So, how do you do it? It’s all about having the right tool for the right season.
Summer Strategy (Dehumidify): Your air conditioner is your first line of defense, but on those really oppressive, sticky days, it might not be enough. A dedicated dehumidifier is your best friend here, pulling that excess moisture from the air to keep you in that ideal 35-55% zone.
Winter Strategy (Humidify): The moment the furnace kicks on, it starts sucking moisture out of everything—your skin, your furniture, and especially your floors. A whole-house or even a good portable humidifier is crucial for putting that moisture back into the air and preventing your beautiful floors from shrinking.
Want to take the guesswork out of it? Pick up a simple, inexpensive hygrometer. This little device measures the humidity in your home so you know exactly what’s going on. I always tell my clients to place a few in different rooms to get a true picture of their indoor climate.
Why Climate Control Is Non-Negotiable
Seriously, controlling your home's humidity isn't just a friendly tip; it's a core part of long-term wood floor maintenance. Getting this right can prevent up to 90% of common issues like cupping and gapping. With the residential sector making up 60% of the wood flooring market, homeowners want floors that last. And in Georgia, where summer humidity can easily top 70%, uncontrolled moisture is a big deal. We've seen it lead to gaps as wide as 1/8 inch—a problem reported in 40% of homes that don't manage their climate. You can find more industry insights on the importance of wood flooring durability in recent market studies.
This is especially critical depending on the type of wood you have. Solid hardwood, for example, is far more sensitive to humidity shifts than engineered wood is. If you’re thinking about new floors, it’s worth looking into options built for our local climate. We actually put together a guide on some of the best engineered hardwood flooring options that offer better stability.
Practical Steps for Year-Round Protection
Beyond just running humidifiers or dehumidifiers, a few smart habits can make a huge difference in stabilizing your home’s environment.
Use Your HVAC System Wisely: Keeping your system running is key. Don’t subject your floors to huge temperature swings by turning the system off when you leave. Set it to a consistent temperature to help maintain a steady environment.
Ensure Proper Ventilation: When you cook or shower, you're pumping a lot of moisture into the air. Always use the exhaust fans in your kitchen and bathrooms to vent that humid air directly outside before it can spread through the house.
Monitor Your Basement or Crawlspace: These lower levels are often a major source of moisture problems. Make sure they’re properly sealed off, and consider running a dehumidifier down there full-time. Protecting the subfloor is the first step to protecting the beautiful hardwood above it.
By taking these proactive steps, you can work with Georgia’s climate instead of fighting against it. It’s the best way to keep your hardwood floors looking beautiful and feeling solid for years to come.
Handling Scratches, Dents, and Long-Term Protection
No matter how careful you are, life happens. A dropped can from the pantry, a chair scooted back a little too fast, or a pet skidding around a corner can all leave their mark. The key to keeping your beautiful wood floors looking their best for years isn't about preventing every single incident—it's about knowing how to respond when they do.
For those of us here in Cumming, Johns Creek, and Milton, learning to triage floor damage is a must. You need to know what you can fix yourself and when it’s time to pick up the phone and call in an expert.
A Triage Guide for Floor Damage
The very first thing you need to do is get down on the floor and take a close look. What kind of damage are we talking about?
- Surface Scratches: These are the little guys. They're often light-colored and might disappear when you wipe a damp cloth over them. You can see them, but you probably can't feel them with your fingernail. This means the scratch is just in the top layer of finish.
- Minor Scratches: Okay, you can definitely feel this one. Your fingernail will catch in it. It's gone through the finish but hasn't really dug into the wood itself.
- Deep Gouges and Dents: This is the more serious stuff. A gouge is where a sliver of wood has actually been removed. A dent is a compression of the wood fibers, usually from something heavy being dropped.
The old saying holds true: an ounce of prevention is worth a pound of cure. This is the absolute foundation of any good strategy for keeping your wood floors pristine for the long haul.
A few simple, preventative habits can save you a mountain of headaches and repair bills later on.
Your DIY Repair Toolkit
For those minor surface scratches, you can absolutely be your own hero. You don't need a workshop full of tools to make a real difference.
A finish-matching touch-up marker works wonders on tiny, light scratches. It just colors in the blemish, making it blend right in. For scuffs that are a little more stubborn, I often recommend a good wax repair kit. You just rub the wax stick into the scratch to fill it, then buff it out. It’s surprisingly effective.
One pro tip: always test any repair product in a spot no one will see, like inside a closet. You want to be sure the color and sheen match perfectly before you use it in the middle of your living room.
Long-Term Protection Strategies
This is where you make the biggest impact. Protecting your investment is all about smart habits and a few key accessories.
- Use High-Quality Felt Pads: This one is non-negotiable. Every leg of every piece of furniture—chairs, tables, sofas, you name it—needs a quality felt pad. Check them every few months and swap them out if they look thin or have picked up a lot of grit.
- Lift, Never Drag: When it's time to rearrange the room, always get help to lift the furniture. Sliding is a surefire way to cause a deep, ugly scratch. Learning how to safely move heavy furniture is a skill every homeowner should have.
- Keep Pet Nails Trimmed: We love our furry family members, but their claws can be brutal on hardwood. Regular nail trims are a small task that pays huge dividends for your floors.
And don't forget about humidity! Wood expands and contracts with moisture levels, and the Georgia climate can be a rollercoaster. Keeping your home's humidity in check is crucial for preventing gapping or cupping over time.
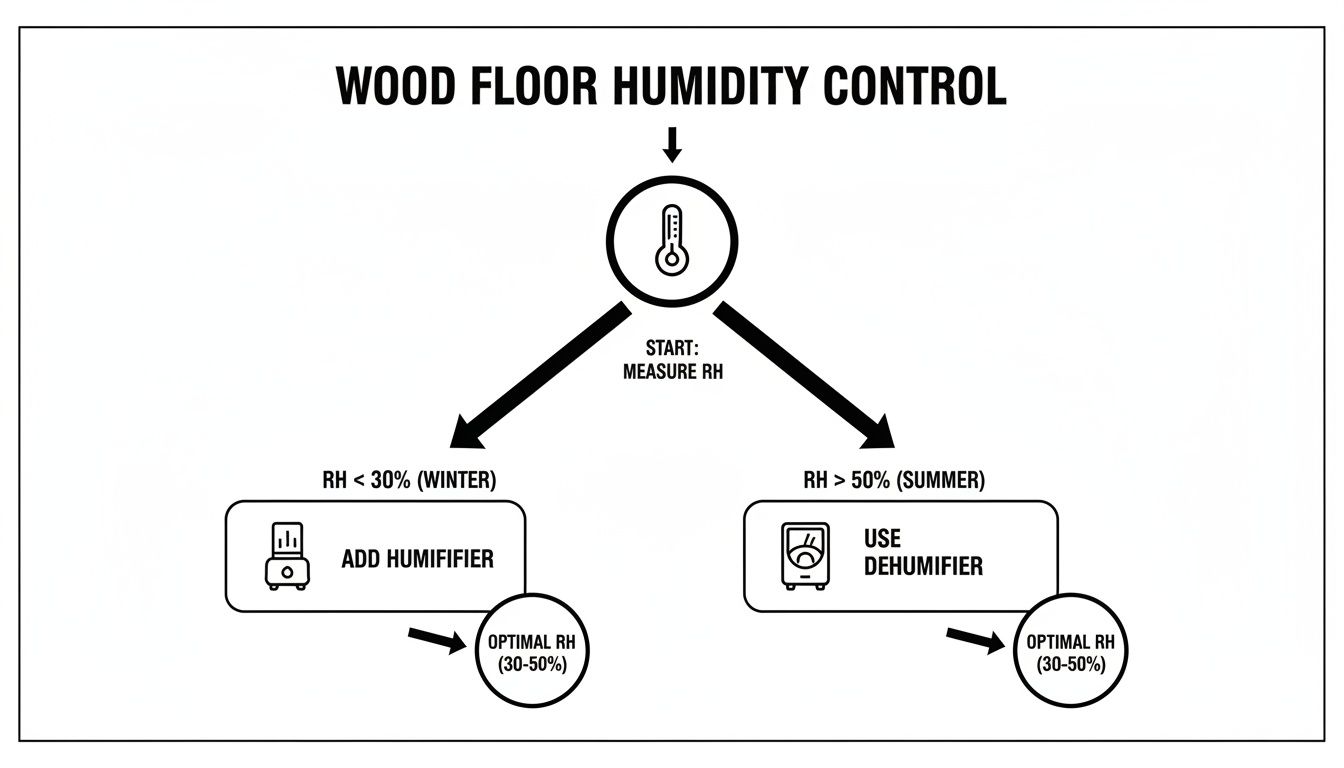
As this shows, it's a simple balancing act. Grab a cheap hygrometer, and if it's too dry (usually in winter), run a humidifier. If it's too humid (hello, summer), fire up the dehumidifier. For more tips on day-to-day protection, take a look at our detailed guide on how to protect hardwood floors from furniture.
Knowing When to Call a Professional
DIY is great, but it's just as important to know your limits. A botched repair can look far worse than the original damage and often costs more to fix.
Deciding whether to tackle a repair yourself or call us can be tricky. This table should help you make the right call.
Repairing Wood Floor Damage Homeowner vs Professional
| Type of Damage | DIY Solution (When to Try It) | When to Call Flacks Flooring | Potential Risks of DIY |
|---|---|---|---|
| Light Surface Scratches | Use a stain marker or wax repair kit. Perfect for isolated, minor blemishes that haven't penetrated the wood. | When you have dozens of them across a large area, which may signal a need for a recoat. | Using the wrong color marker or wax can make the scratch more obvious. |
| Minor Dents | The "iron and wet cloth" steaming method can sometimes raise the wood fibers. Best for small dents on solid wood. | If the dent is large, deep, or on engineered flooring (the thin veneer can't be steamed). | You can burn the wood or damage the finish if the iron is too hot or held too long. |
| Deep Gouges | Not recommended for DIY. While wood fillers exist, matching color, grain, and finish is an art form. | Immediately. Deep gouges require professional filling, sanding, and finish blending to be truly invisible. | A poorly filled gouge is very noticeable and can be difficult for a pro to fix later. |
| Water Damage | Immediately dry the area with fans. For very small spills that are caught instantly, this might be enough. | For any signs of cupping, crowning, warping, or dark stains. Moisture damage can lead to mold. | Ignoring signs of subfloor moisture can lead to catastrophic, expensive structural damage. |
At the end of the day, if you look at the damage and your stomach drops, that's your cue to call a professional. For widespread surface scratches, a "screen and recoat" is a fantastic option. We lightly abrade the top layer of finish and apply a fresh one, making the floors look brand new without the dust and cost of a full sanding.
But if the damage goes deep into the wood, only a full sand and refinish will truly restore your floor's original, seamless beauty.
Your Wood Floor Maintenance Questions Answered
Even with the best maintenance routine, you’re bound to have questions. As the go-to flooring experts here in the Cumming area, we’ve heard just about everything over the years. Here are some straightforward answers to the questions we get asked most often by homeowners trying to keep their wood floors looking fantastic.
How Often Should I Really Mop My Wood Floors?
This is a great question, and the answer is almost always, "less than you think." It’s tempting to give your floors a good, soapy scrub, but that instinct can actually cause more harm than good. Water is the natural enemy of wood, and mopping too often is one of the fastest ways to cause lasting damage.
We generally recommend a deep clean with a damp mop just once a month. If you’ve got a busy household in a place like Johns Creek or Milton with lots of foot traffic, you might push that to every few weeks, but it should still be the exception, not the rule.
For your regular weekly cleaning, a dry microfiber dust mop or a quick pass with a vacuum (beater bar off!) is all you need to handle dust and debris. This keeps your floors looking sharp without risking the kind of moisture damage we see all too often.
Are Robot Vacuums Safe for My Hardwood Floors?
Absolutely. Most modern robot vacuums are a fantastic tool for daily hardwood maintenance and are perfectly safe. They’re brilliant at picking up the dust, pet hair, and tiny bits of grit that can act like sandpaper on your floor’s finish over time. But before you turn one loose, there are a couple of things to look out for.
Make sure you choose a model that’s either designed for hard surfaces or has these key features:
- Soft Bristle Brushes: The main brush should be made of soft bristles, not the stiff, aggressive kind meant for digging into deep-pile carpet.
- Smart Navigation: A vacuum with good navigation technology won't just blindly bump into your furniture legs, which helps prevent scuffs and dings.
- Avoid Wet-Mopping Models: While they sound convenient, most combination robot vacuums leave too much water behind for a wood floor to handle safely. It's much better to control the mopping yourself.
A robot vacuum won’t take the place of a thorough weekly cleaning, but for keeping things tidy day-to-day, it’s a lifesaver that actively protects your floors.
Can I Use Vinegar and Water to Clean My Floors?
We hear this one all the time, and our answer is always a firm but respectful no. Vinegar might be a popular DIY cleaner for other parts of the house, but it has no business on your hardwood floors. The reason is simple: vinegar is an acid.
Your floor's finish—whether it’s a modern polyurethane or a classic oil-based sealant—is its shield against the world. The acidity in vinegar slowly etches away at that protective layer, stripping its sheen and leaving the floor looking dull and cloudy.
Using vinegar on a wood floor is like washing your car with sandpaper. It might look clean at first, but you're actually destroying the protective clear coat.
Once that finish is compromised, the beautiful wood underneath is exposed to stains, water spots, and scratches. Always, always stick to a pH-neutral cleaner made specifically for wood floors. These formulas are designed to be tough on dirt but gentle on the finish, ensuring your floors stay protected and beautiful. It's a small change that makes a huge difference in the life of your floors.
Ready to give your floors the professional care they deserve or have more questions? The team at Flacks Flooring has been serving the Forsyth County community for over 30 years. Visit us online to schedule an in-home consultation.