
Before you even think about laying down that gorgeous new floor, there’s one step you absolutely can't skip: testing your concrete for moisture. It might seem like an extra hassle, but trust me, this simple check is the difference between a floor you love for years and a complete disaster. Excess moisture vapor escaping from the concrete slab is one of the biggest culprits behind flooring failures like warping, adhesives letting go, and even mold.
Why You Must Test Concrete Moisture Before Flooring Installation
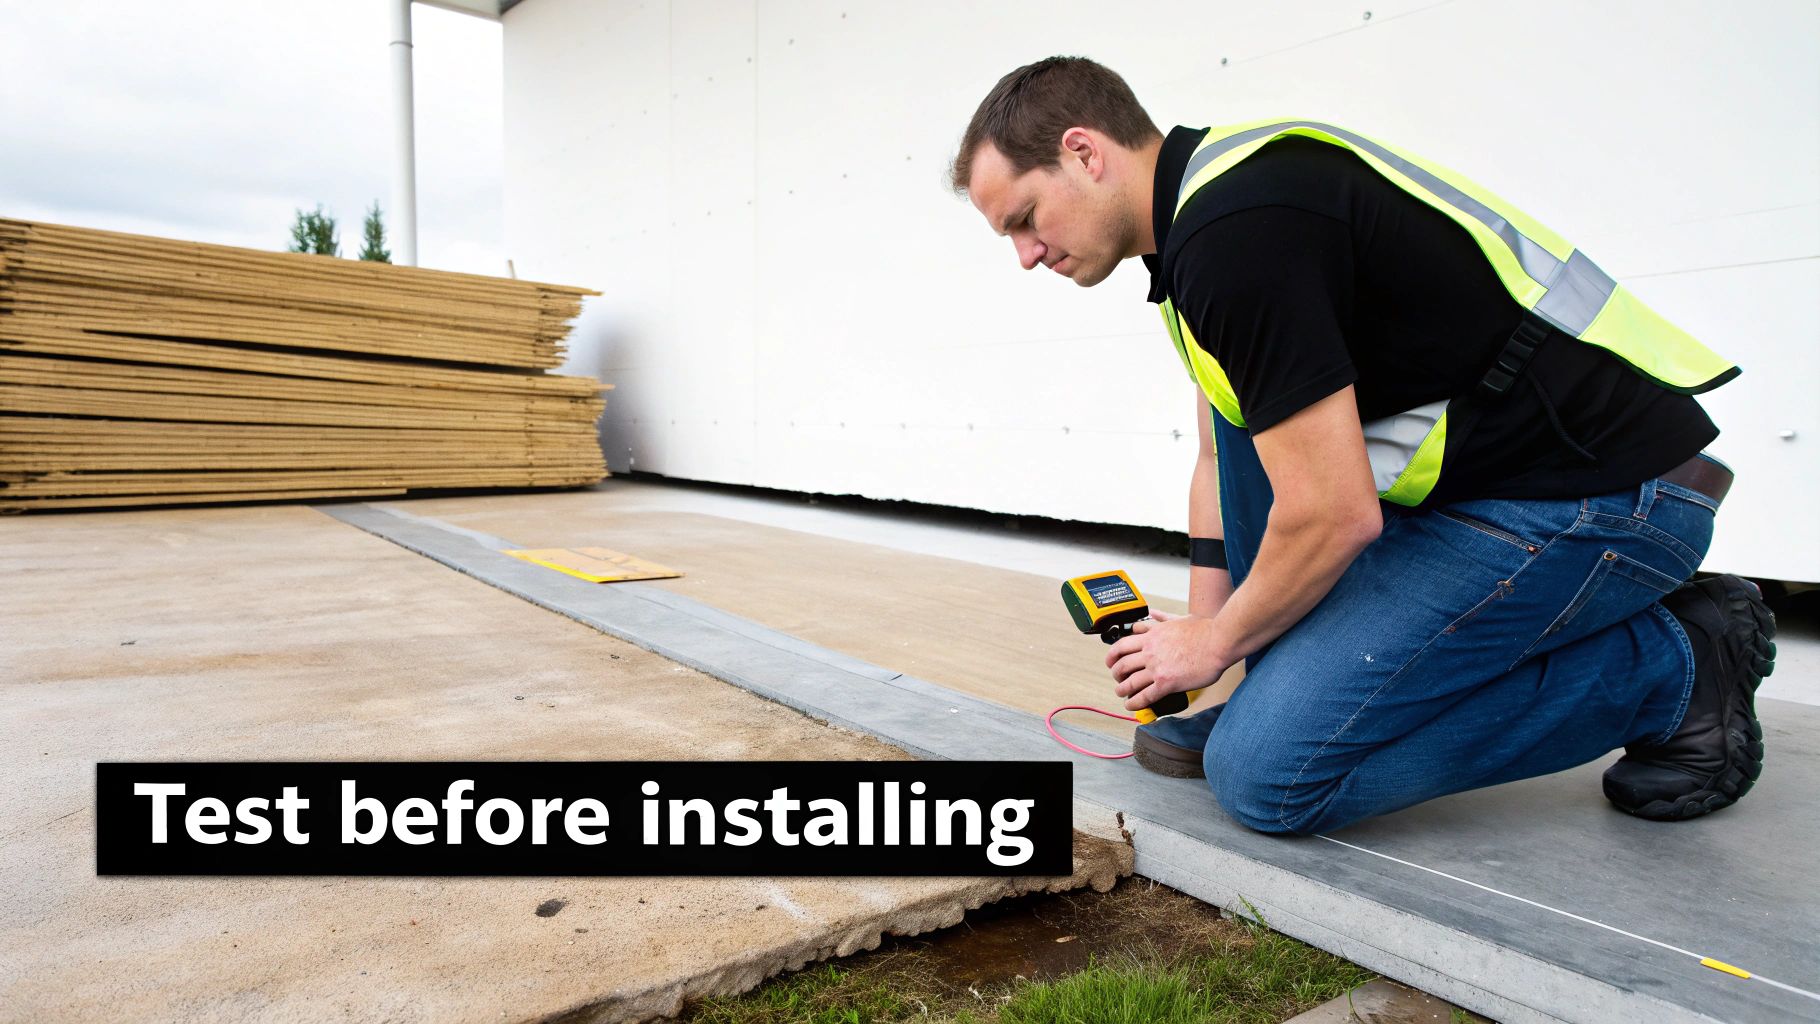
It helps to think of a concrete slab as a giant, rigid sponge. It can look and feel bone-dry on top, but deep down, it’s often holding a significant amount of water. As that hidden moisture works its way to the surface, it creates vapor pressure that can literally destroy your new floor from the ground up.
Skipping this test is a huge gamble, especially in the humid climate we have here in North Georgia. It's also one of the fastest ways to void a flooring warranty, leaving you holding the bag for a massive and unexpected repair bill.
The Real-World Risks of Untested Concrete
Let’s say you’re a homeowner in Cumming, GA, ready to install beautiful new hardwoods in your Forsyth County home. The stakes are incredibly high. Industry data shows just how risky it is to move forward without testing first. According to the experts at Wagner Meters, up to 85% of concrete slabs in areas like the Southeast show relative humidity (RH) levels over 75% even after drying for 90 days. That’s way over the 60% RH that most hardwoods can safely handle.
When all that moisture vapor gets trapped underneath a new floor, it’s a recipe for disaster. Here’s what we see happen all the time:
- Adhesive Failure: The moisture just eats away at the flooring adhesive, causing tiles and planks to pop right off the floor.
- Warping and Cupping: Wood is like a sponge. It soaks up that moisture and starts to swell, bend, and cup at the edges.
- Mold and Mildew Growth: Trapped moisture creates the perfect dark, damp environment for mold to thrive, leading to bad odors and potential health problems.
- Bubbling or Blistering: On vinyl and other resilient floors, you'll see bubbles form as the vapor pressure pushes the flooring up from below.
A simple, upfront moisture test is the single best insurance policy you can get for your flooring investment. It lets you spot problems before they turn into expensive, heartbreaking failures.
Protect Your Investment and Your Health
The key to avoiding costly timber floor repairs is to understand and manage the moisture situation before the first plank is ever laid. A proper test gives you a clear, honest picture of the slab's condition.
From there, you can make an informed decision. Maybe the slab just needs more time to dry. Or maybe you need to install a moisture barrier. Sometimes, it means choosing a different type of flooring that’s better suited for the environment. This is especially true for basements; we actually have a whole guide on choosing flooring for a cement basement that dives deeper into this.
Ultimately, testing isn't just a technicality. It’s the foundational step that protects your home, your investment, and your peace of mind.
The Professional Standard: In-Situ Relative Humidity Testing
When you absolutely need to know the true moisture condition of your concrete, there’s one method that flooring professionals rely on above all others: the in-situ Relative Humidity (RH) test. This isn't just a surface-level check; it's a deep dive into what's happening inside the concrete slab.
Governed by the rigorous ASTM F2170 standard, this is the definitive test. Think of it like this: other methods are like looking out the window to see if it's raining. The RH test is the full meteorologist's report, giving you the data you need to predict the long-term forecast your flooring will have to endure.
Why We Test From the Inside Out
Here’s something many people don’t realize: concrete dries from the top down. That means the surface can feel bone-dry, fooling you into thinking it's ready for flooring, while the core of the slab is still holding a significant amount of moisture. Over time, that hidden moisture will work its way to the surface.
If you install a beautiful new floor based on a misleading surface reading, you're just kicking the can down the road. That trapped moisture will eventually try to escape, potentially causing adhesives to fail, wood to warp, or vinyl to bubble.
The in-situ RH test completely sidesteps that guesswork. By drilling into the slab and placing a calibrated sensor, we’re measuring the equilibrium relative humidity. This is the point where the moisture inside the concrete has balanced out with the air in the sealed test hole. It’s the truest picture of the conditions your flooring and its adhesive will face for years to come.
A Look at the RH Testing Process
Getting an accurate ASTM F2170 reading isn’t as simple as just placing a device on the floor. It’s a precise, careful process. From Cumming to Johns Creek, we follow these steps meticulously because skipping any of them can throw off the results entirely.
- Setting the Scene: First, the room needs to be at its normal living conditions. We make sure the HVAC has been running for at least 48 hours before we even start.
- Drilling the Holes: We drill a specific number of holes based on the square footage. The standard calls for three tests in the first 1,000 square feet, plus one more for every additional 1,000 square feet.
- Getting the Depth Right: This part is critical. For a slab on the ground that dries from one side, we drill to 40% of its thickness. For an elevated slab that can dry from both top and bottom, the depth is 20%.
- Clean and Prep: Each hole is vacuumed out completely. Any lingering dust or debris can absorb moisture and give us a false reading.
- Placing the Probes: A calibrated sensor probe goes into each hole, which is then sealed with a cap to create a tiny, isolated environment.
The most important part? We wait. The probes need to sit undisturbed for a minimum of 24 hours to acclimate and reach equilibrium with the concrete's internal moisture. Rushing this is the single biggest mistake you can make; it completely invalidates the test.
Making Sense of the Numbers
After that 24-hour wait, we connect a meter to each probe and get our reading—a simple percentage. An 85% RH reading means the air inside that sealed hole is 85% saturated with water vapor.
This number is everything. Different flooring materials have very different tolerances for moisture.
- Solid Hardwoods & Sensitive Floors: These are the most demanding. They often require a slab to be at or below 75% RH.
- Engineered Wood & Luxury Vinyl Plank (LVP): Most quality brands will warranty their products in slabs up to 80-85% RH.
- Sheet Vinyl & Carpet: These are often more forgiving and can sometimes be installed on slabs with RH levels up to 90% or more, provided the right adhesive is used.
So, a reading of 78% RH might be perfectly fine for that waterproof LVP you're putting in your Milton basement, but it would be a major red flag for installing solid oak on the main floor. The in-situ RH test gives us the hard data needed to make the right call, ensuring your flooring warranty remains intact and protecting your investment for the long haul.
Understanding Surface-Level Moisture Tests
While in-situ RH probes give you the full story of what’s happening deep inside the concrete, don't discount surface-level tests. They offer a fantastic first look at the moisture vapor trying to escape the slab—right where your flooring adhesive will be. Think of them as a quick screening. They’re often the first red flag that tells you a more serious, in-depth test is needed.
Two classic methods dominate this initial check: the old-school Plastic Sheet Test and the more technical Calcium Chloride Test. Both are trying to answer the same basic question: how much water vapor is coming out of this slab right now?
The Quick-Check: Plastic Sheet Test
The Plastic Sheet Test, known officially as ASTM D4263, is about as straightforward as it gets. It’s a simple, qualitative check, which means it doesn't give you a precise number. Instead, it gives you a clear "yes" or "no" on whether you have a significant amount of moisture vapor coming to the surface. It’s like a smoke detector for slab moisture.
You don’t need any fancy gear for this. For interior designers planning new hardwood or carpet in homes across Forsyth County, understanding this is crucial. A revealing Cal Poly study on concrete moisture found that 62% of slabs in climates similar to ours still had over 80% RH deep down even after 120 days of curing. This directly correlated to 75% of subsequent flooring failures, like buckled wood or moldy carpet padding.
The plastic sheet test is your first line of defense against becoming one of those statistics. Just tape an 18×18-inch or 24×24-inch square of heavy plastic (at least 4-mil thick) tightly to the slab. Let it sit for at least 16 hours. If you peel it back and see condensation droplets or the concrete underneath is noticeably darker, that's your warning sign. You’ve got active moisture vapor, and it's time to pause before you even think about installing that floor.
Getting a Number with the Calcium Chloride Test
When a simple visual check isn't enough and you need an actual number, the Calcium Chloride Test (ASTM F1869) is the next step. This test is designed to measure the Moisture Vapor Emission Rate (MVER), giving you a specific quantity of moisture coming off the slab over a set period.
Here’s how it works:
- Prep the Spot: We start by finding a clean, representative area of the slab. Any old adhesive, paint, or curing compounds have to go, so we usually grind a small patch to get to the bare concrete.
- Place the Kit: A small, open dish containing a pre-weighed amount of anhydrous calcium chloride (basically, a very thirsty salt crystal) is placed on the prepped spot.
- Seal and Wait: We then seal a plastic dome over the dish, taping it tightly to the concrete. This creates a tiny, controlled environment, trapping any vapor rising from that spot and forcing the salt to absorb it.
- The Big Reveal: After 60 to 72 hours, the dome comes off, and the dish of salt is carefully collected and weighed again.
The difference in weight, from before the test to after, tells us exactly how much water the calcium chloride absorbed from the slab.
This result is then crunched into a standard industry metric: pounds of water per 1,000 square feet per 24 hours. A result of 5 lbs, for instance, means the slab is releasing five pounds of water vapor over a 1,000 sq. ft. area every single day.
The infographic below shows how to interpret results from the more definitive in-situ RH test, which is often the next step after a surface test raises concerns.
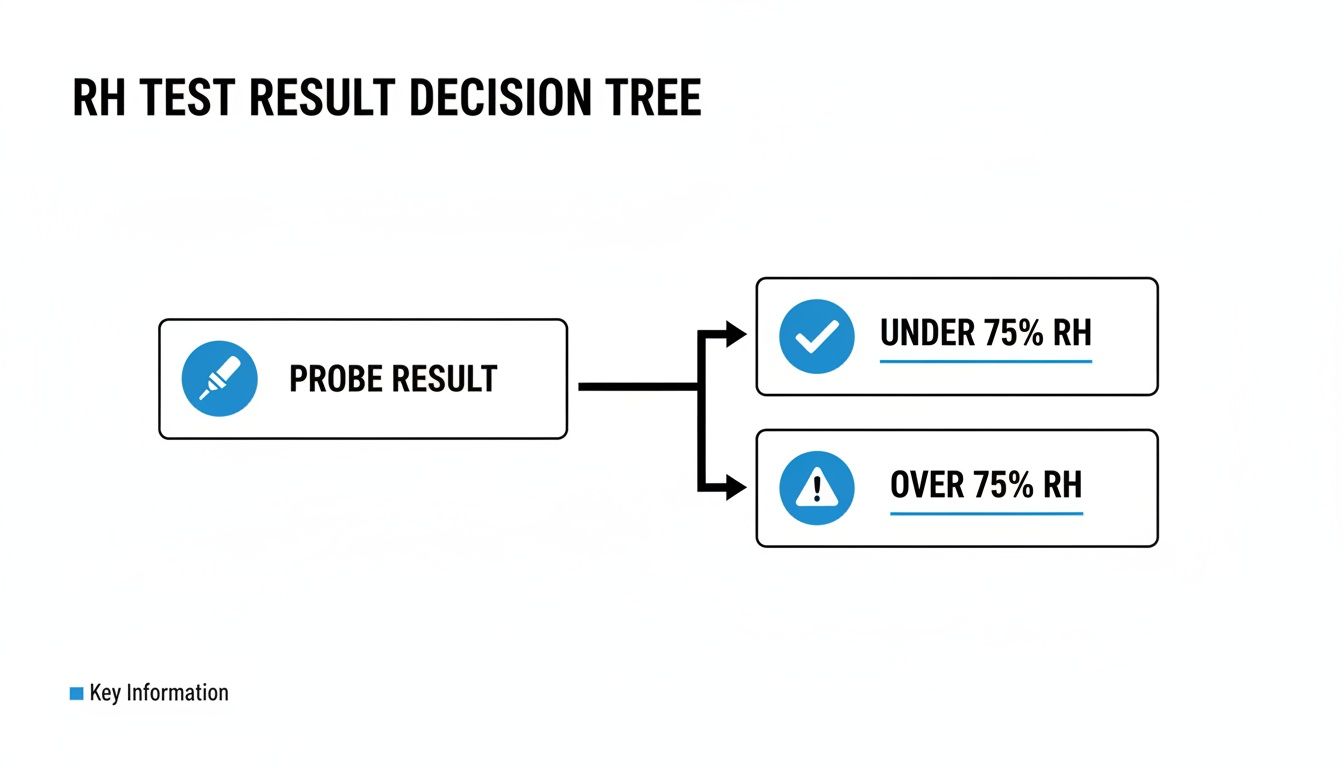
As you can see, a reading under 75% RH is generally the green light for most flooring, while anything above that number means you need to hit the brakes and reassess.
To help you decide which test is right for your initial assessment, here's a quick comparison.
Comparing Concrete Moisture Testing Methods
This table offers a quick-glance comparison of the three main concrete moisture tests, helping you choose the right method based on accuracy, cost, and project needs.
| Method | What It Measures | Best For | Pros | Cons |
|---|---|---|---|---|
| Plastic Sheet Test (ASTM D4263) | Presence of moisture vapor at the surface | A quick, initial "go/no-go" check | Extremely low-cost, simple, no special equipment needed | Qualitative only (no numbers), highly affected by ambient conditions |
| Calcium Chloride Test (ASTM F1869) | Moisture Vapor Emission Rate (MVER) from the surface | Getting a quantitative surface-level reading for specific flooring requirements | Provides a specific number (lbs/1000sf/24hr), widely recognized | Only measures the top 1/2-inch of the slab, results can be skewed by room temperature and humidity |
| In-Situ RH Test (ASTM F2170) | Relative humidity within the concrete slab | The most accurate assessment for determining long-term flooring compatibility | Highly accurate, reflects the true moisture condition the flooring will experience, less affected by ambient conditions | Higher cost, requires drilling into the slab, needs specialized equipment |
Each test has its place, but understanding their individual strengths and weaknesses is key to avoiding a costly flooring mistake.
Know the Limitations
It's really important to remember that these surface tests are just a snapshot in time. They only tell you what's happening at the very top of the slab on the day you run the test. A sudden spike in the humidity in your Johns Creek home or a change in the HVAC settings can easily skew the results of a calcium chloride test.
This is why the flooring industry has largely shifted to the in-situ RH test (ASTM F2170) as the gold standard. It gives a much more stable and reliable picture of the slab's long-term moisture condition.
That said, surface tests are still a fantastic tool for an initial assessment. If that plastic sheet comes up wet or the calcium chloride test gives you a high MVER reading, you have a definitive sign. It’s time to stop and call in a professional for comprehensive RH testing before a single box of flooring is brought into your Cumming or Milton home.
How to Interpret Your Test Results for Different Flooring
Getting a number from a moisture test is one thing. Knowing what that number actually means for your new floor is a whole different ballgame. A reading that's perfectly fine for luxury vinyl could be a death sentence for solid hardwood. This is where you connect the dots between the data and your project’s success, heading off costly failures before they even start.
Think of it this way: every flooring material has a unique tolerance for moisture. A cactus thrives in bone-dry soil where a fern would instantly wilt. It’s the same with your floors. The manufacturer sets very specific limits for Relative Humidity (RH) and Moisture Vapor Emission Rate (MVER), and sticking to those is the only way to keep your warranty intact.
Matching Your Results to Your Flooring Choice
We see this all the time here in Forsyth County. A homeowner gets an 88% RH reading in their basement but has their heart set on a gorgeous solid oak floor. That 88% is an immediate deal-breaker. Most solid wood manufacturers demand an RH level below 75%. Installing it on that slab would be a disaster—the wood would cup, warp, and ultimately pull itself apart.
But that's not a dead end; it’s just a fork in the road. In this exact scenario, that high RH reading steered the homeowner toward a premium waterproof floor, like a rigid core LVP, which is built to handle that kind of moisture. A simple, informed pivot saved them from a guaranteed failure and thousands of dollars in replacement costs.
Knowing the acceptable moisture limits isn't just a suggestion—it's the manufacturer's rulebook. Exceeding these thresholds almost always voids your product warranty, leaving you responsible for the full cost of replacement.
Local contractors in Cumming know firsthand what happens when you skip this step. According to the International Concrete Repair Institute, a staggering 70% of flooring failures in commercial spaces are traced back to moisture problems in the concrete, causing everything from bubbles to complete debonding.
This is where proven methods like the Calcium Chloride Test (ASTM F1869) become so important. The test involves placing a small dome with calcium chloride on the slab for 60-72 hours to measure the weight of the moisture vapor coming out. For many adhesives, an acceptable MVER is 3-5 lbs/1,000 sq ft/24 hrs. But for less permeable floors, that number often needs to be under 1.5 lbs. You can discover more insights about these standards from ICRI's report.
Acceptable Concrete Moisture Levels by Flooring Type
To make sense of all these numbers, it helps to see the industry standards side-by-side. This table gives you a general idea of the moisture limits for popular flooring types.
Remember, this is a guide. You should always check the technical specs from your specific flooring manufacturer, as they can vary.
| Flooring Type | Acceptable RH Level (ASTM F2170) | Acceptable MVER (ASTM F1869) |
|---|---|---|
| Solid Hardwood | Below 75% | 3 lbs |
| Engineered Hardwood | Below 80-85% | 3-5 lbs |
| Luxury Vinyl Plank (LVP) | Below 85-90% | 5-8 lbs |
| Laminate Flooring | Below 80% | 3-5 lbs |
| Carpet (with cushion) | Below 85-90% | 5-8 lbs |
| Sheet Vinyl | Below 80-85% | 3-5 lbs |
| Epoxy/Resinous Coatings | Below 75-80% | 3 lbs |
Having this data in hand helps you make smarter decisions right from the beginning. If your concrete slab is consistently testing high, you can zero in on some of the best flooring options specifically designed for concrete slabs, which are built to handle higher moisture levels.
Ultimately, your test results aren't just a pass/fail grade; they’re a roadmap. They tell you, your installer, and your designer in Milton or Johns Creek which materials will work and what prep is needed. Getting this part right ensures your new floor doesn't just look amazing on day one—it stays that way for years.
What to Do When Your Concrete Is Too Wet
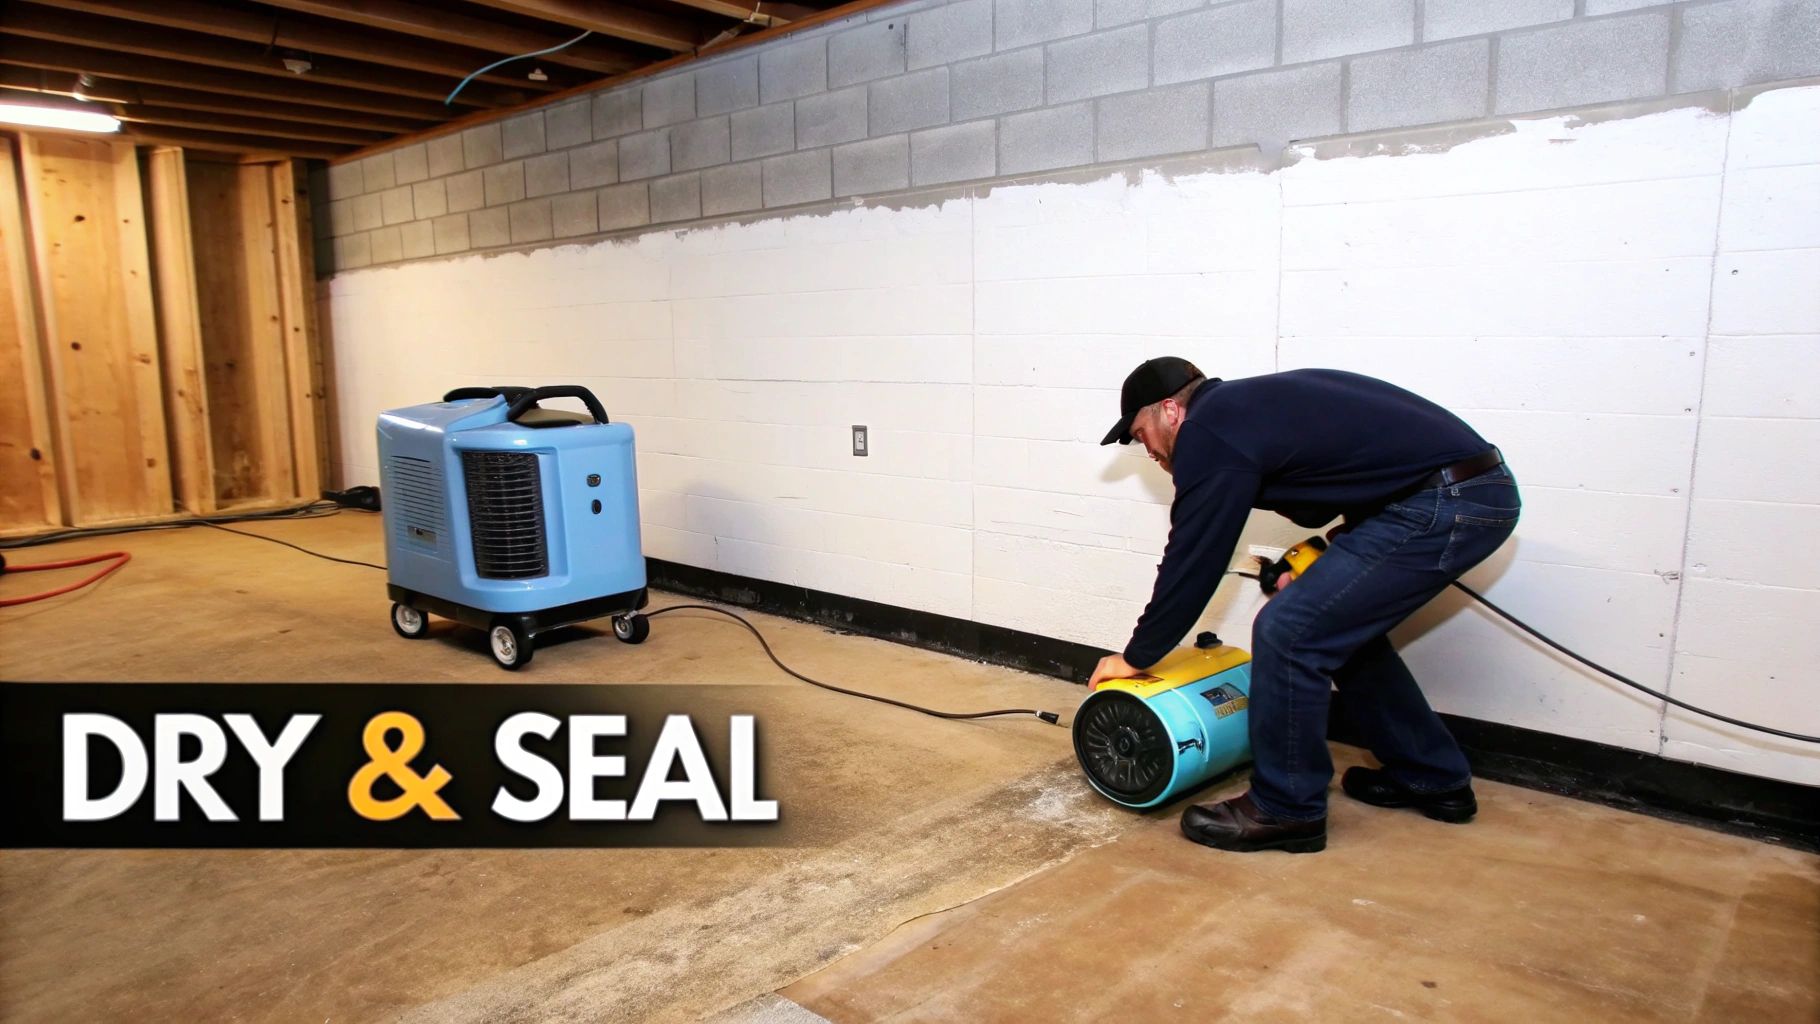
Getting a high moisture reading on your concrete slab can feel like a huge roadblock, but it's rarely the end of the line for your flooring project. Don't panic. Think of it as valuable information that tells you exactly what needs to happen next. Most of the time, a wet slab is a problem with a clear solution, not a dealbreaker.
The right fix really comes down to how severe the moisture is and how quickly you need to get your floors installed. Sometimes, the answer is simple patience; other times, you need to bring in the big guns to protect your investment.
The First and Simplest Solution: Time and Airflow
If your concrete is fairly new or the moisture levels are just a little over the limit, the best thing you can do is often the easiest: wait. Concrete takes a long time to cure and dry, often months, not weeks. The good news is you can give it a major boost by creating the right conditions.
Your goal is to get that trapped moisture to evaporate. You can do that with good old-fashioned airflow and climate control.
- Run the HVAC: Get your home's heating or air conditioning system going and leave it on for at least 48-72 hours before you even think about re-testing. This creates the real-world living conditions your floor will experience day-to-day.
- Use Fans and Dehumidifiers: For an extra push, place some high-powered fans and a dehumidifier or two around the slab. This is a game-changer in enclosed spaces like basements here in Forsyth County, where humid air can just sit.
Once you’ve given the slab a few days to acclimate, run another accurate moisture test. You might be surprised to see the numbers have dropped right into the safe zone for your new floor.
When Waiting Is Not Enough: Moisture Mitigation Systems
What if time and fans don't do the trick, or the readings were sky-high to begin with? It's time to call in a moisture mitigation system. These are specialized products designed to create a bulletproof barrier between the damp concrete and your beautiful new flooring. Ignoring persistent moisture can lead to bigger headaches down the road, including serious structural damage that may require complex repairs like fixing concrete cancer.
Think of these systems as the professional’s secret weapon against stubborn moisture.
A moisture mitigation system is an insurance policy against future flooring failure. It’s a direct intervention that blocks excess moisture vapor from ever reaching your flooring adhesive and materials.
We typically turn to one of two highly effective solutions: topical moisture barriers or penetrating sealers.
- Topical Moisture Barriers: These are usually two-part epoxy coatings that we roll directly onto the concrete. Once cured, they form a thick, non-porous membrane that physically stops moisture vapor in its tracks.
- Penetrating Sealers: These are silicate-based liquids that get sprayed or rolled on. They actually soak into the slab and trigger a chemical reaction, forming tiny crystals in the concrete’s pores. This makes the surface much denser and drastically cuts down on how much moisture can pass through.
Applying these systems correctly is a technical process that demands serious prep work. In fact, surface prep is the foundation of any good flooring job, as you can see in this guide to professional floor prep for tile. A moisture barrier is only as good as its bond to the concrete, which must be perfectly clean and profiled. This is definitely a job you want to leave to seasoned flooring pros in the Cumming and Milton area to ensure it's done right.
Common Questions We Hear About Concrete Moisture Testing
When you're getting ready for a new floor, the topic of concrete moisture always brings up a lot of questions. It's a critical step, but let's be honest, it can feel a bit technical and overwhelming if you haven't dealt with it before. To clear the air, here are some straight answers to the questions we hear most often from homeowners here in Cumming, Johns Creek, and across Forsyth County.
How Long Does New Concrete Need to Cure Before I Can Test It?
This is the big one, and the answer is almost always longer than people hope. Your new concrete slab might feel rock-solid and even hit its specified strength in about 28 days, but that’s just one part of the story. The drying process is a completely different beast, and it takes a lot more time for all that water from the original mix to work its way out.
Our rule of thumb, and what the industry stands by, is to wait at least 60 to 90 days after the pour before you even think about running a definitive moisture test. If you test too early, especially with a precise method like an in-situ RH probe, you’re pretty much guaranteed to get a high reading that doesn't reflect the slab's long-term condition. The best thing you can do is give that concrete as much time to breathe as your project schedule allows.
Can't I Just Use One of Those Handheld Moisture Meters?
Those handheld electronic meters are fantastic tools, but only for a very specific job. Think of them as a great way to do a quick scan of a large room to find potential "hot spots" or to see if one area of the slab is wetter than another. They are not, however, the final word on moisture.
These meters only give you a surface-level reading, maybe an inch deep at most. They simply don't provide the in-depth, quantitative data that every single flooring manufacturer requires to honor a warranty. The real troublemaker is the moisture deep down in the slab, and these surface meters can't see it.
Use a handheld meter as your initial detective. It's perfect for scouting out where you should perform a more accurate, in-depth test, but it’s never a substitute for a real ASTM-standard test like the in-situ RH method.
Do I Really Need to Test for Moisture if I'm Installing "Waterproof" Flooring?
Yes. One hundred percent, yes. This is easily one of the most common and costly mistakes we see. The luxury vinyl plank (LVP) or tile itself might be waterproof, but that doesn't stop the moisture vapor coming up from the concrete slab from causing absolute havoc.
Excessive moisture vapor can completely destroy the adhesive on glue-down LVP, causing planks to bubble up or peel right off the floor. Even with a floating floor, that vapor gets trapped between the concrete and your flooring's underlayment. You’ve just created a dark, damp, perfect environment for mold and mildew to thrive, which can ruin the subfloor and tank your home's air quality. Always, always check the flooring manufacturer's specs for their maximum allowable slab moisture—even for so-called "waterproof" products.
When Should I Call a Professional for Moisture Testing?
A simple DIY method like the plastic sheet test can give you a basic "yes" or "no" for the presence of surface moisture, but for the official numbers needed for a flooring warranty, you need to bring in a pro. The risk and expense of getting it wrong are just too high.
Here’s when you should definitely make the call:
- For Warranty Compliance: If your new floor has a manufacturer’s warranty, a documented, professional test is almost always a requirement.
- For High-End Floors: Investing thousands in beautiful hardwood or premium engineered wood? Professional testing isn't optional; it's essential insurance for your investment.
- If a Preliminary Test Fails: If that plastic sheet shows even a hint of condensation, that's your cue to stop and call for a more sophisticated assessment.
- For Large-Scale Projects: When you're dealing with a big renovation, you'll need multiple tests to get a complete picture of the slab's condition. That's a job for a certified technician.
A professional based here in the Milton area will have the properly calibrated equipment for accurate RH testing and, just as importantly, the experience to do it right according to strict ASTM standards. They can help you make sense of the results and figure out the next steps, ensuring your project is built on a foundation that’s truly ready for new floors.
Navigating the world of concrete moisture can be tricky, but you don't have to go it alone. The team at Flacks Flooring has been helping homeowners in Cumming and the surrounding communities for over 30 years, making sure their flooring projects stand the test of time. If you have questions or need some professional guidance, swing by our showroom or schedule an in-home consultation today.