
Connecting two different wood floors is a common puzzle homeowners face, but the solution is usually simpler than you think. The trick is to measure the height difference between the floors, pick the right type of transition strip (T-molding for floors that are the same height, a reducer for uneven ones), and secure it to the subfloor—never to the flooring planks themselves. This one simple rule prevents ugly trip hazards and gives your floors the room they need to expand and contract with the seasons.
Creating a Flawless Flow Between Your Wood Floors
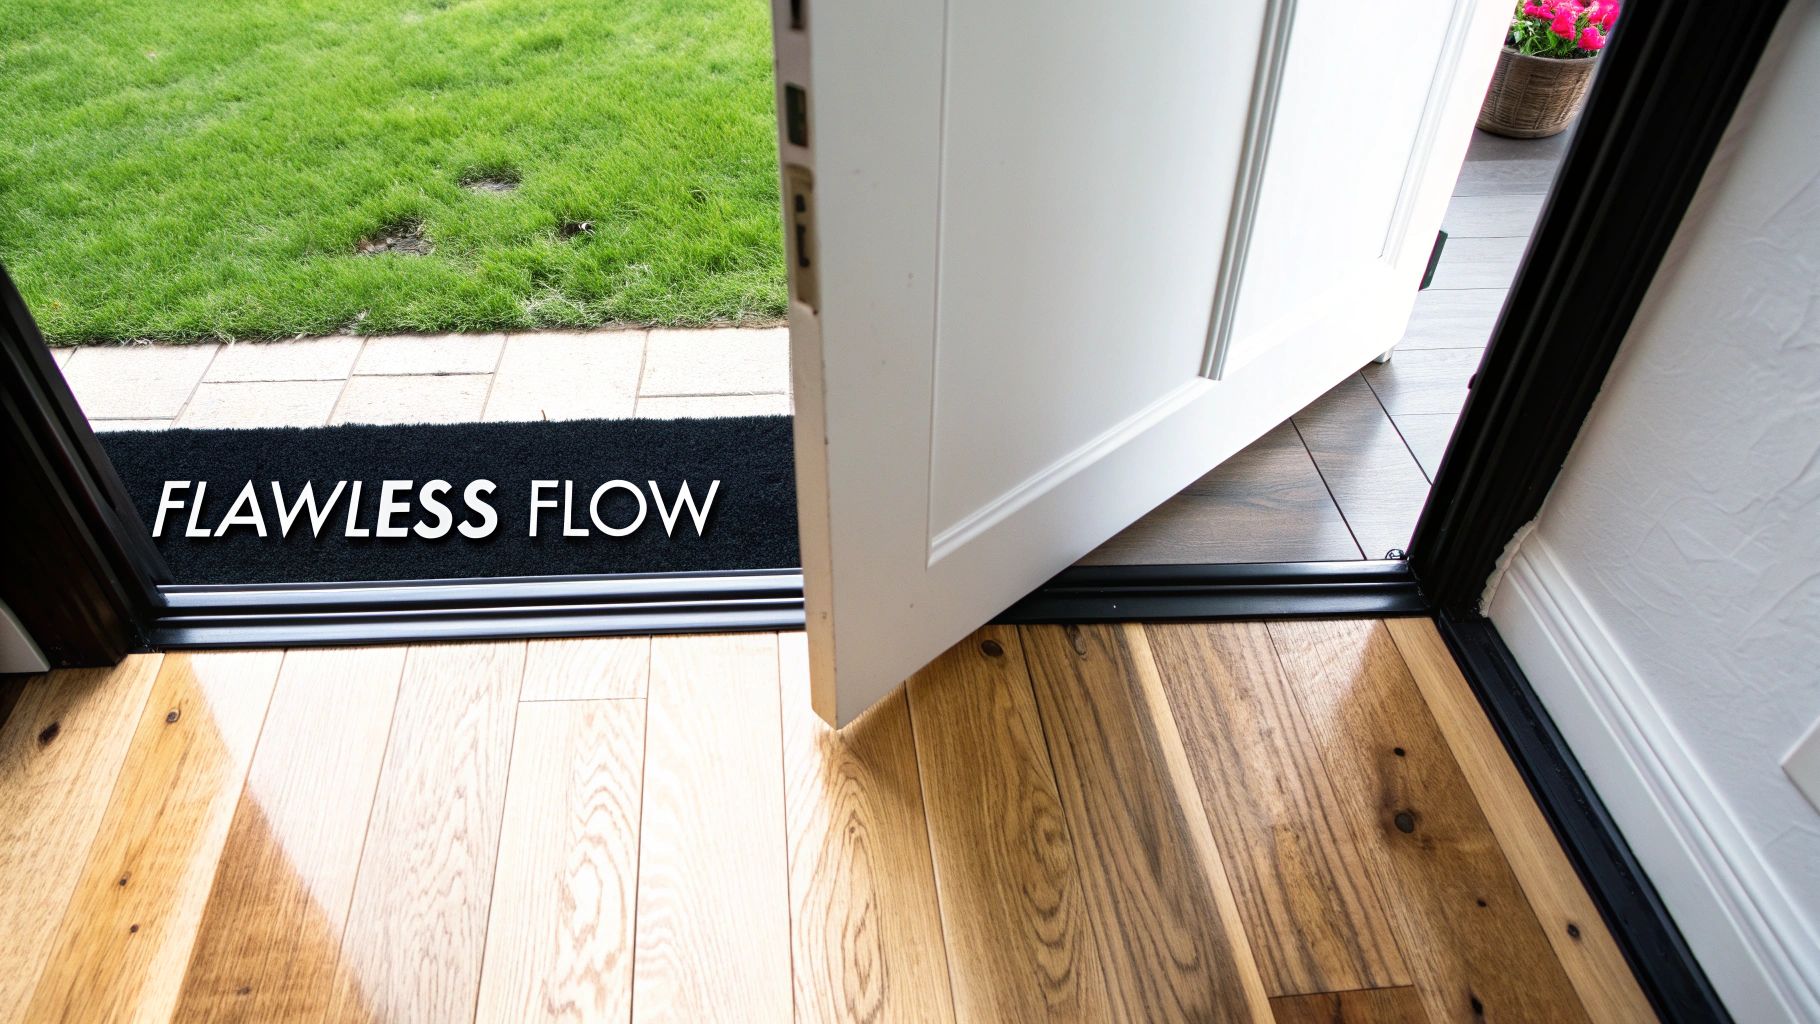
Let's be honest: transitioning between two different wood floors is about more than just bridging a gap. It's a design opportunity. Whether you're working with an open-concept layout in your Johns Creek home, tying in a new addition, or just updating a room, getting this detail right creates a polished, intentional look. On the other hand, a clumsy transition can scream "afterthought" and disrupt the entire feel of your home.
The goal here isn't just to find a quick fix. It's to find a solution that actually elevates your home's aesthetic. Before you even think about materials, take a step back and look at the bigger picture. Understanding how to plan a perfect room layout can help ensure the transition feels like a thoughtful design choice, not just a necessary evil.
The Real Job of a Transition Strip
You might think transition strips are just for looks, but they’re doing some serious work behind the scenes.
- It’s a safety feature. A good transition eliminates those sharp edges between floors of different heights, preventing nasty trips and falls.
- It protects your investment. It covers the raw, cut edges of your wood planks, shielding them from chipping and daily wear and tear.
- It lets your floor breathe. This is crucial. Transition strips cover the expansion gap that floating floors (like most engineered hardwoods) need, allowing them to shift with humidity changes without buckling or warping.
These little pieces are a big deal. The global market for floor transition strips was valued at around USD 1,980 million back in 2025 and it’s only growing. Why? Because T-moldings and reducers are the go-to solutions for the most common flooring challenges, making up over 60% of the market. They just work.
Pro Tip: I can't stress this enough—always attach the transition strip's mounting track to the subfloor, never directly to the flooring planks. Your floor needs to be able to move freely underneath the transition. Nailing it down is a recipe for disaster.
To help you figure out what you need, I've put together a quick comparison of the main options you'll encounter.
Choosing Your Wood Floor Transition Method
This table breaks down the three most common transition types, showing you exactly when and where to use each one.
| Transition Type | Best For (Height Difference) | Common Use Case | Installation Note |
|---|---|---|---|
| T-Molding | Even height (0 to 1/4 inch) | Connecting two floors of the same height, like in a doorway between two rooms. | Designed to sit perfectly in the expansion gap between the two floors. |
| Reducer | Uneven height (1/4 to 3/4 inch) | Bridging a hardwood floor down to a lower floor, such as vinyl, LVP, or concrete. | Creates a gentle, safe slope from the higher floor to the lower one. |
| Flush Seam | No height difference | Creates a completely seamless, high-end look with nail-down or glue-down hardwood. | This is a job for a pro. It cannot be used with floating floors. |
As you can see, the height difference between your two floors is the most important factor in deciding which transition method is right for your project.
Getting a Lay of the Land: Assessing Your Floors and Picking the Right Transition
Before you even touch a tool or buy a single piece of molding, you’ve got to play detective with your floors. Honestly, getting this part right is what separates a seamless, professional-looking finish from a DIY job that just screams "I did this myself." Here in Forsyth County, we see this all the time, especially when homeowners are trying to marry a new addition to the original flooring.
First things first, let's figure out the height difference. Grab a long, reliable straightedge—a 4-foot level is perfect for this—and lay it across the seam where the two floors meet. Now, take a small ruler or tape measure and find the exact vertical gap between the bottom of your straightedge and the surface of the lower floor. This one measurement is your North Star; it guides every decision you'll make from here on out.
Matching the Molding to the Mission
With that number in hand, you can confidently choose the right piece for the job. Transition moldings aren't one-size-fits-all; each one is engineered for a very specific situation.
-
T-Molding: Think of this as your go-to for floors that are on a level playing field. If your floors are the same height or have a tiny difference (less than 1/4 inch), the T-molding is your hero. Its classic "T" shape sits perfectly over the expansion gap, making it ideal for doorways between two rooms with the same type of laminate or engineered hardwood.
-
Reducer: This is the one you need when one floor sits noticeably higher than the other. A reducer creates a gentle, safe slope, turning a nasty trip hazard into a smooth transition. It's the perfect solution for when the original, thicker hardwood in your Milton home meets the newer, thinner luxury vinyl in the kitchen.
Figuring out the exact profile you need is crucial. To get a better handle on this, we've broken down the different types of floor molding you're likely to see at the store.
I can't tell you how many times I've seen someone try to force a T-molding to bridge a big height gap. It just doesn't work. The piece ends up rocking on the high side, creating an ugly and dangerous lip. Let your measurement make the decision for you.
Don't Forget the Expansion Gap
Here's a detail you absolutely cannot ignore: the expansion gap. Most modern floors—think engineered hardwood, laminate, and LVP—are "floating." That means they aren't nailed or glued down, so they need a bit of breathing room around the edges to expand and contract with the seasons.
The transition strip is designed to cover this gap while still letting the floor move underneath. This is why you must always attach the transition's track to the subfloor, never to the flooring planks. Nailing it directly to the boards pins them in place, and that’s a recipe for buckling and damage down the road.
If you’re dealing with a height difference of up to 1/4 inch, a T-molding is usually the best choice. But when you’re connecting solid hardwood to a lower floor like vinyl or even carpet, a reducer is non-negotiable. It creates that crucial, gradual ramp. Taking the time to get these details right ensures your new transition looks great and holds up for years.
Getting Your Hands Dirty: Installing the Transition Strip
Alright, you've done the planning, and now it's time for the fun part—the actual installation. This is where a little bit of care and precision really makes a difference. A well-installed transition turns an awkward gap into a seamless, professional-looking feature. It's the key to making the switch between two different wood floors look deliberate and beautifully finished.
First things first, get that gap and the subfloor beneath it completely clean. Grab a shop vac with a narrow attachment and get every last speck of dust, wood shavings, and any other debris out of there. You need a spotless surface for a solid bond, whether you're using glue or a mounting track.
Start with a Solid Foundation: The Subfloor
A transition strip is only as good as what’s underneath it. If your subfloor has a dip or a hump right where the two floors meet, the transition will rock, sit crooked, or even pop out over time. It's not just ugly; it's a trip hazard.
Lay a straightedge across the gap to check for any unevenness. You can often sand down small high spots or fill in minor dips with a bit of wood filler.
But if you're dealing with a more significant slope, you'll need to sort out the subfloor itself. It might seem like a pain, but taking the time to level it properly is non-negotiable for a stable, professional result. If you're new to this, we've got a great guide on how to level uneven floors that walks you through the process.
Once everything is clean and level, you're ready to cut your transition piece to size.
The Old "Measure Twice, Cut Once" Rule Still Applies
This is where you need to be precise. Measure the width of the opening or doorway in three different spots—each end and right in the middle. Why three? Because walls are rarely perfectly straight. Always use the shortest of the three measurements for your cut. This is a pro tip that prevents the strip from being too long and buckling under pressure once installed.
Mark that measurement on your transition strip using a square to get a perfectly straight line. To get a super clean cut:
- Wrap the cut line with painter's tape. It’s a simple trick that dramatically reduces splintering.
- A miter saw with a fine-toothed blade will give you a factory-perfect edge.
- If you're using a handsaw, a miter box is your best friend for keeping the cut straight and true.
Now, do a "dry fit." Just set the cut piece into the gap. It should drop in easily, fitting snugly from wall to wall without you having to force it. If it’s a hair too tight, just lightly sand the ends until it fits perfectly. Getting this simple three-step process right is the foundation for a flawless look.
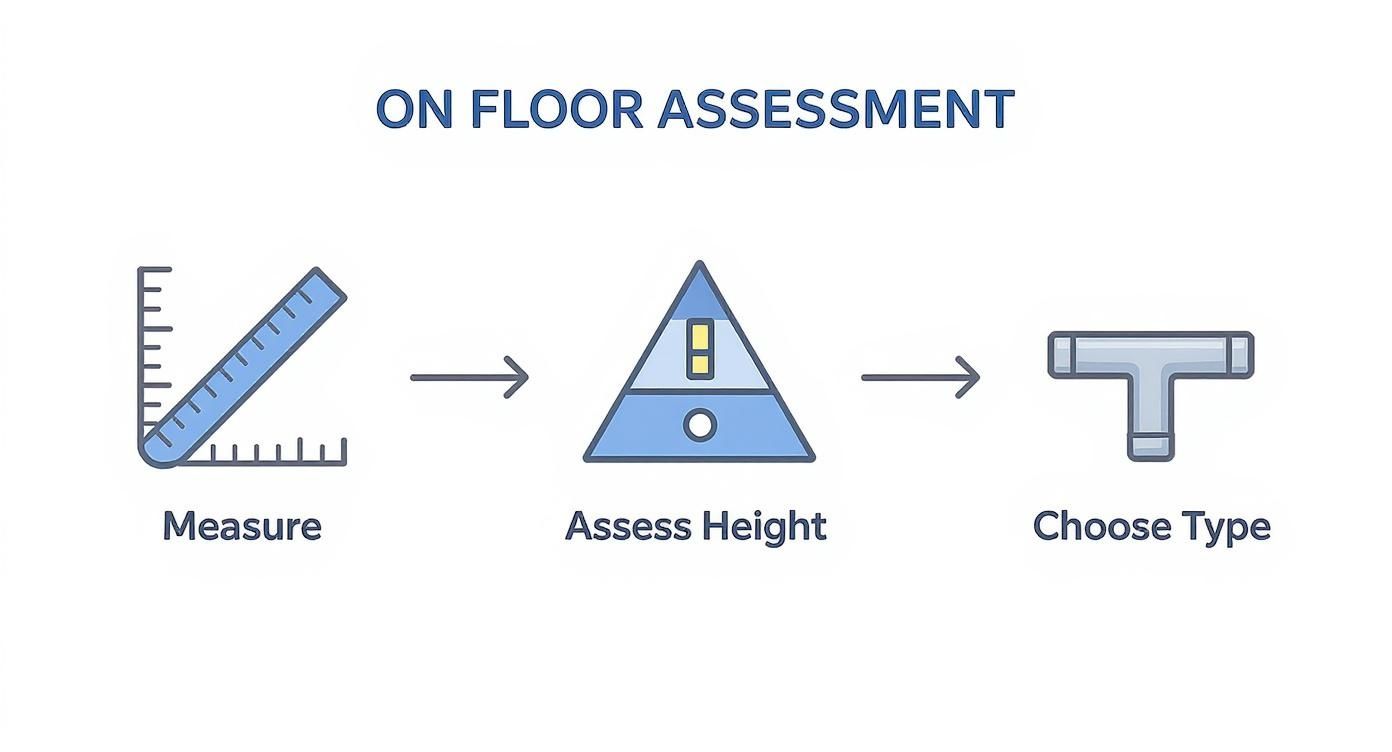
This visual really breaks down that initial assessment, making sure you start off on the right foot with the correct measurements and the right type of transition for your specific floors.
Locking It Down: Securing the Strip
You've basically got two ways to fasten the transition strip: using a snap-in metal track or going with construction adhesive. The one you choose usually depends on the type of strip you bought and your subfloor.
A snap-in track is the go-to method for T-moldings, especially with floating floors like laminate or engineered hardwood. The thin metal track gets screwed right into the subfloor in the middle of the expansion gap. Then, the T-molding just snaps right into it. Easy.
Crucial Insight: The golden rule here is to always screw the track into the subfloor, never into the flooring planks themselves. This is critical. It lets the floor expand and contract naturally with temperature changes, preventing the boards from buckling up against the transition.
The other option is a good construction adhesive, which creates a rock-solid bond. This is often the best choice for reducers and thresholds, particularly if you're working on a concrete subfloor. Just run a bead of adhesive along the subfloor, press the strip down firmly, and use some painter's tape or heavy objects (like a few books) to hold it in place while it cures. And be sure to wipe away any excess glue that squeezes out immediately with a damp cloth for a clean, professional finish.
Getting the Color and Tone Just Right
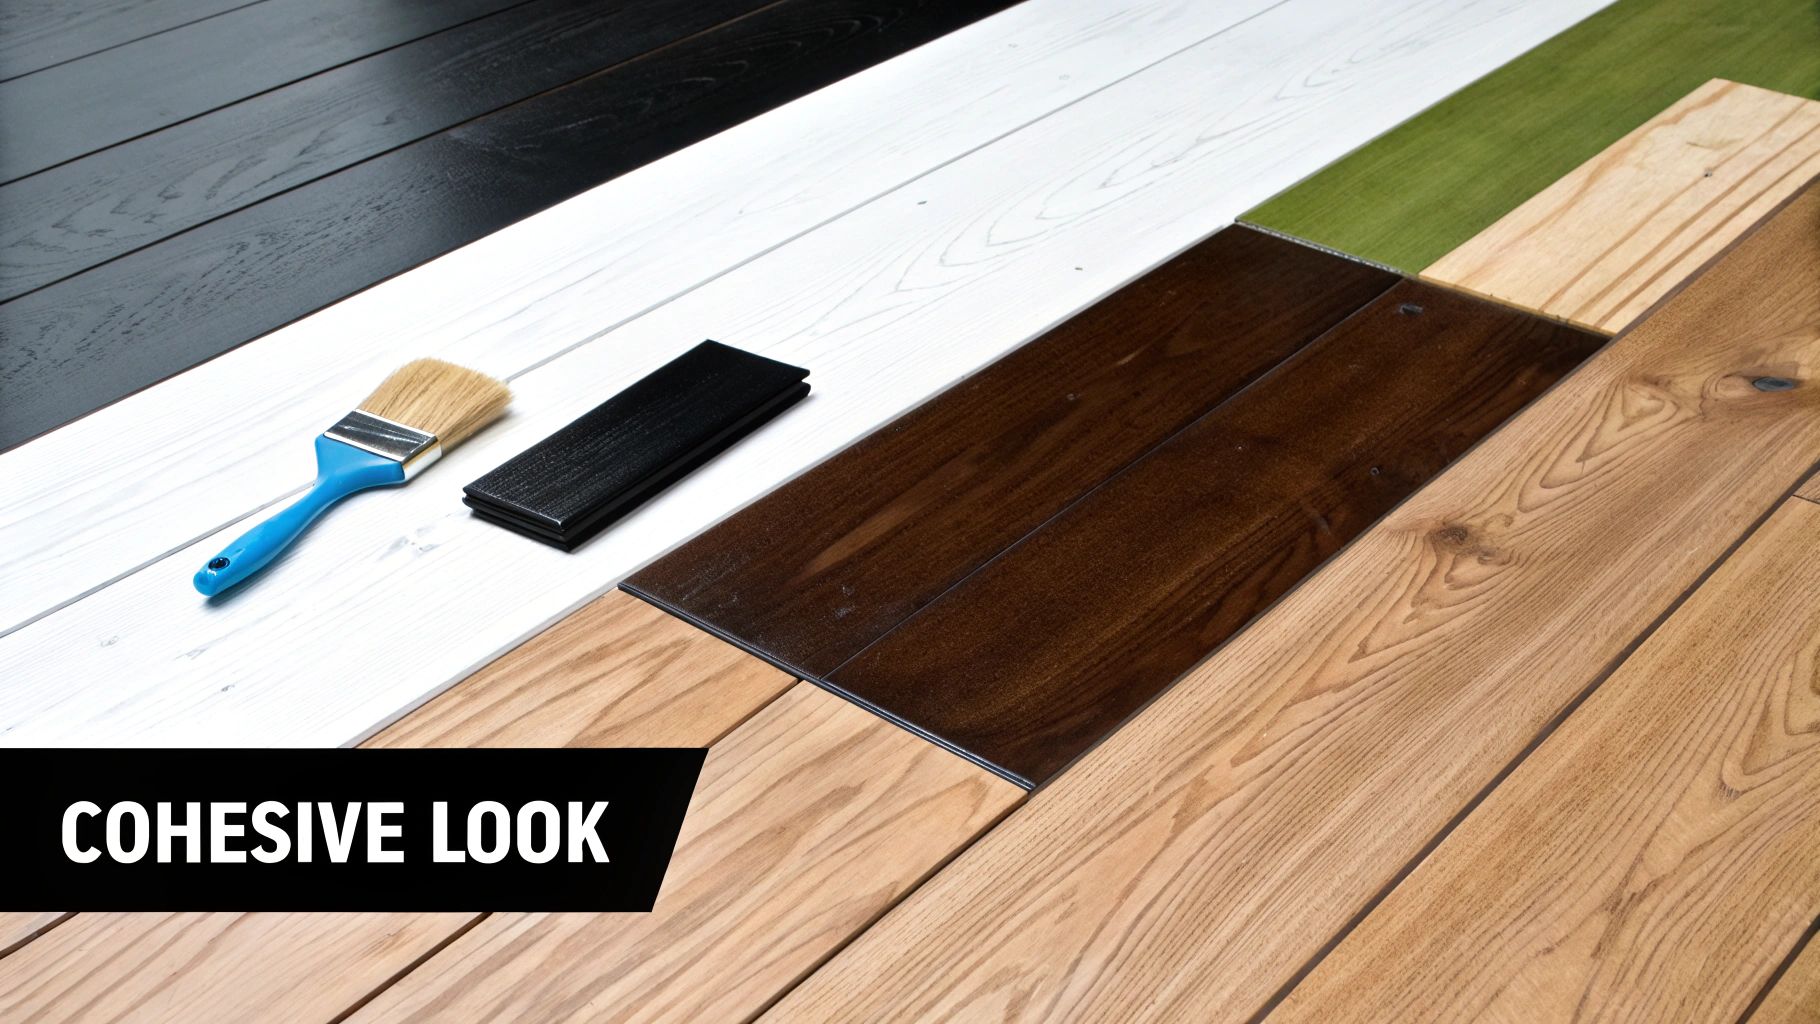
The best transitions are the ones you don't even see. When you're figuring out how to connect two different wood floors, getting the look right is every bit as crucial as the physical installation. The million-dollar question is always about color: should your transition strip match one floor, the other, or should it be a completely different, neutral accent?
Honestly, there's no single right answer here. The best choice really hinges on your home's unique style and the specific floors you’re working with. It all comes down to whether you want to create a seamless, harmonious look or make a deliberate, stylish statement.
Three Smart Ways to Handle Color Matching
Choosing the right tone for that little strip of wood can feel like a bigger deal than it is, but it really boils down to three main strategies. Each one gives you a completely different visual result.
-
Match the Dominant Floor: This is your safest bet and the go-to method for most situations. By matching the transition piece to the larger or more visually prominent floor, you create a natural sense of flow. Imagine a small, dark-stained hallway opening into a big, bright living room with light oak. If you match the transition to the light oak, it makes the living room feel even more expansive and welcoming.
-
Split the Difference: Sometimes, the sweet spot is a color that lands right in the middle of your two wood tones. This works beautifully when both floors share similar undertones—like a warm red oak meeting a warm cherry. The transition piece bridges the gap subtly without calling attention to itself.
-
Create an Intentional Contrast: Who says the transition has to hide? You can turn it into a design feature. A bold strip of dark walnut connecting two lighter maple floors can look incredibly sharp. I've even seen people use sleek metal inlays for a modern, custom feel. This approach turns a functional necessity into a sophisticated detail.
If you're still in the planning stages of a larger project, thinking about the overall visual weight of different woods can be a huge help. You can learn more about the pros and cons of https://flacksflooring.com/dark-vs-light-hardwoods/ to guide your decision for the whole space.
Custom Staining for That Perfect, Seamless Match
For those who are serious about getting it perfect—especially if you're dealing with older floors that have developed their own unique color over decades—custom staining is the way to go. The key is to start with an unfinished transition strip made from the same wood species as the floor you're trying to match.
Buying an unfinished piece gives you total control. You can test out different wood stains and gel stains on a scrap piece until you nail the color. My advice? Always start lighter and build up the color in thin layers. It’s a heck of a lot easier to make a stain darker than it is to lighten it.
Don't forget to pull back and look at the bigger picture. Your floors are just one part of your home's overall design. To see how your flooring choices fit in with your wall colors, furniture, and decor, this expert guide to the perfect color palette offers fantastic insights. Taking this holistic view is what guarantees a truly beautiful and cohesive final result.
What If My Wood Floors Don't Match?
Let's be honest, this is where things get tricky. It's one thing to connect two identical floors, but it’s a whole different ballgame when you're dealing with different wood species, finishes, or thicknesses. We see this all the time in homes around Cumming and Johns Creek, especially during additions or kitchen remodels.
One of the most common scenarios is joining an older, thicker solid hardwood with a modern, thinner engineered plank. The biggest challenge here is the height difference, which is more than just an eyesore—it’s a trip hazard. A reducer is your go-to solution. It's specifically designed to create a gentle, safe slope from the higher floor down to the lower one.
What about different grain patterns? Imagine the tight, subtle grain of a maple floor meeting the bold, swirling grain of red oak. The trick isn't to try and hide the difference, but to define it. You want to create a clear, intentional border. I always recommend using a transition piece made from one of the two woods, typically the one that covers the most ground in the space. This makes the transition look deliberate, not accidental.
Working with Different Finishes and Materials
The sheen of your floors can make or break the transition. A high-gloss, traditional finish right next to a trendy matte or oil-finished floor can create a really jarring visual break.
My pro tip? Use a transition strip with a satin finish. Satin acts as a perfect middle-ground—it’s not too shiny and not too flat, so it helps soften the shift in light reflection between the two different sheens.
It's also worth noting how much the flooring market has changed. Solid hardwood's market share was just 8.6% in 2022, while engineered hardwood now accounts for roughly 70% of all wood flooring sales. This means you’re far more likely today to be connecting floors with different thicknesses and core materials. Knowing how to select the right reducer or T-molding is more crucial than ever. For a deeper dive, you can explore more about these market shifts and what they mean for your home.
A Real-World Example: We just finished a project in a beautiful Johns Creek home where the family wanted to connect their original 3/4-inch solid oak with a new 3/8-inch engineered hickory in the kitchen. We sourced an unfinished oak reducer, carefully stained it to match the tones of the existing floor, and applied a satin topcoat. The result was a seamless visual and physical bridge between two very different floors.
Quick Tips for Tough Transitions
When you're faced with a mismatched scenario, keep these pointers in mind:
- Solid to Engineered: A reducer is non-negotiable. Get your tape measure out and be precise—you need the exact height difference to get the right profile.
- Glossy to Matte: A satin-finish transition is your best friend. It bridges the gap between the sheens without clashing with either one.
- Contrasting Grains: Don't search for a neutral grain pattern. Pick a side. Matching the transition piece to the more dominant of the two floors creates a clean, purposeful look.
By taking the time to consider the unique characteristics of each floor—from wood type to finish—you can choose a transition that looks fantastic and is built to last.
Your Top Questions About Wood Floor Transitions, Answered
When you're trying to figure out how to join two different wood floors, a lot of questions come up. Getting the right answers can be the difference between a project you love looking at and a constant source of frustration. We've pulled together the questions we hear most often from homeowners around Cumming to help you get it right.
Can I Actually Connect Two Wood Floors Without a Molding Strip?
Yes, you can, but this is one of those jobs where experience really counts. The technique is called a "flush seam," and it involves carefully weaving or butting the new planks directly against the old ones to create a single, unbroken surface.
This is a beautiful, high-end look, but it only works if you have solid hardwood floors that are nailed or glued down. It’s absolutely not an option for floating floors like most engineered hardwood or laminate. Those floors need room to expand and contract, which is what the expansion gap is for. A T-molding is specifically designed to hide that gap while letting the floor breathe. If you try a flush seam with a floating floor, you’re just asking for buckling and damage down the road.
A flush transition looks incredible, but it's a demanding technique that requires the right kind of flooring. For almost all DIY projects, and any project involving a floating floor, a T-molding is the proper and safer way to go.
What’s the Best Way to Transition from a Wood Floor to Stairs?
When your flooring meets the top of a staircase, you need a specific piece called a stair nose, sometimes called a "bullnose." This isn't just a suggestion; it's essential for safety and getting that professionally finished look.
A stair nose does two really important things:
- It provides a durable, rounded edge for that first step, which takes a beating from foot traffic and makes it less of a tripping hazard.
- It covers the expansion gap for the flooring on the landing, working just like a T-molding would in a doorway.
You have to make sure the stair nose you buy is the same thickness as your floor. Critically, it needs to be fastened securely to the subfloor of the landing—not just to the flooring planks—to create the solid, stable edge a safe staircase demands.
How Can I Match a Transition Piece to an Old or Faded Floor?
This is easily one of the trickiest parts of any flooring project. Wood changes color over time with exposure to sunlight and everyday life, developing a unique patina. Trying to match that with an off-the-shelf, pre-finished piece from a big-box store is often a losing battle.
The best approach here is to get an unfinished transition strip made from the same species of wood as your floor. This gives you total control. You can then experiment with wood stains on a scrap piece (or a hidden spot) until you get the color just right. Don't be surprised if you have to mix two different stains to get the perfect shade.
A pro tip: always start with a lighter stain and build up the color with thin coats. It's way easier to make it darker than to try and lighten a piece you've over-stained. Once you're happy with the color, finish it off with a clear top coat that matches the sheen of your floor—whether it's matte, satin, or gloss—to make it blend seamlessly.
At Flacks Flooring, we know it's the little details that truly finish a space. If you're working on a project in Cumming, Johns Creek, or Milton and need some expert guidance on making your transitions look perfect, our team is ready to help. See our hardwood options and get some personalized advice by visiting us at https://flacksflooring.com.