
So, you’re thinking about refinishing your wood floors. The first, and most important, question is whether you need a full-blown restain or just a simpler recoat. Getting this right from the start can save you a ton of time, money, and hassle.
Restaining is the heavy-duty option. It involves sanding everything—the old finish, the old stain—right down to the bare wood. From there, you apply a brand-new color and a protective topcoat. This is the go-to solution for floors that have seen better days, with deep scratches, ugly discoloration, or major wear. It’s a big job, but it’s the only way to fix damage that has penetrated the wood itself.
Is Restaining Really What Your Floors Need?
Before you start clearing out rooms and pricing sander rentals, let’s figure out if restaining is truly necessary. A lot of floors don't need that much work. Sometimes, a "screen and recoat" is all it takes to bring back that beautiful shine, and it's a much less disruptive project.
Restain vs. Recoat: Knowing the Difference
It all comes down to the depth of the damage. A recoat is like a fresh coat of paint for your floor's finish—it scuffs up the existing polyurethane just enough for a new layer to stick. It’s perfect for fixing light surface scratches and bringing back the luster.
But a recoat is only skin-deep. It won’t do a thing for damage that’s gone past that top protective layer.
You’re probably looking at a full restaining project if your floors have:
- Deep Gouges or Scratches: We’re talking about damage you can easily feel with a fingernail, where the scratch has cut right through the color.
- Gray or Black Patches: This is a classic sign of water damage or oxidation. Moisture got into the wood and turned it a sad, lifeless gray.
- Worn-Through Areas: Think about the paths you walk every day. If the finish is completely gone in these high-traffic lanes, leaving bare wood exposed, it's time to sand.
- You Just Want a New Color: If that golden oak from the 90s is driving you crazy and you’re dreaming of a rich, dark espresso, restaining is the only way to make that happen.
To give you a quick cheat sheet, here's a simple breakdown of what to look for.
Quick Assessment: Restain vs Recoat
| Floor Issue | Recommended Action | Why |
|---|---|---|
| Dull Finish, Minor Scuffs | Recoat | The underlying wood and stain are fine; only the top protective layer is worn. |
| Deep Scratches, Gouges | Restain | The damage has penetrated the wood itself and can't be covered by a new finish. |
| Gray/Black Water Stains | Restain | The wood is discolored and must be sanded down to remove the damaged layer. |
| Worn to Bare Wood | Restain | The protective finish is completely gone, leaving the wood vulnerable to damage. |
| Desire for a Color Change | Restain | You must sand to bare wood to apply a new stain color. |
This table should help you quickly diagnose your floor's condition and point you in the right direction.
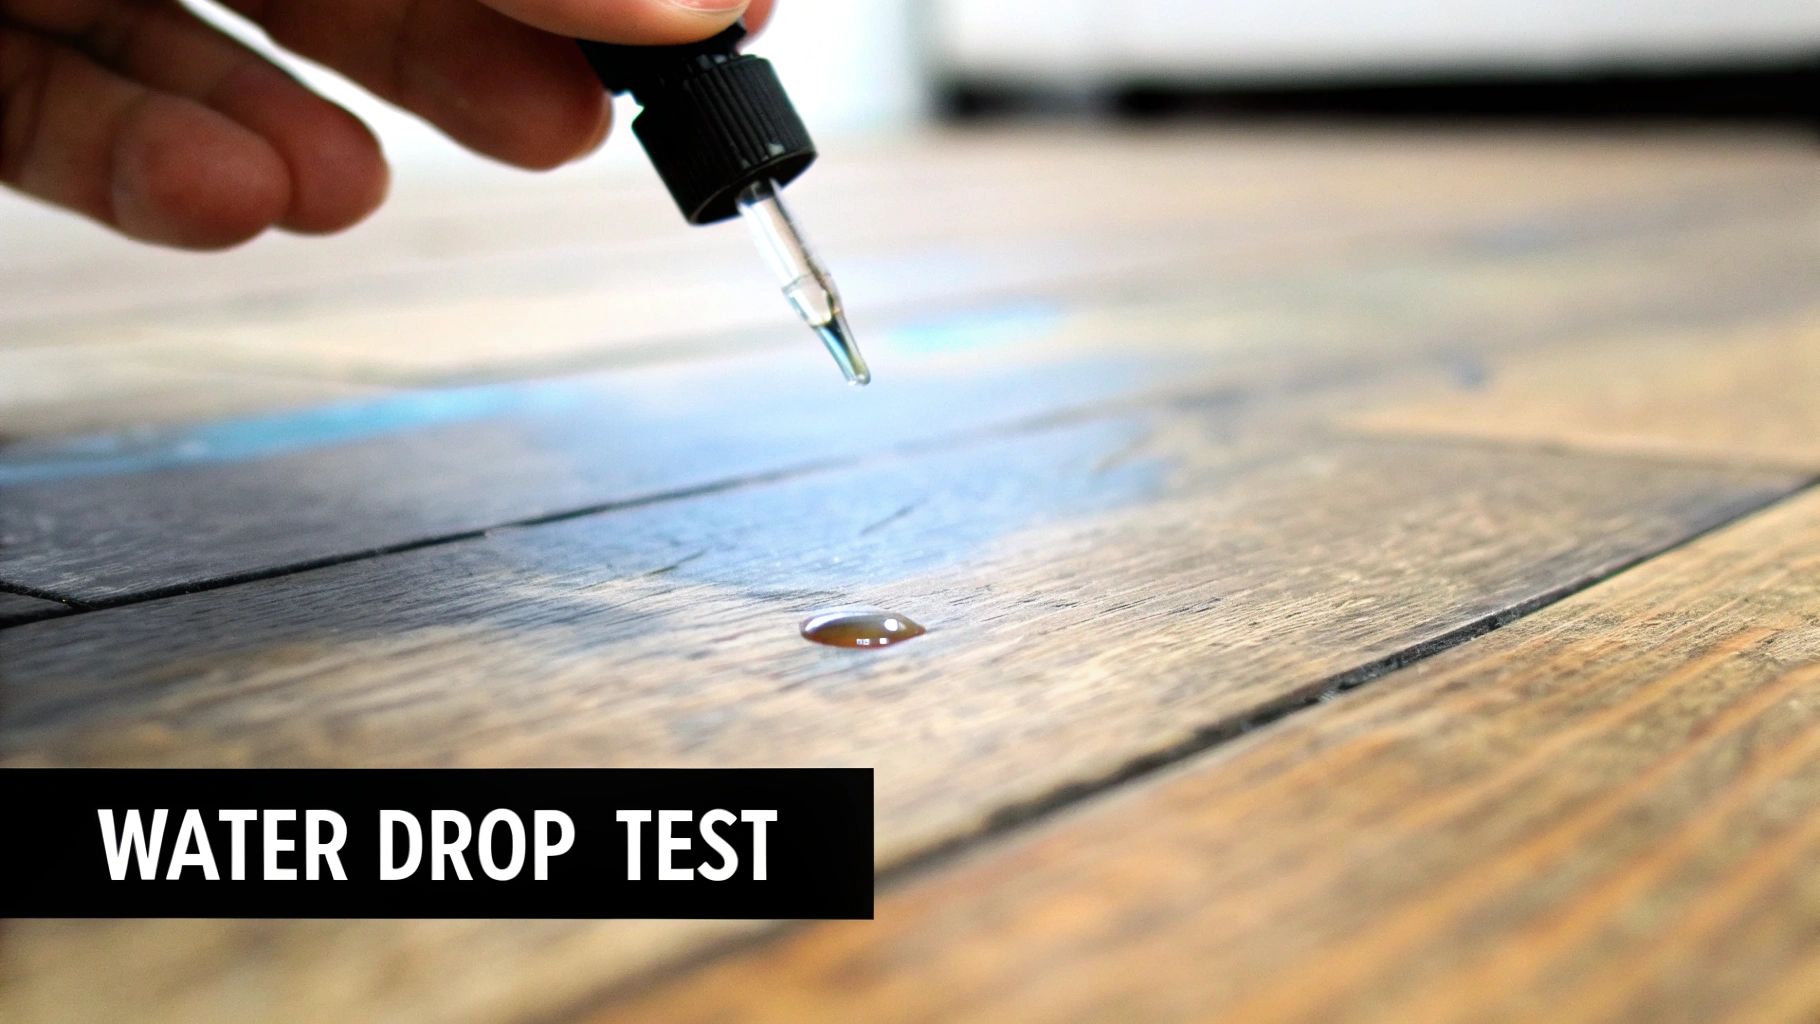
Try the Water Drop Test
Here’s a simple trick I always recommend. Go to a well-worn spot on your floor and place a few drops of water on it. Now, watch what happens.
- If the water beads up nicely, your finish is holding strong. A simple recoat might be all you need.
- If the water sits for a minute and then slowly starts to soak in, your finish is getting weak.
- If the water immediately disappears into the wood and leaves a dark spot, your protective layer is gone. That's a clear signal that a full restain is in your future.
Key Takeaway: Let the floor tell you what it needs. If the problems are just on the surface, a recoat can work wonders. But if the wood itself is scratched, stained, or exposed, you have to sand it all down and start fresh.
It's also crucial to know what kind of floor you have. Solid hardwood can be sanded down many times over its life. But you have to be much more careful with engineered hardwood, which only has a thin veneer of real wood on top. You can learn more about this here: https://flacksflooring.com/what-is-engineered-hardwood-flooring/
Of course, the decision often comes down to budget. Restoring floors is a significant investment in your home's value. To get a handle on the potential costs, this hardwood floor refinishing cost guide is a great resource for planning. It's a popular project for a reason—the global wood flooring market was valued at USD 33.28 billion back in 2019 and continues to grow, showing just how much homeowners value beautiful, well-maintained wood floors.
Getting Your Gear in Order: Tools & Materials
Trying to refinish a floor without the right equipment is a recipe for disaster. I've seen it happen. You end up with a frustrating mess instead of the beautiful finish you imagined. So, before you even think about touching the floor, let's talk about setting you up for success. This isn't just a shopping list; it's your game plan.
Having the proper tools on hand makes the entire process smoother and, frankly, determines the quality of your final result. From the big rental machines down to the safety gear you'll be wearing, every single item plays a part.
The Big Decision: Which Sander to Rent?
This is probably the most important choice you'll make. Your two main options are the drum sander and the random orbital sander, and they are completely different beasts.
-
The Drum Sander: Think of this as the heavy-duty, professional-grade option. It's powerful, aggressive, and will chew through old finish and level out a floor in no time. If your floors have deep gouges, layers of old varnish, or serious wear, this is your tool. But that power is also its biggest risk. Pause for a split second in one spot, and you’ve just carved a permanent divot into your wood. It demands respect and a steady hand.
-
The Random Orbital Sander: This is the much more user-friendly machine and my top recommendation for most first-timers. Its sanding pattern is random (hence the name), which practically eliminates the risk of leaving ugly swirl marks or gouges. It's slower, yes, but that slower pace gives you far more control. It's perfect for floors that are in decent shape but just need a refresh or a color change.
No matter which big sander you choose, you'll also need an edge sander. It's a smaller, powerful handheld machine that lets you get right up to the baseboards and into corners where the big sander can't reach. It's not optional—it's essential for a uniform look.
Your Sandpaper Strategy
You don't just grab one type of sandpaper and go. A proper floor sanding job is done in stages, moving from a coarse grit to a fine one. It’s tempting to skip a step to save time, but don't. If you jump from a coarse grit to a very fine one, the fine paper won't be able to erase the deep scratches left by the coarse one, and you'll see those flaws shine through your new stain.
For most oak floors around here, this sequence works every time:
- First Pass (36-grit): This is for your heavy lifting. It rips off the old finish and starts leveling the wood.
- Second Pass (60-grit): This pass smooths out the rough surface left by the 36-grit paper.
- Final Pass (100-grit): This is your finishing sand, creating that perfectly smooth surface that’s ready to absorb stain evenly.
My Two Cents: With a drum sander, you must sand with the grain of the wood. No exceptions. With a random orbital, the pattern is more forgiving, but I still recommend following the grain just to keep everything consistent.
Picking Your Stain and Finish
With the hard work of sanding done, it’s time for the fun part. The products you choose now will determine the floor's final color and how well it holds up to foot traffic, spills, and pets.
-
Oil-Based Products: These are the traditional choice. Oil-based stains soak deep into the wood, giving you a really rich color. The polyurethane topcoats are known for their durability and give the wood a classic, warm amber glow. The trade-offs? The fumes are strong (high VOCs), and they take a long time to dry.
-
Water-Based Products: This is the modern go-to for good reason. You get low odor, incredibly fast dry times, and a crystal-clear finish that won’t turn yellow over the years. Early versions got a bad rap for durability, but today’s premium products, like Bona Traffic HD, are bulletproof. For a busy household in Johns Creek or Milton, minimizing downtime and fumes makes this a no-brainer.
Don't Skimp on Safety Gear
I can't stress this enough: this project is tough on your body. Protect yourself. This gear isn't optional.
- Respirator: A paper dust mask won't cut it. You need a dual-cartridge respirator to filter out the microscopic wood dust and the chemical fumes from your stain and finish. Your lungs are not replaceable.
- Safety Glasses: Keep wood dust and finish splashes out of your eyes.
- Hearing Protection: Floor sanders are loud enough to cause hearing damage. Simple foam earplugs or a good pair of earmuffs are a must.
- Knee Pads: Trust me on this. You'll be on your knees for hours doing the edges, staining, and finishing. A $20 investment in good knee pads will feel like a million bucks by day two.
The Art of Sanding: From Start to Finish
Sanding is, without a doubt, the part of the job that makes most people nervous. It’s loud, dusty, and a small mistake can feel like a huge deal. But I always tell homeowners to think of it less as a chore and more like creating a perfect canvas. Everything you do right here pays off big time in the final finish.
You’re not just stripping off the old polyurethane; you’re meticulously preparing a smooth, uniform surface that will drink up the new stain evenly. This is where patience is everything. Rushing this stage is the #1 reason I see blotchy, disappointing results.
Mastering the Drum Sander
The drum sander is your heavy hitter for the main floor. This machine is powerful and gets the job done fast, but you have to respect it. The classic DIY mistake is creating "drum marks" or "chatter"—those ugly dips and divots you won't see until the stain goes on.
There's one golden rule to prevent this: the sander must always be moving forward or backward when the drum is on the wood.
Never, ever stop moving or try to turn the machine with the sanding drum engaged. It's a rhythm: you tilt the sander back, get it rolling forward, and then gently lower the drum to the floor. As you near the far wall, you lift the drum before you stop. It feels awkward at first, but you'll get the hang of it. Always sand with the grain of the wood, overlapping each pass by about a third of the machine's width to keep things nice and even.
If you come across any deep gouges, now’s the time to fill them with a quality wood filler. Let it dry completely, then sand it flush on your next pass. This is also a good moment to feel for any significant high or low spots. If the floor is seriously uneven, you might need more than just sanding. Our guide on how to level uneven floors can walk you through more advanced fixes.
The Grit Progression: A Step-by-Step Approach
Sanding isn't a one-and-done deal. It’s a process of working through a sequence of sandpaper grits, starting coarse and getting progressively finer. Skipping a grit is a classic mistake. Each finer grit is designed to erase the scratch pattern left by the previous one. Following this progression is absolutely critical for a professional result.
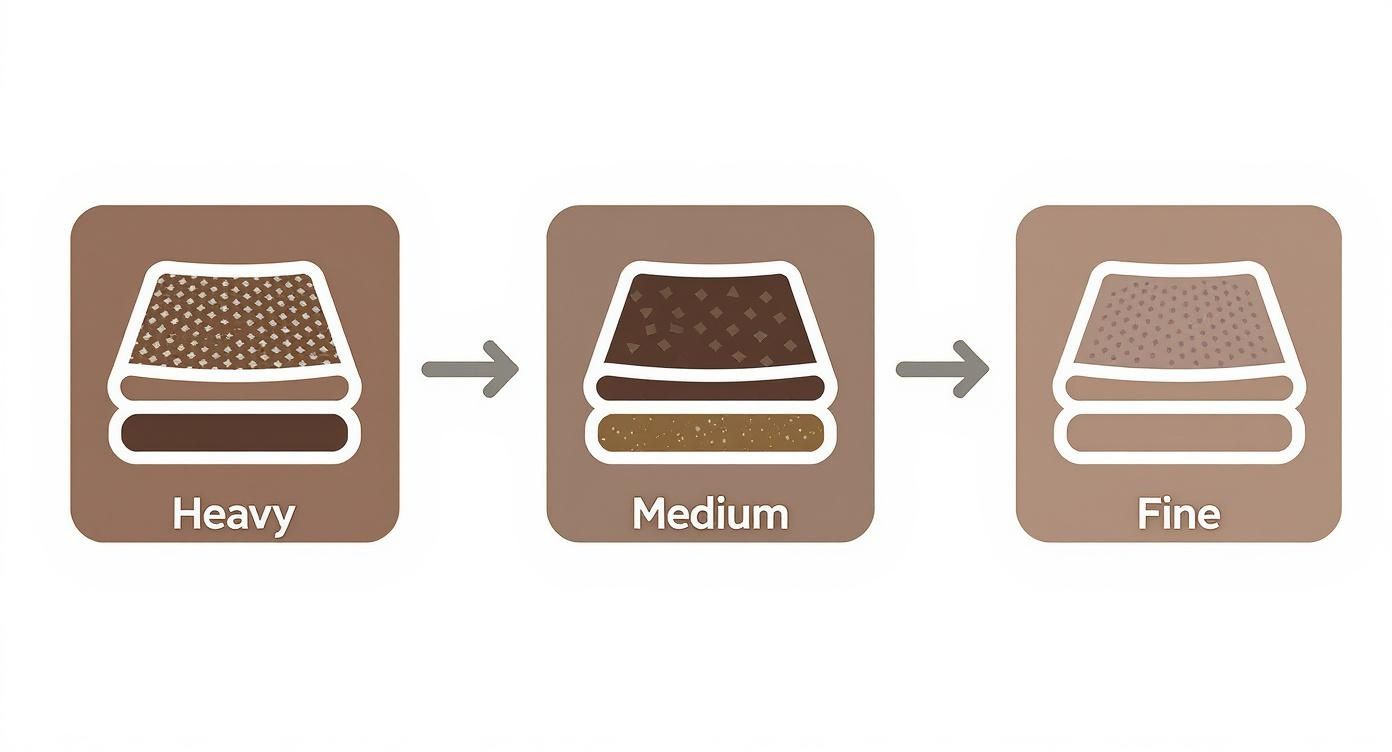
Think of it like this: the coarse grit does the heavy lifting, the medium grit smooths things out, and the fine grit polishes the surface, leaving it ready for stain.
Tackling Edges and Corners
Once the main field of the floor is done, it's time to handle the perimeter. The drum sander can't get flush against the baseboards, which is why your rental package must include an edge sander. This handheld beast is powerful, so use a firm grip and keep it moving constantly, just like its bigger cousin.
Work your way around the room, following the exact same grit progression you used on the main floor. Even after the edger, you'll have tight corners and spots around door jambs that are untouched. A small detail sander or even a sharp paint scraper is perfect for carefully blending these areas into the rest of the floor. Your goal is a seamless, uniform surface from wall to wall.
Pro Tip: After your final sanding pass, "screen" the floor with a buffer fitted with a fine-grit sanding screen (around 120-grit). This is the secret to a flawless finish. It blends the circular pattern of the edger with the linear pattern of the drum sander, buffs out any tiny imperfections, and leaves the wood feeling silky smooth.
The Critical Cleanup Phase
You simply cannot over-clean at this stage. Fine wood dust is the enemy of a smooth finish. Any spec you leave behind will get trapped in the stain or poly, creating a gritty, rough texture. Once the sanding is done, the real cleaning begins.
Start by vacuuming everything. And I mean everything.
- The Floors: Vacuum thoroughly with the grain, then go over it again against the grain.
- The Walls and Windowsills: Dust settles everywhere. Wipe them down with a damp cloth.
- Light Fixtures and Ledges: Don't forget to look up and vacuum or wipe down any high surfaces.
After vacuuming, wipe the entire floor with a tack cloth or a microfiber cloth lightly dampened with mineral spirits. This picks up the superfine dust the vacuum inevitably misses. The job is done when you can wipe a clean white cloth across the floor and it comes up spotless. Only then are you ready for the fun part: applying the stain.
Applying Stain and Finish Like a Professional
After all that sanding and cleaning, you’ve finally reached the moment of truth. This is where your hard work pays off and your new floor really comes to life. Getting the stain and finish right is what separates an okay DIY job from a truly stunning, professional-quality result. It all comes down to technique, patience, and using the right stuff for the job.
This isn't just about slapping on some color. You're trying to control how the wood accepts that color to create a rich, even tone. It’s the step where you really define the final look.
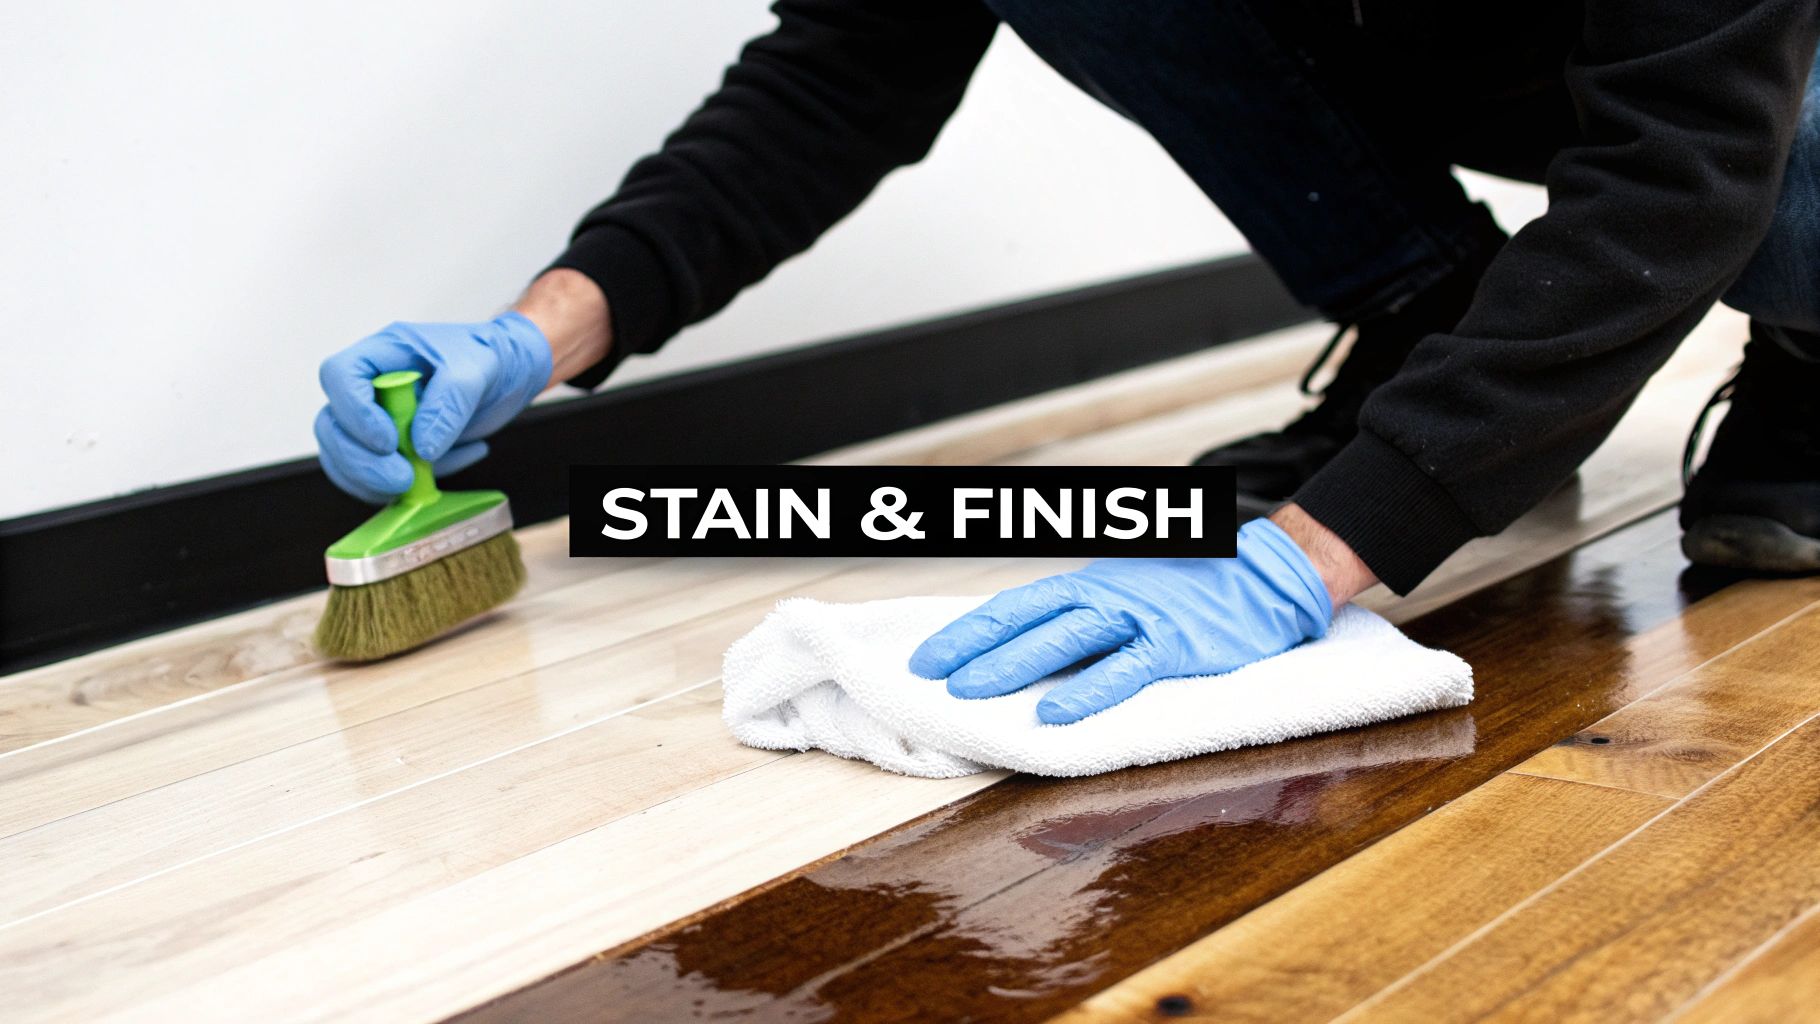
Opening the Wood Grain with Water Popping
Here’s a pro tip that makes a world of difference: water popping. Right after your final sanding, you'll lightly dampen the entire floor. Just use a rag or sponge with a little distilled water. As the water evaporates, it raises the grain of the wood, creating a slightly rougher texture.
So, why do this? It opens up the wood's pores, allowing the stain to soak in deeper and much more uniformly. This is the secret to achieving that deep, consistent color, especially if you're going for a dark stain. Without it, you can end up with a blotchy, uneven appearance. Just make absolutely sure the floor is 100% dry before you even think about staining.
The Art of Applying Wood Stain
When it's time to stain, how you put it on matters. Believe it or not, a simple, clean, lint-free rag is often your best tool. Sure, some pros use lamb's wool applicators for huge areas, but a rag gives you amazing control over the process.
The trick is to work in small, manageable sections—think about 3×3 feet at a time. Apply the stain, let it penetrate for a few minutes (check the can for the manufacturer's recommendation), and then—and this is critical—wipe off all the excess with a clean rag. Leaving too much stain on the wood is a classic rookie mistake. It creates a sticky, ugly mess that will never, ever dry properly.
Maintaining a Wet Edge: Always work from a "wet edge." As you finish one section and move to the next, blend your new application into the edge of the previous one while it's still wet. This simple technique is the key to preventing lap marks—those ugly, dark lines that scream "amateur job."
Choosing Your Protective Topcoat
The stain gives you the color, but the finish is what gives you the protection. This is usually polyurethane, and your choice here will impact everything from durability and looks to how long the project takes.
- Oil-Based Polyurethane: This is the old-school favorite, famous for its incredible durability and the warm, amber glow it adds. The downside? It has a very strong odor from high VOCs and takes a lot longer to dry and fully cure.
- Water-Based Polyurethane: Modern water-based finishes are a fantastic alternative, especially for busy households in places like Cumming or Johns Creek. They dry fast, have almost no odor, and give you a crystal-clear finish that won't yellow over time. The premium products today offer durability that's right up there with their oil-based cousins.
Applying the Finish for a Flawless Surface
For maximum protection, you'll want to apply at least three coats of polyurethane. The first coat acts as a sealer. Once it’s dry—and water-based polys can be ready for a recoat in just a few hours—you need to lightly scuff the surface.
Let's be clear: this is not sanding. You’ll use a very fine-grit screen (220-grit or higher) on a pole sander to gently abrade the finish. This creates millions of microscopic scratches that give the next coat something to grab onto, ensuring it bonds perfectly. After scuffing, vacuum everything up and wipe the floor with a tack cloth before applying your next coat. You'll repeat this between each layer of finish.
After that final coat is on, the waiting game begins. The floor might feel walkable (in socks only!) within 24 hours, but the finish is far from cured. Full curing, the point where the finish reaches its maximum hardness, can take anywhere from 72 hours to a full week or even longer. You have to be patient here. Don't rush to move furniture back in—give your beautiful new floors the time they need to harden up completely.
Troubleshooting Common Restaining Problems
Even the most carefully planned project can hit a snag. When it comes to restaining wood floors, a few common issues can pop up, but don't worry—most are fixable. The trick is knowing what went wrong and how to course-correct without making a bigger mess.
Let's walk through some of the curveballs you might face and how to get that flawless finish you're after.
Why Is My Stain Blotchv and Uneven?
This is easily the most common headache for DIYers. You apply the stain, and instead of a beautiful, uniform color, you get a patchy, inconsistent mess. It’s frustrating, but it almost always boils down to one of two things: the wood itself or the prep work.
- Porous Woods: Some woods, like pine, maple, and birch, are just naturally thirsty and drink up stain unevenly. The secret weapon here is a pre-stain wood conditioner. It acts like a primer, partially sealing the wood grain so the stain goes on smoothly and predictably.
- Sanding Scratches: Did you skip a grit during sanding? Maybe the marks from the edger didn't quite blend with the drum sander's path. Stain loves to settle into these deeper scratches, making them pop out in the worst way.
- Contamination: Any little bit of residue—old cleaning products, wax, even oils from your hands—can act as a barrier, preventing the stain from penetrating the wood. That final, thorough wipe-down with mineral spirits isn't just a suggestion; it's essential.
Expert Insight: I know it's tough to hear, but the only real fix for a badly blotched stain is to sand it back down and start again. This time, don't skip the wood conditioner. It's a painful extra step, but it's far better than living with a floor you can't stand to look at.
Dealing with Dust Nibs and Bubbles in the Finish
You’re on the home stretch, applying the polyurethane, and it looks perfect… from a distance. Get up close, and you see tiny bumps or little bubbles marring the surface. This is all about your environment and application technique.
Bubbles are usually caused by working the polyurethane too much. If you shake the can, roll it on too fast, or over-brush it, you're just whipping air into the finish. Let it dry, then lightly sand the bubbles out with 220-grit paper. After a deep clean, apply the next coat with slow, even strokes.
Dust nibs are exactly what they sound like: microscopic dust particles that landed in the wet finish. It’s a perfect illustration of why the final cleanup is so critical. The fix is the same as for bubbles—let it dry, sand them away, and make sure your next coat is applied in a spotless, still room.
Sometimes, bigger issues can surface during the prep phase. If you pull up old carpet and discover mould, it has to be dealt with before you can even think about sanding. You might want to look into natural mould killer solutions to handle the problem safely before moving forward.
Protecting your investment is key. The global hardwood flooring market was valued at USD 51.38 billion in 2024, and doing the job right ensures your floors contribute to that value. You can find more data on the growth of the hardwood market on imarcgroup.com.
Here's a quick reference guide for some common issues you might run into.
Common Restaining Issues and Solutions
This table breaks down some of the most frequent problems, their likely causes, and how to get your project back on track.
| Problem | Probable Cause | How to Fix It |
|---|---|---|
| Blotchy, Uneven Stain | Inconsistent sanding; porous wood (pine, maple); contaminants on the floor. | Sand back to bare wood. Use a pre-stain wood conditioner. Ensure a final clean with mineral spirits. |
| Bubbles in Finish | Shaking the can; rolling or brushing too aggressively; low-quality applicator. | Let the coat dry fully. Lightly sand with 220-grit paper, clean thoroughly, and reapply with slow, even strokes. |
| Dust Nibs in Finish | Airborne dust or debris landed on the wet polyurethane. | Wait for it to dry, sand smooth with 220-grit, vacuum and tack rag the surface, then apply the next coat. |
| Sticky or Tacky Finish | Applied too thickly; high humidity or low temperature; stain wasn't fully dry. | Increase air circulation and temperature. Allow more time. If still tacky after days, may need to be stripped. |
| Swirl Marks or Scratches | Using too coarse a grit for the final sanding pass; improper buffing technique. | Sand the floor again with the proper grit sequence (e.g., 60 -> 80 -> 100). |
| Peeling Finish | Applied over a contaminated surface (wax, oil); incompatible stain and finish. | The entire finish must be sanded off. Clean thoroughly with mineral spirits before starting over. |
Think of these issues not as failures, but as part of the learning process. With a little patience and the right approach, you can fix just about any problem and achieve a beautiful, professional-looking result.
Your Top Floor Restaining Questions Answered
So, you're thinking about restaining your floors. It's a project that completely transforms a room, but it also brings up some big questions about time, money, and just how much it will disrupt your life. Getting straight answers before you start is the key to a successful project and, frankly, to keeping your sanity.
As experts serving Cumming and Forsyth County, we’ve heard every question in the book. Let’s walk through the most common ones so you can decide if this is a project you're ready to tackle.
How Long Does This Actually Take?
This is always the first question, and the honest answer is almost always longer than you think. For a typical 300-square-foot room, a dedicated DIYer should realistically block out 4 to 7 full days for the hands-on work.
Here’s what that timeline usually looks like:
- Day 1: The Heavy Lifting. This day is all about prep. You’ll be clearing the room, taping off doorways with plastic, and then getting through that first aggressive sanding pass with a coarse grit. It's a dusty, physical day.
- Day 2: The Finesse Work. Now you'll be refining the surface, working your way through medium and fine sanding grits. This includes the main floor area and all the tedious edge work. After that, it's a deep, meticulous cleanup.
- Day 3: The Big Change. This is the exciting part! You’ll be applying the stain. Once that’s perfectly dry, you’ll roll on the first protective coat of polyurethane.
- Days 4-5: Building the Finish. These days are dedicated to adding more coats of polyurethane. Between each one, you’ll need to do a light scuff-sand and clean everything again to ensure each layer bonds properly.
But the active work is only half the story. The curing time is non-negotiable. While your new floor might feel dry enough for sock-traffic in 24 to 48 hours, the finish is still incredibly fragile. You absolutely need to wait at least 7 days before carefully placing furniture back (lift, don't drag!) and a full 30 days before you even think about putting down area rugs.
Can I Live in My House While This Is Happening?
I'm going to be blunt: it's a really bad idea. While it might be technically possible if you're only refinishing a single bedroom that can be completely sealed off, living through this project is messy, smelly, and disruptive.
Sanding creates a massive amount of fine dust that will get everywhere, no matter how good your dust collection system is. More importantly, the fumes from stains and oil-based finishes are loaded with VOCs (Volatile Organic Compounds) that can cause headaches and respiratory issues. Even with newer low-VOC water-based products, the odor can be powerful.
You simply can’t walk on the floors while they are drying and curing. For any project that involves a main living area, a hallway, or a kitchen, your best bet is to plan on staying somewhere else.
What's the Real Cost to Restain Floors?
The cost to restain your floors really comes down to one thing: are you doing it yourself, or are you hiring a pro?
If you go the DIY route, you can expect to spend between $1.50 and $4.00 per square foot. This covers everything from the drum sander rental and sandpaper to the stain, polyurethane, and safety gear. For a 300-square-foot living room, your budget would likely land between $450 and $1,200.
Hiring a professional crew in the Johns Creek or Milton area will, of course, be a bigger investment, typically running from $4.00 to $8.00 per square foot. That price can change based on the current state of your floors, the type of finish you want, and how complex the layout is. For a much more detailed breakdown, our guide on the cost to refinish hardwood floors is a great resource for budgeting.
While going DIY saves a lot of money, remember that a pro brings speed, skill, and high-powered dust containment systems that are often well worth the extra cost.
Feeling like the DIY route might be more than you bargained for? The experts at Flacks Flooring are here to help. We provide professional hardwood refinishing that delivers a flawless finish without the headache. Stop by our showroom in Cumming, GA, or schedule a consultation on our website to get started.