
Thinking about putting a wood floor over your carpet? You might be surprised to hear that, yes, you absolutely can pull it off without damaging a thing. The trick is to create a stable, floating base right on top of the carpet, which then acts as a foundation for modern click-lock flooring.
It's a fantastic solution for renters who want a fresh look without saying goodbye to their security deposit, or for homeowners who aren't ready to commit to a permanent change.
Why a Temporary Floor Is Such a Smart Move
Installing a temporary wood floor isn't just about covering up old carpet. It's a strategic upgrade that completely transforms the feel of a room while protecting the floor underneath. You get the beautiful, clean look of hardwood with the total freedom to remove it whenever you want, leaving the original carpet in perfect condition.
It’s an incredibly flexible approach that works in all sorts of situations.
Versatility for Almost Any Situation
I've seen this method used everywhere. Renters use it to make a generic apartment feel like their own. Homeowners stage their properties with it to create a high-end look that helps sell the house faster. Even event planners will lay down a temporary floor for a party or wedding to create an elegant, solid surface.
If you're renting, this is one of the best ways to upgrade your space. We have a whole guide with more ideas on this topic, which you can check out here: https://flacksflooring.com/temporary-flooring-for-renters/
This isn't just for individuals, either. Property managers are catching on, especially for units like short-term leasing apartments, because it allows for quick, stylish turnovers between tenants without a major renovation.

The whole concept is beautifully simple: you build a stable, floating subfloor (usually with thin plywood) directly over the carpet. This new layer supports the wood-look flooring and, most importantly, protects the carpet below from getting crushed, stained, or worn down.
A Growing Trend in Home Updates
We're seeing more and more homeowners lean into non-permanent flooring solutions. In fact, residential renovations make up 45% of the demand for these kinds of systems. Many people flipping houses now choose wood snap-down systems because the protective layers just make sense.
Think about it—during a move, simply using flooring protection boards has been shown to slash carpet damage claims by a staggering 65%. That alone shows how effective a protective layer can be.
When you boil it down, laying a temporary wood floor over carpet gives you two huge wins:
- Aesthetic Transformation: You instantly get the crisp, modern look of a hardwood or laminate floor.
- Asset Protection: You keep the original carpet in pristine condition, ready for whenever you need to switch back.
This blend of style and pure practicality makes it one of the smartest upgrades you can make to any carpeted room.
To help you weigh your options, here’s a quick breakdown of the pros and cons.
Pros and Cons of Installing Wood Flooring Over Carpet
This table gives you a quick-glance comparison of the key advantages and potential drawbacks to help you make an informed decision.
| Benefit | Potential Drawback |
|---|---|
| Damage-Free: Protects the original carpet. | Increased Height: Can create transition issues at doorways. |
| Cost-Effective: Cheaper than a full rip-out and install. | "Hollow" Sound: May have a slightly different sound when walked on. |
| DIY-Friendly: A manageable project for most homeowners. | Requires Low-Pile Carpet: Not suitable for thick, plush carpeting. |
| Reversible: Easily removed when you move or change your mind. | Potential for Shifting: If not installed correctly, it may shift. |
| Aesthetic Upgrade: Instantly modernizes any room. | Subfloor Prep is Key: Requires a perfectly flat and stable base. |
Ultimately, if your situation calls for a temporary and stylish solution, the benefits often far outweigh the potential hurdles, especially when the installation is done right.
Choosing Your Materials for a Flawless Finish
The success of your entire project really comes down to getting the right materials from the start. Think of it as your project's foundation—picking the right combination ensures you get a stable, beautiful, and genuinely temporary floor. Your choices here will make or break the installation process and the final look.
Let's start with the fun part: the flooring you’ll actually see and walk on. This is where you set the style for the room, but you have to balance looks with practicality.
Selecting Your Visible Flooring Surface
For a temporary setup like this, you'll want to stick with floating floors. These are brilliant because they use a click-lock system, meaning no glue or nails are needed. When it's time to move out or change things up, you can just take them apart.
Here are the most common choices I see homeowners in the Johns Creek area using for this kind of project:
- Luxury Vinyl Plank (LVP): This stuff is tough as nails, often waterproof, and perfect for high-traffic areas or places where spills are a reality—think dining rooms or playrooms. LVP is also thin and flexible, which makes it incredibly DIY-friendly.
- Laminate Flooring: If you're on a tighter budget, modern laminate is a fantastic option. The wood looks are surprisingly realistic, and it's built to resist scratches. It’s a great pick if you have pets or kids, though most laminates don't handle water as well as LVP.
- Engineered Hardwood: For those who just can't compromise on the authentic look and feel of real wood, this is the way to go. It features a top layer of genuine hardwood, so it looks and feels like the real deal. It is the most premium choice and adds a touch of luxury, but you'll need to be a bit more careful with scratches and moisture.
My Two Cents: No matter which material you choose, make sure it has a solid click-lock system. I've seen cheaper versions fail. A good locking mechanism is designed to be assembled and disassembled without breaking, which is exactly what you need for a temporary floor.
The Unseen Hero: The Subfloor
Okay, the top layer gets all the glory, but the subfloor is what makes this whole thing work. You absolutely cannot lay click-lock planks directly onto soft carpet. It’s a recipe for disaster. The planks will flex every time you walk on them, the joints will shift, and eventually, the locking systems will snap.
To get around this, you need to create a solid, flat base that essentially "floats" on top of your carpet.
The go-to solution is a thin sheet of ¼-inch to ½-inch thick plywood or Oriented Strand Board (OSB). You'll lay these panels directly over the carpet to create a firm, unified surface. This base distributes weight evenly and gives your floating floor the rigid support it desperately needs.
This step is non-negotiable, especially if you have medium- or high-pile carpet. It bridges the "squish" of the carpet padding and fibers, creating a solid foundation. Without it, your temporary floor won't perform right and won't last. If you want to dive deeper into why a stable base is so important, understanding the principles behind the best underlay for wood flooring is a great place to start.
Gathering Your Essential Tools
Good news—you don't need a full-blown workshop for this. Most of what you need are basic tools you probably have lying around the garage.
My Must-Have Tool Checklist:
- Tape Measure
- Pencil
- A sharp Utility Knife
- Jigsaw or Circular Saw (for cutting planks and the plywood/OSB panels)
- Tapping Block and Pull Bar (don't skip these!)
- Rubber Mallet
- Spacers (for maintaining the crucial expansion gap along the walls)
- Safety Glasses and Gloves
Once you've got your materials and tools gathered, you're all set to get started. You've done the prep work and can feel confident you have everything you need for a great-looking finish.
Let's Get This Floor Down: A Practical Guide
Alright, you've got your materials and tools gathered. Now for the fun part—actually transforming that room. This is where you see all the planning pay off as that old carpet disappears under a beautiful new floor. We’ll start by building a solid foundation right on top of the carpet before we start clicking in the final flooring planks.
This diagram breaks down the basic layers we're working with. You can see how the subfloor, the top layer, and your tools all come together to make this happen.
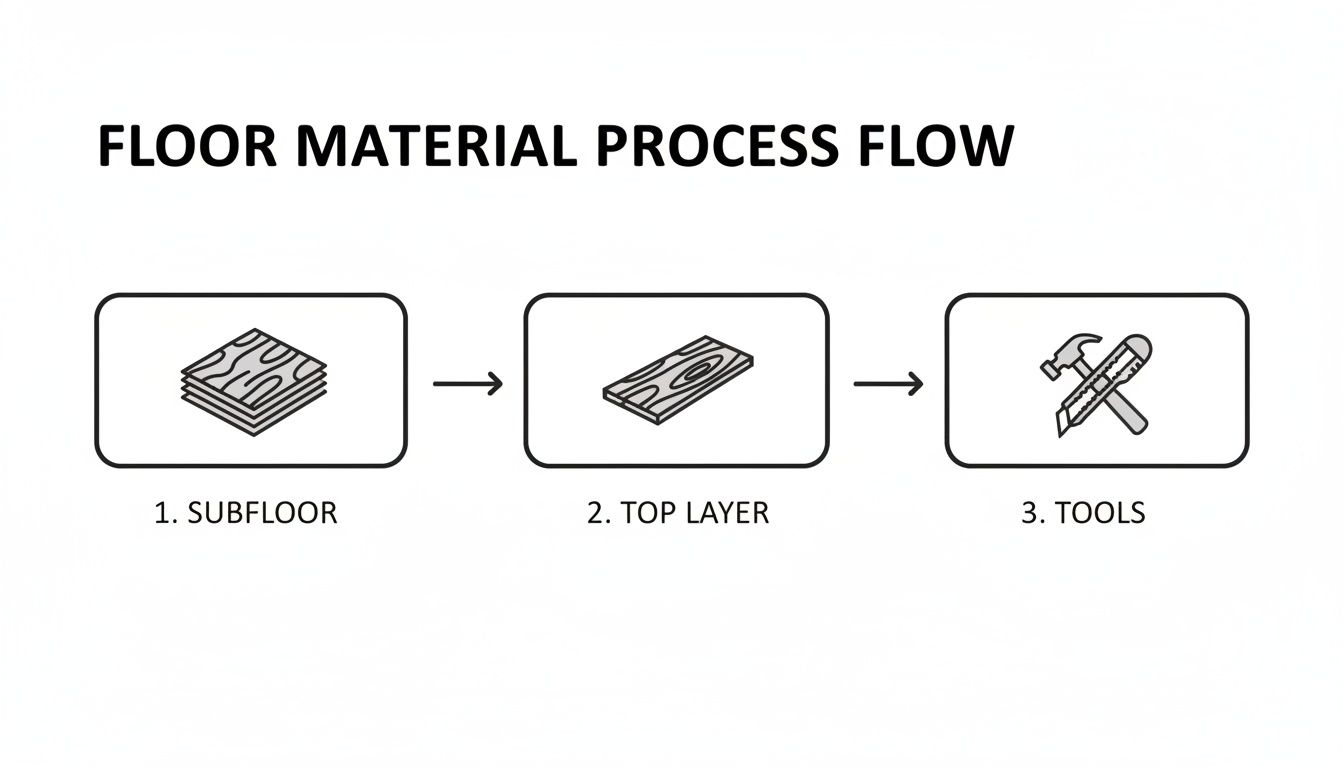
It’s a simple system, but getting each layer right is the key to a floor that looks and feels solid.
Creating a Solid Plywood Foundation
First things first, we need to create that firm, flat surface for the click-lock flooring. That's what the plywood or OSB sheets are for. Lay them directly over the carpet. Don’t just throw them down, though—a little bit of strategy here makes a huge difference.
Pick a corner and lay your first sheet. When you place the next one beside it, butt the edges up tightly together. You're aiming for a single, unified surface with absolutely no gaps or overlapping edges. Keep going until the entire floor is covered.
Pro Tip: Stagger the seams of the plywood sheets like you’re laying bricks. This one simple move dramatically improves the strength of your temporary subfloor. It prevents any single long seam from becoming a weak point that could bend or flex when you walk on it.
Once all the sheets are down, they should fit snugly. Their own weight will hold them in place, creating a stable platform that just "floats" on the carpet without any annoying shifting.
Installing the Click-Lock Flooring Planks
Now for the main event: laying the flooring itself. This is when the room’s new personality really starts to shine through. The secret to a finish that looks like a pro did it is being precise and paying attention to a few key details.
Before you even touch that first plank, you need to decide which way the boards will run. The direction of your flooring can make a room feel bigger or cozier. If you're not sure, check out our guide on which direction you should lay wood floors—it has some great advice to help you decide.
Begin your first row along the longest wall that you see when you walk into the room. Use your spacers to leave a ¼-inch to ⅜-inch expansion gap between the flooring and the wall. This is non-negotiable. Wood and engineered products expand and contract with temperature and humidity, and this gap gives them room to breathe without buckling.
As you click each plank into place, give the joints a gentle persuasion with your tapping block and rubber mallet. You want to hear a solid "click" and see a tight, seamless connection. This ensures the locks are fully engaged and won't pop apart down the road.
Mastering the Art of Staggering Planks
Just as we did with the plywood, you absolutely have to stagger the seams of your flooring planks from one row to the next. You should never have the short ends of the planks lining up in adjacent rows. It not only looks wrong but also creates a major weak spot in the floor.
A good rule of thumb is to keep the end seams at least 6-8 inches apart. An easy way to do this while minimizing waste is to use the leftover piece you cut from the end of one row to start the next one (as long as it's not too short). This creates a natural, random pattern that looks professional.
It's no surprise that solutions like this are gaining traction. The global wood flooring market was already massive at $33.28 billion back in 2019, and we're seeing this temporary approach used more and more in commercial settings. For example, 12% of commercial installs in U.S. hotels now involve laying temporary wood over carpet for events, which can slash setup times by up to 50%. You can dig into more of the market data over at Fortune Business Insights.
What About Maintenance and Removal?
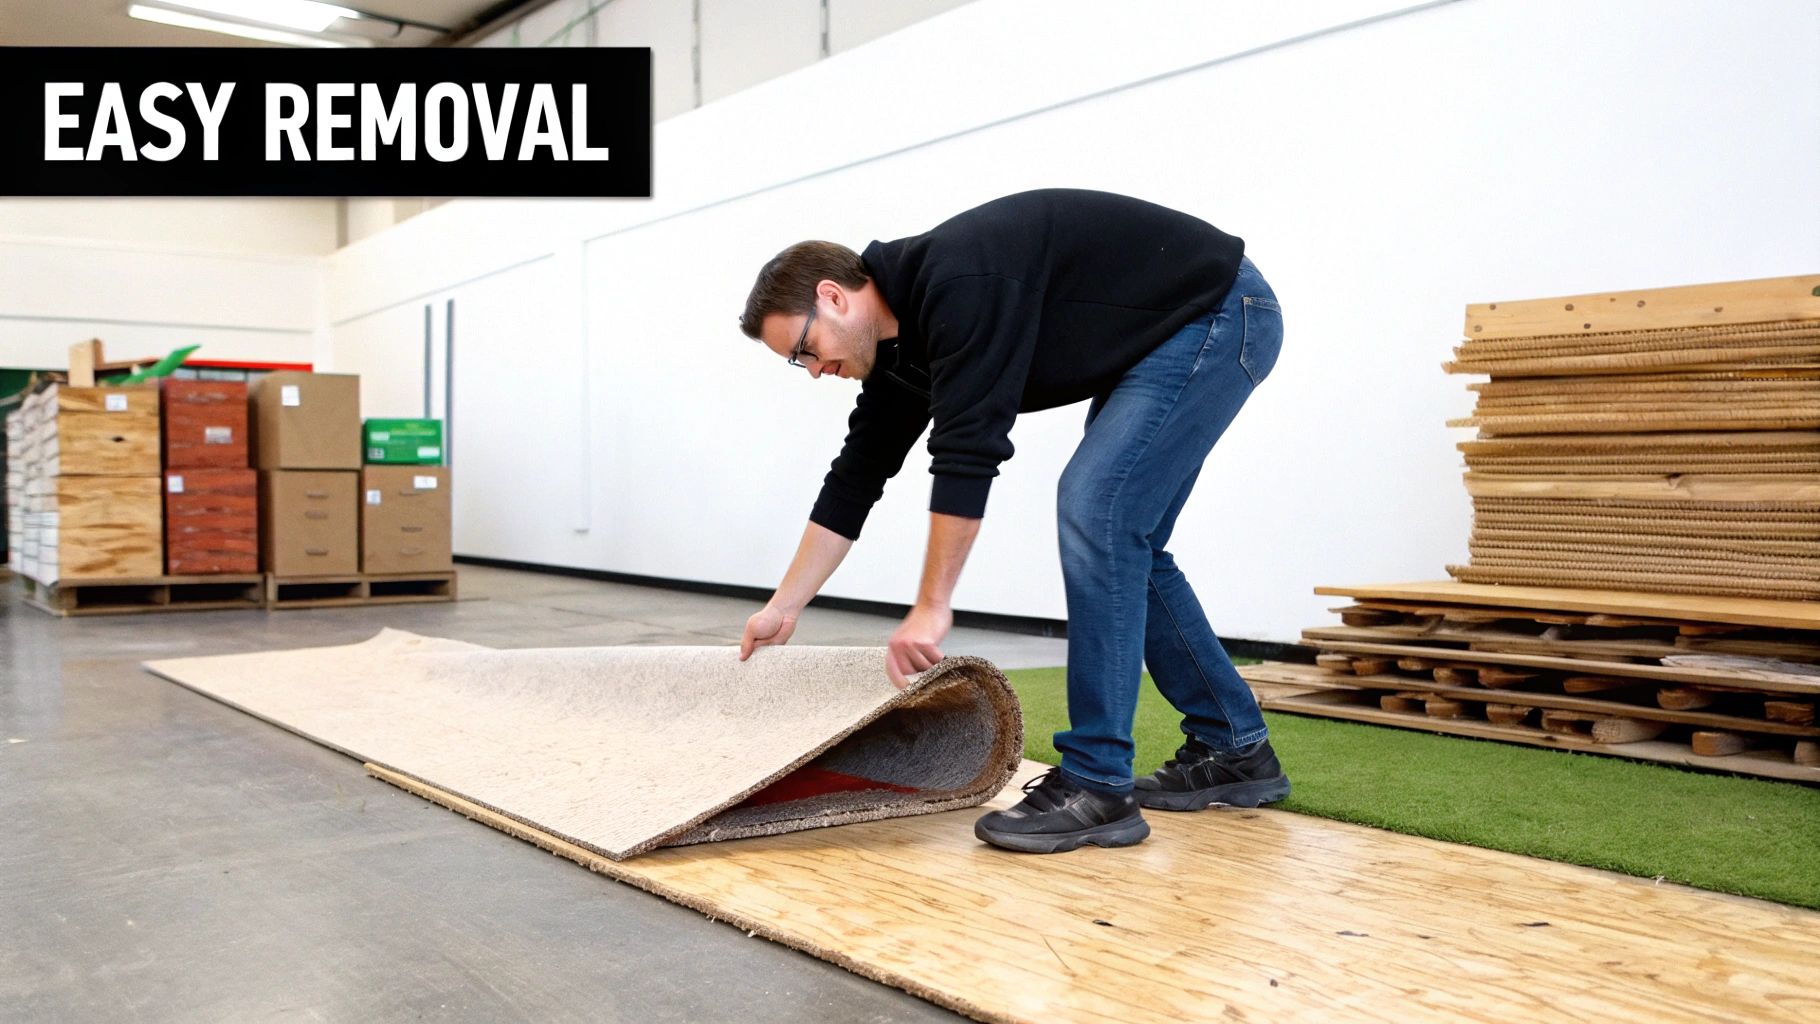
One of the best things about a floating floor is right in the name—it’s not permanent. When your lease is up or you’re just ready for a change, taking it apart is just as easy as putting it together. But let’s not get ahead of ourselves. First, you'll want to keep it looking great.
A little routine care goes a long way. Daily upkeep is simple: a quick sweep with a soft-bristle broom or a microfiber dust mop is usually all it takes to handle dust and debris.
When it needs a more thorough cleaning, a slightly damp mop with a pH-neutral cleaner made for vinyl or laminate floors is your best bet. Just be sure to wring the mop out well. You want to avoid letting water pool or seep between the planks, which can cause them to swell and warp over time.
Smart Ways to Protect Your Floor
Beyond basic cleaning, a few proactive steps will keep your floor looking new. Scratches are the number one enemy of a beautiful floor, but they're surprisingly easy to prevent.
- Get Some Furniture Pads: This is a non-negotiable. Stick felt pads on the bottom of every chair, table, and sofa leg. It’s a tiny, cheap step that makes a huge difference.
- Lift, Don't Drag: When moving heavy furniture, always recruit a helper and lift it. Dragging even a small, heavy item can leave a permanent gouge.
- Use Doormats: Place mats at all your entryways. They trap the grit and tiny pebbles stuck to shoes that can act like sandpaper on your floor's finish.
Taking these precautions seriously is key, especially if you plan on reusing the planks in another room or your next home.
Reversing the Installation Process
When it's time to pull up the floor, you’re basically just hitting the rewind button on the installation. Working carefully is the most important part of the job, ensuring you don't damage the planks or the carpet underneath.
The real secret to a clean removal is patience. If you rush, you'll inevitably snap the tongue-and-groove connectors. Take your time, work methodically, and you’ll be able to reuse every single plank.
Start by gently prying off the baseboards or quarter-round molding you installed. Then, head to the corner of the room where you finished laying the floor and work backward. Lift the edge of a plank at an angle to unclick it from its neighbor.
Continue this process, disengaging and removing each plank one by one, row by row. As you pull them up, stack them neatly on a flat surface to prevent them from bowing or warping while in storage.
With the flooring gone, all that’s left is to lift up the plywood or OSB panels. You’ll find your carpet underneath, looking just as it did when you started. If you're getting rid of the subfloor materials and have a lot to haul, calling in professional junk removal services can make the final cleanup a breeze.
Local Know-How for Your Forsyth County Project
If you live in Cumming, Johns Creek, or Milton, a little local insight can make any home improvement project go a lot smoother. Laying a temporary wood floor over carpet is a pretty simple job on its own, but knowing the local ropes—from where to get your materials to how to handle community rules—makes all the difference.
One of the first things to think about is getting the thumbs-up for your project. Whether you're renting or own your place, a bit of communication upfront can save you a world of trouble later.
Getting Landlords and HOAs on Board
Living in one of the great apartment communities near Halcyon or downtown Alpharetta? You’ll want to approach your landlord with a clear, well-thought-out plan. It’s all about how you frame it.
- Highlight that it’s completely reversible. Make it clear you're using a floating system on top of a protective plywood base.
- Explain how it protects their property. The new floor will actually shield their original carpet from wear and tear, spills, and those deep furniture dents.
- Point out the aesthetic upgrade. You’re improving the look of their property, and it's not costing them a dime.
For homeowners, especially in the planned communities you see all over Milton and Cumming, you’ve got Homeowners Associations (HOAs) to consider. An interior, temporary floor change usually flies under the radar, but it never hurts to double-check the community covenants. Some HOAs have specific rules about noise traveling between units, and a hard surface floor—even a temporary one—could be a sticking point. A quick email to the HOA board is a smart move.
The real secret is to present this as a non-permanent, damage-free upgrade. Once people understand you aren't tearing anything out or making structural changes, they’re almost always on board.
Where to Find Your Materials in Forsyth County
You won’t have any trouble finding what you need locally. The big-box stores like The Home Depot in Cumming or the Lowe's in Johns Creek are fantastic for grabbing your plywood subfloor, laminate or LVP planks, and all the tools you'll need in one go.
If you're looking for something a bit more specialized, though, stopping by a dedicated flooring store like our showroom will open up a much wider world of high-quality engineered hardwood and luxury vinyl options.
This clever flooring solution isn’t just for homes, either—it's a huge deal in the event industry. Think about it: trade shows and weddings in big venues need to protect the existing carpet. That’s why the global market for temporary event flooring is projected to more than double, jumping from $2.1 billion to $4.3 billion by 2033. You can read more about the growth of temporary event flooring on marketintelo.com. By planning ahead and knowing exactly where to look, you can get your project started with total confidence.
A Few Final Questions About Flooring Over Carpet
Even with the best instructions, taking on a project like this always brings up a few questions. It’s smart to want all the details ironed out before you begin. We get a lot of the same queries from homeowners around Cumming and Milton, so we've put together some straightforward answers to clear up any lingering doubts.
Let's tackle those final uncertainties so you can get started with total confidence.
What’s the Best Type of Carpet for This?
This is the big one, because the success of your entire project hinges on the carpet you’re covering. You absolutely need a low-pile, dense carpet for this to work well. Think Berber or a tight, commercial-style carpet. These are firm, don't squish down much, and provide the stable base you need for the plywood subfloor.
On the flip side, you really have to stay away from plush, high-pile, or shag carpets. All that softness and the long fibers create an unstable foundation. The plywood and your new flooring will shift and flex with every step, which can eventually damage the click-lock system on the planks.
Will This Actually Damage My Carpet?
Not at all. When you do it right, this temporary floor system will not damage your carpet. In fact, it's more like a shield.
The secret is the plywood subfloor. It’s the hero of this whole operation, spreading out the weight from furniture and foot traffic so nothing gets crushed. It prevents those matted-down traffic lanes you see in well-worn carpets and also acts as a solid barrier against spills and scuffs. The only thing you must do is make sure the carpet is perfectly clean and dry before you start to avoid any mildew issues.
By creating a solid, floating shield, you're essentially putting your carpet in preservation mode. When you remove the floor, the carpet underneath will look just as good as the day you covered it.
What’s a Realistic Budget for This Project?
Cost is always a concern, but the great news is this is a very budget-friendly way to get the look of a new floor without the price of a permanent installation. All in, you can expect to spend somewhere between $3 and $7 per square foot for all the materials.
Here’s how that typically breaks down:
- Plywood or OSB Subfloor: This layer will probably run you $1 to $2 per square foot.
- Laminate or LVP Flooring: The flooring itself usually costs between $2 and $5 per square foot, though this can vary a lot based on the style and quality you pick.
So, for a standard 12×12 foot room (144 square feet), you’re looking at a total material cost somewhere in the ballpark of $430 to $1,000.
At Flacks Flooring, we believe everyone deserves a beautiful space they love, whether it's for a few months or a lifetime. If you're exploring high-quality flooring options for your next project in Forsyth County, visit our showroom or schedule an in-home consultation today. Discover the perfect floor for your home.