
You've just installed beautiful new laminate floors, and they look fantastic. But what separates a decent DIY job from a truly professional, polished installation? The answer often lies in the small details—specifically, the transition pieces.
The Secret to a Flawless Laminate Floor
Think of transition pieces as the elegant frame around a beautiful painting. They're the finishing touch that pulls the entire look together, creating clean lines and seamless connections from one space to the next. Without them, even the most expensive flooring can look incomplete.
But these unassuming strips are much more than just decorative trim. They're the unsung heroes of your floor, playing a critical role in its long-term health and durability. To really get why they're so important, we have to talk about how modern floors work.
Why Your Floor Needs Room to Breathe
Most laminate flooring today is installed as a "floating floor." That's just a way of saying the planks aren't nailed or glued down to the subfloor. Instead, they click together to form one large, continuous surface that "floats" on top. This design is brilliant because it allows the entire floor to expand and contract naturally with changes in temperature and humidity.
And believe me, here in Georgia, that movement is a big deal. The shift from a humid Johns Creek summer to a cooler Milton winter causes flooring materials to swell and shrink. If your floor doesn't have room to move, it will fight against itself, leading to serious issues like:
- Buckling: The floor pushes against the walls and itself, creating ugly, raised humps in the middle of the room.
- Warping: The pressure can cause individual planks to twist and bend out of shape.
- Separating: Gaps can open up between planks as the floor shifts and settles unevenly.
To avoid this disaster, flooring pros leave a small but essential expansion gap—usually around 1/4 to 3/8 of an inch—around the entire perimeter. That means along every wall, against cabinets, and around anything fixed, like a kitchen island.
This expansion gap is the secret to your floor's longevity. It's the "breathing room" that allows your laminate to adapt to Forsyth County's climate without self-destructing.
The Role of Transition Pieces
So, what do you do with that gap? You can't just leave it exposed—it would look unfinished, collect dirt, and be a tripping hazard. This is exactly where transition pieces for laminate flooring come into play.
Their main job is to cover those necessary expansion gaps, creating a safe, clean, and intentional bridge between different areas. They are the final puzzle piece that makes your floor functional, durable, and beautiful. By the time you're done with this guide, you'll know exactly which piece to choose for every spot in your home.
Decoding the Different Types of Floor Transitions
Now that you know why you need those little gaps for your laminate flooring, let's get into the pieces that cover them up and make everything look finished. Think of these transition pieces less like a technical manual and more like a toolkit. Each one has a specific job, and picking the right one is what separates a DIY-looking job from a pro-level finish.
It’s easy to overlook these details, but they’re a huge part of modern home design. In fact, the global market for floor transition strips hit USD 2.17 billion, with forecasts showing it’ll climb past USD 2.76 billion by 2035. That’s a lot of finishing touches! It just goes to show how critical these components are for a polished look.
To help you get a handle on what’s what, here’s a quick overview of the most common transition moldings you'll find.
Quick Guide to Laminate Transition Pieces
| Transition Type | Primary Function | Common Use Locations |
|---|---|---|
| T-Molding | Connects two floors of the same height. | Doorways, archways, long hallways. |
| Reducer | Creates a ramp from a higher floor to a lower one. | Laminate to vinyl, concrete, or low-pile carpet. |
| End Cap/Threshold | Terminates the flooring against a vertical edge. | Sliding doors, exterior doors, fireplace hearths. |
| Stair Nose | Provides a durable, rounded edge for stair steps. | The edge of each stair tread. |
| Carpet Transition | Bridges the gap between laminate and carpet. | Doorways from a hall to a carpeted bedroom. |
Each of these pieces plays a vital role in protecting your floors and making sure they look seamless. Let's break down exactly what each one does and where you’ll need it.
The Diplomat: T-Molding
I like to call T-molding the diplomat of the flooring world. Its entire purpose is to create a graceful, smooth connection between two floors that are at the exact same height. If you look at a cross-section, it’s shaped like a capital "T." The top of the T rests on both flooring surfaces, perfectly hiding the gap, while the stem fits right down into that expansion space.
It's probably the most common transition piece you'll ever use. You'll find yourself reaching for a T-molding strip for:
- Doorways: Connecting the laminate in your hallway to the laminate in a bedroom.
- Archways: Creating a clean visual break between two open rooms, like a living room and dining room.
- Large Rooms: Breaking up long stretches of laminate (usually anything over 30-40 feet) to give the floor extra room to expand and contract.
The Ramp Builder: Reducer
A reducer is essentially a small, smooth ramp. Its job is to create a safe and gradual transition when your new laminate meets another floor that’s a bit lower. One side is thicker to line up with your laminate, and it gently slopes down to meet the lower surface, eliminating any trip hazard.
This is a must-have for safety and aesthetics. You’ll need a reducer whenever your laminate flooring meets:
- Vinyl or linoleum, which is almost always thinner.
- A concrete slab, like at the entryway from a garage.
- Lower-pile carpeting that doesn't have a thick pad.
This simple visual guide helps clarify when those expansion gaps—and the transitions that cover them—are a normal, healthy part of a floor's life versus a symptom of a bigger installation issue.
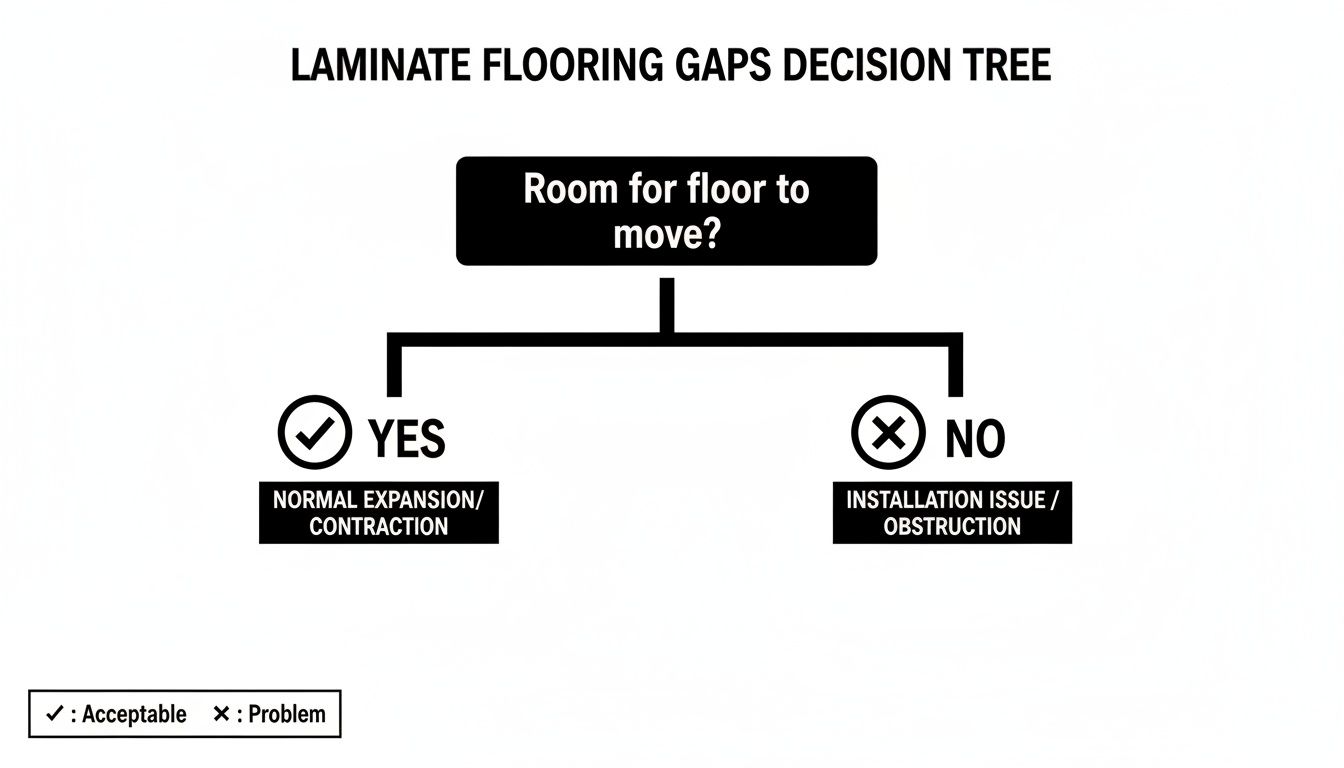
The big takeaway? A properly managed expansion gap is your friend. It’s a sign of a smart installation that allows your floor to breathe and prevents buckling down the road.
The Finisher: End Cap or Threshold
Think of the end cap as the period at the end of a sentence. It’s the "finisher" that gives your laminate flooring a clean, squared-off edge right where it stops completely. It doesn't connect to another floor; it just provides a definitive end.
You'll also hear it called a threshold or a square nose, and it's used in very specific spots.
The primary job of an end cap is to terminate the flooring cleanly against a vertical surface or an edge where no other flooring continues. It's the piece that says, "The floor ends here."
You'll typically use an end cap in places like:
- Right up against a sliding glass door track.
- In front of an exterior door’s threshold.
- Flush against a brick or stone fireplace hearth.
- At the very top of a staircase, where the landing meets the first step down.
The Protector: Stair Nose
Stairs take a beating. They’re high-traffic, high-impact zones, and they need a special transition piece to handle the abuse. That piece is the stair nose. I call it the "protector" because it’s designed to wrap over the exposed edge of the laminate on each step, giving you a durable, rounded edge that looks great and can withstand constant foot traffic.
This is a non-negotiable safety feature. The stair nose creates a solid, easy-to-see edge on each step, which helps prevent slips and falls. You’ll need one for every single step you cover with laminate. You can explore more about the different types of transition moldings and their uses in our detailed guide.
The Bridge: Carpet Transition
Last but not least, the carpet transition is the "bridge" that connects your hard laminate surface to soft carpet. This clever strip usually has a row of tiny metal teeth on one side that grip the carpet backing and hold it tight. The other side neatly covers the edge of the laminate.
This handy piece creates a secure seam, stopping the carpet from fraying and protecting the exposed laminate edge. It's the go-to solution for doorways leading into carpeted bedrooms or hallways that open up into a carpeted living room.
Choosing the Right Material and Finish
So, you've figured out you need a T-molding for that doorway. That's a great start, but it's only half the battle. Now comes the part that really brings the whole look together: picking the right material and finish for your transition pieces. This choice makes a huge difference, not just in how your floor looks, but in how well it holds up to the daily grind in a busy home.
Think of the material as the transition strip's bones. You’ll run into a few common options, and each has its own strengths, making them a better fit for certain areas and needs.
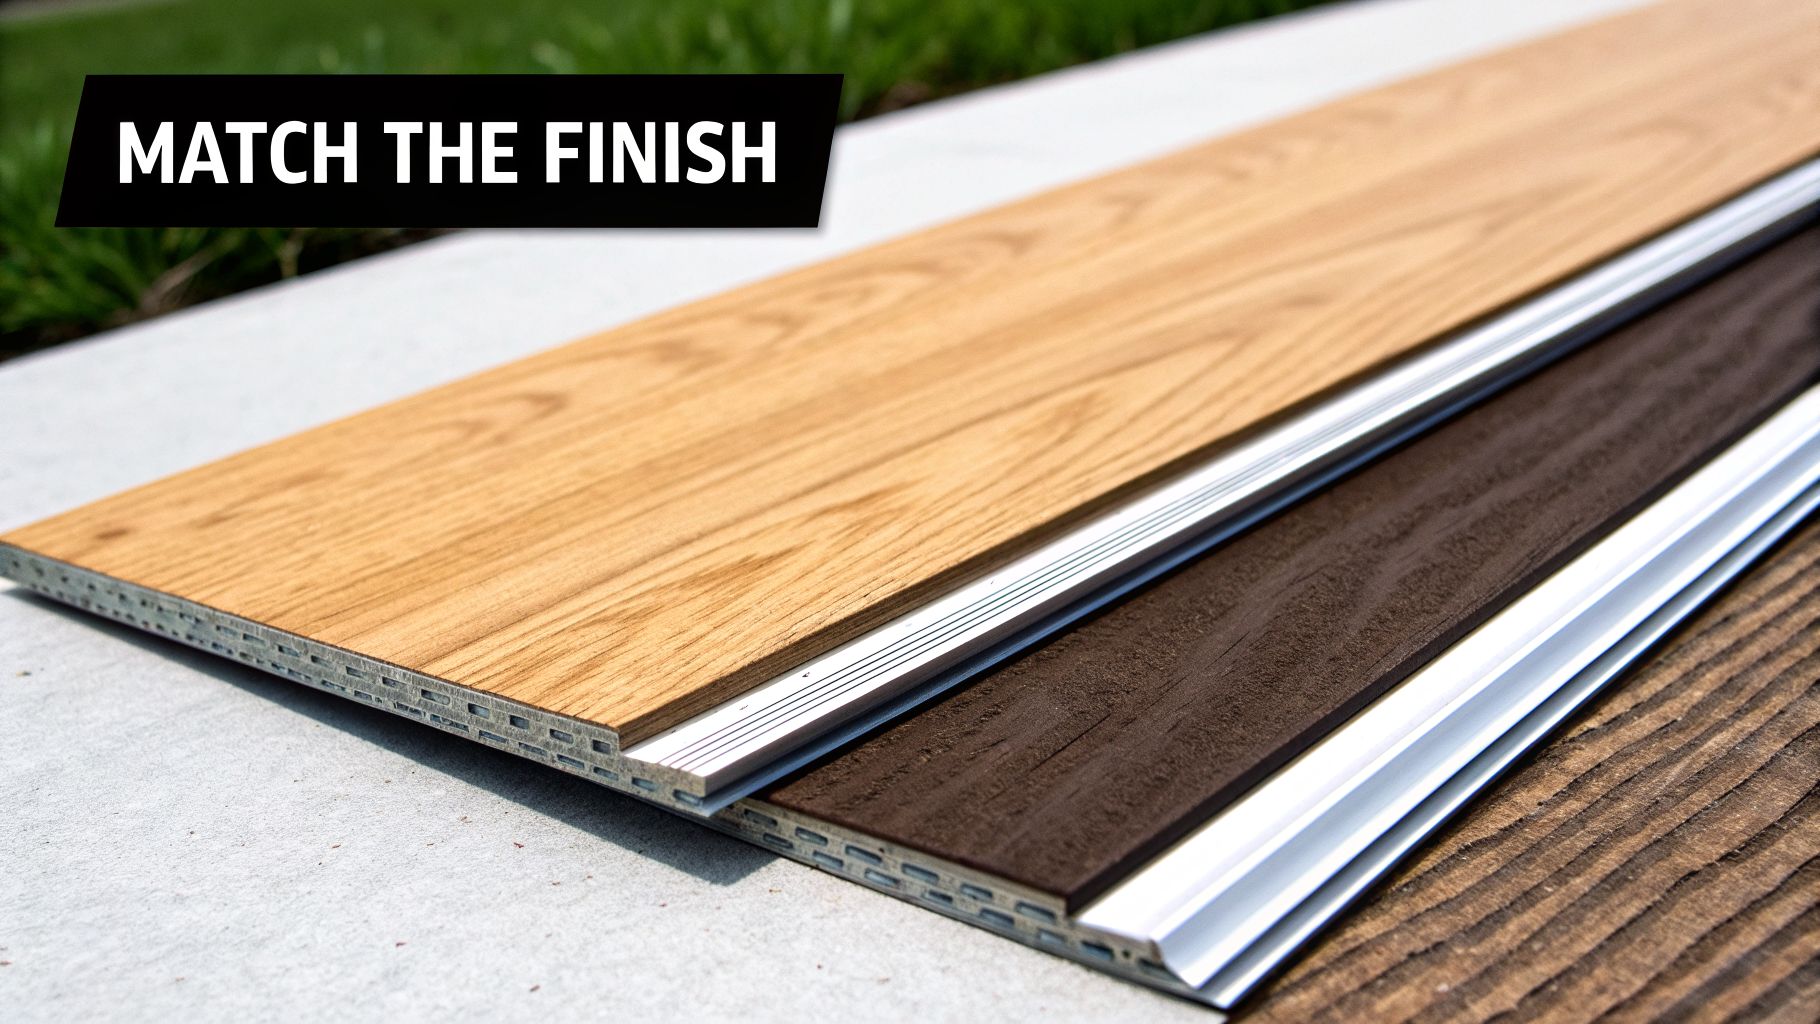
Comparing Common Transition Materials
Your choice here really boils down to finding the sweet spot between looks, durability, and your budget. Each material serves a pretty specific purpose.
- MDF with Laminate Wrap: This is the crowd favorite, and for good reason. The core is made of Medium-Density Fiberboard (MDF) and is wrapped in a laminate finish that's engineered to be a perfect match for your flooring. It’s the easiest way to get that seamless, flowing look.
- Solid Wood: If you're after a classic, warm vibe, you can't beat solid wood. It brings an unmatched elegance and can be stained to complement your laminate beautifully. While it's the natural partner for hardwood, a solid wood transition can really elevate the look of a laminate floor.
- Metal (Aluminum): When you need something that can take a beating, metal is the undisputed champ. Aluminum transitions are incredibly tough and resist wear and tear, which is why you see them in commercial spaces. They're also perfect for high-traffic spots at home, like the entryway from the garage. You'll typically find them in silver, bronze, or brass finishes.
The best material really depends on where it's going. An MDF transition is absolutely perfect for a bedroom doorway, but a heavy-duty aluminum one is a much smarter choice for that busy mudroom entrance.
Picking the right transition is a lot like picking the right belt for an outfit—it can either pull everything together seamlessly or look completely out of place. While getting an exact match is often the goal, it’s not your only move. If you're curious how these ideas apply to other floors, check out our guide on transition molding for hardwood floors.
Strategies for Matching Your Finish
Once you've landed on a material, the last piece of the puzzle is getting the color and texture just right. This is your chance to fine-tune the final look.
1. Aim for a Perfect Match
The simplest and most popular route is to buy the transitions made by your flooring’s manufacturer. They’re designed to be a dead-ringer for your planks in both color and texture, giving you a clean, uninterrupted look. It’s the safest bet for a cohesive design.
2. Choose a Complementary Tone
Sometimes, a perfect match isn't available, or maybe you just want something a little different. In that case, look for a transition in a complementary tone. For instance, with a light gray laminate, a slightly darker gray or even a warm wood tone can create a subtle, tasteful accent that nicely defines the space.
3. Create a Stylish Contrast
For a bolder, more modern statement, don't be afraid to go for contrast. A sleek, black metal transition against a light oak laminate floor can draw a sharp, intentional line that looks incredibly stylish. In the same way, a dark wood reducer can act as a beautiful frame for a lighter-colored floor.
Here’s a pro tip: always take a spare plank of your flooring with you when you go shopping. Hold the transition piece right up against it. Look at them in different kinds of light, especially natural sunlight if you can. What looks like a perfect match under harsh store lighting might look totally off in your Cumming or Johns Creek home. This one simple step can save you a ton of frustration and a trip back to the store.
How to Measure for a Perfect Fit
Getting a professional-looking floor isn't just about laying the planks perfectly; the real magic is in the details. When it comes to transition pieces, nailing your measurements is what separates a clean, finished look from a sloppy, amateur job. It’s also the key to keeping your entire floor healthy for years to come.
Think of your new laminate floor as a giant raft floating in the room. Like any raft, it needs a little room to drift. This space is called the expansion gap, and understanding it is the single most important part of getting your transitions right.
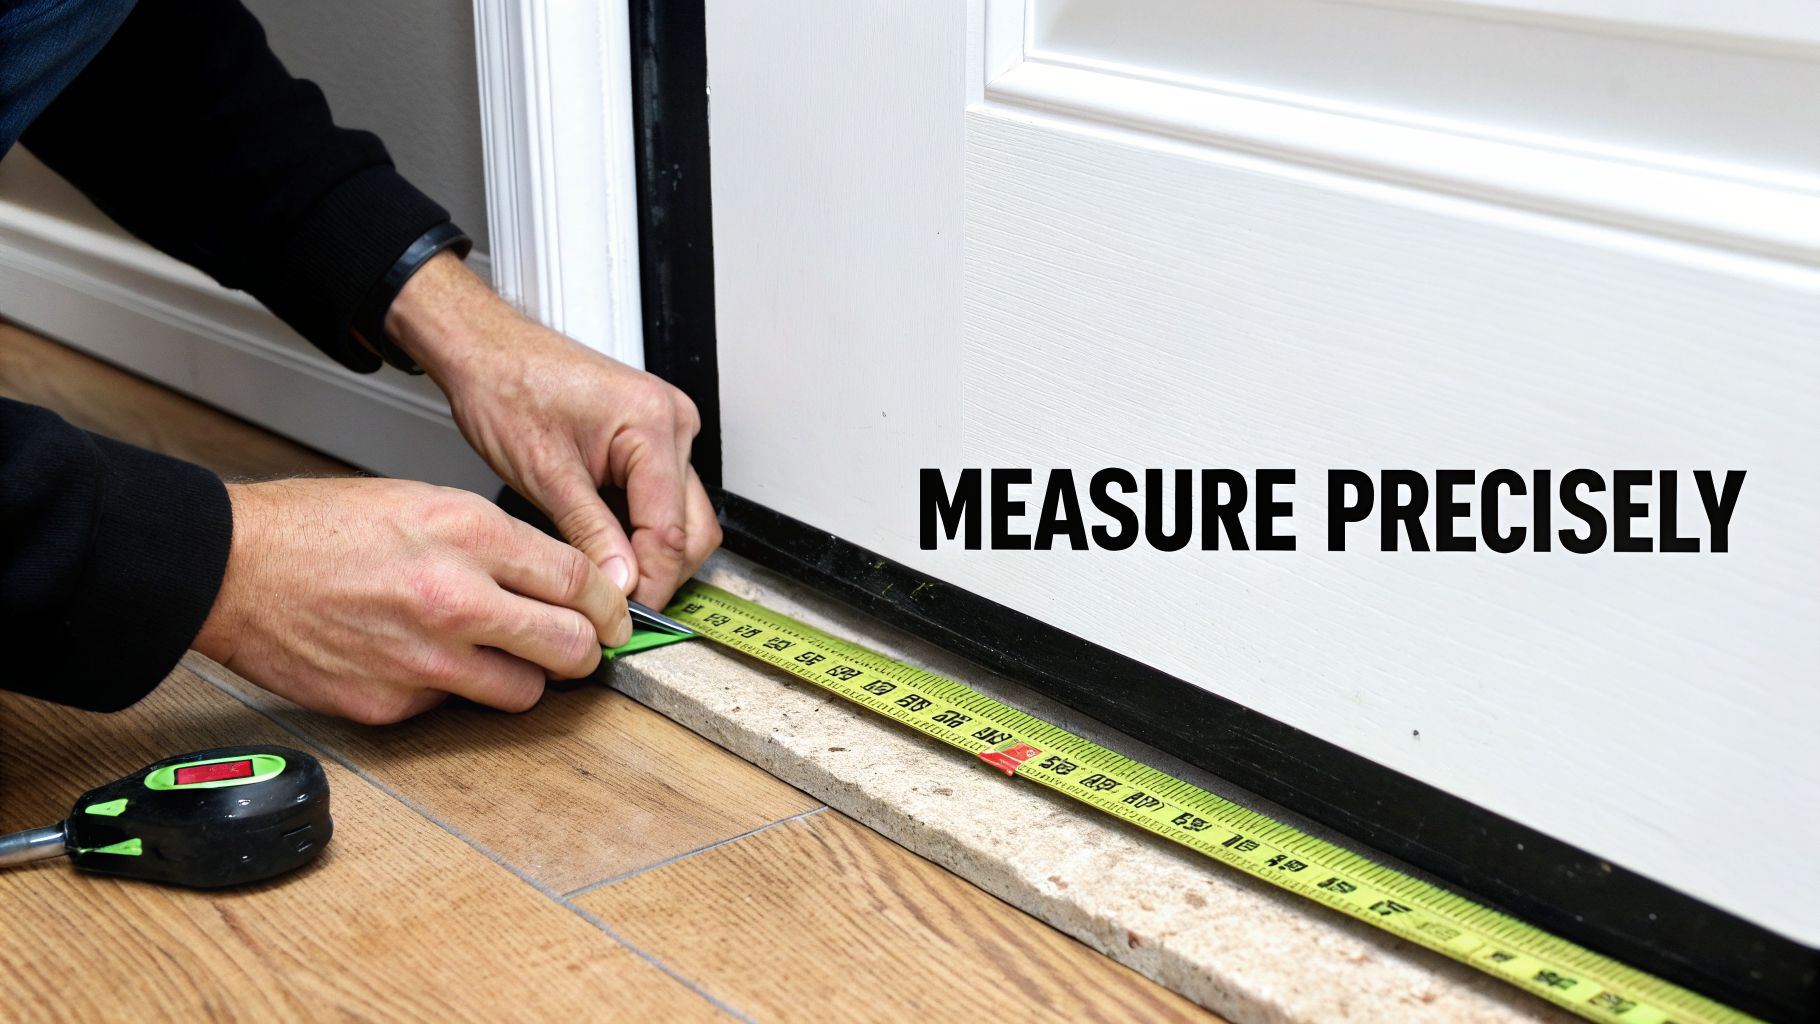
The Golden Rule: The Expansion Gap
Laminate flooring is made primarily of wood fibers, which means it naturally expands and contracts with shifts in temperature and humidity. Here in Georgia, with our humid summers and cooler winters, this movement is a given.
Without a little breathing room, the floor will eventually push up against walls and other fixed objects. When that happens, you’ll see ugly buckling, warping, or planks pulling apart.
To head off that disaster, you need to leave a gap of 1/4 to 3/8 of an inch around the entire perimeter of the room. That means along every wall, around kitchen islands, and right in the middle of your doorways. Your transition pieces are designed specifically to cover this gap, creating a seamless look while letting the floor move as it needs to.
Step-by-Step: Measuring for Transitions
Measuring a transition strip is simple, but it demands your full attention. Being off by even a fraction of an inch can leave you with an obvious gap or a piece that just won't fit.
- Measure the Opening: Grab a good tape measure and get the exact width of the doorway or opening, measuring from the inside of one doorjamb to the other.
- Measure Twice, Cut Once: It’s an old saying for a reason. Take the measurement, then immediately take it again. This two-second check can save you from a costly mis-cut and a trip back to the store.
- Mark Your Piece: Use a pencil to transfer your measurement onto the transition piece. For a perfectly straight cut, use a square to draw a crisp line to guide your saw.
Remember, you're measuring for the visible top piece of the transition, not the little track it snaps into. The goal is for that top piece to fit snugly between the doorjambs for that clean, professional finish.
A common mistake we see is people measuring the space between the flooring planks instead of the full width of the doorway. Always measure the entire opening the transition needs to cover, from one side of the frame to the other.
Don't Forget the Track
Most modern transition moldings use a two-part system: a metal or plastic track that gets fastened to the subfloor, and the finished top piece that snaps right into it. The track is your anchor, and its placement is crucial.
- Center the Track: Position the track right in the middle of the expansion gap. This ensures the top molding sits perfectly level and overlaps both flooring surfaces evenly.
- Cut the Track Shorter: The track should always be a bit shorter than the visible molding. A good rule of thumb is to cut it 1/2 inch shorter on each end. This keeps it from bumping into the doorjambs and allows the top piece to fit flush against them.
Keeping It Safe and Accessible
When you're installing thresholds, especially in high-traffic areas, you have to think about safety. A transition that’s too high is a major trip hazard waiting to happen.
The Americans with Disabilities Act (ADA) guidelines are a fantastic benchmark for home safety. They recommend minimizing any changes in floor level.
- Thresholds at doorways shouldn't be higher than 1/2 inch.
- Any vertical change over 1/4 inch should be beveled with a gentle slope.
While these are commercial building codes, they're great advice for keeping your Cumming or Johns Creek home safe for family and guests of all ages. Always opt for the lowest-profile transition that does the job. If you have a slight height difference, reach for a reducer instead of a bulkier T-molding.
For more tips on planning your project, check out our guide on how to measure a room for flooring. Getting the numbers right from the very start is the best way to ensure your new floor is not only beautiful but safe for everyone who walks on it.
DIY Installation vs. Hiring a Local Pro
So, you’ve picked out the perfect transition pieces for your new laminate floors. Now you’ve reached the final fork in the road: do you grab your tools and handle the installation yourself, or is it time to bring in a professional? The right answer really boils down to the complexity of the job, your own comfort level with a saw and a measuring tape, and how much you value a finish that’s guaranteed to be flawless.
For a confident DIYer, installing transition moldings can be a really satisfying weekend project. It's one of those final touches that pulls the whole room together, and doing it yourself gives you a great sense of accomplishment.
The DIY Approach
The key to a successful DIY installation is all about precision and patience. The process itself isn't complicated—you’re essentially cutting a track to length, fastening it to the subfloor, and then snapping the finished molding into place. It’s that simple, but the details matter.
Here’s a quick rundown of what you’ll be doing:
- Cut the Track: Measure the doorway or gap where the transition will go. You’ll want to cut the metal or plastic mounting track about one inch shorter than the total width. This little trick keeps it from bumping into the doorjambs.
- Secure the Track: Center the track perfectly in the expansion gap. If you have a wood subfloor, use the screws that came with the kit. For concrete, a good construction adhesive is your best bet.
- Cut the Molding: Now measure the opening one last time and carefully cut the visible transition piece to fit perfectly between the doorjambs. A miter saw is your best friend here—it’ll give you a crisp, clean cut every time.
- Snap It In: Hook one edge of the molding into the track. Then, using a rubber mallet or a scrap piece of wood to protect the finish, gently tap it down until you feel and hear it snap securely into place.
If there's one mistake people make, it's cutting the visible molding piece just a hair too short. Always, always remember the old carpenter’s rule: measure twice, cut once. Even a tiny eighth-of-an-inch gap will stick out like a sore thumb and is almost impossible to hide.
When to Call a Flooring Pro
While many transitions are straightforward, some situations hide tricky little complexities that can quickly turn a simple project into a huge headache. This is where hiring a professional is the smartest money you’ll spend, saving you time and the frustration of a costly mistake.
For homeowners here in Forsyth County, bringing in an expert isn't just about convenience—it's about insurance. A seasoned pro from a local company like Flacks Flooring has seen it all, from quirky angles to custom curves, and knows exactly how to get the job done right the first time.
You should seriously consider calling an expert for these kinds of jobs:
- Tricky Transitions: Going from laminate to a high-pile or plush carpet takes a special touch. You need a clean, secure edge that won’t start fraying a year down the road.
- Concrete Subfloors: Fastening tracks to concrete can be a real pain without the right equipment, like a hammer drill, and knowing exactly which fasteners or adhesives will hold up.
- Curved Walls or Archways: This is where flooring installation becomes an art form. Cutting a transition piece to match a perfect curve requires scribing and cutting skills that go way beyond a simple straight cut on a miter saw.
- Complex Staircases: Installing a stair nose has to be absolutely perfect, not just for looks but for safety. A small mistake here can create a serious trip hazard.
It's these finishing details that make all the difference. Think about the bigger picture: the global wood and laminate flooring market was valued at USD 59.46 billion and is climbing, with laminate alone projected to hit USD 52.10 billion by 2032. As people invest more in beautiful floors, the expectation for a perfect, professional finish on every last detail grows right along with it. You can learn more about the trends in the global wood and laminate flooring market.
Ultimately, the decision is yours. A professional installer in the Cumming or Milton area doesn’t just show up with the right tools; they bring years of hard-won experience. They can spot problems you’d never see coming, guarantee a flawless fit, and get the job done right, leaving you with a polished look that will last for years.
Of all the things that can go wrong with a new floor installation, it’s often the finishing touches that cause the most headaches. Even the most stunning laminate can look shoddy if the transition pieces aren't handled correctly. These small mistakes can quickly turn into big problems, from an unprofessional look to permanent floor damage.
Let's walk through the most common pitfalls we see and, more importantly, how to sidestep them.
Mistake #1: Ignoring the Expansion Gap
This is, without a doubt, the cardinal sin of laminate flooring installation. It feels counterintuitive, I know, but you absolutely must leave a gap around the perimeter of the room.
- What Goes Wrong: Laminate flooring is a "floating" floor, meaning it expands and contracts with changes in temperature and humidity—something we know all about here in Georgia. Without a 1/4 to 3/8-inch gap, that movement has nowhere to go. The pressure builds, and the planks have no choice but to push upward, causing ugly and irreversible buckling.
- The Right Way: Always, always leave that expansion gap where the floor meets the walls and at every doorway. The whole point of a transition strip is to stylishly cover this necessary gap, not to fill it in.
Mistake #2: Choosing the Wrong Type of Transition
Grabbing a T-molding when what you really needed was a reducer is a classic rookie mistake. It might seem like a small detail, but using the right piece for the right job is critical.
- What Goes Wrong: Forcing the wrong transition into a space creates an awkward, clunky connection at best and a serious trip hazard at worst. Imagine using a T-molding where a low-pile carpet meets a taller laminate floor; instead of a smooth ramp, you get an abrupt, toe-stubbing edge.
- The Right Way: Take a moment to analyze what's happening at that specific spot. Are you connecting two floors of the same height? Different heights? Ending the floor at a sliding door? Match the scenario with the right molding—T-molding, reducer, or end cap—for a result that’s both safe and seamless.
A poorly chosen transition is more than just an eyesore; it's a daily annoyance and a potential safety risk. Taking a moment to confirm you have the right piece for the job prevents regret later.
Mistake #3: Settling for a "Close Enough" Color Match
Nothing screams "bad DIY job" louder than a transition strip that clashes with the beautiful flooring it's supposed to complement.
- What Goes Wrong: A mismatched color or finish jarringly interrupts the flow of your floor. It draws the eye for all the wrong reasons and makes the entire project look cheap and thrown together.
- The Right Way: Don't just eyeball it in the store. Bring a scrap piece of your actual flooring with you when you go shopping for transitions. Better yet, check the match in your home's natural light. The absolute best way to guarantee a flawless look is to buy the transition pieces made specifically by your flooring manufacturer.
Avoiding these common slip-ups is what separates a decent job from a professional one. It’s these final details that truly make your new floors shine.
Got Questions? We’ve Got Answers
Even the best-laid plans can hit a snag. When it comes to the finishing touches on a flooring project, a few specific questions always seem to come up. Let's tackle some of the most common ones we hear from homeowners right here.
Can I Use One Long Transition for My Open Plan Room?
It’s tempting, isn’t it? The thought of a single, uninterrupted expanse of beautiful laminate flowing through a big, open-concept room. But in practice, it’s a bad idea.
Flooring manufacturers are pretty clear on this: you need a T-molding in doorways and for any continuous run that stretches beyond 30-40 feet. This isn't an arbitrary rule. It's about giving your floor room to breathe. These transition strips act as planned expansion joints, allowing the massive "floating" surface to expand and contract naturally without buckling under pressure. A skilled pro can help you map out where to place them so they're barely noticeable, keeping your floor both beautiful and structurally sound.
What Is the Best Transition for Laminate to Stairs?
When you’re connecting laminate to a staircase, there's only one right answer: the stair nose. This isn't just a suggestion; it's a non-negotiable piece for safety and longevity. It caps the edge of the flooring on the top landing and on each individual step, creating a durable, rounded finish.
The stair nose neatly covers the seam where the laminate meets the vertical riser of the step below it, providing a tough edge built for constant foot traffic. Given that stairs are one of the highest-risk areas in a home, this is one spot where calling a professional is always the smart move. They’ll make sure it's anchored securely, so it never becomes a trip hazard.
A properly installed stair nose is the most critical transition piece in your home. It’s a finishing detail that directly impacts the safety of your family and guests every single day.
Do I Still Need Expansion Gaps With Waterproof Laminate?
Yes, one hundred percent. The "waterproof" label on laminate refers to the top wear layer—it’s great at repelling spills. However, the core of the plank is almost always a wood composite. And like any wood-based product, it’s going to react to our Georgia climate. It will swell in the humid summer heat and shrink a bit when things cool down.
Because of this natural movement, all floating floors, including every kind of waterproof laminate, require that critical 1/4 to 3/8-inch expansion gap around the entire room. Transition moldings are designed specifically to hide that gap while letting the floor do its thing. If you skip this step, you’re almost guaranteed to face problems like buckling, peaking, or separating planks down the road.
Getting these final details right can make all the difference. If you're in Cumming, Johns Creek, or Milton and want a flawless, professional finish for your new floors, the team at Flacks Flooring has the experience to make it happen. Reach out to us today for a consultation.