
That little gap where your plush carpet runs into the cool tile in your kitchen or bathroom? It's more than just a seam. It's a detail that speaks volumes about the quality of your home, and if you get it wrong, it can be a real headache. A sloppy transition is an instant trip hazard, and it leaves the edges of your flooring exposed to fraying and chipping.
This guide isn't about generic, one-size-fits-all advice. We're going to walk through practical, real-world solutions that protect your flooring investment and actually elevate the look of your home.
Why a Perfect Floor Transition Matters
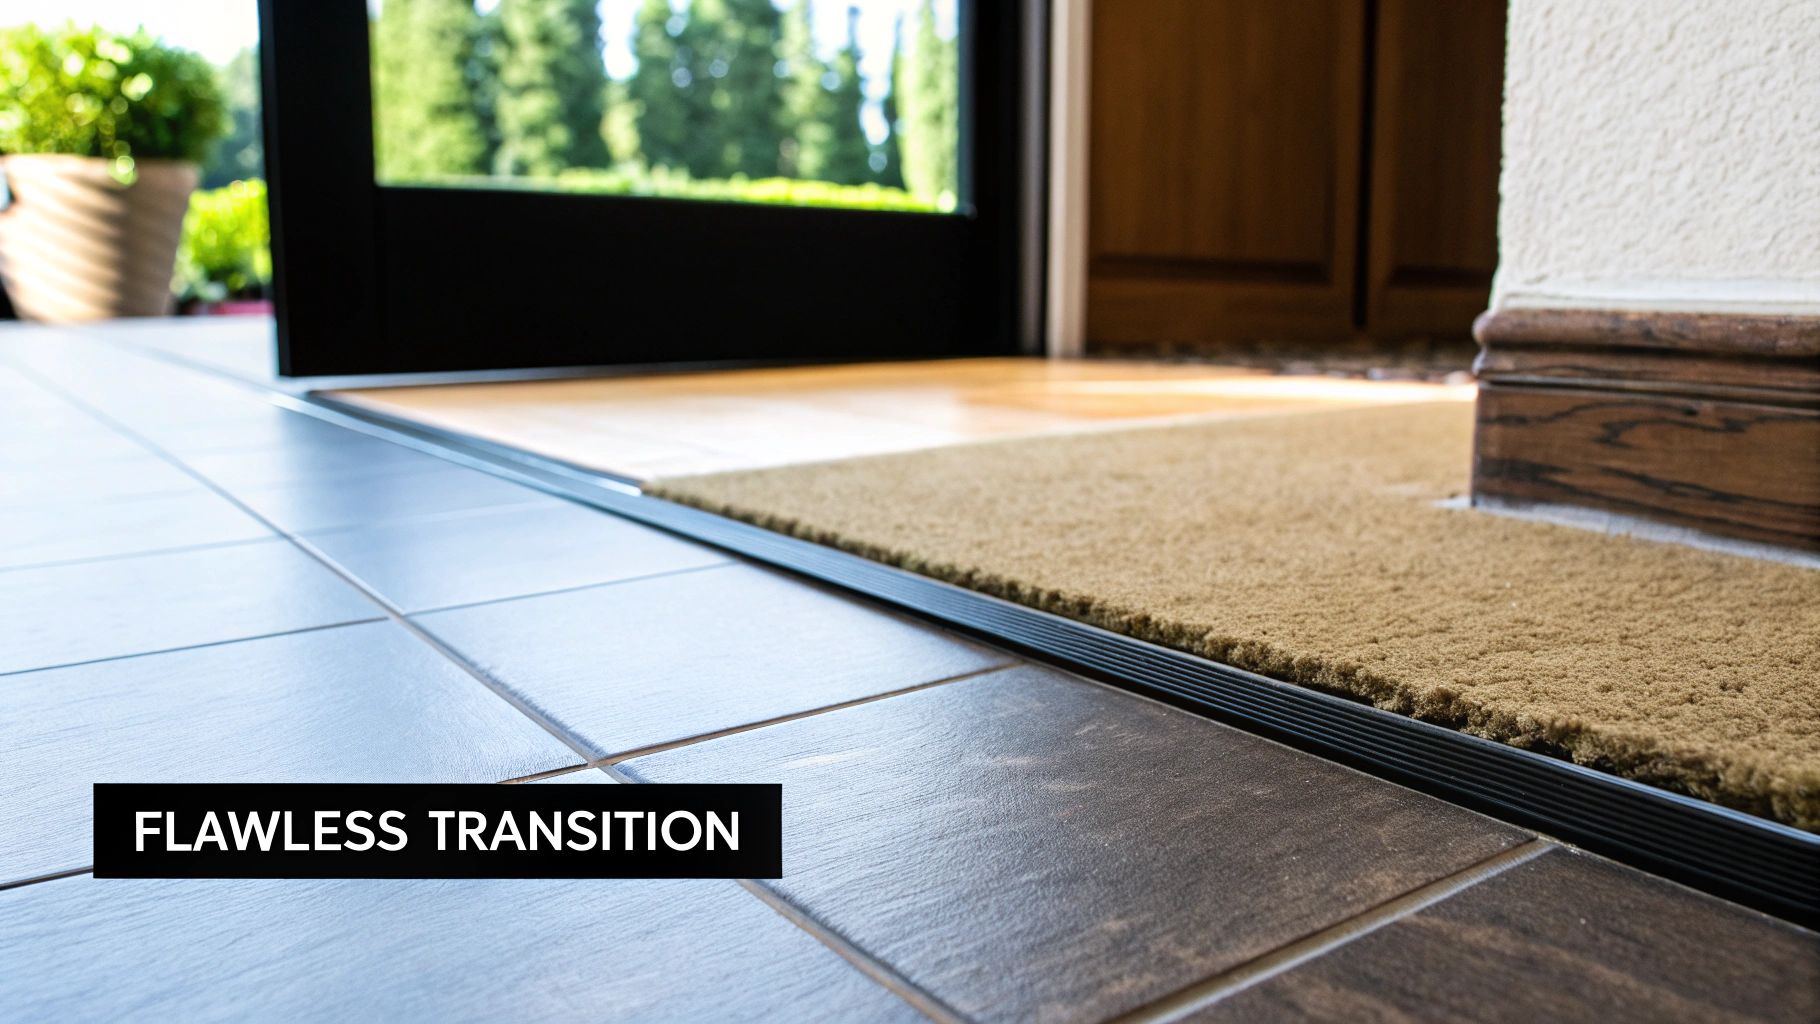
A clean, smooth transition between flooring materials is a hallmark of good craftsmanship. It’s what separates a professional-looking job from a clumsy DIY fix. We're aiming for a seamless flow between rooms, not an awkward bump you have to step over. Whether you’re remodeling a master bath in Johns Creek or getting a rental property in Milton ready for tenants, this detail is crucial.
And it’s not just about looks. A proper transition strip is your flooring’s first line of defense. It protects the vulnerable edges of both the carpet and the tile from daily wear and tear, preventing expensive repairs down the line. It's a small project, but it pays off big time in durability and visual appeal.
More Than Just a Strip of Metal
Think of a floor transition as the handshake between two rooms. When it’s done right, it's smooth and confident. When it's uneven or poorly installed, it just feels awkward and unfinished. It’s a detail that has a surprisingly big impact on everything from everyday safety to your home's resale value.
Let's face it, we mix flooring for good reasons. Carpet is warm and cozy in bedrooms, but tile is the practical, water-resistant choice for kitchens, bathrooms, and entryways. The challenge is connecting these two very different materials without making it look like an afterthought.
The choice between carpet and tile also ties into broader market dynamics. Homes featuring hard surface flooring, including tile, often command higher resale values compared to those with wall-to-wall carpeting, a factor that increasingly influences renovation decisions.
This is part of a larger trend we're seeing. The shift from carpet to hard surfaces like tile is directly connected to what buyers want, the economy, and big improvements in flooring materials. You can learn more about how these choices affect home values by exploring the insights on flooring market evolution.
What You Will Learn in This Guide
Throughout this guide, we'll give homeowners, realtors, and designers right here in the Cumming area the know-how to tackle this project with confidence. You’ll get a clear handle on:
- The different types of transition strips and which one is right for your specific situation.
- How to deal with those tricky height differences between your carpet and tile.
- Step-by-step installation methods that will give you a professional-looking finish.
- Design tips for making your transition strip blend in or stand out, depending on your style.
Our goal is to help you create safe, durable, and beautiful transitions from carpet to tile that will look great for years to come.
Choosing the Right Transition Strip
Getting the hardware right is the first real step to a flawless transition from carpet to tile. This isn't a one-size-fits-all situation—the best strip really depends on your specific flooring heights, how much foot traffic the area gets, and the overall style of your home. Picking the right one means the difference between a safe, lasting finish and a clumsy, stubbed-toe-waiting-to-happen problem.
You're not alone in thinking about these details. The global market for floor transition strips was already valued at USD 1.98 billion back in 2025 and is on track to hit USD 2.77 billion by 2035. That growth is coming from homeowners just like you, installing new floors and needing smart ways to connect them. You can see the full breakdown in the floor transition strips market report.
What this tells us is that nailing the transition is a huge part of any successful flooring project.
T-Molding for Perfectly Level Floors
When your tile and carpet meet at the exact same height, a T-molding is your best friend. It’s shaped just like the letter "T." The top of the T rests perfectly on the edges of both floors, hiding the raw cuts, while the stem fits right into the gap between them.
This gives you a really clean, symmetrical look. It’s perfect for doorways or open-plan areas where you want the transition to be as subtle as possible. You can find them in all sorts of materials like wood, metal, and vinyl, so matching your decor is never an issue.
Reducers for Minor Height Differences
It's pretty rare for carpet and its padding to sit at the exact same height as a hard surface like tile. For those slight, uneven transitions, a reducer strip is what you need. It creates a smooth, gentle ramp from the higher floor down to the lower one.
For example, think about the plush carpet in a Milton bedroom meeting the porcelain tile in the master bath. That little height difference can be a real tripping hazard. A reducer gets rid of that annoying lip, making the transition safe and comfortable. They come in different slopes and widths to handle just about any minor height gap.
A well-chosen reducer does more than just bridge a height gap—it makes the transition intentional. Instead of an awkward bump, you get a smooth, gradual slope that guides the eye and foot from one space to the next, enhancing the flow of your home.
Z-Bars and Gripper Edges for a Hidden Fastener Look
If you're after that super clean, "how'd they do that?" finish, Z-bars and carpet gripper edges are the way to go. Both are designed to create a seamless look where you can't see any fasteners at all.
- Z-Bar: This is a clever little metal strip shaped like a "Z." One side slips under the edge of the tile, and the other has teeth that grab the carpet's backing. The carpet edge gets tucked right in, leaving a crisp line with no visible hardware. It’s a favorite trick of the pros for a high-end, custom look.
- Carpet Edge Gripper: Sometimes called a nap-lock or clamp-down edge, this aluminum strip is all business. It's installed right next to the tile, and the carpet is stretched over its sharp teeth. Then, the top metal part is hammered down, clamping the carpet tight. This method creates an incredibly secure edge.
Honestly, choosing between these often comes down to the specific job and how clean you want that final line to look.
Transition Strip Comparison Guide
Picking the right transition can feel like a chore, but it gets a lot easier when you break it down by what each one is designed to do. For a deeper dive into how different materials and scenarios influence your choices, check out our complete guide on mastering flooring transitions.
To help you get started, here's a quick comparison of the most common options and where they shine.
| Transition Type | Best For | Common Materials | Installation Notes |
|---|---|---|---|
| T-Molding | Floors of the exact same height. | Wood, Metal, Vinyl | Requires a small, clean gap between the two flooring materials for the "stem" to fit into. Often installed with a track. |
| Reducer | Slightly uneven floors with a noticeable height difference. | Wood, Metal, Laminate | Creates a gentle slope. Must be oriented correctly, sloping down from the higher floor to the lower one. |
| Z-Bar | Creating a clean, fastener-free look where carpet meets hard flooring. | Metal (usually aluminum) | The carpet edge is tucked into the bar, which is secured under the tile edge. Best installed during the tile installation. |
| Edge Gripper | Securing the carpet edge tightly against the tile for a durable finish. | Metal (usually aluminum) | The carpet is stretched over sharp teeth and clamped down. Provides a very secure hold, great for high-traffic areas. |
Each type serves a very specific purpose. Once you identify the situation you're dealing with—level floors, a slight height difference, or the need for a hidden edge—the right choice becomes much clearer.
Your Practical Installation Guide
Alright, let's get down to the nuts and bolts of creating that perfect transition from your carpet to your tile. This is where all the planning pays off, transforming what could be a jarring seam into a seamless, professional detail. We'll walk through getting your space ready, making accurate cuts, and locking that transition in for a finish that looks great and lasts.
This isn't just a local trend we see here in Cumming and Forsyth County; it's a reflection of how homeowners everywhere are designing their spaces. People want the cozy feel of carpet in some rooms and the clean, durable surface of tile in others. Making that connection look intentional is the key.
Preparing the Subfloor and Measuring the Gap
A great installation always starts with a clean slate. Before you even think about cutting a transition strip, grab a shop vac and thoroughly clean out the gap between the carpet and the tile. You'd be surprised how much dust, stray grout, and carpet fibers can get in there, and any of that leftover grit can stop your adhesive from getting a solid grip.
With the area clean, take a good look at the subfloor. See any high spots or remnants of old adhesive? Use a scraper to get that surface as flat and smooth as you possibly can. A clean, level base is non-negotiable if you want the transition strip to sit perfectly flush.
Now it's time to measure. You'll need two key numbers:
- Length: Measure the width of the doorway or opening, from one side of the jamb to the other. Do it twice, just to be sure.
- Width: Measure the actual gap between the edge of your tile and the edge of your carpet. This will confirm you’ve got the right size of transition strip for the job.
Jot these numbers down. Getting this right from the start saves you from wasting material and making another trip to the store.
Making the Cut
This is where precision really matters. Cutting your transition strip to the perfect length depends entirely on the material you’re working with.
- For Metal Strips (Aluminum, Steel): Your best bet is a hacksaw with a fine-toothed blade. To keep it from moving around, lock it down in a clamp or vise and use slow, steady strokes. Once it's cut, take a metal file and gently smooth out any sharp burrs on the edge.
- For Wood or Vinyl Strips: A miter saw will give you a flawless cut every time, whether it's straight or angled. If you don’t have one, a fine-toothed handsaw and a miter box work just fine, too. A quick pass with some sandpaper will smooth out the cut edge.
Pro Tip: Always aim for a snug fit. You want the strip to sit tight between the door jambs with no gaps. It’s far better to cut it a hair too long and file it down than to cut it too short and have to live with the mistake.
Fastening the Transition Strip
With your strip cut to size, it’s time to secure it. The method you use will come down to the type of transition you bought and what your subfloor is made of.
Snap-In Track Systems
A lot of modern transitions use a clever two-part system: a metal track gets fastened to the subfloor, and the top piece just snaps right into it. Start by cutting the track to length and screwing it into the subfloor, right in the middle of the gap. Then, just angle the decorative strip, line it up, and press down firmly until you hear and feel it snap into place. The result is a clean, fastener-free look.
Adhesive Application
If you want that screwless look on a concrete or wood subfloor, construction adhesive is a fantastic choice. Run a solid bead of adhesive along the underside of the strip and press it down firmly, making sure it makes good contact all the way across. You’ll need to weigh it down with some heavy books or something similar for a few hours—just check the adhesive's instructions for the exact cure time.
Screw-Down Method
The classic screw-down method is incredibly durable and straightforward, which is why it's a great option for high-traffic areas. Just place the pre-drilled strip in the gap and mark where the screw holes land. If you’re on a wood subfloor, you can usually drive the screws right in. For concrete, you'll need to drill pilot holes first and pop in some plastic anchors.
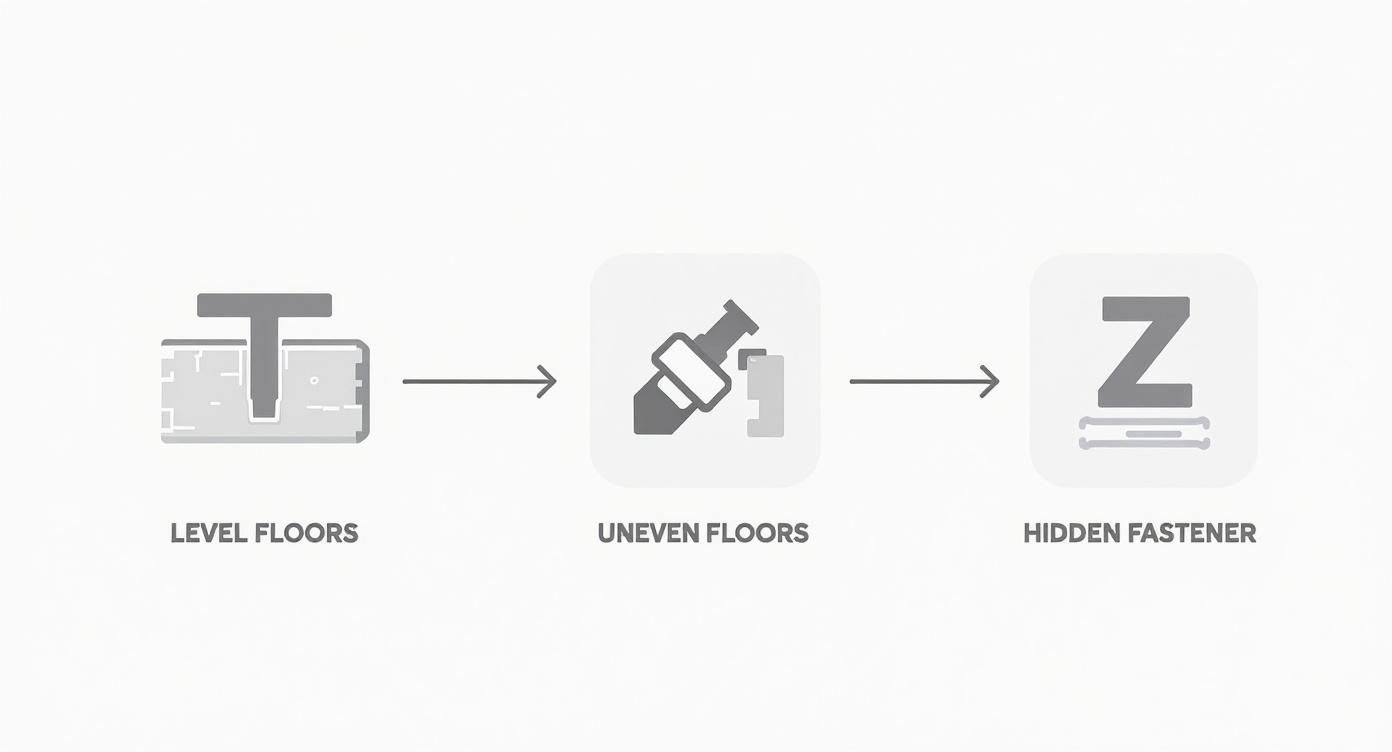
As this graphic shows, the very first thing to consider is the height difference between your floors. That one factor will immediately tell you whether a T-molding or a reducer is the right piece for your project.
Achieving a Professional Finish
The final details are what really separate a DIY job from a professional one. Once your strip is secure, the last step is to get that carpet edge looking sharp.
If you haven't done so already, pull the carpet back just enough to expose the tack strip. Before you get started, it helps to know the right way to handle carpet—our guide on how to remove old carpet has some great tips on doing this safely.
Using a carpet tucker or even a stiff putty knife, firmly tuck the raw edge of the carpet down into the channel between the transition strip and the tack strip. You're aiming for a tight, secure fit that completely hides the edge of the carpet. This creates that clean line and, more importantly, prevents the carpet from fraying down the road. For more information on the tile side of things, check out this guide on tile flooring for renovation types, installation, and maintenance tips.
When you’re done, run your hand along the transition. It should feel solid, smooth, and completely trip-free.
Tackling Uneven Floors and Height Gaps
One of the most common snags you’ll hit during a flooring project is realizing your new carpet and tile don't line up perfectly. We see this all the time in homes around Cumming and Forsyth County, but don’t worry, it's completely fixable. An uneven transition is more than just an eyesore—it’s a trip hazard waiting to happen.
The fix really depends on the size of the gap. For a tiny difference, a simple reducer strip will create a nice, gentle slope. But for a more significant height difference, you’ll need to do some work to level the playing field before a transition strip even enters the picture.
Figuring Out the Height Difference
Before you can solve the problem, you have to know exactly what you're up against. Grab a long, straight edge or a level and lay it across the gap, resting it on the higher floor (usually the tile). Let the other end hang over the lower surface, which is typically the carpeted subfloor area.
Now, take a tape measure and check the vertical distance from the bottom of your straightedge down to the subfloor. That measurement is your height gap. Knowing this number is the key to picking the right approach.
- Minor Gap (under 1/4 inch): A standard reducer strip can usually bridge this gap without any extra work.
- Moderate Gap (1/4 to 1/2 inch): You'll probably need to build up the subfloor under the carpet a bit.
- Significant Gap (over 1/2 inch): This is a bigger job. It will almost certainly require adding a layer of underlayment or using a self-leveling compound.
Building Up the Subfloor Under the Carpet
When your carpet sits noticeably lower than your tile, the most straightforward solution is to raise the subfloor right under it. It’s often simpler than it sounds. For a moderate gap, you can add a thin layer of plywood or oriented strand board (OSB) right on top of the subfloor, under the carpet padding.
The goal here is to get the carpet almost level with the tile, leaving just enough of a slight difference for a reducer to create that smooth, clean slope. Just make sure the material you choose is close in thickness to the height gap you measured. And be sure to secure it firmly to the subfloor to prevent any annoying squeaks down the road.
Tackling the subfloor first is a pro-level move. By addressing the root cause of the height difference, you ensure the transition strip's only job is to cover the seam, not to function as a large, awkward ramp.
Using Self-Leveling Compound for Tile
Here's another way to think about it, especially if you haven't installed the tile yet. You can solve the height difference before the tile ever goes down by using a self-leveling compound. This is a fantastic product—it's a cement-like mix that you pour over the subfloor, and it flows out to create a perfectly flat and level surface to tile on.
This method lets you raise the entire tile floor to match the existing carpet height. If you're dealing with a really uneven foundation, our guide on how to level uneven floors walks you through the whole process. Tools like standard height levelling wedges are also lifesavers during the tiling itself, helping you get each tile perfectly flush with its neighbor. A little planning ahead can eliminate the height gap from the very start.
Matching Your Transition to Your Home Decor

A transition strip isn't just a piece of metal or wood to cover a gap. Think of it as a design element. It’s the finishing touch that can either pull two different rooms together seamlessly or create an awkward visual bump that cheapens the look of your expensive new floors. Getting this detail right is what makes a flooring job look truly professional.
The goal is simple: make the shift from soft carpet to hard tile feel intentional and clean. That small strip of material has a surprisingly big impact on how your home flows, making spaces feel connected and thoughtfully put together.
Creating a Cohesive Visual Flow
Your first call is to decide if you want the transition to blend in or stand out. There's no wrong answer here; it’s all about your home's style and the vibe you're going for.
A transition that disappears can make an open-concept living area feel even bigger as it flows into a tiled kitchen. On the other hand, using a more distinct border can be a great way to define a space, like creating a clear entryway where the tile foyer meets the living room carpet. It acts as a subtle visual cue, guiding the eye from one area to the next.
Strategies for Matching Finishes
This is where the real design magic happens. Instead of just grabbing a generic aluminum strip, take a moment to look at the other finishes in the room.
Here are a few tricks of the trade we use on projects all around Cumming:
- Echo the Wood Tones: If you have wood cabinets, trim, or nearby hardwood floors, choosing a wood transition in a matching stain creates a fantastic sense of warmth and continuity.
- Coordinate with Hardware: Look at your doorknobs, light fixtures, and cabinet pulls. A transition strip in a brushed nickel or oil-rubbed bronze can tie all the metallic accents in the room together.
- Blend with the Grout: For an almost invisible transition, try matching the strip to the color of your tile grout. This is a pro-level trick that makes the transition fade away, keeping the focus entirely on your flooring.
Think of your transition strip like an accessory—it should coordinate with the other finishes in the room. This way, it complements your decor instead of clashing with it, giving you that polished, high-end result.
Complementary Colors Beat Exact Matches
Don't drive yourself crazy trying to find a carpet and tile in the exact same color. It’s nearly impossible, and even if you pull it off, the result can look a bit flat and boring. A much better strategy is to choose colors that complement each other.
For example, a rich charcoal carpet in the bedroom can look stunning next to a light, veined marble-look tile in the master bath. The colors work together harmoniously without being identical. The stylish contrast signals a clear change in the room's purpose while the texture difference between the plush carpet and smooth tile adds plenty of visual interest. The transition becomes a deliberate design feature, not an afterthought.
Your Top Questions About Carpet to Tile Transitions
Even the most straightforward flooring projects can throw you a curveball. When it comes to bridging the gap between carpet and tile, questions always come up. Here are some answers to the most common queries we get from folks around the Cumming area, aimed at helping you get the job done right.
What's the Best Way to Cut a Metal Transition Strip?
For a clean, precise cut on a metal transition strip, a hacksaw with a fine-toothed blade is your best friend. The secret isn't brute force; it's all about keeping the strip steady. Clamp it down tightly to a workbench or sawhorse so it can't wiggle around while you're cutting.
Once you’ve made the cut, you'll feel some sharp little burrs on the edge. Don't skip this part: grab a metal file and smooth that edge down. This quick step makes all the difference between a job that looks DIY and one that looks truly professional. Plus, it saves your socks (and your toes) from getting snagged later on.
Can You Install a Transition Strip on a Concrete Subfloor?
Absolutely. You’ve got a few solid methods to choose from, and the best one often just depends on the strip you're using and what tools you have handy.
- Screw-Down Strips: This is the old-school, rock-solid method. You'll need a hammer drill to make pilot holes in the concrete. Pop in some plastic anchors, then drive your concrete screws home for a hold that isn't going anywhere.
- Glue-Down Strips: A heavy-duty construction adhesive is the way to go here. Make sure you grab one designed to bond to both your strip material (metal, wood, etc.) and concrete. A solid bead of adhesive and some weight on top while it cures will create a powerful bond.
- Snap-Track Systems: A lot of installers love these for concrete. You can just glue the track directly to the subfloor with construction adhesive—no drilling required. Let it set, then the top piece just snaps right in for a super clean, fastener-free finish.
Pro Tip: Concrete has to be perfectly clean before you glue anything to it. I mean it. Give it a thorough vacuum and then wipe it down to get rid of every last bit of dust. That little bit of prep work is what makes the bond last a lifetime.
How Do I Replace an Old, Damaged Transition Strip?
Swapping out a beat-up transition strip is one of the fastest ways to give your floor a little facelift. It's a simple project that you can knock out in under an hour.
First, you’ll need to get the old strip up. If it's screwed down, just back the screws out. For glued or snap-in types, a stiff putty knife or a small pry bar will help you gently work it loose. Go slow here—the last thing you want is to chip the edge of your tile.
After the old strip is out, you'll probably find some old adhesive and grime left behind. A scraper will take care of any gunk, then give the subfloor a good vacuum. From there, you're all set to measure, cut, and fit your brand-new strip. It's a small change that makes a huge difference.
At Flacks Flooring, we know the little details make the biggest impact. If you're tackling a flooring project in Cumming, Johns Creek, or Milton, our team is ready to help you nail every last one. Explore our flooring options and get expert advice today.