
That little bump you step over between the kitchen tile and the living room hardwood? It's more than just a minor annoyance—it's a genuine hazard hiding in plain sight. For homeowners, these uneven floor transitions create a daily risk, turning a simple walk across the room into a potential accident.
Why Fixing Uneven Floors Is a Non-Negotiable Home Project
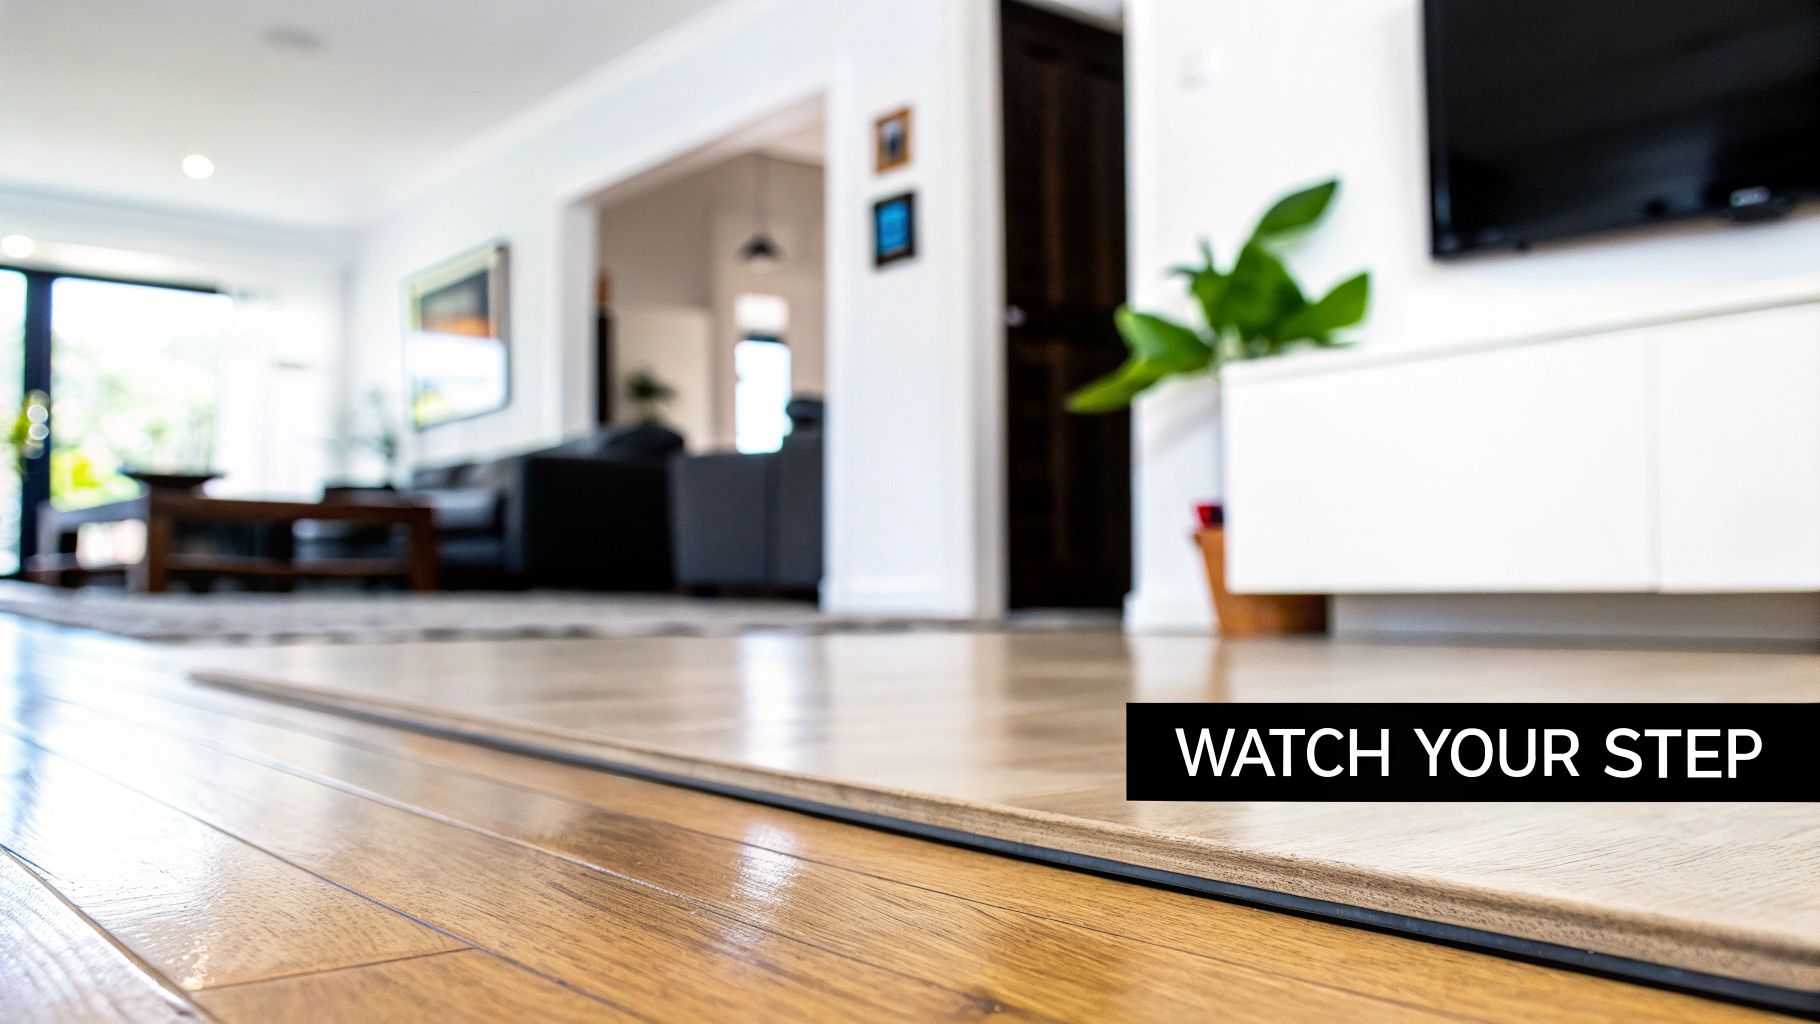
An uneven floor transition happens when two different flooring materials meet at different heights, leaving a disruptive ridge or gap. While it might look like a small cosmetic issue, the impact on your home's safety, appearance, and even its value can be surprisingly significant. Putting this off can lead to bigger problems down the line, which is why it's a project every homeowner should take seriously.
This guide is your roadmap to getting it fixed. We'll break down everything from figuring out what's causing the problem to making a repair that looks like a pro did it. We’ll cover the right tools, techniques, and materials you'll need to turn that tripping hazard into a smooth, seamless floor.
The Real Risks Beyond the Surface
The biggest issue, by far, is safety. That slight difference in height is a classic trip hazard, especially for toddlers just getting their balance and older adults who might have mobility issues.
This isn't just a hypothetical worry; the numbers back it up. Uneven transitions contribute to over 2 million fall-related injuries in U.S. homes every year, with changes in floor level being one of the main culprits. For homeowners here in Forsyth County or Johns Creek, making sure these transitions are smooth during a renovation isn't just about style—it's a critical safety upgrade. In fact, professional transitions can cut the risk of slipping by up to 50% on floors with mixed materials. You can even find in-depth market research on how important these simple strips are for home safety.
Beyond the risk of falling, these rough transitions can also beat up your flooring. The exposed edges of your hardwood, laminate, or tile are left vulnerable. Over time, they can get chipped, cracked, or just worn down, which can seriously shorten the life of your otherwise beautiful floors.
More Than Just a Safety Fix
Fixing an uneven floor transition does more than just prevent accidents—it brings a few other great benefits to your home. A smooth, professionally finished transition instantly makes your entire home look and feel more put-together. It creates a clean, flowing aesthetic that gives your living space a polished, well-maintained vibe. It’s a small detail that makes a huge difference.
On top of that, these improvements can actually boost your property's value. A home with safe, seamless flooring is a big plus for potential buyers. It signals that the property has been well cared for and removes one more thing they might try to negotiate on. For anyone living in growing areas like Cumming and Milton, small, smart upgrades like this can give you a real edge in a competitive real estate market.
Diagnosing the Cause of Your Uneven Floor
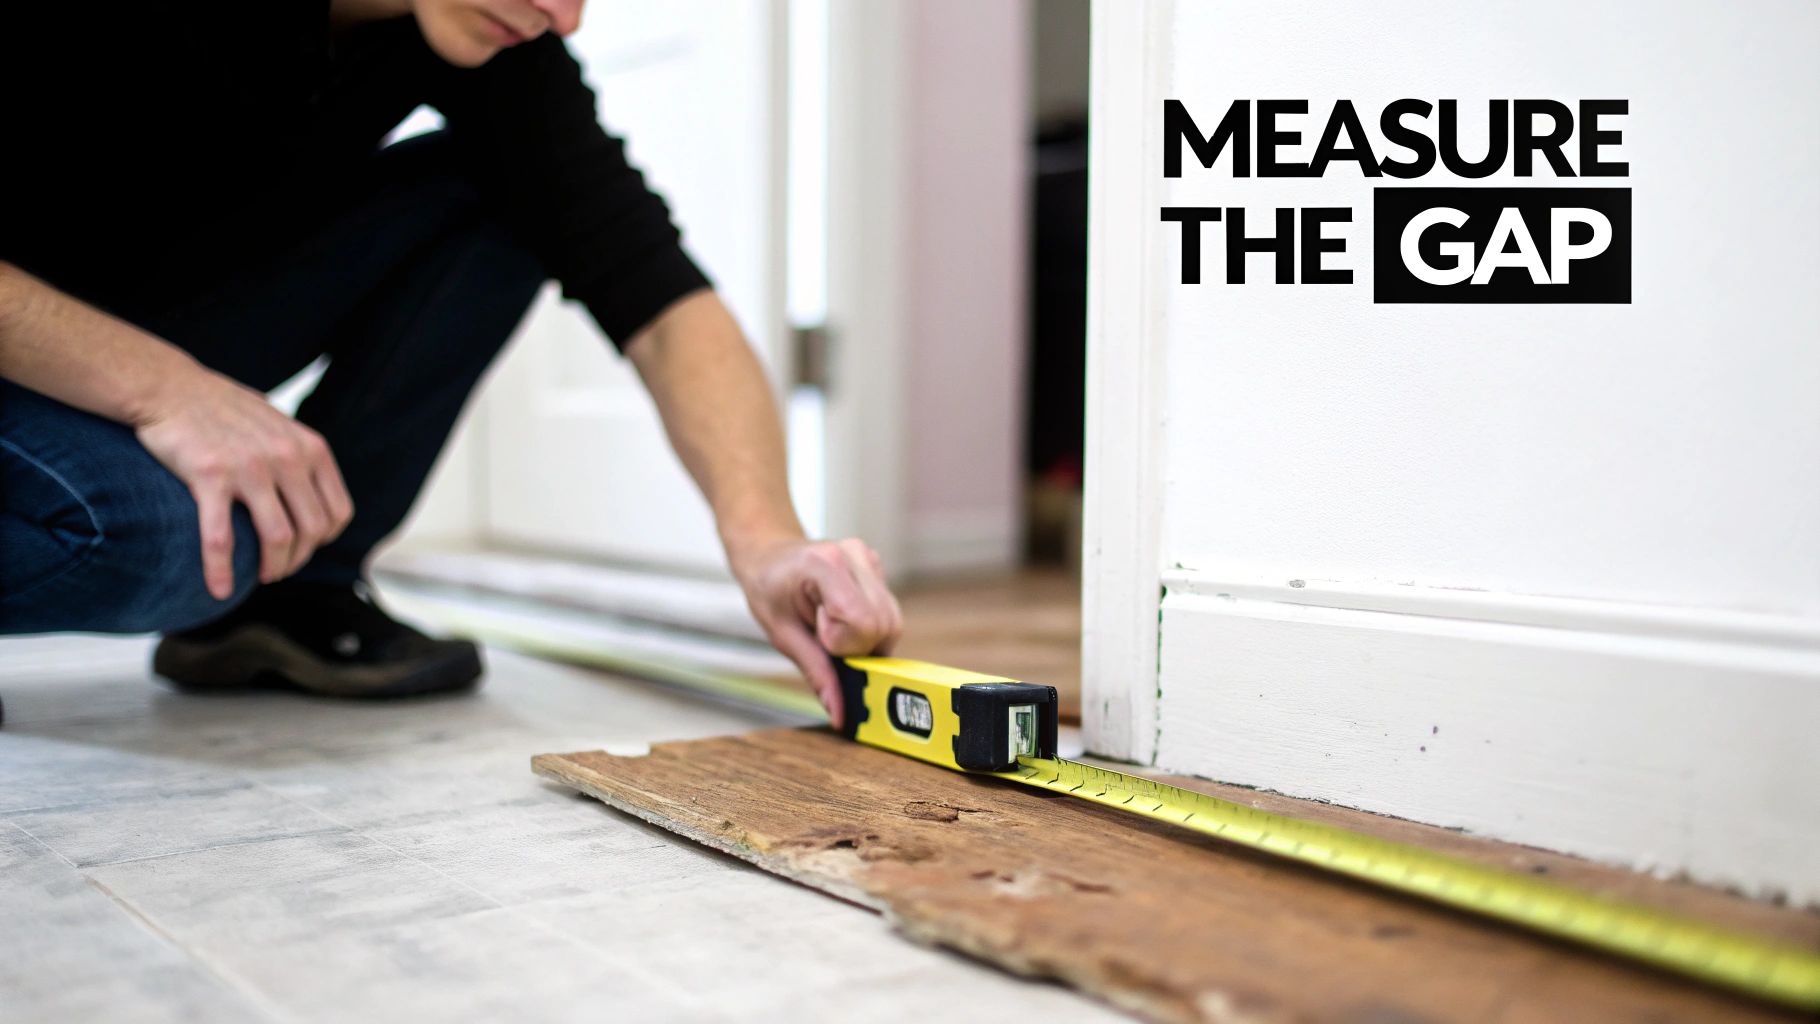
Before you can even think about fixing an uneven floor transition, you have to play detective for a little while. That annoying lip between your kitchen and living room is just a symptom; the real problem is almost always hiding underneath. Pinpointing the actual cause is the single most important step to getting a fix that actually lasts.
If you jump straight to slapping down a new transition strip, you're setting yourself up for disappointment. It's a classic mistake. You might get it looking nice for a week, but the problem will just come right back if the root issue wasn't handled first.
Start with a Visual Inspection
Your first tools are your own eyes and feet. Walk back and forth over the transition area several times. Do you feel any sponginess or give? A soft spot is a huge red flag that often points to moisture damage or a failing subfloor.
Now, get down on your hands and knees for a closer look. Are there any water stains or discoloration on the flooring or the nearby baseboards? That could be a sign of a slow leak you never knew you had. You should also check for things like cracked grout between tiles or new gaps opening up along the seam, which tells you the floor underneath is moving.
Pro Tip: Grab the flashlight from your phone and hold it so the beam shines across the floor at a very low angle. This little trick, called "raking light," makes every tiny dip and bump cast a shadow, revealing imperfections you'd never see with your overhead lights on.
Measure the Height Difference Accurately
This isn't a time for guesswork. You need to know exactly what kind of height difference you're working with to pick the right solution. All you need is a straightedge—a yardstick or a level works perfectly.
Lay your straightedge across the transition so it rests flat on the higher floor and hangs over the lower one. Then, just take a tape measure and get the precise distance from the bottom of the straightedge down to the surface of the lower floor. This number is your guide for everything that comes next.
Uncovering Common Culprits
Once you've done your looking and measuring, you can start putting the pieces together. Most of the uneven transitions we see in homes around here boil down to just a few common culprits.
- Different Flooring Thickness: This one’s the most common and the easiest to fix. You simply have a thick, plush carpet meeting a much thinner vinyl plank floor. That natural height difference is exactly what reducer-style transition strips were made for.
- Subfloor Settling or Warping: The wood structure under your beautiful floors can shift. Here in Forsyth County, the seasonal humidity swings can make joists and subfloor panels swell and shrink, creating high and low spots over time.
- Moisture Damage: This is the one you hope it isn't. A leaky dishwasher, a pinhole in a pipe, or even just a poorly ventilated crawlspace can cause the subfloor to rot and swell, physically pushing the flooring up from below.
Sometimes, the issue goes all the way back to how the house was built. Homes constructed on tricky lots often require specialized techniques, and you might see the long-term effects of that if, for example, the builders had to work with specialists in building on sloping blocks. The foundation of a home plays a huge role in how level the floors stay over the decades.
Taking the time to diagnose the problem correctly tells you if you're looking at a simple cosmetic fix or a much bigger structural repair. If you see any signs of moisture or major subfloor movement, you have to fix that underlying problem first. For a more detailed look at tackling the base of your floors, our guide on how to level uneven floors is the perfect place to start. A proper diagnosis ensures your hard work pays off with a safe, effective, and permanent repair.
Choosing the Right Tools and Materials
Walking into a hardware store to tackle an uneven floor transition can feel a bit overwhelming. You're faced with an entire aisle of gadgets, glues, and strange-looking strips of wood and metal. It's easy to feel lost, but with a little expert knowledge, you can stride in with confidence and grab exactly what you need for a repair that looks truly professional.
The secret isn't just about covering a gap. It's about understanding which specific part solves which specific problem. In fact, thinking about transitions from the very beginning of a project, like when you're exploring the best flooring options for renovations, can prevent these headaches from ever starting.
Decoding the Different Types of Transition Strips
Transition strips aren't a one-size-fits-all product. Each one is designed for a unique situation, and grabbing the wrong one is a fast track to a fix that looks clumsy or, even worse, creates a new trip hazard.
Let's break down the main players you’ll find on the shelf:
-
T-Molding: Think of this as the great equalizer. Its "T" shape is specifically designed to bridge the gap between two floors that are at the same height. It's perfect for creating that seamless look between a hardwood living room and an identical hardwood hallway.
-
Reducer: This is the workhorse for most uneven transitions. A reducer creates a gentle, safe slope from a higher floor down to a lower one. This is your go-to piece for connecting that thick, 3/4-inch solid hardwood in the dining room to the sleeker luxury vinyl in the kitchen.
-
End Cap (or Threshold): This piece gives you a clean, finished edge where your flooring just… stops. You'll need an end cap where your new LVP meets a sliding glass door, runs up against a brick fireplace hearth, or transitions to high-pile carpet.
Key Takeaway: Choosing the right profile is a matter of safety, not just looks. A reducer is engineered to handle a height difference. Using a T-molding in its place would create a wobbly, unstable ramp—a tripping hazard waiting to happen.
Your Essential Toolkit for the Project
Don't worry, you don't need a full-blown workshop to nail this project. But having a few key tools on hand will make the job worlds easier and give you those crisp, clean results you're after. I like to group them into three categories.
For Measuring and Marking:
- Tape Measure: An absolute must-have for accurate lengths.
- Combination Square: The secret to marking a perfectly straight, 90-degree cut line.
- Pencil: Simple but essential.
- Masking Tape: Here's a pro tip—lay a strip of tape on your transition piece before you mark and cut. It drastically reduces the chance of splintering the finish.
For Cutting:
- Miter Saw (or Miter Box with a Hand Saw): Your best friend for perfect cuts. A fine-tooth blade is non-negotiable if you want a clean edge without chipping.
- Hacksaw: If you're working with a metal transition strip (like aluminum), this is the tool for the job.
For Fastening and Finishing:
- Drill: For pre-drilling holes if your installation calls for screws.
- Caulking Gun: The only way to apply construction adhesive without making a huge mess.
- Construction Adhesive: Look for a high-strength, flexible formula made specifically for flooring.
- Rubber Mallet: Crucial for gently tapping snap-in-track transitions into place without damaging them.
For a deeper dive into all the options, our complete guide on flooring transitions breaks down how to match the perfect strip to your specific needs.
Selecting the Right Material for Your Home
Finally, what should your transition strip be made of? This choice comes down to durability, the look you're going for, and your budget.
When you're choosing a material, think about how the room is used. A high-traffic entryway has very different needs than a quiet bedroom doorway.
Choosing the Right Transition Strip Material
| Material | Pros | Cons | Best For |
|---|---|---|---|
| Wood | Classic, high-end look; can be stained to match perfectly. | Pricier; can scratch or dent in high-traffic areas. | Creating a seamless, elegant look between two hardwood floors or in formal living and dining areas. |
| Vinyl | Budget-friendly; huge variety of finishes; waterproof. | May not look as premium as real wood. | Kitchens, bathrooms, laundry rooms, and basements where durability and moisture resistance are key. |
| Metal | Extremely durable; modern aesthetic; low-profile. | Can feel cold; limited color options (usually silver/gold). | High-traffic commercial areas, modern homes, or for a clean, durable transition from hard flooring to thick carpet. |
Ultimately, the right material blends the look of your floors with the demands of your lifestyle. Taking a moment to consider these factors will ensure your new transition looks great and holds up for years.
Getting to Work: How to Fix Common Uneven Floor Transitions
Alright, let's get down to the real work—fixing those annoying and honestly, unsafe, uneven floor transitions. This isn't just about theory; it's about practical, real-world steps for the kinds of flooring setups we see all the time in homes around Cumming and Milton. We'll walk through the process for different floor types so you can feel confident tackling this yourself.
The secret to getting this right isn't complicated. It really boils down to a simple, repeatable process. This graphic breaks down the core workflow you'll use for just about any transition repair you encounter.

As you can see, whether you're working with wood, vinyl, or carpet, it all comes back to these three fundamentals: measure, cut, and fasten. If you can master those actions, you're well on your way to a result that looks like a pro did it.
Hardwood to Tile Transitions
This is a classic matchup, usually where a kitchen meets a living room. The problem is that solid hardwood is almost always 3/4-inch thick, but tile thickness can vary quite a bit once you factor in the mortar. This nearly guarantees a height difference that calls for a reducer strip.
First things first: get that gap between the floors perfectly clean. Grab a vacuum with a crevice tool and get every speck of dust, debris, and old grout out of there. You can't get a solid bond with your adhesive if the surface is dirty.
Next, get a precise measurement of the doorway's length and transfer it to your wood reducer strip. Here's a little trick I’ve learned over the years: put a piece of painter's tape over your cut line before you take it to the miter saw. It makes a world of difference in preventing the wood from splintering and gives you a much cleaner edge.
A Crucial Step for a Lasting Bond
Don't just squeeze a single line of construction adhesive and call it a day. For a bond that will stand up to years of foot traffic, apply a continuous, zig-zag bead along the bottom of the reducer. This simple pattern dramatically increases the surface area for the glue to grab, preventing any rocking or loosening down the road.
Once the adhesive is on, press the reducer firmly into place. If you can, set a few heavy books or paint cans on top for a couple of hours to help the adhesive cure properly. Last, wipe away any excess glue that squeezed out with a damp rag before it dries.
If you're trying to get a perfect match between different wood tones, checking out a guide on how to transition between two different wood floors can give you some extra tips for a seamless finish.
Carpet to Vinyl or LVP Transitions
Here’s another common one: a carpeted bedroom opening up to a hallway with Luxury Vinyl Plank (LVP). The most important thing here is to secure the carpet edge so it doesn't fray and look terrible over time. For this job, you need a specialized carpet gripper transition strip.
These strips are designed with a row of sharp teeth on one side that grab onto the carpet backing, holding it tight.
- Cut the Strip: Measure the doorway and cut your transition strip to the right length. A hacksaw works perfectly for most metal strips.
- Position It Correctly: Lay the strip in the doorway with the "teeth" facing the carpet. You'll want to leave a small gap, about 1/4-inch, between the strip and the edge of your vinyl flooring.
- Secure the Strip: Fasten the strip to the subfloor using the nails or screws that came with the kit.
- Tuck the Carpet: Now, using a carpet tucker tool (or a knee kicker if you have one), stretch the carpet edge right over those teeth. You'll feel them bite into the carpet backing, which is exactly what you want.
- Finish the Edge: Use a stair tool or even the blunt back of a utility knife to firmly press the raw edge of the carpet down into the channel of the strip. This gives you a clean, protected edge that won't trip anyone up.
Finishing Touches for a Professional Look
It’s the small details that really make a DIY job look professional. Once your transition is installed and any adhesive has cured, take a minute for a final inspection.
- Color-Matched Caulk: For a wood-to-tile transition, a very thin bead of flexible, color-matched caulk along the edges can seal tiny gaps and create a super clean, integrated look.
- Check for Movement: Press down along the entire length of your new transition. It should feel completely solid. If you feel any rocking or hear any clicking, you might need to add a bit more adhesive or secure it with a small finishing nail.
- Clean and Polish: Give the whole area a final wipe-down to remove fingerprints and dust. A perfectly installed transition deserves to shine.
Taking your time and focusing on these specific techniques will make a huge difference. You'll not only fix the problem but also end up with a safer, more polished-looking home.
When It's Time to Call in a Flooring Pro
There's a special kind of pride that comes from a successful DIY project, but real wisdom lies in knowing when to step back and call for backup. While you can fix many uneven floor transitions yourself, some issues are just the tip of the iceberg, signaling much deeper problems that need an expert's touch.
It’s not about giving up; it’s about making a smart call to protect your home's value and your own sanity. You don't want a weekend project to spiral into a costly, month-long ordeal.
Red Flags That Scream "Get a Professional"
If you spot any of these warning signs while you're investigating that uneven transition, it’s time to put the tools down and pick up the phone. These aren't just cosmetic quirks—they're clear indicators of a bigger issue.
- Spongy or Bouncy Subfloors: When you press on the floor near the transition, does it feel soft or give way? A spongy feeling is a huge red flag. It almost always points to moisture damage, rot, or even termites that have compromised the subfloor. This needs immediate professional attention.
- A Major Height Difference: Most transition strips you'll find at the hardware store are made for gaps of 1/2 inch or less. If you're dealing with anything more significant, a standard reducer won't do the job safely. A pro can level the subfloor or craft a custom ramp for a smooth, trip-free result.
- Obvious Water Damage: If you see discoloration, staining, or worse, visible mold or mildew near the transition, you've got a water problem. A flooring expert won't just patch the floor; they'll help you pinpoint the source of the leak, which is the only way to get a permanent fix.
- Signs of a Structural Shift: Does the unevenness seem like part of a bigger trend? Look for sloping floors across the room or new cracks in the drywall above the doorframe. These could be signs of a foundation or framing issue, which is far beyond the scope of a simple flooring repair.
An experienced pro brings more than just the right tools to the job; they bring a diagnostic eye. After looking at hundreds of floors, they can instantly tell the difference between a simple installation hiccup and a serious structural problem that a homeowner might easily overlook.
The Real Payoff of a Professional Job
Hiring a professional is about more than just getting the work done. It's an investment in peace of mind and a guarantee that the job is done right the first time, preventing future headaches and safety risks.
A seasoned installer also has access to better materials and specialized equipment than you'll find at a big-box store. This allows for truly custom solutions, like perfectly matched wood transitions or commercial-grade adhesives that create a repair built to last.
For homeowners here in Forsyth County and the surrounding areas, a flawless finish truly matters. Seamless transitions make a home feel well-maintained and can contribute to a 7% higher sale price. Plus, a professionally installed transition distributes weight from foot traffic more evenly, which can reduce wear and tear on your expensive flooring by up to 30%. It’s a smart move that protects your property and pays for itself in the long run.
If you're interested in the broader industry trends, you can explore the latest floor covering market reports to see why quality components are so vital.
Your Top Questions About Floor Transitions Answered
Even the best-laid plans can hit a snag. When you're in the middle of a flooring project, questions always come up, and fixing uneven transitions is no different. I've heard just about every question you can imagine from homeowners over the years, so I've put together answers to some of the most common ones.
Think of this as your go-to guide for those tricky situations. Getting these details right is what separates a decent DIY repair from a truly professional-looking finish.
What’s the Biggest Height Difference a Standard Transition Strip Can Cover?
This is a great question because it cuts right to the chase of picking the right piece for the job. Most standard transition strips—the kind you find at any home improvement store—are built to handle a height difference of up to about 1/2 inch. That’s perfect for most common situations, like transitioning from a 3/4-inch solid hardwood floor down to a thinner luxury vinyl plank.
But what if your gap is bigger? If you're looking at a difference of more than half an inch, a simple reducer strip isn't your solution. A gap that large usually signals a problem with the subfloor itself. Just slapping a transition over it creates a steep, awkward ramp that's a serious trip hazard. In those cases, the right move is to build up the lower subfloor for a gradual, safe, and permanent fix.
A Pro's Two Cents
I've seen this mistake countless times: someone tries to force a standard transition strip to cover a gap that's too big. It never works. The strip won't sit flat, creating a wobbly, unstable edge that’s just waiting for someone to trip on it. For major height differences, always fix the subfloor first.
Can I Just Install a New Floor Over the Old One to Even Things Out?
It sounds like a tempting shortcut, I know, but laying a new floor directly over an old one is almost never the right call for fixing an uneven transition. Honestly, this approach usually makes the original problem even worse. You often end up creating an even bigger height difference into the next room, leaving you with a brand new headache.
Beyond that, layering floors can lead to a whole host of other issues. It creates an unstable surface that’s prone to squeaks and shifts underfoot. It can also trap moisture between the layers, which is a perfect recipe for mold and subfloor rot. And, perhaps most importantly, it will almost certainly void the warranty on your beautiful new flooring. The only right way to do it is to tear out the old floor and prep the subfloor properly.
How Do I Handle a Transition in a Curved or Angled Doorway?
Curved and angled doorways definitely test your skills and require a bit more patience. If you're working with wood or laminate strips, a miter saw is your best friend. It’s the only way to get those clean, precise angles you need for a tight fit in a unique doorway.
For a gentle curve, some of the flexible vinyl or rubber transition strips can be carefully bent to follow the arc. If you're set on using wood, however, that's a more advanced skill. It typically involves making a series of shallow relief cuts on the back of the wood strip, a technique called kerfing. This allows the wood to bend without snapping. It takes some practice to master, and for a truly seamless look, it's often a job best left to a seasoned flooring installer.
Are There Waterproof Transitions for Bathrooms or Mudrooms?
Absolutely, and using a waterproof option in any room that sees moisture is non-negotiable. You’ll want to look specifically for transition pieces made from materials that won’t swell, warp, or rot when they get wet.
- High-Density Vinyl: This is a go-to choice. It's 100% waterproof and comes in a huge variety of colors and finishes to match your flooring.
- Composite Materials: These are often made from a blend of wood fibers and plastic, giving you a durable, water-resistant option.
- Aluminum: A great choice for a sleek, modern look. It’s completely rust-proof and incredibly durable.
Using one of these is crucial for protecting your subfloor from water damage. I can't stress this enough: never use a standard MDF or unprotected wood transition in a bathroom, laundry room, or entryway. It will absorb moisture, swell up, and fall apart in no time.
Navigating the world of floor transitions can feel overwhelming, but you don't have to figure it out alone. If you're in Cumming, Johns Creek, or anywhere in Forsyth County and have questions about your flooring project, the team at Flacks Flooring is here to help. With decades of hands-on experience, we can give you the practical guidance you need.
Stop by our showroom or schedule an in-home consultation today.