
If you’ve ever winced at warped hardwood floors by the shower or seen laminate seams swell up after a kitchen spill, you know the pain of having the wrong flooring in a wet area. It's a common, frustrating problem.
Waterproof vinyl tile is the modern answer to those old headaches, bringing together great looks, tough-as-nails durability, and—most importantly—total peace of mind against water damage. Let's break down everything you need to know about this game-changing material.
Why Waterproof Vinyl Tile Is the Smarter Choice
Picture a floor that has the rich, warm look of oak planks or the elegant veining of marble, but can handle daily splashes, pet messes, and high humidity without breaking a sweat. That’s exactly what you get with waterproof vinyl tile.
It’s built from the core out to be completely impervious to water. This isn't some flimsy top coat that wears off; the material itself simply won't let water seep through. That means your subfloor stays safe and dry, preventing the mold, mildew, and rot that can destroy a home from below.
For homeowners in places like Cumming and Johns Creek, where humidity is just a part of life, this is a huge advantage. Forget about swelling, buckling, or staining. Waterproof vinyl tile holds its shape and beauty, making it a perfect fit for the toughest rooms in your house:
- Bathrooms: Shrugs off everything from steamy showers to overflowing tubs.
- Kitchens: Easily handles cooking spills, dishwasher leaks, and the daily chaos of kids and pets.
- Basements: Turns a damp, tricky space into a beautiful and usable living area.
- Laundry Rooms: Stands up to washing machine drips and constant moisture without a problem.
The Rise of a Resilient Flooring Solution
The popularity of waterproof vinyl tile isn't just about its ability to handle water. It marks a real shift in what people want from their floors—they're demanding durability without giving up an inch on style.
The market numbers tell the story. The global vinyl flooring market was valued at USD 33.9 billion and is expected to explode to USD 63.8 billion by 2035. A huge piece of that growth is coming from waterproof options, as more and more people discover they don't have to compromise.
A truly smart home protects itself from every angle. Waterproof flooring is the first line of defense against spills and moisture you can see, but a comprehensive strategy prepares for the unexpected leaks you can't.
While resilient flooring is a fantastic start, taking a proactive approach is even better. You can create a complete water-damage prevention system by integrating smart plumbing devices for leak alerts. This way, your home is protected from both everyday accidents and the hidden plumbing issues that can cause major damage, securing your investment for the long haul.
Getting to Know Waterproof Vinyl Tile From the Inside Out
To really get why waterproof vinyl tile is such a game-changer, you have to look past the beautiful surface. Think of each tile less like a single slab and more like a high-tech sandwich. Every layer has a specific job, and they all work together to create a floor that’s not just stunning to look at but built to handle the chaos of real life.
This layered construction is the secret sauce. It’s what makes this flooring so tough. Unlike old-school hardwood or even some laminates that swell at the mere sight of a puddle, waterproof vinyl is engineered from the ground up to be completely immune to water. Let's pull back the curtain and see exactly how it works.
The Anatomy of a Waterproof Tile
From the top down, each layer is crucial to the tile's performance, contributing everything from its looks to its core strength against spills and foot traffic.
-
The Protective Wear Layer: This is the invisible bodyguard on top. It’s a transparent, ultra-tough coating that fights off scratches, scuffs, stains, and even fading from sunlight. The thickness of this layer, measured in mils, is your best clue to how durable the floor will be.
-
The High-Definition Print Layer: Right under the wear layer is where the magic happens. Using advanced printing, this layer creates incredibly realistic visuals that can perfectly mimic natural materials like rustic oak, sleek marble, or earthy slate. This is what gives waterproof vinyl its incredible design flexibility.
-
The Resilient Vinyl Core: Here’s the heart of the tile and the source of its superpowers. This core is the reason it's 100% waterproof. It gives the tile its stability and structure and, most importantly, it simply will not absorb water.
-
The Attached Underlayment (Optional): Many of the best waterproof vinyl tiles come with a backing already attached, usually made of cork or foam. This little bonus adds some cushion under your feet, deadens sound, and can even help smooth out minor imperfections in the subfloor.
This simple diagram shows how all these elements—style, strength, and water resistance—are stacked together to create one seriously smart flooring option.
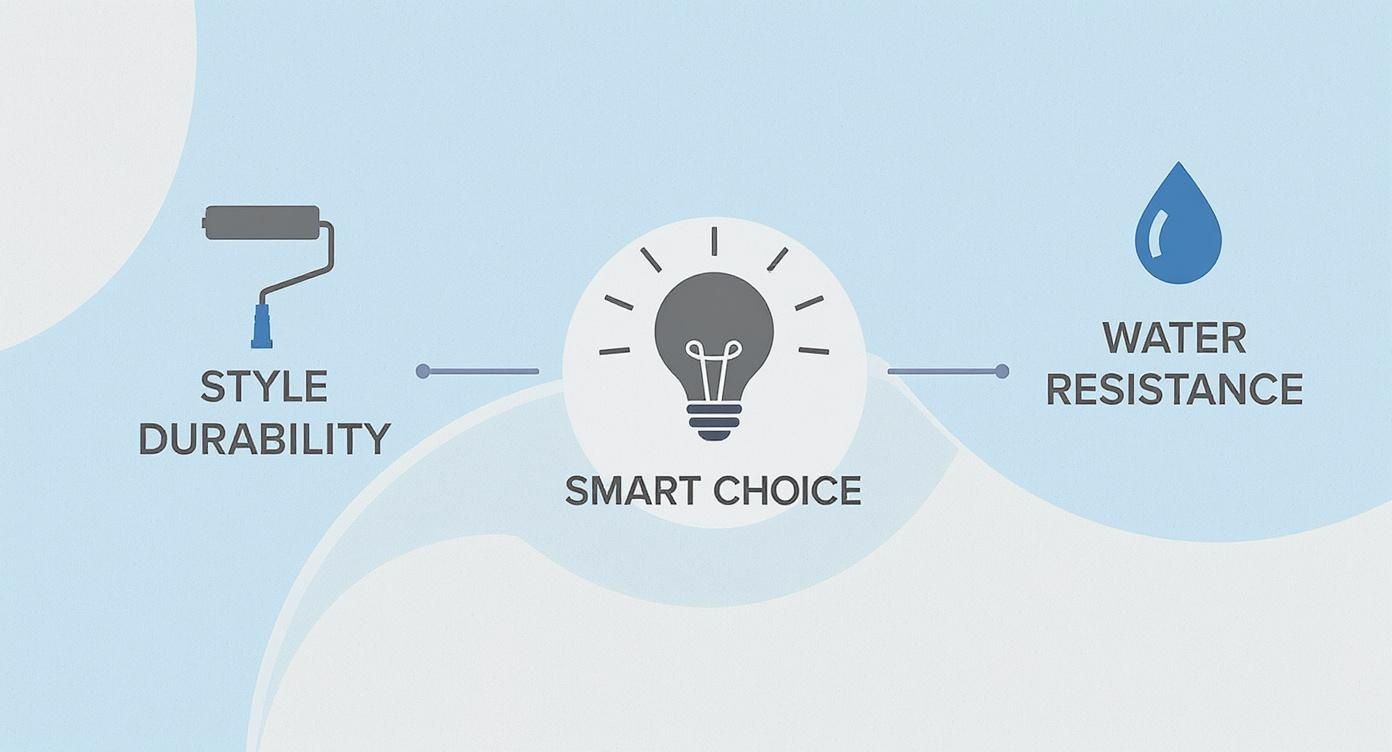
As the infographic shows, the final product is a perfect balance of these critical components, designed to meet the demands of just about any room in your home.
Waterproof vs. Water-Resistant: A Difference That Really Matters
I can't stress this enough: "waterproof" and "water-resistant" are not the same thing. People mix them up all the time, but the difference can mean saving thousands on repairs or facing a flooring disaster down the road.
-
Water-Resistant Flooring: This stuff can handle a quick spill, as long as you wipe it up right away. The surface might repel water for a bit, but the seams and the inner core are its weak spots. If moisture sits too long, it will soak in, causing the core (often fiberboard in laminates) to swell up, warp, and fall apart.
-
Waterproof Vinyl Tile: This is the real deal. It’s completely non-porous from the wear layer all the way down to the backing. The core materials will not soak up water, period. You could literally submerge a plank in a bucket of water for a week, pull it out, let it dry, and it would be perfectly fine.
For any homeowner, this distinction is huge. A truly waterproof floor gives you complete peace of mind, especially in places like bathrooms, kitchens, and basements. It’s not just protecting the floor itself—it's protecting the subfloor underneath from seriously expensive water damage.
It’s no surprise that this technology is taking the flooring industry by storm. The market for luxury vinyl tile (LVT), which is mostly waterproof options, was valued at a massive USD 15.88 billion in 2025. It’s expected to jump to USD 23.22 billion by 2030. That’s because homeowners and pros alike are realizing you can finally get high-end looks without compromising on bulletproof performance. You can dig into the numbers yourself and read the full market analysis on Archive Market Research to see where the trend is headed.
How to Choose the Right Waterproof Vinyl Tile
So, you understand the "what" behind waterproof vinyl tile. Now for the fun part: picking the right one for your home. This goes way beyond just finding a color that catches your eye. It's about matching the floor's DNA to your family's lifestyle and what you plan to throw at it.
Let's walk through how to navigate the options. We'll focus on the two main players you’ll see everywhere: Stone Plastic Composite (SPC) and Wood Plastic Composite (WPC). Getting the difference between these two is the single most important step in finding a floor you'll love for years. They're both 100% waterproof, but they bring very different strengths to the table in terms of feel, toughness, and where they work best.
SPC vs. WPC: The Core of Your Decision
Think of SPC and WPC as two different types of athletes. Both are pros, but one is a marathon runner and the other is a powerlifter. You need to pick the right one for the job. The "core" of the vinyl plank is what determines how it performs.
-
SPC (Stone Plastic Composite): This floor has a core made from a super-dense mix of natural limestone powder, PVC, and stabilizers. This formula makes SPC flooring incredibly rigid and tough. Its real superpower is its extreme durability—it stands up to dents and heavy impacts like a champ.
-
WPC (Wood Plastic Composite): The core here is a bit different, made from a blend of recycled wood pulp and plastic. This creates a plank that feels lighter, a little softer, and warmer when you walk on it. The big win for WPC is comfort and better sound insulation.
For instance, that rock-solid density of SPC makes it the no-brainer choice for a chaotic mudroom, a busy kitchen, or any home with big dogs and active kids. On the other hand, the cushier, warmer feel of WPC is perfect for a family room, bedroom, or basement where you'll be on your feet a lot and want a more comfortable surface.
It really boils down to a simple trade-off: Do you need unmatched toughness (SPC) or superior comfort (WPC)? Let the room decide for you.
Key Factors Beyond the Core
Once you've leaned toward either SPC or WPC, a couple of other specs will help you pinpoint a truly high-quality product. Paying attention to these details is what separates a floor that just looks good from one that performs well for a decade or more.
The All-Important Wear Layer
The wear layer is the invisible shield on top of your floor. It's a clear coating that takes all the abuse—scratches, scuffs, and spills. Its thickness is measured in mil (which is just one-thousandth of an inch), and trust me, this is not the place to skimp.
- 6-12 mil: Fine for low-traffic spots like a guest bedroom or a closet.
- 12-20 mil: This is the sweet spot for most homes. It offers fantastic durability for living rooms, kitchens, hallways, and anywhere life happens.
- 20+ mil: This is commercial-grade stuff. If you have a super busy household or are installing it in a light commercial space, this is your top-tier choice for maximum protection.
A thicker wear layer is the best insurance you can buy for your floor's longevity. When you're comparing two planks, this number often tells you more about the real quality than the price tag does.
Examining the Locking Mechanism
The interlocking system is what holds everything together, creating that tight, waterproof seal between planks. A good, solid lock makes the installer's job easier and, more importantly, prevents the planks from pulling apart over time.
When you're looking at samples in a showroom, click two pieces together. You want to feel a firm, confident snap. They shouldn't feel loose or flimsy, and it should take a little effort to pull them apart again. A weak lock is a huge red flag.
The demand for floors like this is booming. The global market for resilient flooring (which includes vinyl tile) was valued at USD 33.2 billion in 2025 and is expected to climb to USD 54.9 billion by 2033. That surge is all thanks to homeowners and pros choosing smart, lasting solutions. You can read more about the growth of the resilient flooring market on GlobeNewswire.
To make this all a bit simpler, here's a quick side-by-side look at the two core types.
Comparing WPC and SPC Waterproof Vinyl Tile
This table breaks down the key characteristics of Wood Plastic Composite (WPC) and Stone Plastic Composite (SPC) vinyl flooring to help you choose the best option for your project.
| Feature | WPC (Wood Plastic Composite) | SPC (Stone Plastic Composite) |
|---|---|---|
| Feel Underfoot | Softer, warmer, and more cushioned. | Harder, more rigid, and feels solid. |
| Durability | Good, but more prone to dents from heavy objects. | Excellent, highly resistant to impacts and dents. |
| Sound Insulation | Better at absorbing sound due to its thicker core. | Less sound insulation; footsteps may be louder. |
| Ideal Use Cases | Bedrooms, family rooms, basements. | Kitchens, entryways, bathrooms, commercial spaces. |
By weighing these factors, you can move forward with confidence and pick the perfect waterproof vinyl tile for your project.
If you want to see how these specs play out in real products, take a look at our rundown of the best luxury vinyl flooring brands to find some top-rated options that truly deliver.
Your Step-by-Step Vinyl Tile Installation Guide
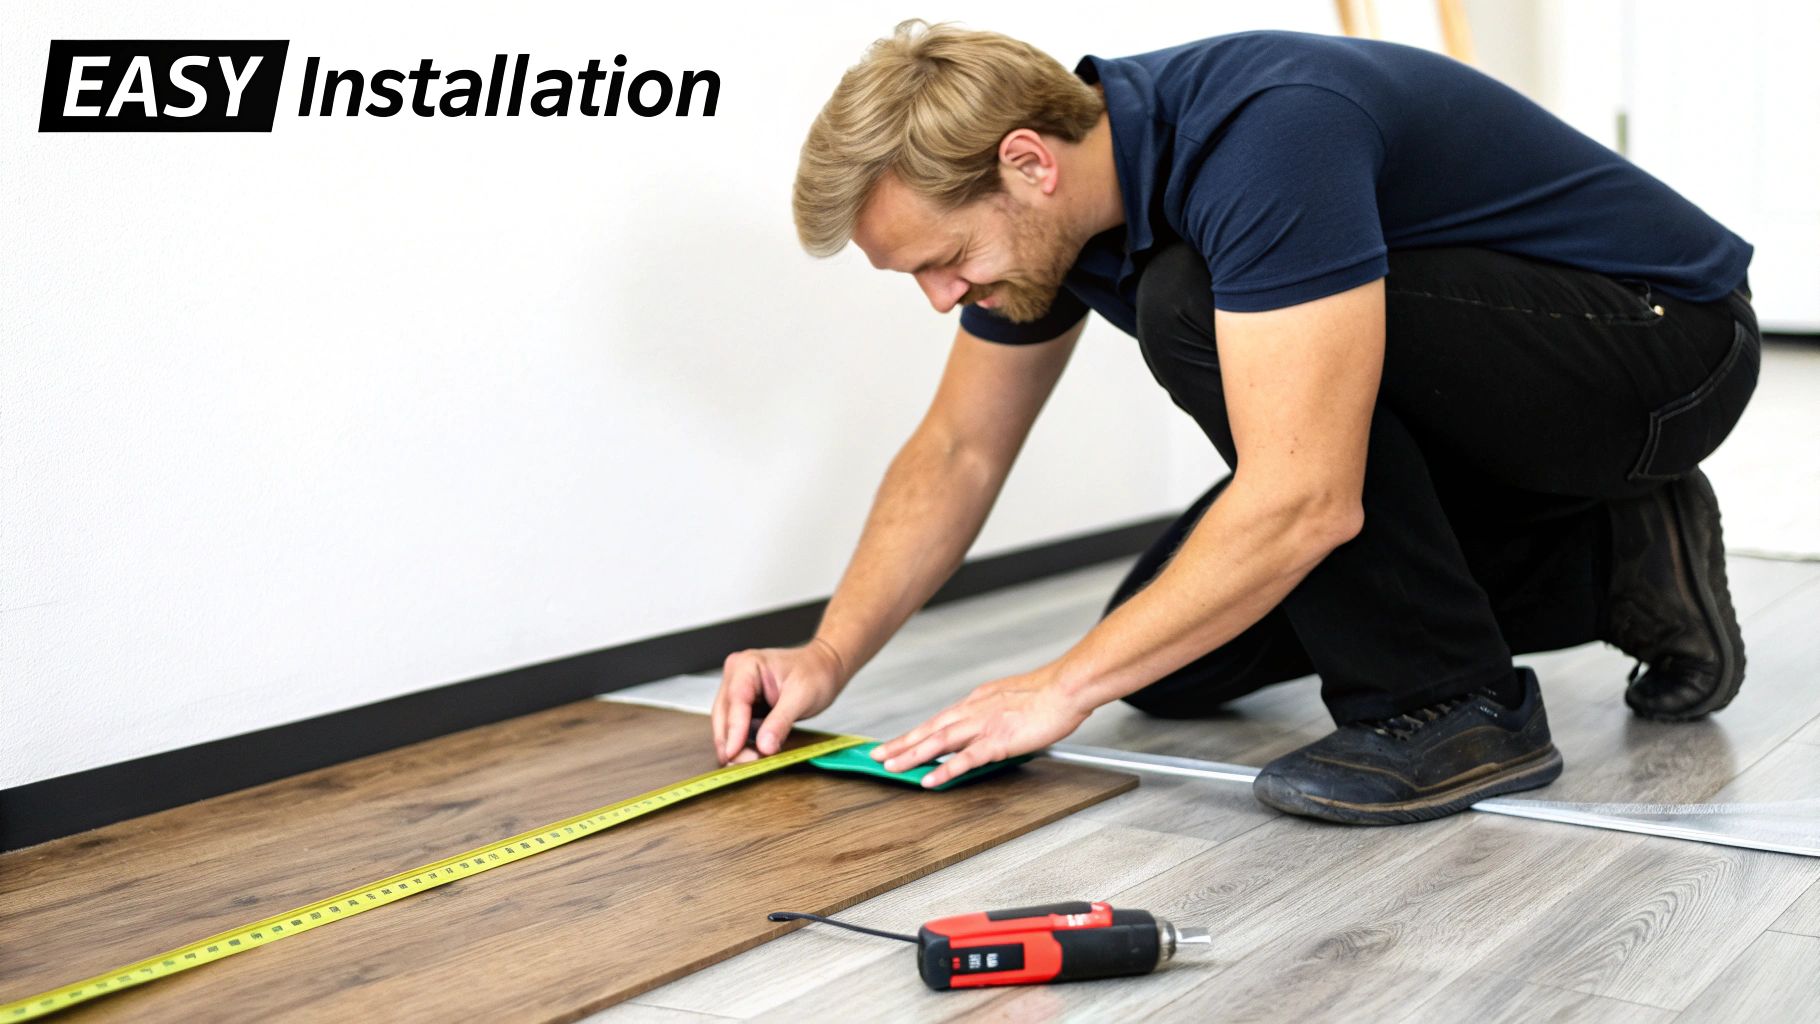
You’ve picked out the perfect waterproof vinyl tile, and now it's time for the fun part: bringing that vision to life. A great installation really boils down to methodical preparation and paying attention to the details. Whether you're a seasoned DIY pro or this is your first flooring project, this guide will walk you through it for a finish you can be proud of.
I always tell people that installing a floor is like painting a room—the final look is 90% preparation. Rushing the prep work is the biggest mistake I see homeowners make. A clean, flat, and solid subfloor isn't just a suggestion; it's the foundation for a beautiful vinyl floor that will last for years.
Stage 1: Prepare the Subfloor
Your brand-new flooring is only going to be as good as the surface underneath it. The mission here is to create a perfectly flat and clean canvas to work on. Even small bumps or dips can cause planks to flex, creak, or even separate down the road, which totally compromises that waterproof seal.
First things first, tear out any existing "floating" floors like old laminate or carpet. If you have a solid, well-adhered surface like glued-down vinyl or ceramic tile, you can often install right over it, as long as it's in good shape.
Here’s a quick checklist to get your subfloor ready:
- Clean Thoroughly: Sweep, then vacuum the whole area. You want to get rid of every bit of dust, dirt, and debris. Any grit left behind can cause annoying crunching sounds under your new floor.
- Check for Levelness: Grab a long level or a straightedge and scan for high and low spots. You'll want to sand down any high points and fill in the low spots with a floor-leveling compound.
- Secure Loose Panels: On a plywood subfloor, walk around the entire room. If you find any squeaky or loose panels, drive some screws in to secure them. A solid subfloor is a quiet one.
One of the most common questions I get is whether you can lay new vinyl over old tile. The answer is usually yes! As long as the old tile is secure, mostly level, and the grout lines aren't super deep, you should be fine. Pro tip: using a thicker vinyl plank (7mm or more) with an attached pad will help ensure you never feel those old grout lines under your feet.
Stage 2: Acclimate and Plan Your Layout
With your subfloor prepped, it's time for a crucial step that people often skip: acclimation. Just like wood, vinyl planks need time to get used to the temperature and humidity of the room. This simple step prevents the planks from expanding or contracting after they're installed.
All you have to do is bring the unopened boxes of vinyl into the room and lay them flat for at least 48 hours. It’s a small test of patience that prevents big headaches like buckling or gapping later on.
While the flooring is acclimating, you can plan your layout. Measure the width of the room and divide it by the width of one plank. This quick calculation tells you if you're going to end up with a ridiculously thin sliver of a plank against the far wall. If it looks like that's the case, it's much better to trim a bit off your first row to make sure your last row has a more substantial width.
Stage 3: Execute the Installation
Okay, the prep work is done. Now you can finally start laying the floor. Most modern waterproof vinyl tile features a click-lock system, which makes the actual installation pretty straightforward.
- Install the Underlayment: If your flooring doesn't come with a pad already attached, roll out your underlayment or a moisture barrier first. This is absolutely essential over concrete subfloors to stop any moisture from seeping up.
- Lay the First Row: Start in a corner and work from left to right. Use spacers to maintain a 1/4-inch expansion gap between the planks and the wall. This tiny gap is a big deal—it gives the floor room to expand and contract with temperature shifts and will be hidden by your baseboards.
- Click and Lock: Connect the planks by sliding the tongue of one into the groove of another at a slight angle, then lowering it flat. You should feel a satisfying "click" as it locks in. A tapping block and a rubber mallet can help you gently snug up the joints for a tight, seamless fit.
- Stagger the Seams: For that authentic wood look, you have to stagger the seams between planks. A good rule is to make sure the end joints in adjacent rows are at least 6-8 inches apart. You never want the seams to line up.
- Make Precise Cuts: You're going to need to cut planks to fit around doorways, vents, and at the ends of rows. For straight cuts, a simple utility knife and a speed square work great. For trickier shapes, a jigsaw is your best friend. Always remember the carpenter's motto: measure twice, cut once.
While click-lock planks are the go-to for many, some tile formats use different methods. If you're exploring other options, you can learn more about how to install peel-and-stick flooring in our other guide. And as you get ready to move those heavy boxes, don't forget to practice safe lifting techniques to protect your back.
Maintaining Your Floors for Lasting Beauty
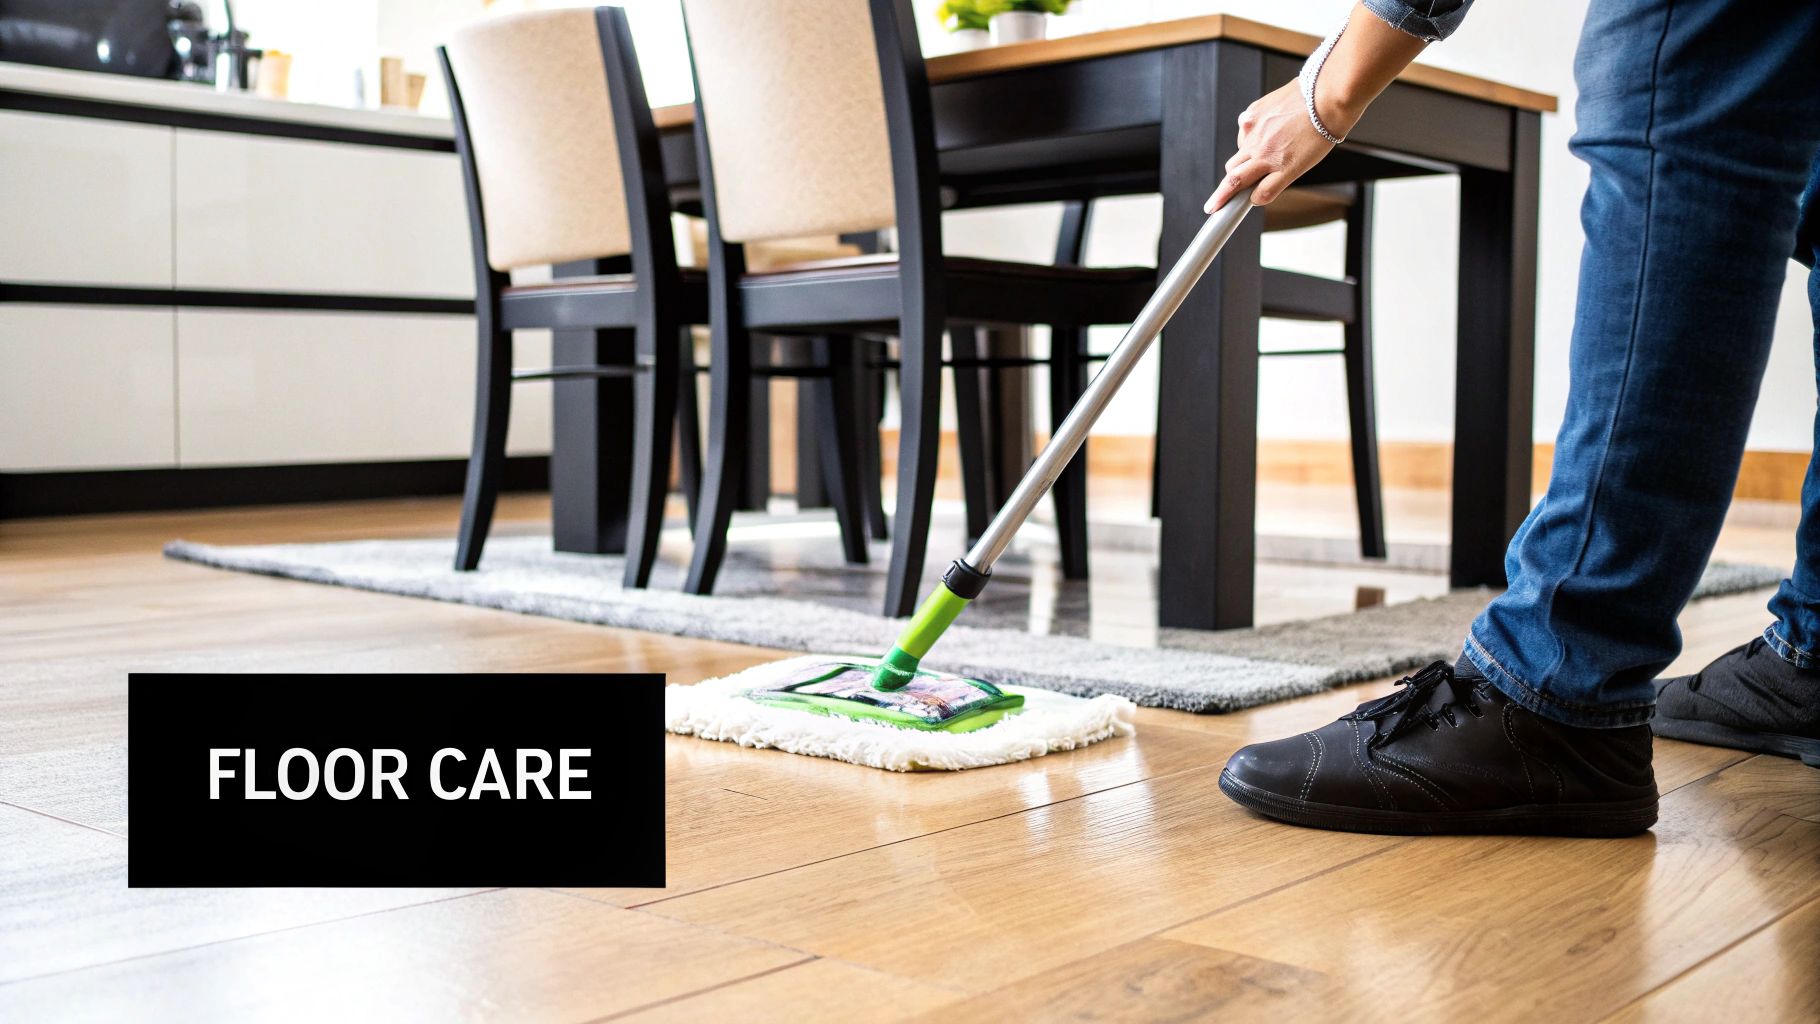
A flawless installation is a great start, but what comes next is what really counts. The secret to keeping your waterproof vinyl tile looking pristine for years to come isn't complicated—it's all about a simple, consistent care routine. Thankfully, this is where vinyl truly shines; it's incredibly low-maintenance.
Think of your floor's wear layer as a shield. Your main job is to keep that shield clean and free from the tiny bits of dirt and grit that can act like sandpaper, dulling the finish over time. A little proactive care goes a very long way, protecting both the look and the performance of your investment.
Your Simple Cleaning Toolkit
You'll be happy to know you probably have everything you need already. The key is using tools that are effective but gentle, because the wrong ones can cause real damage.
- Do Use: A soft-bristle broom, dust mop, or a vacuum on its hard floor setting (make sure the beater bar is off!). For mopping, a microfiber mop paired with a pH-neutral cleaner is the perfect combination.
- Don't Use: Stay away from abrasive scrubbers, steel wool, and harsh chemicals like bleach or ammonia. These will strip the protective finish right off your floor, leaving it exposed and vulnerable.
A common mistake I see homeowners make is grabbing the steam mop. While steam is fantastic for some surfaces, the intense heat can actually damage the vinyl's core layers and even weaken the adhesive on certain tiles. Using one will almost certainly void your warranty.
Building an Easy Maintenance Routine
When it comes to floor care, consistency beats intensity every time. By breaking down the tasks into daily, weekly, and preventative actions, maintenance becomes second nature. A solid routine is the best way to keep vinyl floors looking new for the long haul.
Daily and Weekly Habits
Your first line of defense is a quick sweep or vacuum a few times a week. This simple step removes the dirt and grit that gets tracked in, preventing those fine scratches before they happen. If a spill occurs, just wipe it up with a soft cloth. Since the floor is waterproof, there’s no need to panic.
Once a week, it's time for a damp mop. A microfiber mop works best here. You can use a cleaning solution made for vinyl floors or just a bit of pH-neutral cleaner mixed with water. The key is to avoid soaking the floor—a lightly dampened mop is all you need to lift away any lingering grime.
Preventative Strategies for Long-Term Protection
Honestly, the easiest way to deal with scratches and scuffs is to stop them from happening in the first place. A few smart habits will save you a lot of headaches down the road.
- Use Furniture Pads: Stick felt or rubber pads on the bottom of all your furniture legs. Pay special attention to heavy pieces like couches and tables, or chairs that are moved around a lot.
- Place Doormats: A good doormat at every entrance is non-negotiable. It's amazing how much dirt, grit, and moisture they can trap before it ever touches your floors.
- Lift, Don't Drag: This one’s simple but crucial. When you need to move a heavy piece of furniture, always get help to lift it. Never drag it across the vinyl.
Got Questions About Waterproof Vinyl? We've Got Answers.
As you get closer to choosing your new floor, you probably have a few practical questions popping into your head. These are the details that take waterproof vinyl from a good idea on paper to the perfect real-world solution for your home. Let's walk through some of the most common questions we hear from homeowners right here in Cumming, GA.
Getting straight answers is key. It gives you the confidence that you're making a smart choice for your space, your family, and your wallet. This flooring is incredibly versatile, and understanding these points will set you up for a successful project from day one.
Can You Install Vinyl Over an Existing Floor?
This is easily the question we get asked most, and the answer is usually a big "yes!" It’s one of the best things about modern vinyl tile—it can save you a ton of time, money, and messy demolition work. But, and this is a big but, it all comes down to what kind of floor you have now and what shape it's in.
Generally, you can install waterproof vinyl directly over existing surfaces as long as they are:
- Solid and Glued Down: The old floor can't be a "floating" system like most laminates. It needs to be firmly attached to the subfloor, like old sheet vinyl, linoleum, or ceramic tile that's in good shape.
- Level and Flat: A few minor imperfections aren't a dealbreaker, especially with thicker vinyl planks, but the surface has to be mostly flat. Any major dips, humps, or high spots will eventually show through the new flooring and could even damage the locking system over time.
- Clean and Intact: The old floor needs to be in one piece. Any loose tiles, peeling vinyl, or cracked grout lines have to be fixed or removed before you even think about starting.
Think of it like this: you wouldn't paint over a wall that's already peeling and cracked and expect a smooth finish. The same rule applies here. Your beautiful new floor is only as good as the foundation you put it on.
Is This a Good Floor for Kids and Pets?
Absolutely. In fact, for a busy house with kids and pets, waterproof vinyl is one of the best choices you can make. Its multi-layer design is built from the ground up to handle the beautiful chaos of family life. That tough, clear top layer—the wear layer—is your first line of defense, providing fantastic scratch resistance against dog claws, dragged toys, and scooter wheels.
Beyond just being tough, it's also ridiculously easy to clean. Muddy paw prints, spilled juice, and mystery messes wipe right up without a fight. And because the planks are 100% waterproof, you never have to panic about accidents soaking through and ruining the core of the floor.
For extra peace of mind, keep an eye out for products with a FloorScore® certification. This is an independent test that ensures the flooring meets strict indoor air quality standards. It means the floor releases minimal volatile organic compounds (VOCs), contributing to a healthier home for everyone inside.
How Does the Cost Compare to Other Flooring?
Waterproof vinyl really hits the sweet spot between affordability and long-term value. While the price can change depending on the brand and plank thickness, here’s a quick look at how it stacks up against other popular options:
| Flooring Type | Material Cost (Per Sq. Ft.) | Installation Difficulty | Long-Term Maintenance |
|---|---|---|---|
| Waterproof Vinyl | $$ (Moderate) | Easy (DIY-friendly) | Low |
| Laminate | $ (Low) | Easy (DIY-friendly) | Low (but not waterproof) |
| Ceramic Tile | $$ (Moderate) | Difficult (Pro recommended) | Moderate (grout care) |
| Hardwood | $$$ (High) | Difficult (Pro required) | High (sanding/refinishing) |
You might find some laminate floors that are cheaper per square foot, but they don't have that true waterproof protection, which makes them a gamble in kitchens, bathrooms, or basements. Ceramic tile is often similar in material cost, but you'll likely need to hire a pro to install it, which drives up the total price. Hardwood, of course, is the most expensive in both materials and labor.
When you add in the easy DIY installation and near-zero maintenance of waterproof vinyl tile, its lifetime value becomes undeniable. It delivers that high-end look of wood or stone without the high-end cost or the upkeep headaches.
At Flacks Flooring, we want to give you all the information you need to make a choice you'll love for years. If you've got more questions or want to see some samples in person, our team here in Cumming, GA, is ready to help you find the perfect floor for your home. Come on by or explore our waterproof options today at https://flacksflooring.com.