
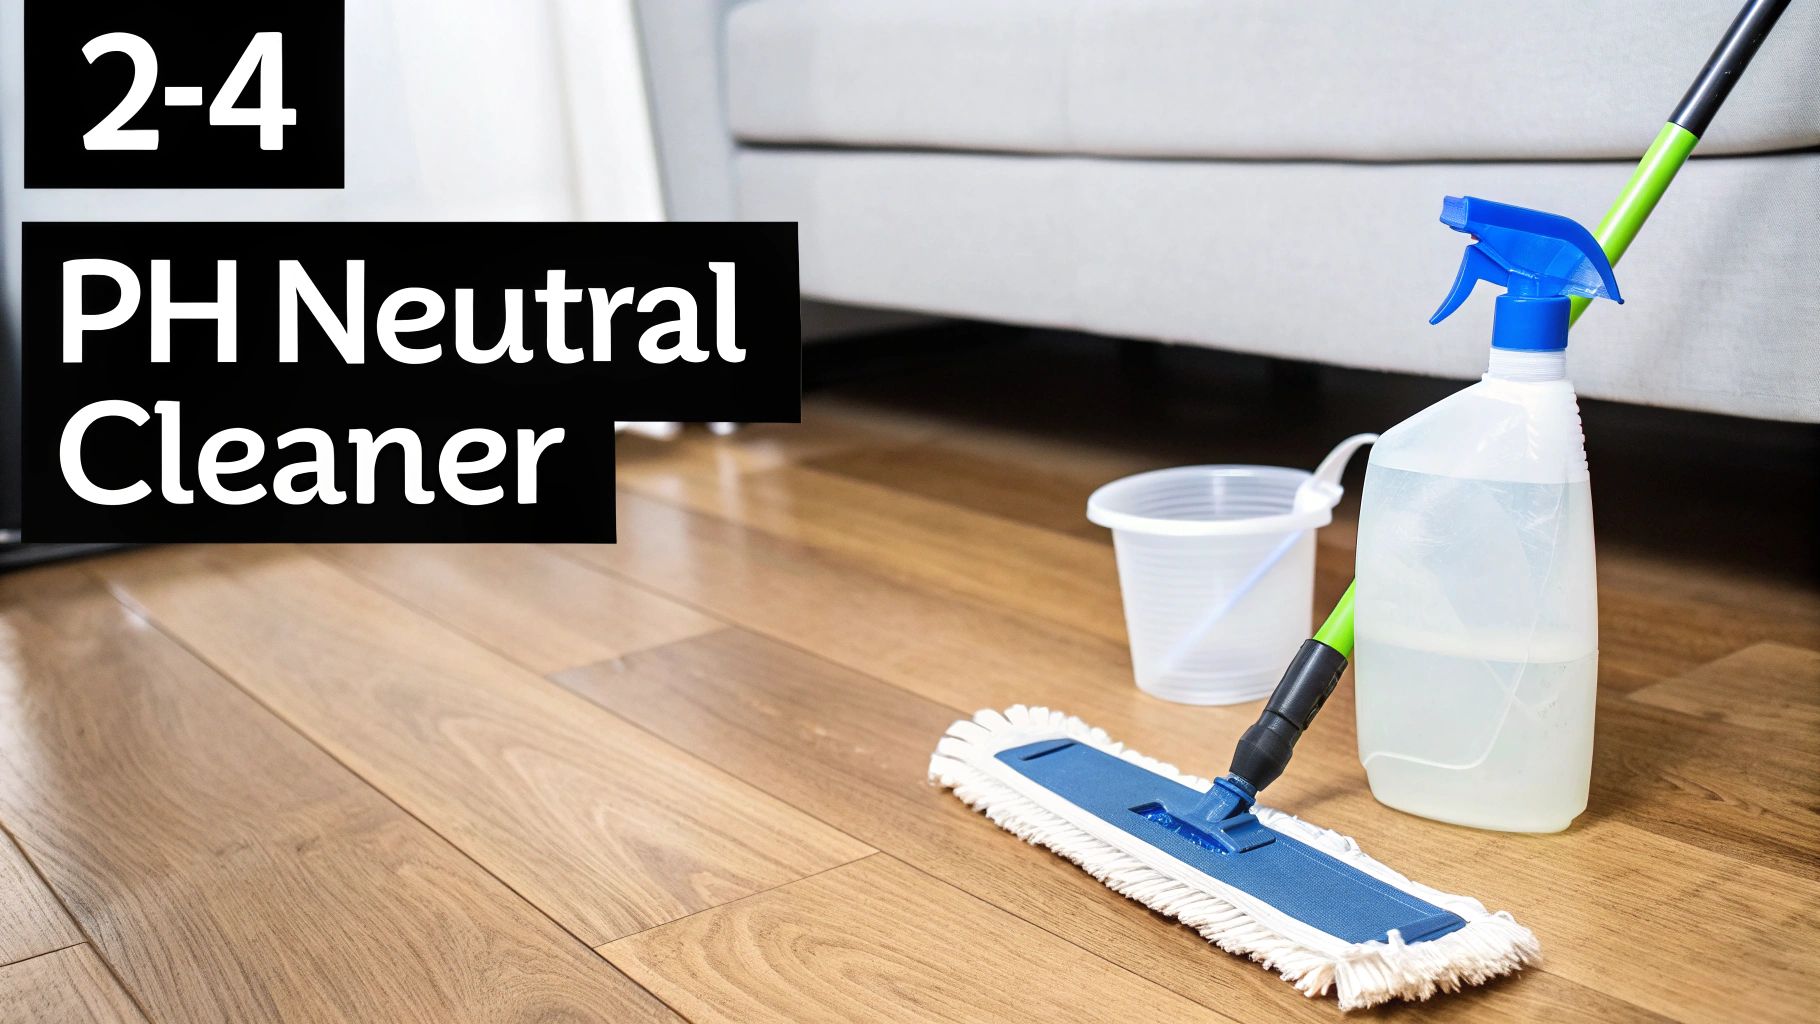
When it comes to figuring out what to use to clean laminate floors, the best answer is usually the simplest one: stick with a pH-neutral cleaner and go easy on the water. I’ve seen it time and again—soaps and harsh chemicals are notorious for leaving a dull, sticky film or, even worse, causing damage that can’t be undone.
Your Quick Guide to Sparkling Laminate Floors
Choosing the right cleaner is probably the most important decision you'll make for the long-term health of your laminate floors. The store shelves are loaded with options, but many homeowners I talk to in Cumming and Johns Creek have found that simple, homemade solutions often work better and are much safer.
It helps to remember what laminate flooring actually is. It's a multi-layered synthetic product, and that top "wear layer" is what takes the abuse. It's also incredibly sensitive to anything too acidic or alkaline, which is why a pH-neutral formula is a must.
Commercial vs. DIY Solutions
If you’re buying a commercial product, look for one that specifically says it’s for laminate floors or is labeled as "pH-neutral." These are designed to do the job without leaving a streaky mess or harming the finish.
But honestly, a fantastic DIY cleaner is probably sitting in your pantry right now.
A tried-and-true method is mixing plain white vinegar with water. A 1:10 ratio (one part vinegar to ten parts water) creates a gentle, effective solution that cuts through everyday grime. This trick became popular back in the 1990s when laminate sales jumped 300% in American homes. It's a safe bet, especially when you consider ammonia-based cleaners come with a 25% risk of causing swelling in the planks. Sticking with simple vinegar could save a family in Forsyth County an average of $500 a year by avoiding premature floor replacement.
Key Takeaway: The golden rule is to clean without soaking. Water is the biggest enemy of laminate flooring. If it gets into the seams, it can cause the core to swell, bubble, and warp—and there’s no coming back from that.
So, whether you go with a store-bought cleaner or the vinegar mix, always use a microfiber mop that's just lightly dampened, never dripping wet. If you're still getting used to your floors, taking a moment to understand what is laminate flooring is a great first step toward keeping it looking new for years.
Picking the right cleaner can feel overwhelming, but it boils down to a few solid choices. Here’s a quick breakdown to help you decide what’s best for your home.
Quick Guide to Laminate Floor Cleaner Options
| Cleaner Type | Best For | Pros | Cons |
|---|---|---|---|
| pH-Neutral Commercial Cleaner | Everyday cleaning, specific spills | Formulated for laminate; streak-free finish. | Can be more expensive; need to check ingredients. |
| Vinegar and Water Solution | General cleaning and disinfecting | Inexpensive, natural, and effective at cutting grime. | Strong smell (dissipates quickly); not for all floor types. |
| Rubbing Alcohol and Water | Spot cleaning tough stains (e.g., ink, marker) | Excellent for lifting stubborn spots without residue. | Can be drying; should only be used in small areas. |
| Plain Water | Light, daily dust and smudge removal | Safest option, no chemicals, completely free. | Not effective on grease or heavy soil. |
Ultimately, the best choice depends on your cleaning needs and personal preference. The most important thing is to avoid harsh chemicals and excess water, no matter which option you land on.
Assembling Your Laminate Cleaning Toolkit
The right cleaner is only half the battle. Honestly, the tools you use can either protect your floors or completely ruin them. The absolute champion in any laminate cleaning kit is a good microfiber mop.
Its tiny fibers are brilliant at grabbing onto dust, dirt, and pet hair—way better than old-school cotton mops. But the real magic is how they handle water. They soak up just enough to give you a damp mop, not a soaking wet one, which is key to preventing water damage.
Think about it: a quality microfiber mop and a little warm water can get rid of up to 95% of daily dust. You don't always need a fancy cleaner that might leave a sticky film. And getting this right matters. The floor cleaner market is set to hit $19.22 billion by 2029, but using the wrong tools and techniques leads to a shocking $2.5 billion in repair costs every single year. You can dig deeper into these trends in this detailed market report from Straits Research.
The Tools to Avoid at All Costs
Knowing what not to use is just as important as knowing what to use. I've seen some real horror stories from homeowners using tools that are just too aggressive for laminate's protective layer.
- Stiff-Bristled Brooms: Those hard bristles will leave tiny micro-scratches all over your floor's surface. Over time, they build up and make your beautiful floors look dull and tired. Stick with a soft-bristle broom or the hard floor setting on your vacuum.
- Steam Mops: This is a huge one. Laminate floors and steam do not mix. That intense heat and moisture forces its way into the seams between the planks, causing them to bubble up, swell, and even peel away from the core.
- Scouring Pads or Steel Wool: Never, ever grab an abrasive pad to scrub a tough spot. You'll scratch the finish right off, permanently damaging the protective top layer and leaving that spot exposed to future stains and damage.
Pro Tip: I always recommend the two-bucket method. It’s a game-changer. One bucket has your cleaning solution, the other has clean water for rinsing. Mop a section, then rinse the dirty mop head in the clean water before putting it back in the cleaning solution. It sounds simple, but it stops you from just pushing dirty water around your floor.
The Right Mop Makes All the Difference
When you're shopping for a microfiber mop, look for a flat-headed model that comes with reusable, machine-washable pads. It’s way more economical and you know you're starting fresh with a clean pad every time. The best pads are super absorbent but also wring out until they’re just barely damp.
This idea of using gentle but effective tools isn't just for laminate. It applies to most hard flooring. If you’re leaning toward more eco-friendly options, we've put together a guide on natural floor cleaning solutions that are safe for your floors and your family.
At the end of the day, the right gear plus the right cleaner is the secret formula for keeping your floors looking brand new for years.
A Practical Laminate Cleaning Routine That Works
Knowing what to use on laminate floors is half the battle; the other half is knowing how to use it. The real secret to a streak-free shine that lasts isn't about scrubbing harder—it's about having a smart, repeatable routine. A great cleaning process respects the material, and with laminate, that means keeping it as dry as possible from start to finish.
The whole thing actually starts long before a mop ever touches the floor. This prep work is absolutely non-negotiable if you want to avoid turning tiny bits of grit into sandpaper.
Start With a Thorough Dry Clean
Before you even think about introducing a liquid cleaner, you’ve got to get all the loose debris off the floor. We’re talking dust, crumbs, pet hair, and whatever else gets tracked in from outside. If you skip this, you’re just dragging abrasive particles across the surface with your wet mop, which leads to tiny micro-scratches that will dull your floor’s finish over time.
You've got a couple of great options here:
- Vacuuming: Grab your vacuum and put it on the hard floor setting. This is critical: turn off the beater bar (the spinning brush). That brush is meant for carpet and is way too aggressive for laminate—it's a surefire way to cause scratches.
- Dry Mopping: A good microfiber dust mop is my personal favorite. The electrostatic charge it generates is fantastic for grabbing fine dust and hair without any risk to your floor’s surface.
This first pass isn't just a suggestion; it’s the foundation of a safe and effective clean. Think of it as clearing the deck before the main event.
I’ve had homeowners in Milton and Johns Creek ask me why their floors look hazy or scratched even when they're careful. Almost every time, the culprit is leftover debris that was missed in this first dry-cleaning step. An extra minute here really does make all the difference.
The Art of the Damp Mop
Alright, now we're ready for the main event, but this is where most people go wrong. The key is to damp-mop, not wet-mop. Excess water is laminate flooring's number one enemy. It can easily seep between the planks, causing the core to swell, bubble, and warp—damage that you just can't undo.
Your mop head needs to be wrung out until it's just barely damp to the touch. If you can squeeze it and see water drip, it’s still too wet.
Once your mop is properly prepped, start working in small, manageable sections. Here’s a pro tip: always mop in the same direction the planks are laid. This simple trick helps prevent streaks from forming as the floor dries and leaves you with a much more uniform, professional-looking finish.
This infographic lays out the simple, effective tools you need for the job.
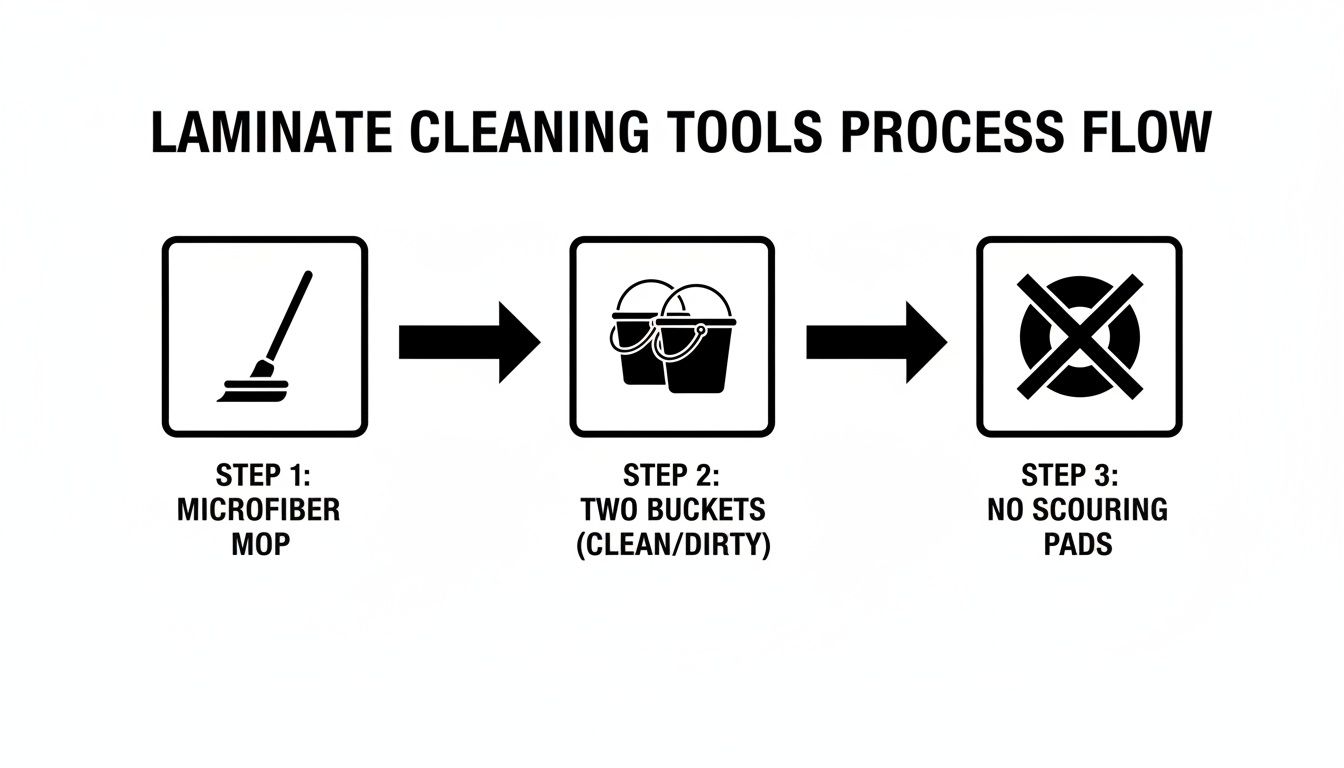
As you can see, the essential toolkit is straightforward: a gentle microfiber mop, a two-bucket system (one for clean water, one for wringing out the dirty mop), and a firm rule against abrasive scouring pads.
Finishing Touches for a Flawless Look
After you've mopped a section, there's one last step to ensure no moisture is left behind. Even tiny puddles or damp spots can dry into watermarks and, over the long haul, contribute to water damage.
Simply go back over the areas you just cleaned with a fresh, dry microfiber cloth. You can pop it on your mop head for convenience or just get down and buff the floor by hand. This not only protects your floor but also helps bring out its natural luster, giving you that polished look without any risky polish products. This final buff is the secret that guarantees a perfect, spot-free result every single time.
How to Handle Tough Stains and Spills
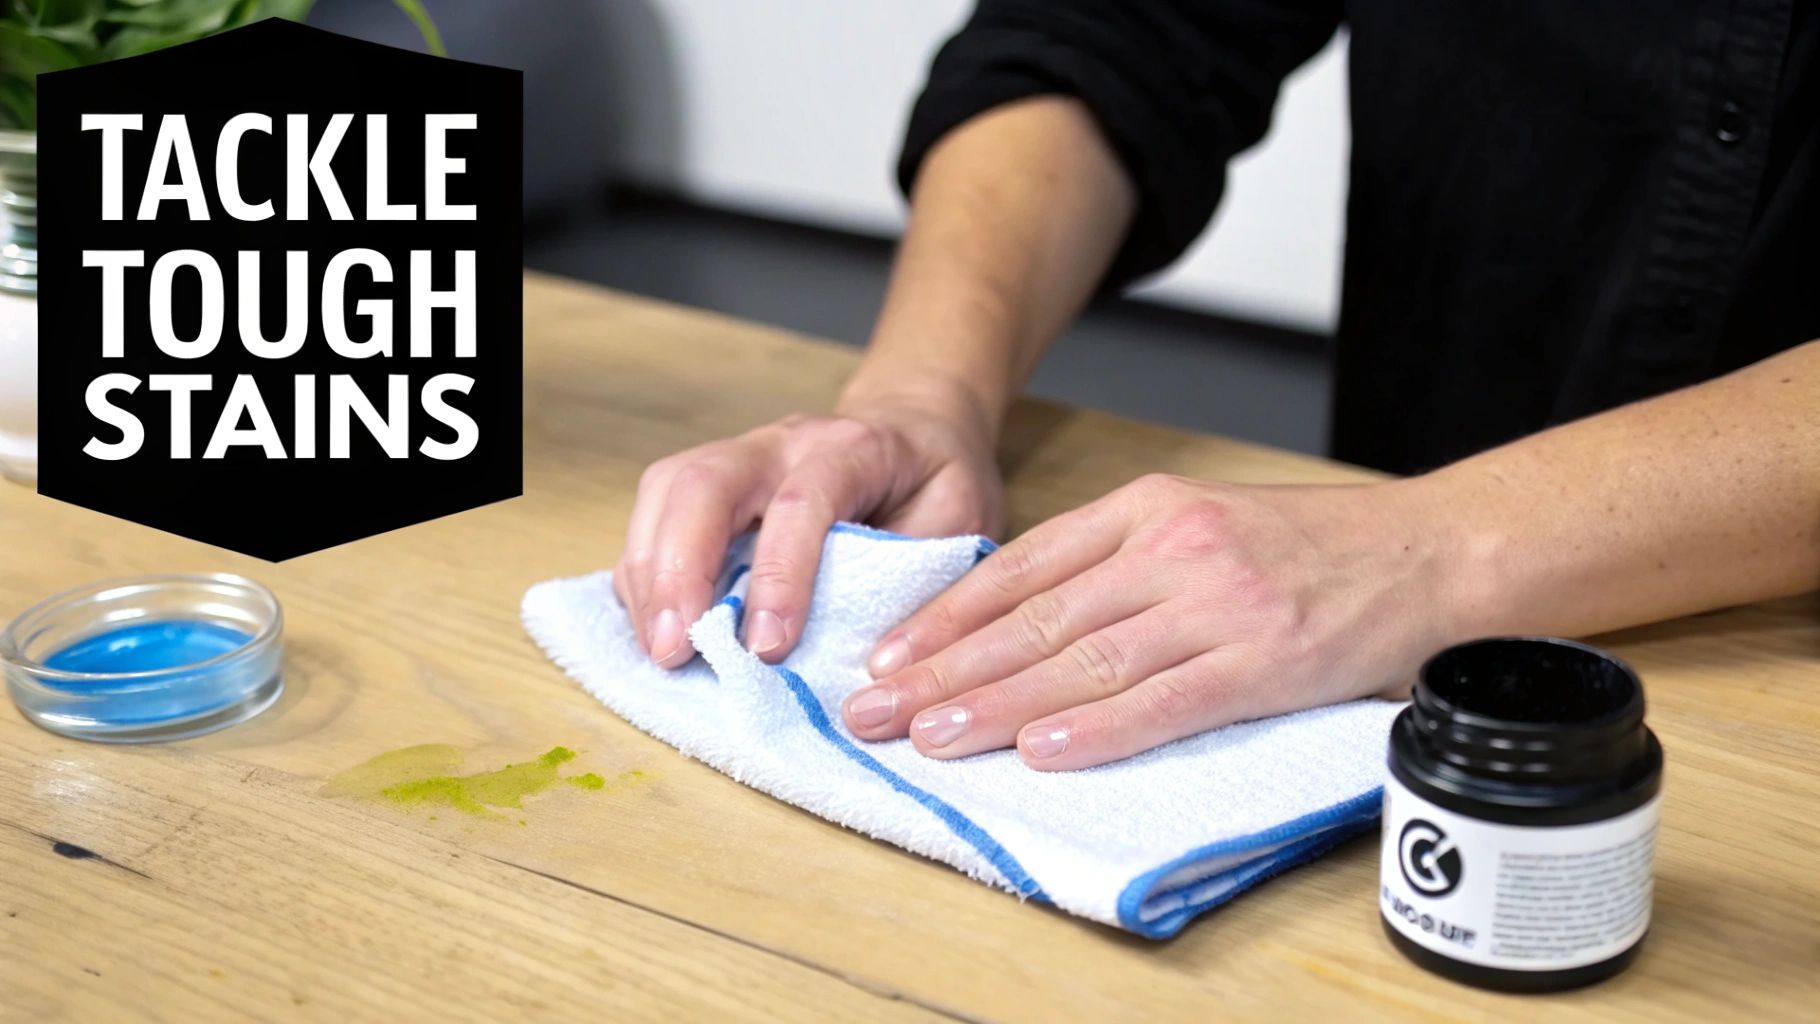
Even with a perfect cleaning schedule, life is messy. A splash of red wine, a kid’s rogue crayon, or a simple scuff mark can feel like a major headache. But take a deep breath—most common messes on laminate flooring are easier to fix than you think.
The trick is to act fast and tailor your approach to the specific stain. Whether you're in a busy family home in Cumming or dealing with daily wear and tear in Milton, knowing these spot-treatment secrets can stop a small spill from becoming a permanent eyesore.
Quick Fixes for Common Floor Mishaps
Different stains call for different tactics. I’ve found that having just a few go-to items ready can prepare you for almost anything. The key is to always start with the gentlest method first and only escalate if needed.
Here’s my field-tested guide for the usual suspects:
- Scuff Marks: For those dark streaks left behind by shoes, a simple pencil eraser is surprisingly effective. Just rub the mark gently until it lifts, then wipe the eraser bits away with a dry microfiber cloth.
- Grease and Oil: Splattered cooking oil or a greasy food drop is a job for rubbing alcohol, not water. Apply a little alcohol to a clean cloth and gently dab the spot. You'll see the grease lift right off.
- Ink and Marker: Rubbing alcohol is also your best bet for most ink stains. Dab carefully to avoid spreading it. For stubborn permanent marker, a bit of acetone (nail polish remover) on a cotton swab can do the trick, but always test it in a hidden spot first. Acetone is strong stuff.
- Crayon and Wax: Harden the mess first. Place an ice pack or a bag of frozen peas over the wax or crayon. Once it's brittle, you can gently pop it off with a plastic scraper or the edge of an old credit card.
Some marks, like mineral deposits from hard water, can be particularly stubborn. While this DIY guide for tough water spots is for windows, the principles can offer some good ideas for tackling similar buildup on other hard surfaces.
A Gentle DIY Paste for Stubborn Grime
For those really stubborn, dried-on messes that just won't budge, you can whip up a simple but powerful cleaning paste. This is a much safer approach than drenching the floor in liquid.
Just mix baking soda with a tiny bit of water to create a thick paste. It’s a mild abrasive that can lift grime without scratching the laminate's protective wear layer. Dab the paste onto the stain, let it sit for a few minutes, then gently scrub with a soft-bristled brush or cloth. Wipe it clean with a barely damp cloth to finish.
This green-cleaning approach has become incredibly popular since around 2010. A simple paste made from a half cup of baking soda can lift dirt up to 80% more effectively than some commercial sprays. More importantly, it avoids the 15-20% chance of delamination that can happen when you over-wet your floors. It's a small part of why the North American cleaning services market has grown so much.
The Golden Rule of Stain Removal: No matter what you're using—DIY paste or a store-bought cleaner—always test it first. Find an out-of-the-way spot, like inside a closet or under the sofa, to make sure it won’t discolor or damage your floor's finish.
Common Cleaning Mistakes That Ruin Laminate Floors
Sometimes, knowing what not to do is the most important part of caring for your floors. I’ve seen it countless times—well-meaning homeowners accidentally cause irreversible damage to their beautiful laminate, turning a simple cleaning day into a potential replacement project.
To keep your floors looking great for years, you need to steer clear of a few common cleaning mistakes. Let’s walk through the big ones.

Mistake 1: Using Too Much Water
This is, without a doubt, the cardinal sin of laminate floor care. Think of laminate's core as a dense sponge. When you flood the floor, water inevitably finds its way into the seams between planks. Once there, it gets absorbed by the core, causing it to swell, bubble up, and warp.
And here’s the kicker: that damage is permanent.
Instead of a sopping wet mop, your microfiber mop should be wrung out until it feels just barely damp. A good rule of thumb? The floor should be dry to the touch within 60 seconds of mopping.
Key Takeaway: If you see any standing water or puddles after you mop, you're using way too much liquid. The goal is a damp clean, not a wet wash.
Mistake 2: Using the Wrong Cleaners
Not all floor cleaners are created equal, and many popular products will absolutely wreck a laminate floor's protective wear layer. If a cleaner isn't specifically labeled as safe for laminate or pH-neutral, leave it on the shelf.
Steer clear of these common culprits:
- Oil-Based Soaps: Products like Murphy's Oil Soap or pine-scented cleaners are notorious for leaving behind a dull, hazy film. This residue doesn't just look bad; it actually attracts more dirt.
- Wax or Polish: Laminate is a sealed surface—it can't absorb waxes or polishes. Applying them creates a sticky, dangerously slippery mess that’s a nightmare to remove.
- Ammonia or Bleach: These are far too aggressive for laminate flooring. Harsh chemicals like these will strip the finish right off, leading to discoloration and permanent damage.
Many people ask about vinegar. While a very diluted vinegar solution can be used, you have to be careful. Interestingly, the question of whether you can use vinegar on hardwood floors sparks a similar debate, as both flooring types are sensitive to acidic cleaners and excessive moisture.
Mistake 3: Using Abrasive Tools
Laminate's top layer is tough, but it's not invincible. Using the wrong tool can cover your floor in thousands of micro-scratches, dulling the finish and making it look worn out long before its time.
Never, ever use these on your laminate:
- Stiff-Bristled Brooms: Those coarse bristles act just like sandpaper, grinding away at the finish with every single sweep.
- Steel Wool or Scouring Pads: These will instantly scratch and gouge the protective layer, leaving a blemish you can't undo.
- A Vacuum with the Beater Bar On: That rotating brush is fantastic for carpets, but it's way too aggressive for laminate. Always make sure the beater bar is turned off or use the hard floor setting.
Stick with a soft-bristle broom, a microfiber dust mop, or a vacuum on the correct setting. By simply avoiding these common errors, you're already halfway to keeping your laminate looking brand new.
Your Top Laminate Cleaning Questions, Answered
Even with the best instructions, real-life situations pop up. I get a lot of questions from homeowners here in Forsyth County and the surrounding areas about the little details of laminate care. Let's tackle some of the most common ones I hear.
Getting these specifics right is the key to protecting your floors and keeping them looking great for years to come.
Can I Use a Swiffer WetJet on My Laminate Floors?
I know how tempting the convenience of a Swiffer WetJet is, but honestly, I steer people away from them for laminate. The biggest issue is that you have zero control over how much cleaning solution gets sprayed onto the floor. It's way too easy to oversaturate the planks.
That excess moisture is the number one enemy of laminate. It can easily seep into the seams, causing the edges to swell, peel, and warp—damage that you just can't undo. Plus, their pre-mixed solutions often leave behind a sticky film that actually attracts more dirt and can make your floors look dull. You’re much better off with a microfiber mop that you can dampen yourself. It's safer and gives you a better clean.
How Often Should I Actually Be Mopping My Laminate?
This is a great question, and the answer really comes down to your lifestyle. For daily upkeep, a quick pass with a dry microfiber dust mop or a soft-bristle broom is usually all it takes to grab dust, pet hair, and crumbs. Doing this regularly stops tiny, abrasive particles from getting ground in and scratching the finish.
As for a full damp-mopping, you probably need to do it far less than you think. For the average home, a deep clean is only necessary every one to two months. Of course, high-traffic zones like your kitchen or entryway might need a bit more attention.
The biggest mistake I see people make is over-cleaning with liquid. With laminate, less is definitely more. Your goal is to find that sweet spot where the floors are clean without constantly exposing them to moisture.
Is a Little Dish Soap Safe to Use in a Pinch?
Technically, yes, but you have to be extremely careful. A tiny amount of a mild, pH-neutral dish soap—we’re talking no more than one teaspoon for an entire gallon of warm water—can work for a tough, greasy mess.
Here’s the catch, though: you absolutely must do a second pass with a clean mop head dampened with nothing but plain water. If you skip this rinsing step, you're guaranteed to be left with a dull, hazy film. That soapy residue is a magnet for footprints and dirt, and you'll be right back where you started. Frankly, the vinegar and water solution is a much safer and more effective bet.
How Do I Get That Shine Back Without Using Polish?
First things first: never, ever use wax or polish on laminate floors. It won't absorb and will just create a dangerously slippery, sticky mess that's a nightmare to remove.
The natural sheen on your laminate comes from having a perfectly clean, residue-free surface. If your floors look dull or hazy, it’s almost always because of buildup from the wrong kind of cleaner. To restore that shine, you need to strip that film off.
Mix up a solution of one cup of white vinegar to one gallon of warm water. Mop a section with your well-wrung-out microfiber mop, and then—this is the important part—immediately buff that same section dry with a separate, clean microfiber cloth. This one-two punch lifts the residue and brings back that original luster without adding any harmful chemicals.
At Flacks Flooring, we know that beautiful floors are the foundation of a beautiful home, and proper care is a huge part of that. Whether you’re looking at new flooring options or just need some expert advice on the floors you already have, we're here to help. Feel free to stop by our showroom in Cumming or learn more on our website. https://flacksflooring.com