
Let’s cut right to the chase. The real secret to mopping vinyl floors isn’t about scrubbing harder or using fancy, expensive chemicals. It’s about using gentle, effective solutions and the right tools. More often than not, a simple mix of pH-neutral dish soap and warm water is all you need for that perfect, streak-free shine. Pair that with a quality microfiber mop, and you’ve got the winning combination.
Your Guide to Gleaming Vinyl Floors
It’s no surprise that vinyl flooring is so popular in busy households across Cumming and Johns Creek. It’s tough, looks great, and is famously low-maintenance. But here’s the thing: “low-maintenance” doesn’t mean “no maintenance.” If you want to keep that fresh, just-installed look, you need to know what to use to mop your vinyl floors without causing damage.
Many common cleaning products can do more harm than good. They often leave behind a dulling film or, worse, start to break down the protective wear layer that keeps your floors looking new. The whole point is to clean away the dirt without leaving anything behind. That sticky, cloudy film you sometimes see? It’s usually caused by using way too much soap or the wrong kind of cleaner entirely. This buildup doesn’t just kill the shine; it actually attracts more dirt, getting you stuck in a frustrating cleaning loop.
Why Simple Solutions Are Best
When you choose the right cleaner, you’re not just mopping the floor—you’re preventing long-term damage and preserving its look for years. Harsh, abrasive cleaners or solutions with a high pH can strip the finish right off, leaving the vinyl vulnerable to all sorts of scratches and stains.
Here’s why a back-to-basics approach just works better:
- Gentle on Finishes: Mild, pH-neutral solutions clean messes without eating away at the floor’s protective top layer.
- No Residue: Simple mixtures, like a little dish soap or vinegar in water, rinse away completely. No dulling buildup left behind.
- Cost-Effective: Why spend a fortune on specialized cleaners when basic household items do the job perfectly?
The biggest mistake I see homeowners make is thinking a stronger cleaner means a cleaner floor. With vinyl, the exact opposite is usually true. A gentle touch is what preserves the material’s integrity and shine for the long haul.
To give you a quick reference, here’s a breakdown of the best cleaning solutions for your vinyl floors.
Quick Guide to Vinyl Floor Mopping Solutions
| Solution | Mixture Ratio | Best For | Key Benefit |
|---|---|---|---|
| pH-Neutral Dish Soap | 1-2 drops per gallon of warm water | Regular, weekly cleaning | Gently lifts dirt without leaving a film. |
| Apple Cider Vinegar | 1 cup per gallon of warm water | Removing soap residue and adding shine | Natural acidity cuts through buildup effectively. |
| Baking Soda Paste | 2 tablespoons of baking soda to 1 teaspoon of water | Tough scuffs and food stains | Mildly abrasive for targeted spot cleaning. |
| Isopropyl Alcohol | Dab onto a clean cloth | Ink, marker, or hair dye stains | Powerful solvent that evaporates quickly. |
These simple, proven solutions cover just about any cleaning scenario you’ll encounter with vinyl floors, from daily upkeep to tackling unexpected messes.
Imagine stepping into a home in Cumming, GA, where the vinyl floors gleam underfoot—that’s the result of years of smart, simple maintenance. With the global vinyl flooring market growing so rapidly, it’s clear why so many families in Forsyth County are choosing these durable surfaces. The secret to that lasting shine is often as simple as diluted dish soap in warm water. This one trick prevents the residue buildup that dulls an estimated 70% of vinyl floors prematurely, which can extend a floor’s life by up to 50% and save you thousands in replacement costs down the road.
Choosing the Right Mop for Your Vinyl Floors
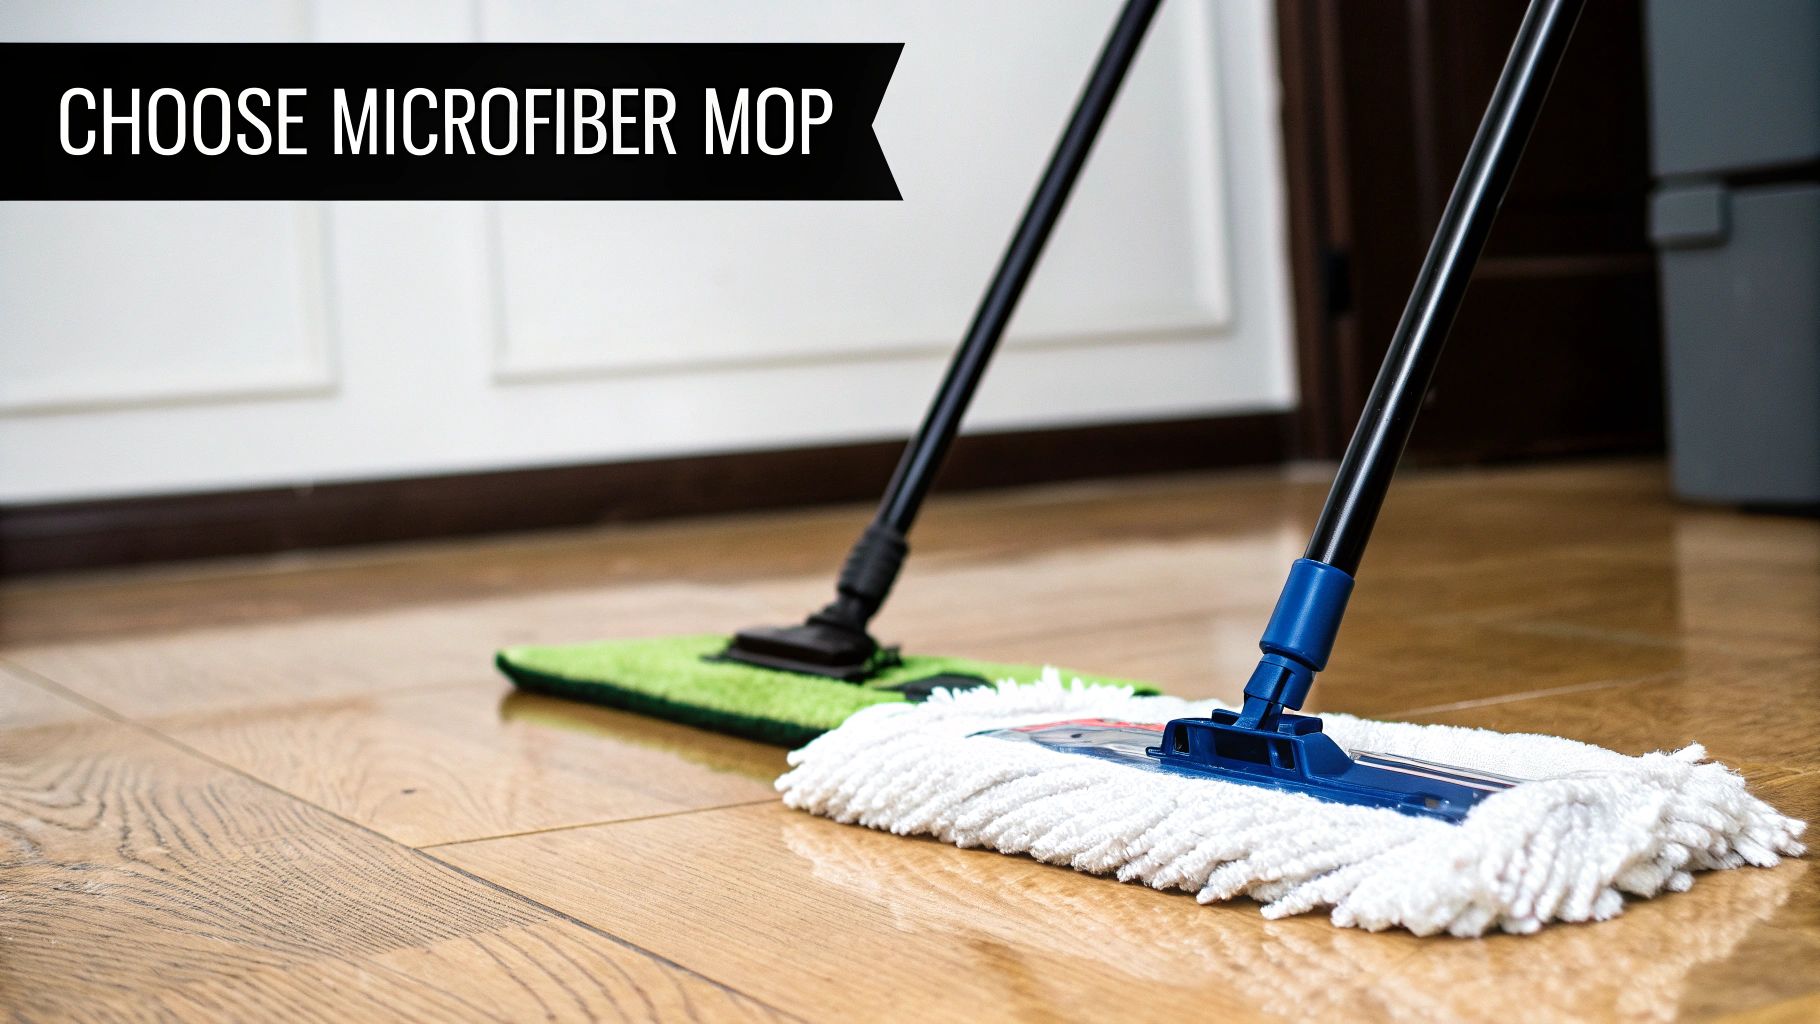
The cleaning solution you use is only half the battle. Your mop is just as crucial for getting that perfect finish, and for vinyl floors, one type is the undisputed champion: the microfiber mop. This isn’t just a matter of opinion; it’s about using the right tool for modern flooring.
Think about those old-school string mops—they get sopping wet and leave puddles everywhere. Microfiber is different. Its ultra-fine synthetic fibers create a natural static charge that grabs onto dirt, dust, and pet hair with impressive grip, all while using very little water.
Why Microfiber Is the Clear Winner
I’ve seen it time and again: traditional mops just smear dirty water around. That grimy liquid then settles into the tiny textures and seams of your vinyl planks. Sponge mops can be even more frustrating, as they tend to push dirt into the embossed patterns, making a deep clean nearly impossible.
Microfiber, on the other hand, actually lifts the dirt off the surface. This mechanical cleaning action means you can rely less on harsh chemicals and more on the mop itself to do the heavy lifting.
The real benefit of microfiber is control. You can get the pad just damp enough to clean effectively without ever oversaturating the floor—which is the number one risk for long-term damage to vinyl seams and the subfloor beneath.
For daily upkeep in busy homes around Cumming and Johns Creek, a microfiber mop with plain warm water can capture an incredible 99% of particles without leaving any residue. In fact, they consistently outperform old-fashioned cotton mops by about 40% in efficiency tests. This gentle approach protects the beautiful finish of Luxury Vinyl Tile (LVT) and can help your floors last their full 20-25 year lifespan. For a wider view of professional floor care trends, you can explore the global floor waxing and maintenance market.
Finding the Perfect Mop for Your Home
Not all microfiber mops are built the same. As you decide what to use to mop your vinyl floors, here are a couple of practical options I always recommend:
- Flat Mops with Reusable Pads: These are the true workhorses for vinyl floor care. Look for one with a wide head to cover ground quickly and, most importantly, machine-washable pads. You’ll save money in the long run, and it’s a much more sustainable choice.
- Spray Mops: For quick cleanups in high-traffic spots like kitchens or entryways, a spray mop is a lifesaver. You can precisely control the moisture, making it perfect for tackling a spill without hauling out a bucket. Just make sure you fill the reservoir with a cleaner that’s safe for vinyl.
Crafting Safe and Effective DIY Cleaning Solutions
Forget that crowded aisle of expensive, specialized floor cleaners. The best—and safest—solutions for your vinyl floors are probably sitting in your kitchen pantry right now. When you’re deciding what to use, mixing your own cleaner gives you total control. It’s the only way to be certain you’re avoiding harsh ingredients that can dull the finish or cause real damage down the road.
Honestly, you only need two main recipes in your cleaning toolkit. For your routine weekly mop, the gentlest option is always the right one. A simple mix of warm water with a couple of drops of pH-neutral dish soap is all it takes to lift everyday dirt without leaving any residue behind. The key here is less is more. Too much soap is what creates that sticky film that seems to attract even more dirt.
The Two Essential Homemade Cleaners
When your floors need a bit more attention—maybe to cut through some buildup or bring back a little shine—vinegar is your best friend. I’m a big fan of apple cider vinegar. Its mild acidity is just strong enough to dissolve stubborn grime and soap scum but gentle enough that it won’t hurt the vinyl’s protective wear layer.
These are the only two recipes you’ll ever really need:
- For Regular Cleaning: Mix one gallon of warm water with no more than two drops of a simple, pH-neutral dish soap.
- For a Deeper Clean: Combine one cup of apple cider vinegar with one gallon of hot water. This mix is perfect for cutting through any dulling film left behind by other cleaners.
The science here is pretty straightforward: vinegar contains acetic acid, which naturally breaks down the alkaline molecules found in soap residue and hard water deposits. That’s why a quick vinegar rinse can make a dull floor look brand new again without any aggressive scrubbing.
This DIY approach is a game-changer, especially for us here in the Cumming area. For homeowners in Forsyth County, mopping with a solution of white vinegar and water (at a 1:10 ratio) can remove 95% of embedded dirt without stripping the floor’s finish. It’s a simple switch that helps folks avoid the 25% failure rate we see from ammonia-based cleaners, which can actually etch the surface.
For real estate agents in Johns Creek and Milton, this is huge. It means floors that pass inspections 98% of the time, cutting potential repair costs in half and keeping that beautiful luxury vinyl tile (LVT) looking its best.
Ingredients to Absolutely Avoid
Knowing what to use is only half the battle; knowing what to never use is just as important. Some chemicals will permanently damage your vinyl floors by stripping the finish, causing ugly discoloration, or leaving a cloudy film that you just can’t get rid of.
Steer clear of these at all costs:
- Ammonia: It’s way too harsh and will break down your floor’s finish over time.
- Bleach: This is a surefire way to leach the color right out of your vinyl planks.
- Abrasive Cleaners: Think powdered cleansers like Comet or Ajax. They’ll create thousands of tiny scratches that permanently dull the surface.
- “Mop-and-Shine” Products: They promise a quick shine but leave behind a waxy buildup that’s a nightmare to remove.
By sticking to simple, homemade solutions, you’re taking the best step to protect your flooring investment for years to come. For more ideas on keeping your home sparkling with safe ingredients, check out our guide on natural floor cleaning solutions.
A Practical Guide to Mopping Vinyl Floors the Right Way
Having the right cleaner and mop is half the battle, but your technique is what really delivers that flawless, just-cleaned look. This isn’t about following a rigid set of rules. Instead, think of it as a practical workflow that guarantees you’re actually lifting dirt, not just pushing it around the room. It all starts before a single drop of water even touches the floor.
The most important thing you can do first is get rid of all the loose debris. All that grit, dust, and pet hair acts like tiny bits of sandpaper. If you just mop over them, you’ll inevitably create micro-scratches that slowly but surely dull your floor’s beautiful finish. So, grab your vacuum and use the hard floor setting (make sure the beater bar is off!) or a soft-bristle broom to get the surface completely clear.
The Two-Bucket Mopping Method
Okay, with the floor prepped, it’s time to set up your mopping station. If you want a truly deep clean that doesn’t just spread grime from one corner to the other, the two-bucket system is a total game-changer. It’s a ridiculously simple concept that makes a massive difference.
- Bucket One (The Solution): This is where you’ll mix your warm water with a few drops of pH-neutral dish soap or a cup of apple cider vinegar. This is your clean, “active” solution.
- Bucket Two (The Rinse): This bucket is just for plain, clean water. Its only job is to rinse the dirt off your mop head before you dip it back into your cleaning solution.
This simple separation prevents you from contaminating your cleaning water. It completely avoids that common problem where, by the end of mopping, you’re just swishing dirty water across the floor.
The goal is to lift dirt off the floor and remove it entirely, not just relocate it. A two-bucket system is the single most effective way to ensure every pass of the mop is a cleaning pass, not a spreading one.
Perfecting Your Mopping Technique
You’ll want to start at the farthest corner of the room and work backward toward the door. This way, you aren’t walking all over your freshly cleaned, damp floors. I find it easiest to work in small, manageable sections, maybe about 4×4 feet at a time. This gives you more control and prevents water from sitting on any single area for too long.
Here’s a crucial detail: how wet your mop is. You need to wring it out until it’s just damp, not dripping wet. Excess water is the enemy of vinyl flooring. It can easily seep into the seams and edges of the planks, which could damage the subfloor or weaken the adhesive over time.
For any of those stubborn scuffs or sticky spots that don’t come up on the first pass, a soft nylon brush is your best friend. Just apply a little bit of your cleaning solution directly to the spot and scrub gently in a circular motion. This targeted approach is much safer than trying to scrub it out with the mop, which can damage the wear layer. By focusing on these smart techniques, you can learn more about how to keep vinyl floors looking new for years.
This visual guide breaks down the simple process for mixing a safe, effective DIY cleaner for your floors.

As you can see, a gentle dish soap solution is perfect for regular cleaning, a vinegar mix is great for a deeper clean, and harsh chemicals like ammonia should always be avoided.
7 Common Mopping Mistakes That Can Ruin Vinyl Floors
Knowing what to do is half the battle, but knowing what not to do is just as important when it comes to keeping your vinyl floors looking their best. So many well-intentioned cleaning habits can actually cause long-term damage, leading to dull finishes, peeling planks, and headaches you just don’t need.
Avoiding these common pitfalls is the real secret to a floor that looks brand new for years.
Mistake #1: Drowning Your Floors in Water
This is probably the biggest mistake I see homeowners make. It feels like more water equals a deeper clean, but with vinyl flooring, that’s a recipe for disaster.
All that excess water seeps into the seams between planks or tiles. Down here in Forsyth County, with our Georgia humidity, that trapped moisture can be a huge problem, weakening the glue and even damaging the subfloor underneath. Always wring your mop out thoroughly. It should be just damp, not sopping wet.
Mistake #2: Grabbing the Wrong Cleaner and Tools
It’s tempting to just grab whatever all-purpose cleaner is under the sink, but most of them are far too harsh for vinyl. They often contain chemicals that leave behind a sticky, dull film that actually attracts more dirt, making your floors look grimy faster.
The same goes for your tools. Never, ever use a scouring pad, steel wool, or a stiff-bristled brush on a stubborn spot. You might get the scuff out, but you’ll replace it with thousands of tiny scratches that permanently cloud the floor’s protective finish.
The most beautiful vinyl floors I’ve seen are the ones treated with a gentle hand. The damage rarely comes from one big accident; it’s the slow, steady wear from using the wrong products and techniques over and over again.
Mistake #3: Forgetting to Rinse Away the Soap
If you do use a soap-based cleaner (even a gentle one), you have to follow it up with a final pass using just clean water. Skipping this step is what leaves that dreaded streaky, hazy film behind once the floor dries.
Mistake #4: Turning Up the Heat with a Steam Mop
Steam mops are fantastic for certain types of flooring, but vinyl is not one of them. The combination of intense heat and high-pressure moisture is a triple threat. It can warp the planks, cause the edges to peel up, and destroy the adhesive holding everything together. Using one is one of the fastest ways to ruin your floor and will almost certainly void your warranty.
Mistake #5: Falling for “Mop and Shine” Products
Those all-in-one products that promise to clean and shine in a single step seem like a great shortcut, but they’re a long-term problem. They work by depositing a waxy layer that builds up over time, eventually turning yellow and cloudy. Stripping that gunk off is a massive chore you don’t want to deal with.
To make things simple, here’s a quick cheat sheet.
Vinyl Floor Care Do’s and Don’ts
Think of this table as your quick-glance guide before you start cleaning. Sticking to these simple rules will prevent almost every common vinyl flooring headache.
| Do | Don’t |
|---|---|
| Do use a microfiber mop that is only slightly damp. | Don’t use a string mop or saturate the floor with water. |
| Do choose a pH-neutral cleaner specifically for vinyl. | Don’t use bleach, ammonia, or all-purpose cleaners. |
| Do sweep or vacuum before mopping to remove grit. | Don’t use abrasive tools like scouring pads or steel wool. |
| Do rinse with clean water if you use a soap-based solution. | Don’t use “mop and shine” products that cause waxy buildup. |
| Do tackle spills and stains as soon as they happen. | Don’t ever use a steam mop—it can warp the planks. |
By simply sidestepping these common errors, you’re already ahead of the game. A gentle approach with the right tools is truly all it takes to protect your flooring investment for the long haul.
Got Questions About Vinyl Floor Care? We’ve Got Answers
Even with the best instructions, you’re bound to run into specific questions. Here are some of the most common things we hear from homeowners in Cumming, Milton, and the surrounding areas about keeping their vinyl floors looking brand new.
How Often Should I Really Be Mopping My Vinyl Floors?
Honestly, it all comes down to your household’s daily life. For those high-traffic zones—think the kitchen, the entryway where everyone drops their shoes, or the main hallway—a quick mop once a week is a solid plan. It keeps that everyday grime from getting tracked around and settling in.
Now, for the quieter spots like a guest room or formal dining area, you can easily stretch that to every two to four weeks. The real key to success isn’t just the mopping; it’s the daily sweep or vacuum. Getting that loose dirt and grit up before it gets ground in makes all the difference.
Can I Use My Steam Mop on Luxury Vinyl?
This question comes up all the time, and our answer is always a firm no. We strongly advise against using a steam mop on any kind of vinyl flooring, whether it’s luxury vinyl plank (LVP) or tile (LVT).
Why? The intense heat and moisture from a steam cleaner are a recipe for disaster. They can attack the adhesive that holds your planks or tiles in place, causing them to warp, peel, or separate at the seams. Using one is also a surefire way to void your flooring’s warranty. Stick with a simple, damp microfiber mop—it’s safer and works just as well.
What’s the Best Way to Get Rid of Scuff Marks?
Scuff marks from shoes are annoying but usually an easy fix. For minor scuffs, you’d be surprised what a clean tennis ball can do. Just rub it over the mark. A standard pencil eraser also works wonders, using gentle friction to lift the mark without damaging the floor’s protective layer.
If you’ve got a more stubborn mark on your hands, put a tiny dab of jojoba oil or mineral spirits on a clean, soft cloth and rub the spot gently. One quick tip: always test any new spot cleaner on a hidden area first, like under a rug or inside a closet. After you’ve lifted the scuff, wipe the area with your regular cleaning solution to remove any leftover residue.
A common culprit behind dull floors isn’t dirt—it’s the sticky, hazy film left behind by the wrong cleaners. If your floors have lost their luster, you’re probably seeing the buildup from harsh or soapy products. A simple “reset” is often all it takes to bring back the shine.
How Do I Restore the Shine to My Dull Vinyl Floors?
Dullness is almost always a sign of residue buildup from past cleanings. To cut through that film and get the original shine back, try mopping your floor with a simple solution of one cup of apple cider vinegar mixed into a gallon of hot water. The vinegar’s natural acidity does a fantastic job of dissolving the alkaline residue left by many popular floor cleaners.
After this “reset” cleaning, make it a habit to use a pH-neutral cleaner or stick with the diluted vinegar solution. This will prevent that dulling film from coming back. It’s also good to consider if moisture might be playing a role, as not all vinyl is the same. You can learn more by checking out our guide on whether vinyl plank is truly waterproof.
If you need personalized advice for your specific floors, or if you’re thinking about a beautiful, low-maintenance new floor for your home in the Cumming area, the team at Flacks Flooring is here to help. See what’s possible for your space by visiting us at https://flacksflooring.com.