
Upgrading the floors in your home is a big deal—it completely changes the look and feel of a space. This guide is designed to be your playbook, specifically for homeowners here in Cumming and the surrounding North Georgia communities. We’ll skip the generic advice and get right into the practical stuff you need to know.
We'll cover how to pick the right materials that can handle our local climate, what to ask a potential installer before you hire them, and how to get your home ready to avoid frustrating (and expensive) delays. Let's start by breaking down the key decisions you'll be making right from the get-go.
Why Professional Installation Matters
Tackling a flooring project yourself can be tempting, but this is one of those times where calling in a pro is almost always the right move. Flooring isn't just about laying down planks or rolling out carpet; it demands a level of precision that only comes with years of hands-on experience. A professional ensures the job is done correctly the first time, saving you from the headache of costly repairs down the road.
The real difference is in the details—the things most of us wouldn't even think about. An experienced installer knows exactly how to acclimate hardwood to handle North Georgia's humidity, and they know how to get a subfloor perfectly level for waterproof vinyl. That expertise is what guarantees your new floor won't just look amazing on day one, but will also perform beautifully for years to come.
The Foundation of a Successful Project
The demand for skilled flooring work is huge. The U.S. flooring installation industry is on track to hit a revenue of $31.7 billion in 2025, which just goes to show how much homeowners value quality craftsmanship. When you hire a professional, you're tapping into a deep well of industry knowledge. You can read more about the flooring installation industry's growth on ibisworld.com.
Here’s what that professional expertise really gets you:
- Guaranteed Quality: Pros come with the right tools and techniques to handle anything, from the tricky room layouts common in Johns Creek homes to the older, uneven subfloors we often see in Milton.
- Efficiency and Speed: An experienced crew works fast. They can get a project done in a fraction of the time it would take a weekend warrior, meaning less disruption for you and your family.
- Warranty Protection: This is a big one. Most flooring manufacturers will only honor their warranty if the material is installed by a certified professional. Hiring a pro protects your investment.
A flawless floor is more than just the material you see; it's the expert preparation and meticulous installation hidden beneath. A professional installer doesn't just lay down planks—they build a foundation for your home's comfort and value.
Making the Right Initial Choices
Before you even start getting quotes, there are a few big decisions you need to make. These early choices will set the tone for your entire project, influencing everything from your budget and timeline to the final look of your home. Getting clear on these things first helps you communicate your vision and sets realistic expectations from the start.
To help you get organized, here’s a quick breakdown of the major decision points you’ll encounter.
Key Decisions in Your Flooring Project
| Decision Point | Key Considerations | Impact on Project |
|---|---|---|
| Material Selection | Durability, maintenance, foot traffic, pets/kids, local climate (humidity) | The single biggest factor for budget, longevity, and overall aesthetic. |
| Scope of Work | Which rooms? Tearing out old floors? Installing new baseboards? | Directly affects the total cost, project duration, and level of disruption. |
| Budget Planning | Material costs, labor, subfloor prep, furniture moving, contingency fund | Determines the quality of materials you can afford and which installers are in range. |
| Hiring a Pro | Vetting installers, checking licenses/insurance, reading reviews, getting quotes | The right installer ensures a quality job, while the wrong one can cause major headaches. |
Thinking through these factors is the first real step toward a successful installation. It takes your project from a vague idea to an actionable plan, making every step that follows feel much more manageable.
Picking the Right Flooring for Your Home
Choosing the right material for your new floors is easily the most important decision you'll make in this entire process. It’s about more than just picking a color you like; it’s about finding a surface that fits your family's lifestyle and can handle the specific climate we have here in Forsyth County. The right floor will look fantastic for years, but the wrong one can mean dealing with warping, premature wear, and constant cleaning headaches.
It's a big decision, and it seems like more and more homeowners are focused on getting it right. The global flooring market was valued at a staggering $416.56 billion in 2024 and is expected to hit $646.70 billion by 2032. That growth is all about people wanting quality materials that add real value and function to their homes. You can dive deeper into these trends by exploring the full flooring market analysis from Fortune Business Insights.
This visual guide can help you start thinking through the key pieces of the puzzle: material choice, finding a good installer, and setting a realistic budget.
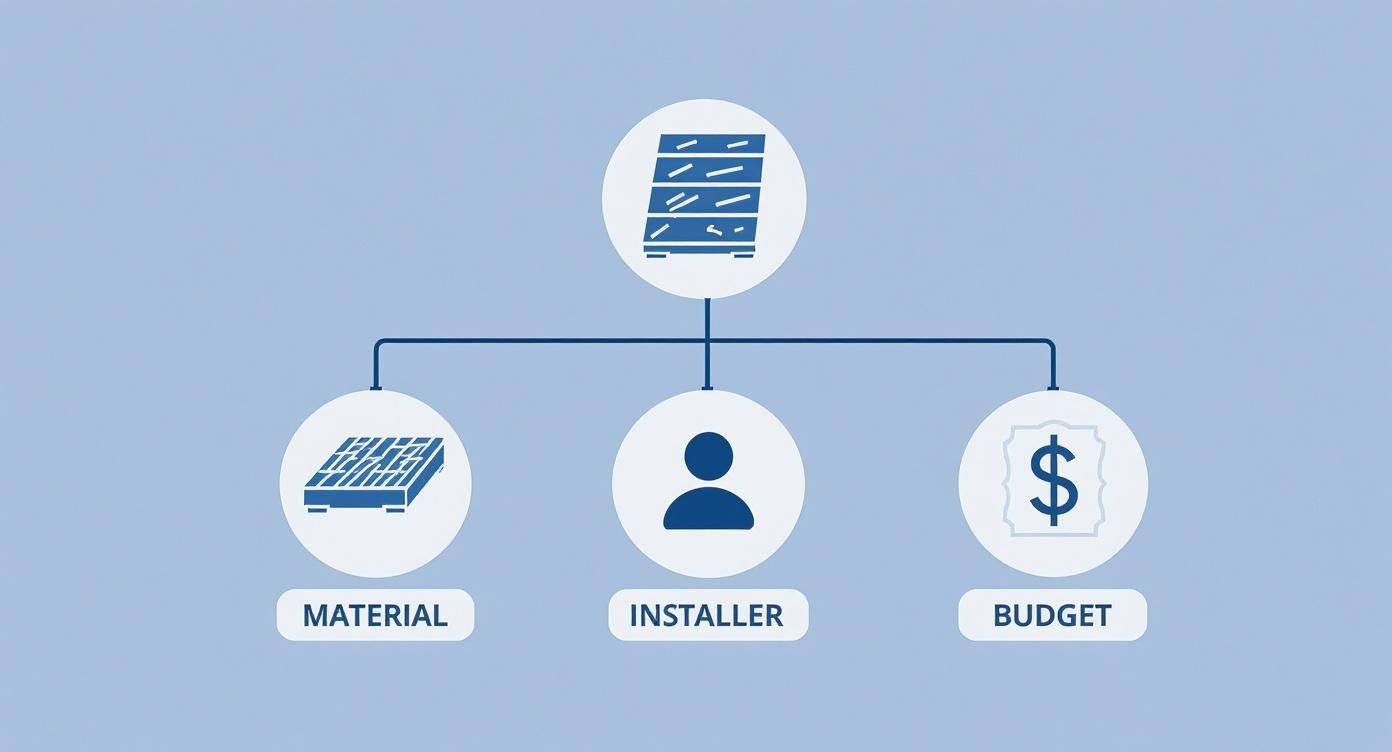
As you can see, a successful project really comes down to balancing these three things right from the start.
To help you compare the most popular options side-by-side, we've put together this quick reference table. It breaks down the pros and cons of hardwood, LVP, and carpet specifically for our local Georgia environment.
Comparing Flooring Materials for Georgia Homes
| Flooring Type | Best For… | Average Cost (Per Sq. Ft. Installed) | Maintenance Level | Pros & Cons |
|---|---|---|---|---|
| Hardwood | Living rooms, dining rooms, and areas where you want to add resale value. | $8 – $25 | Moderate | Pros: Timeless beauty, long lifespan, can be refinished. Cons: Susceptible to humidity, can scratch, higher initial cost. |
| LVP (Waterproof) | Kitchens, basements, bathrooms, and homes with kids or pets. | $5 – $12 | Low | Pros: 100% waterproof, highly durable, realistic wood/stone look. Cons: Cannot be refinished, quality varies significantly by brand. |
| Carpet | Bedrooms, family rooms, and playrooms where comfort is key. | $3 – $10 | Moderate | Pros: Soft and comfortable, sound-dampening, budget-friendly. Cons: Can trap allergens, susceptible to staining without proper treatment. |
Each material brings something different to the table. Your job is to figure out which one aligns best with your home, your family, and your budget.
Navigating Hardwood Flooring in Georgia's Climate
Nothing beats the classic look of hardwood. It brings a natural warmth to a space and is a proven way to boost your home’s resale value. But here in our region, you can’t just pick any hardwood—the humidity makes the choice between solid and engineered wood incredibly important.
- Solid Hardwood: This is the real deal, milled from a single, solid piece of wood. It's beautiful and can be sanded down and refinished over and over again. The downside? It expands and contracts with moisture, and our humid summers can cause it to gap or buckle if not installed perfectly.
- Engineered Hardwood: This is a smarter choice for our area. It has a real wood layer on top, but the core is made of stable plywood layers that resist moisture changes. We often recommend it for homes in Johns Creek and Milton because you get that authentic wood look without the stability issues.
I see it all the time—homeowners assuming all hardwood is the same. In our climate, engineered hardwood almost always wins for providing the best mix of beauty and long-term durability.
The Rise of Waterproof Flooring
For a busy house—especially one with kids and pets—waterproof flooring like Luxury Vinyl Plank (LVP) has been a total game-changer. It's the perfect solution for high-traffic areas, kitchens, laundry rooms, and basements.
LVP is designed to look just like real wood or stone, but it’s made from a tough composite material that is 100% waterproof. That means spills, muddy paws, or a leaky dishwasher won't cause the planks to swell up or peel apart. Its durability makes it one of the most practical and stylish options for a modern family. If you're weighing your options, our detailed guide offers more advice on how to choose the perfect flooring for your lifestyle.
Why Modern Carpet Is Still a Great Choice
Forget what you think you know about carpet. The technology has come a long way from the days of high-maintenance floors that stained if you even looked at them wrong. Today’s carpets offer incredible softness without making you sacrifice durability.
Many new carpets come with stain and soil resistance built right into the fibers, which makes them surprisingly easy to keep clean. New fiber technologies help them stand up to heavy foot traffic in living rooms while still feeling plush. For bedrooms and family spaces where you just want comfort, a high-quality carpet is still one of the best choices you can make.
Thinking Outside the Box with Other Surfaces
Sometimes the best solution is already under your feet. For basements, garages, or even some living spaces, transforming an existing concrete slab can create a unique, modern, and incredibly durable floor.
Learning how to paint concrete floors the right way can turn a boring, utilitarian space into a polished and stylish area. It’s a cost-effective alternative that proves you have options beyond the traditional choices. The key is simply matching the material’s strengths to your home’s specific needs.
Finding and Vetting the Best Local Installers
You can pick the most beautiful flooring in the world, but the final result rests entirely in the hands of the person installing it. I've seen it time and time again: a great installer can make even budget-friendly materials look like a million bucks, while a sloppy job can ruin the most expensive hardwood. This is where a little homework goes a long way.
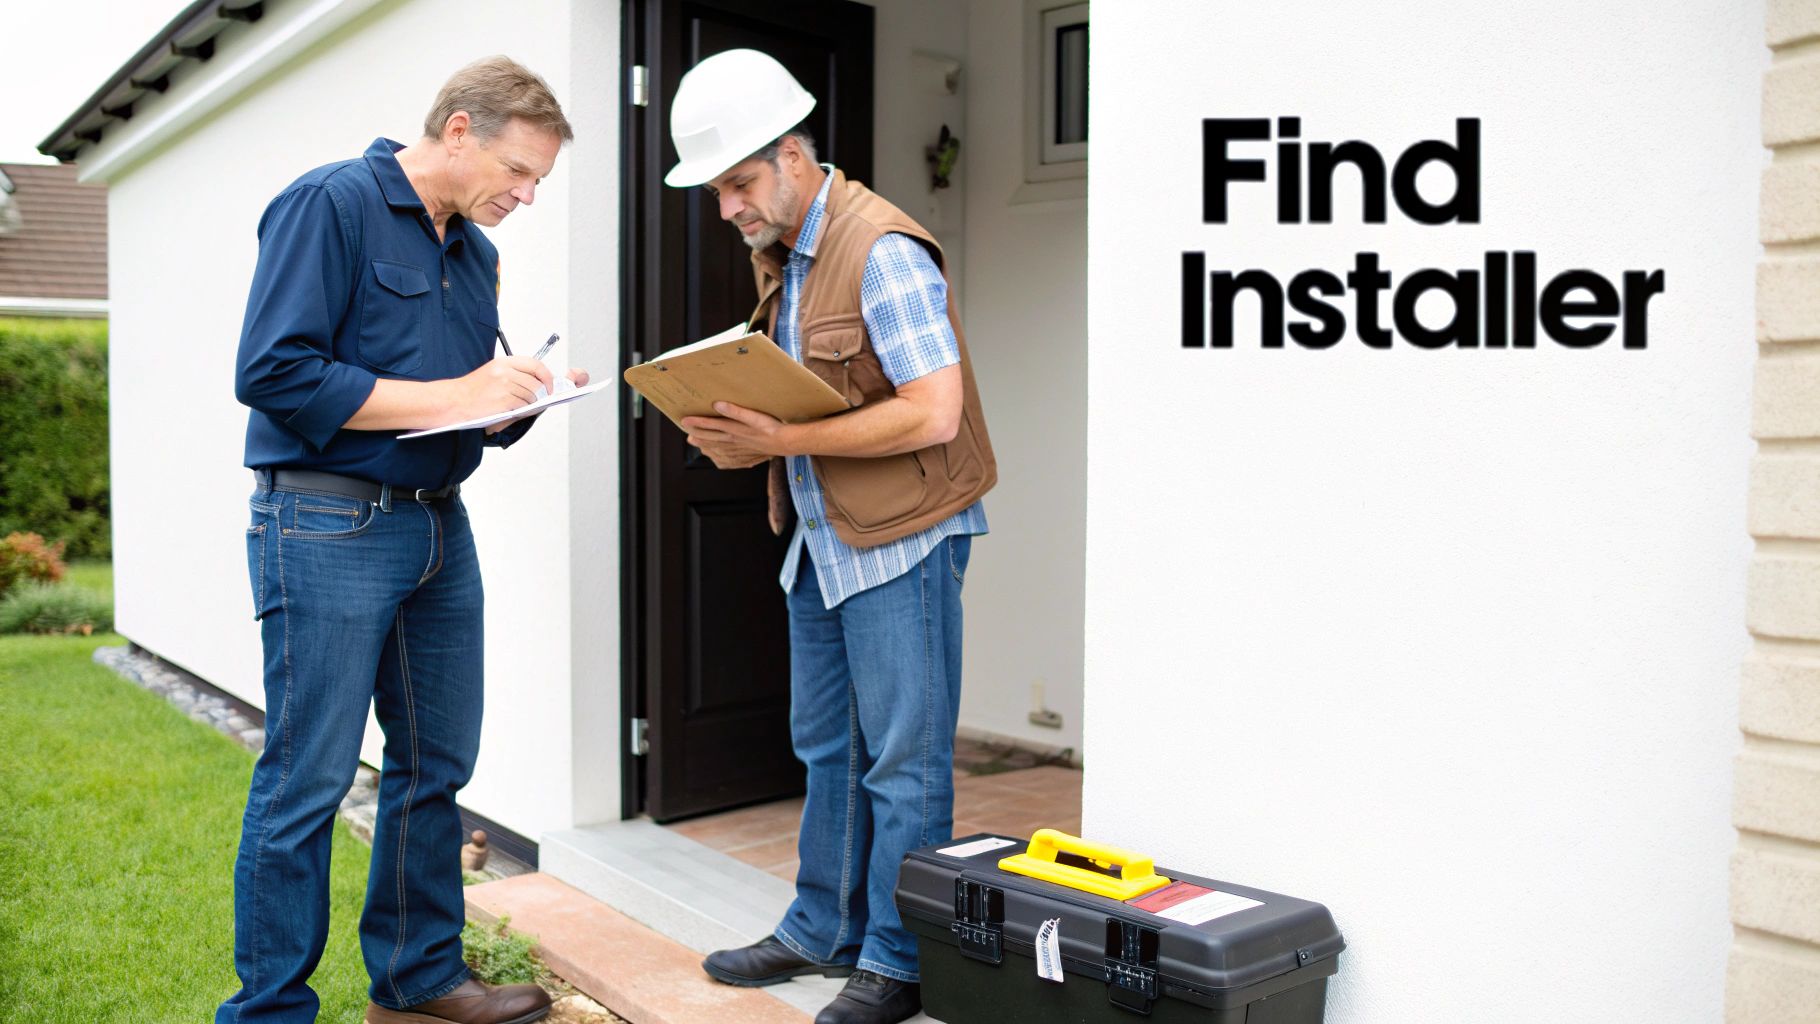
Finding a top-notch contractor in the Cumming area is more than just a quick online search. It's about knowing what to look for—and what to look out for—to ensure you’re hiring a real pro who will stand behind their work. It means digging deeper than just the price tag.
Confirming Credentials and Insurance
Before you get into the nitty-gritty of your project, there are a couple of non-negotiables. Any legitimate flooring contractor in Georgia must have both liability insurance and workers' compensation. This isn't just red tape; it's your safety net.
If an uninsured worker gets hurt on your property, you could be on the hook. If they accidentally crack a wall or damage a pipe, their liability insurance is what pays for the repairs, not your homeowner's policy. Don't just take their word for it. Ask to see the actual certificates and make sure they're not expired.
A true professional will have their insurance documents ready and will never hesitate to show you. If a contractor gets defensive or evasive about their credentials, that’s your cue to walk away.
Checking References the Right Way
Anyone can give you a list of happy customers. The real insights come from asking the right questions. Forget the generic "were you satisfied?" and dig into the actual experience.
Try asking past clients a few of these:
- How was the communication? Did the crew show up when they said they would? Did the project lead keep you in the loop about progress or problems?
- What was the job site like? Did they make an effort to control dust? Did they clean up after themselves at the end of each day?
- How did they handle the unexpected? If they discovered a subfloor issue, how did they explain the problem and present a solution?
- How does the floor look now? Months or even a year later, have any problems popped up—like squeaks, gaps, or loose boards?
These kinds of questions paint a much clearer picture of what it’s actually like to have that crew in your home.
How to Compare Quotes and Spot Red Flags
Getting at least three quotes is smart, but you have to compare them carefully. Remember, the cheapest bid is rarely the best value. A professional, trustworthy quote will be detailed and transparent, breaking down every cost.
Here's what a good estimate should include:
- Itemized Materials: A clear list of the flooring, underlayment, and any trim or transition pieces.
- Labor Costs: A specific charge for tearing out the old floor and installing the new one.
- Extra Services: Separate line items for things like moving furniture, subfloor prep, or hauling away the old materials.
- Clear Timeline: A realistic estimate for the start and finish dates.
Be very skeptical of a quote that’s just a single, round number. This is often a tactic to hide fuzzy math and spring surprise charges on you later. Make sure every quote covers the exact same scope of work so you’re truly comparing apples to apples. For a better feel of what to expect, checking out a list of top-rated local flooring companies near you can show you what a professional bid looks like.
By taking the time to properly vet your installer, you can hire with confidence, knowing your investment is in good hands and the final result will be something you love for years.
Getting Your Home Ready for Installation Day
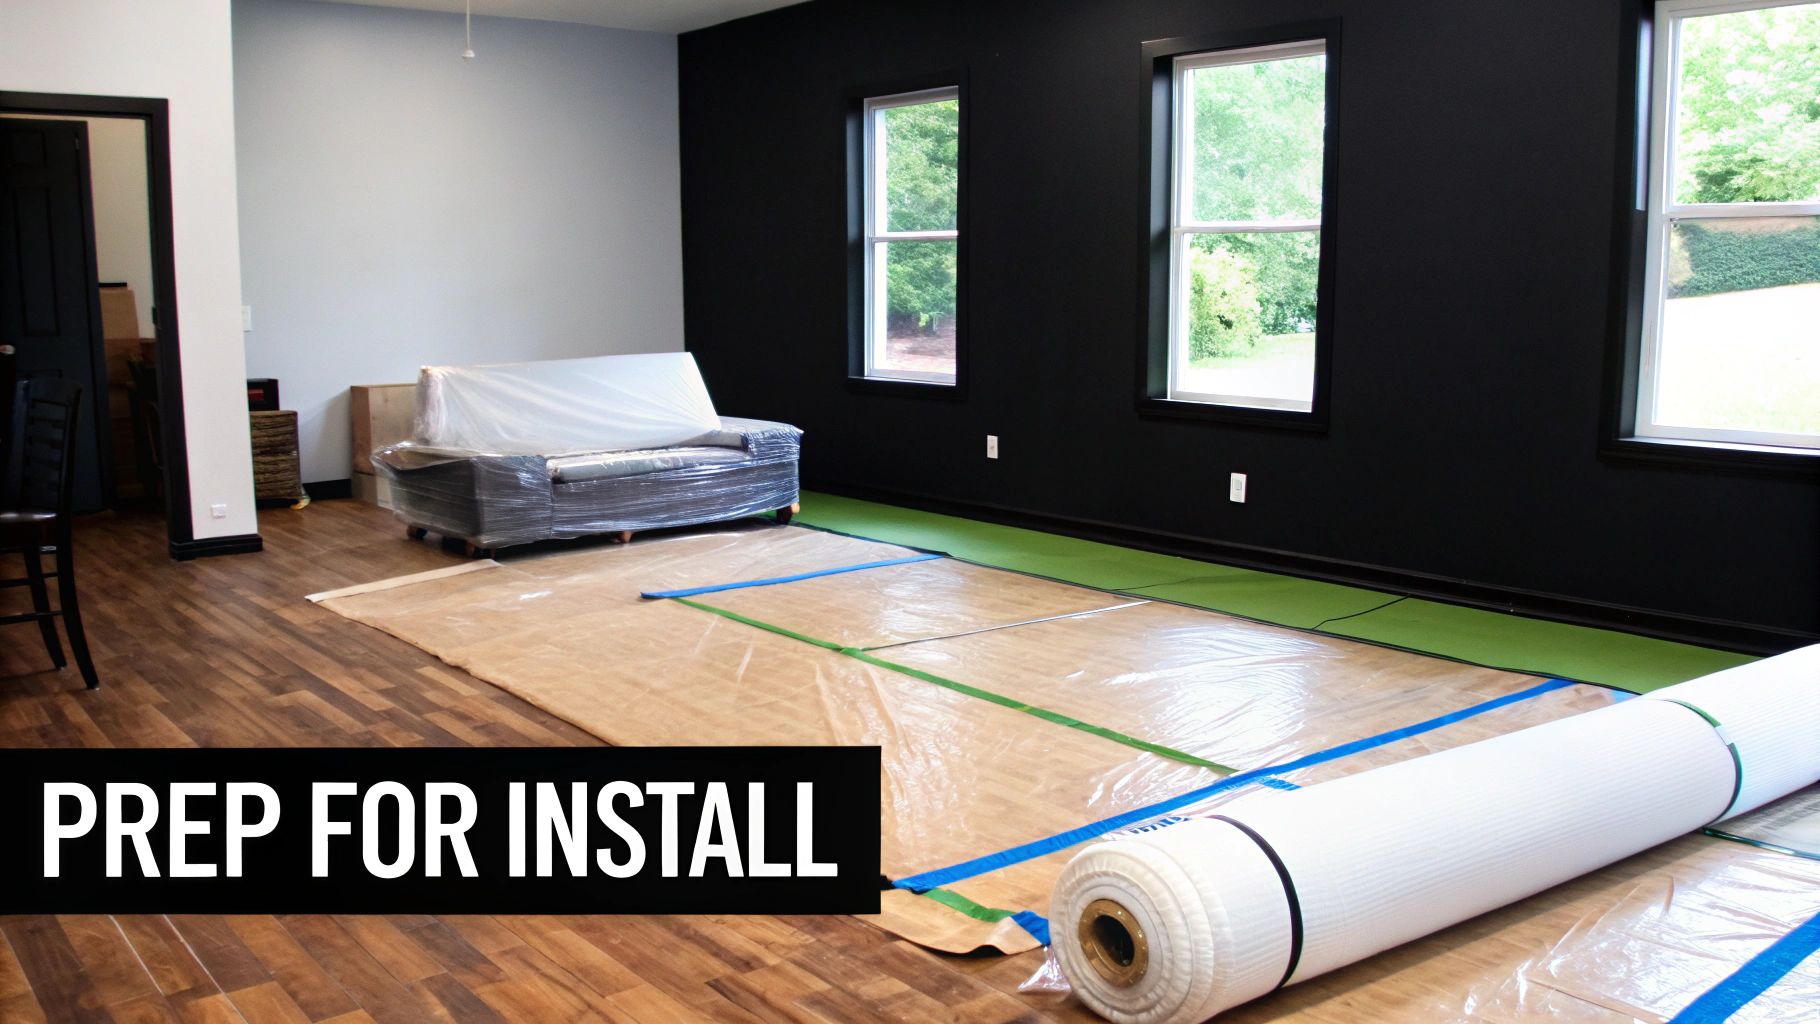
So, you've picked your dream floors and hired a great crew. Now comes the part that a lot of people overlook: getting your house prepped for the big day. Taking the time to do this right is the secret to a smooth, efficient, and headache-free professional floor installation. It lets the installers hit the ground running, protects your stuff, and keeps the whole project on schedule.
Think of it as setting the stage. When your crew walks into a clean, ready-to-go space, they can focus 100% on their craft—not on clearing obstacles. A little bit of effort on your part now will pay off big time by cutting down on disruptions and helping the job wrap up faster.
Clear the Decks Completely
This is non-negotiable. The rooms getting new flooring need to be completely empty. That means all furniture, rugs, plants, electronics—everything. While some installation companies offer furniture moving as an add-on service, you’ll always be responsible for handling the smaller, personal items yourself.
- Big Stuff: Get couches, beds, tables, and dressers into another room, the garage, or even a covered patio.
- Small Stuff: Don't forget to clear bookshelves, take down wall art, and empty out closets if they're part of the job.
- Electronics: Unplug and move all your TVs, computers, and sound systems. Pro tip: label the cables before you disconnect them. It'll save you a huge headache when you're hooking everything back up.
If you’re tight on space, renting a small, local storage unit can be a real lifesaver. In fact, many people find it's a secret weapon for home renovations and remodelling projects.
Deal With the Old Flooring
Check your contract to see who’s responsible for tearing out the old floors. If you decided to handle the demo yourself to save a little money, make sure it’s completely done before the crew shows up. Ripping out old carpet, for instance, isn't just about pulling it up; you've got to deal with all the tack strips and staples, too. We have a full guide on how to remove old carpet that walks you through every step.
If your installers are handling the removal, just give them a quick confirmation. They’ll have the right equipment to get it done fast.
Get the Climate Right
This is especially critical if you're installing hardwood. Wood is a natural material, and it needs to get used to your home’s specific environment to prevent problems like warping or gapping down the road.
You'll want to maintain a steady indoor temperature and humidity for at least 48-72 hours before installation day. Your installer can give you the exact temperature range, but consistency is what really matters here.
This gives the wood planks time to expand or contract to match the conditions inside your home before they get fastened down. It’s a crucial step for ensuring a tight, stable floor that lasts a lifetime and a true mark of a professional installation.
Prepare for Dust and Debris
Let's be honest: flooring installation gets messy, especially during tear-out. A good crew will do their best to contain it, but there are a few things you can do to help protect your home.
- Seal Off Doorways: Use plastic sheeting and painter’s tape to cover the entrances to adjacent rooms. It really helps keep the dust from migrating everywhere.
- Cover Furniture: Even in nearby rooms, throw old sheets or plastic over sofas and chairs.
- Make a Clear Path: Make sure there’s an unobstructed path from your front door to the work area. This keeps everyone safe and makes it easier for the crew to bring in tools and materials.
Homeowners are increasingly looking for this level of quality and expertise. It's no surprise the global flooring installation services market, valued at $35.28 billion in 2024, is expected to climb to $47.83 billion by 2029.
Keep Kids and Pets Out of the Way
For everyone’s safety, it’s best to keep children and pets far away from the work zone. The noise, dust, and tools can create a hazardous environment. Make a plan to keep your pets in a separate, closed-off room, in a crate, or maybe even at a friend's house for the day. It's a simple move that prevents accidents and lets the installers focus completely on their work.
Getting a Handle on Project Costs and Timelines
One of the best things you can do for a smooth, stress-free flooring project is to set realistic expectations for your budget and schedule right from the start. Knowing what actually drives the final price and how long the job will take helps you have productive conversations with installers and avoid those nasty surprises later on.
Every job is different, of course. But the key factors that shape your cost and timeline are pretty universal. A little bit of knowledge here goes a long way in making sure the whole process, from the first estimate to the final walkthrough, is a good one.
What a Typical Flooring Timeline Looks Like
How long will your house be a construction zone? It really depends on the scope of the work. Tossing new carpet into a single, empty bedroom might only take a few hours. On the other hand, putting down 1,200 square feet of new hardwood across your main floor is a multi-day affair.
For a standard project, say around 1,000 sq. ft., here’s a rough idea of the play-by-play:
- Day 1: Demo and Prep. The crew shows up, tears out the old flooring, and gets a good look at the subfloor. This is the moment of truth, where any hidden problems reveal themselves.
- Day 2: Subfloor Work & Acclimation. If the subfloor needs attention—leveling out a low spot, replacing a rotted panel—this is when it gets done. For materials like solid hardwood, this day is often used to let the new planks acclimate to your home's humidity levels. Don't skip this step!
- Days 3-4: Installation. This is the fun part. The new floor goes down, and you finally get to see your vision start taking shape.
- Day 5: The Finishing Touches. The team will install the baseboards and any transition strips between rooms, then do a final cleanup.
Keep in mind, this timeline is just a guide. If you've got a funky room layout with a lot of weird angles and cuts, or if the crew uncovers major subfloor damage, that's going to add time to the job. It's just part of the process.
Understanding What's in Your Quote
A good, detailed quote from a pro should be completely transparent, breaking down every single charge. It's crucial to know what’s included in the base price versus what might be considered an "extra" service. This simple step can prevent a lot of arguments about the final bill.
A standard quote will almost always cover:
- Cost of Materials: The price per square foot for the flooring you chose, plus any necessary underlayment or adhesives.
- Standard Labor: The basic cost for the crew to install the new floor in a prepped, ready-to-go space.
- Waste and Disposal: Fees for hauling away your old flooring and any other project debris.
A vague quote with just one big number is a major red flag. A true professional will have no problem itemizing the costs to show you exactly where your money is going. If they push back, walk away.
Common "Extras" to Budget For
Beyond the basics, there are a few common services that are almost always billed as separate line items. It’s smart to talk about these upfront so you can build them into your budget from the get-go.
Plan on seeing potential charges for:
- Moving Furniture: Some people save a few bucks by moving everything themselves, but most installation crews offer this service for an extra fee. It's usually priced per room or by the hour.
- Tear-Out of Old Flooring: The labor to pull up and get rid of existing carpet, tile, or old hardwood is almost always its own separate charge.
- Subfloor Repairs: This is the biggest wild card in any flooring project. If the crew pulls up the old floor and finds a cracked, uneven, or water-damaged subfloor, it has to be fixed before the new floor can go in. This will trigger a "change order" with added costs for both labor and materials.
- Complex Installation: Want a herringbone pattern? Intricate tile design? Doing stairs? These all require more skill and take much more time, and your labor cost will definitely reflect that.
Thinking about these potential costs early on lets you create a realistic budget that includes a healthy contingency fund—I always recommend 10-15% of the total project cost—to handle anything unexpected without breaking a sweat. This kind of preparation is the secret to a successful flooring transformation.
What to Do After the Installers Leave
So, the installation crew has packed up, and your stunning new floors are finally in. It's a great feeling, but the job isn't quite done yet. What you do in the first few days—and weeks—is crucial for making sure that beautiful floor stays beautiful for the long haul.
The first thing to get straight is your warranty. It's easy to get this mixed up, but you actually have two different warranties working for you. There’s the manufacturer’s warranty, which covers defects in the actual flooring material. Think issues like the finish peeling or a plank delaminating. Then there's the installer’s labor warranty, which covers the quality of the work itself—things like a seam popping or a board coming loose. Knowing who covers what will save you a major headache if a problem ever pops up down the road.
The First 72 Hours: Your New Floor Care Checklist
Your new floors need a little time to settle in and cure properly. While every material has its own quirks, a few universal rules will give your investment the best possible start.
- Don't Mop Yet: Resist the urge to wet mop new hardwood or waterproof flooring for at least 48-72 hours. This gives any adhesives time to fully set without moisture getting in the way.
- Let It Breathe: Hold off on laying down area rugs for a week or two, especially on hardwood. The finish needs time to cure completely with full air exposure.
- Go Easy on Foot Traffic: You can walk on the floors almost immediately, but it's a good idea to keep heavy traffic, kids, and pets off them as much as possible for the first 24 hours.
Your installer should give you a set of care instructions specific to the material you chose. Treat this like the owner's manual for your floor. Following it is the best way to protect your investment and keep both your material and labor warranties intact.
Long-Term Care for Your Specific Floor
Maintaining your floor for years to come is all about using the right stuff. This is one area where you don't want to experiment—using the wrong cleaner can strip the finish, cause permanent damage, and potentially void your warranty.
For hardwood and LVP, you need a pH-neutral cleaner made specifically for that type of floor. I can't stress this enough: never use products like vinegar, ammonia, or generic all-purpose cleaners. They're too acidic and will slowly eat away at the protective finish, leaving it dull and vulnerable. A good microfiber mop is all you need for day-to-day cleaning.
With today's carpets, a quality vacuum is your best friend. Regular vacuuming prevents dirt from getting ground deep into the fibers. When a spill happens, blot it immediately with a clean, dry cloth. Whatever you do, don't rub it. Rubbing just works the stain in deeper.
The 3 Rules for Preventing Scratches and Dents
Cleaning is one thing, but preventing physical damage is another. These three habits are non-negotiable if you want to keep your floors looking new.
- Get Felt Pads for Everything. Put them on the bottom of every piece of furniture—sofas, tables, dressers, and especially kitchen chairs. Check them every year or so and replace any that are worn out.
- Lift, Never Drag. This is probably the #1 cause of deep, ugly scratches. When you need to move a piece of furniture, get help and lift it completely off the floor.
- Defend Your Entryways. A high-quality doormat at every entrance is your first line of defense. It traps the sand, grit, and moisture that act like sandpaper on your floors. This simple step makes a massive difference.
Frequently Asked Questions About Floor Installation
When you're getting ready for a new floor installation, it’s natural to have a few questions. Knowing what to expect ahead of time can make the whole process feel smoother and less stressful. We've been helping homeowners in the Cumming area for years, and a few key questions always come up.
How Long Will This Actually Take?
This is probably the number one question we get, and the answer really depends on the scope of your project. If you're just carpeting a single bedroom, we can often be in and out in just a few hours.
For bigger jobs, like putting down 1,000 square feet of new hardwood or LVP, you should plan on it taking anywhere from 2 to 4 days. That timeframe gives us enough room for the important stuff: tearing out the old floor, properly prepping the subfloor, and getting the new installation just right.
What Do I Do With All My Furniture?
Moving furniture is always a big consideration. Most installation crews, including ours, can handle the heavy lifting for an added fee, which should be clearly spelled out in your estimate. If you're looking to save a bit of money, moving the furniture yourself is a great option.
Either way, you’ll need to clear the room of all smaller items before the team arrives. This includes things like:
- Lamps and decorative pieces
- Electronics and cables
- Photos, books, and personal belongings
What If You Find a Problem With My Subfloor?
This is a valid concern, and it's something a professional crew is always prepared for. Sometimes, after we pull up the old carpet or tile, we find underlying issues like water damage, rot, or a subfloor that's seriously uneven.
If we uncover a significant problem, we don't just cover it up. We stop work immediately, show you exactly what's going on, and explain the best way to fix it. We'll then provide a clear change order detailing any extra costs or time needed to make it right.
A solid, level subfloor is absolutely critical for a floor that looks great and lasts for decades. Taking care of these hidden issues is the difference between a good job and a great one, protecting your investment from the ground up.
Ready to transform your home with beautiful, professionally installed floors? The team at Flacks Flooring has the experience to guide you through every step. Visit us online to schedule your free in-home consultation today!