
Choosing the longest warranty isn't the best way to protect a new floor. A lengthy promise on the sample board can still leave you paying to remove damaged flooring, correct the subfloor, and reinstall the replacement material. The useful questions are who pays when something fails and what records prove the floor was installed correctly.
Whether you're comparing flooring in Cumming, Johns Creek, or Milton, judge a flooring installation warranty alongside the installation quote. The paperwork should explain responsibility just as clearly as the showroom sample explains color and texture.
Who Pays When Flooring Fails
The manufacturer's warranty covers the product itself. The installer's warranty covers the workmanship used to put it down. Neither promise automatically fills the gaps in the other, so a long product warranty doesn't necessarily include replacement labor.
The Federal Trade Commission's warranty guidance explains the framework established by the Magnuson-Moss Warranty Act of 1975: written consumer-product warranties must identify themselves as full or limited, present coverage clearly in a single document, and be available before purchase, with pre-sale availability rules applying to warranted products costing more than $15, whether purchased in-store, online, or by mail. A workmanship-only service promise generally falls outside that framework, while an agreement covering both supplied flooring and installation may fall within it.
Who covers which flooring failure
Use this table as a starting point, not a substitute for the actual contract. Coverage requires an eligible failure, and the cause must be established before anyone can promise payment.
| Failure | Manufacturer warranty | Installer warranty | Contact first |
|---|---|---|---|
| Defective plank, tile or sheet | Covered for the product | Not covered as a product defect | Manufacturer, through the distributor |
| Visible seams, gaps or uneven transitions | Usually excluded as installation defects | Covered for correction labor when caused by workmanship | Installer |
| Loose or misaligned trim | Usually excluded | Covered for correction labor when caused by workmanship | Installer |
| Subfloor or moisture damage | Usually excluded | Only potentially covered with documented pre-installation tests and contractual responsibility | Installer and property owner, per contract |
| Removal and reinstall labor | Usually not covered | Only if expressly included in the contract | Confirm in writing before work starts |
| Furniture moving | Not covered | Only if expressly included in the contract | Confirm in writing before work starts |
A defective plank usually starts a manufacturer claim through the distributor. Visible seams, gaps, uneven transitions, and loose trim start with the installer, although inspection may reveal a different underlying cause.
Subfloor and moisture damage are the gray zone. Testing records establish what the installer accepted, but they don't create unconditional coverage. The contract must also identify who was responsible for corrective preparation.
Follow the money beyond replacement material
Say a plank separates, the surrounding floor lacks adequate expansion space, and the substrate underneath is damp. That can involve separate questions about the product, workmanship, and building conditions. A retailer's installation warranty might fund correction labor while the manufacturer supplies only eligible replacement material.
The FTC's contractor-hiring guide recommends getting warranty details and the responsible party's name and address, and putting warranty requests in writing. Ask specifically about demolition, disposal, reinstall labor, and furniture handling rather than assuming replacement includes them.
For another plain-language comparison, Home Pro's Remodeling & Repairs helps homeowners compare installation and manufacturer warranties. When reviewing professional floor installation, keep the installation scope beside both warranty documents.
Before signing, write the responsible party beside every row, including costs neither party accepts.
How Long Installation Warranties Last
There isn't a universal flooring installation warranty period. The product and labor commitments can run on different clocks, and the duration that matters is the one written into your agreement.
For a worked example, suppose a hardwood product warranty promises coverage for years beyond the installer's labor commitment. If a covered material defect appears after workmanship coverage ends, the product remedy may remain available while the labor bill belongs to you. Don't combine those promises into a single coverage period.
Read beyond the headline duration
The federal warranty interpretations distinguish consumer-product coverage from service-only commitments. For the homeowner, that means reading each document independently rather than treating the sales receipt as a complete explanation.
- Start date: Identify whether coverage begins at purchase, delivery, installation, or another defined event.
- Lifetime definition: Check whose lifetime applies and whether protection is limited to the original purchaser.
- Property use: Confirm whether residential terms change when the space has commercial use.
- Proration: Determine whether the available remedy decreases as the floor ages.
- Transfer: Read whether coverage follows the home, ends on sale, or requires registration or transfer paperwork.
Practical rule: Record the coverage end date and the defect-reporting deadline separately. They aren't necessarily the same date.
A warranty can remain active while requiring prompt notice after you discover a problem. Waiting to see whether a gap gets worse can therefore create a reporting dispute even when the overall coverage period hasn't ended.
At signing, create a simple calendar entry for each warranty's start date, registration requirement, and notice deadline. Save the version of the warranty that applied to your purchase, not just a bookmark to a manufacturer's changing website. If you're preparing a home for sale in Forsyth County or North Fulton, resolve transfer requirements before presenting warranty protection as a benefit to the buyer.
Moisture Records That Keep Your Coverage Valid
For hardwood flooring installation, a useful working benchmark is a flooring-to-subfloor moisture difference of about 4 percentage points for narrower boards and 2 percentage points for wider boards, according to the NWFA installation guidelines. The applicable product requirements still control acceptance.
Wood flooring and the subfloor both need testing using the applicable method. Moisture differences can contribute to cupping, crowning, buckling, finish cracking, and adhesive failure, with wider boards more sensitive to dimensional movement.
Moisture checks to request in writing
| Check | Where it applies | Reference value | Record to keep |
|---|---|---|---|
| Moisture difference, flooring vs subfloor | Solid and engineered wood | Narrower- and wider-board benchmarks stated above; product instructions control | Test method, readings, locations, temperature, relative humidity |
| In-slab relative humidity, ASTM F2170 | Concrete slab | Often 75–80% RH, subject to the product limit, as discussed in TEC's moisture guidance, which also describes emission limits often around 3 lb per 1,000 sq ft per 24 hours | Probe locations, dates and results |
| Moisture vapor emission, ASTM F1869 | Concrete slab | The emission benchmark stated above; product limit controls | Test report and substrate preparation details |
| Handheld meter reading | Substrate screening with a suitable meter | Preliminary screening, not final concrete acceptance | Logged as preliminary |
An in-slab relative-humidity probe measures conditions inside concrete. A calcium-chloride test measures moisture vapor emission at the surface. A handheld meter is useful for locating suspect areas, but a reassuring screen reading doesn't replace the quantitative test required by the flooring and adhesive system.
Use this explanation of how to test concrete for moisture to prepare questions before installation day.
Demand the actual moisture report, not simply a checked box saying the floor was dry.
Keep test locations, dates, readings, temperature, relative humidity, and any mitigation system with the installation paperwork. Include hardwood acclimation records and photographs of the prepared substrate.
Before signing completion documents, confirm whether moisture mitigation, patching, leveling, or substrate replacement was included. Testing identifies an unacceptable condition; it doesn't establish who agreed to pay to correct it.
Exclusions That Most Often Void a Claim
Waterproof flooring doesn't mean every water-related loss is covered. A product's resistance to water and the warranty's treatment of damage are different questions. The Bruce warranty document illustrates why installation conditions, moisture requirements, and exclusions deserve attention alongside the advertised product benefit.
Consider a drink spilled on a finished floor and cleaned up promptly. Compare that with water wicking upward from a damp crawl space or moving through a basement slab. Those situations expose different parts of the flooring assembly to different conditions, so they shouldn't be treated as interchangeable warranty events.
Match exclusions to your home
Read for these specific exclusions rather than stopping at the waterproof label:
- Water sources: Flooding, plumbing leaks, moisture from below, vapor pressure, and excessive humidity.
- Building movement: Structural movement or substrate conditions outside the flooring system's requirements.
- Use and maintenance: Pet damage, unsuitable cleaning methods, and neglected spills.
- Repairs and secondary damage: Unauthorized alterations and mold associated with an unresolved moisture source.
When an excess-moisture exclusion applies, a failure that looks like a defective plank may instead be classified as a site-condition problem. Replacing the plank without correcting the source leaves the underlying risk in place.
For waterproof flooring for basements, ask about the slab and drainage conditions before choosing a color. Homes in North Metro Atlanta with basements, crawl spaces, or seasonal indoor humidity changes deserve a room-specific review, not a blanket assurance.
Pet-friendly isn't damage-proof
If you're comparing the best flooring for pets or scratch-resistant flooring for dogs, separate cleanability, traction, scratch resistance, and warranty coverage. A pet-friendly floor can make daily maintenance easier without promising payment for claw marks or urine damage.
The same discipline applies to laminate flooring and luxury vinyl plank flooring. Ask what event is covered, what evidence is required, and what maintenance the document expects. Test each exclusion against your household's actual conditions, then obtain the wording in writing before buying.
Carpet and Tile Installs Need Their Own Terms
Carpet failures rarely start with the fiber. They start with what is trapped under it and who agreed to check it. New carpet systems, including adhesives and cushion, can release volatile organic compounds after installation. Plan ventilation with the installer and air out the room before it is fully occupied.
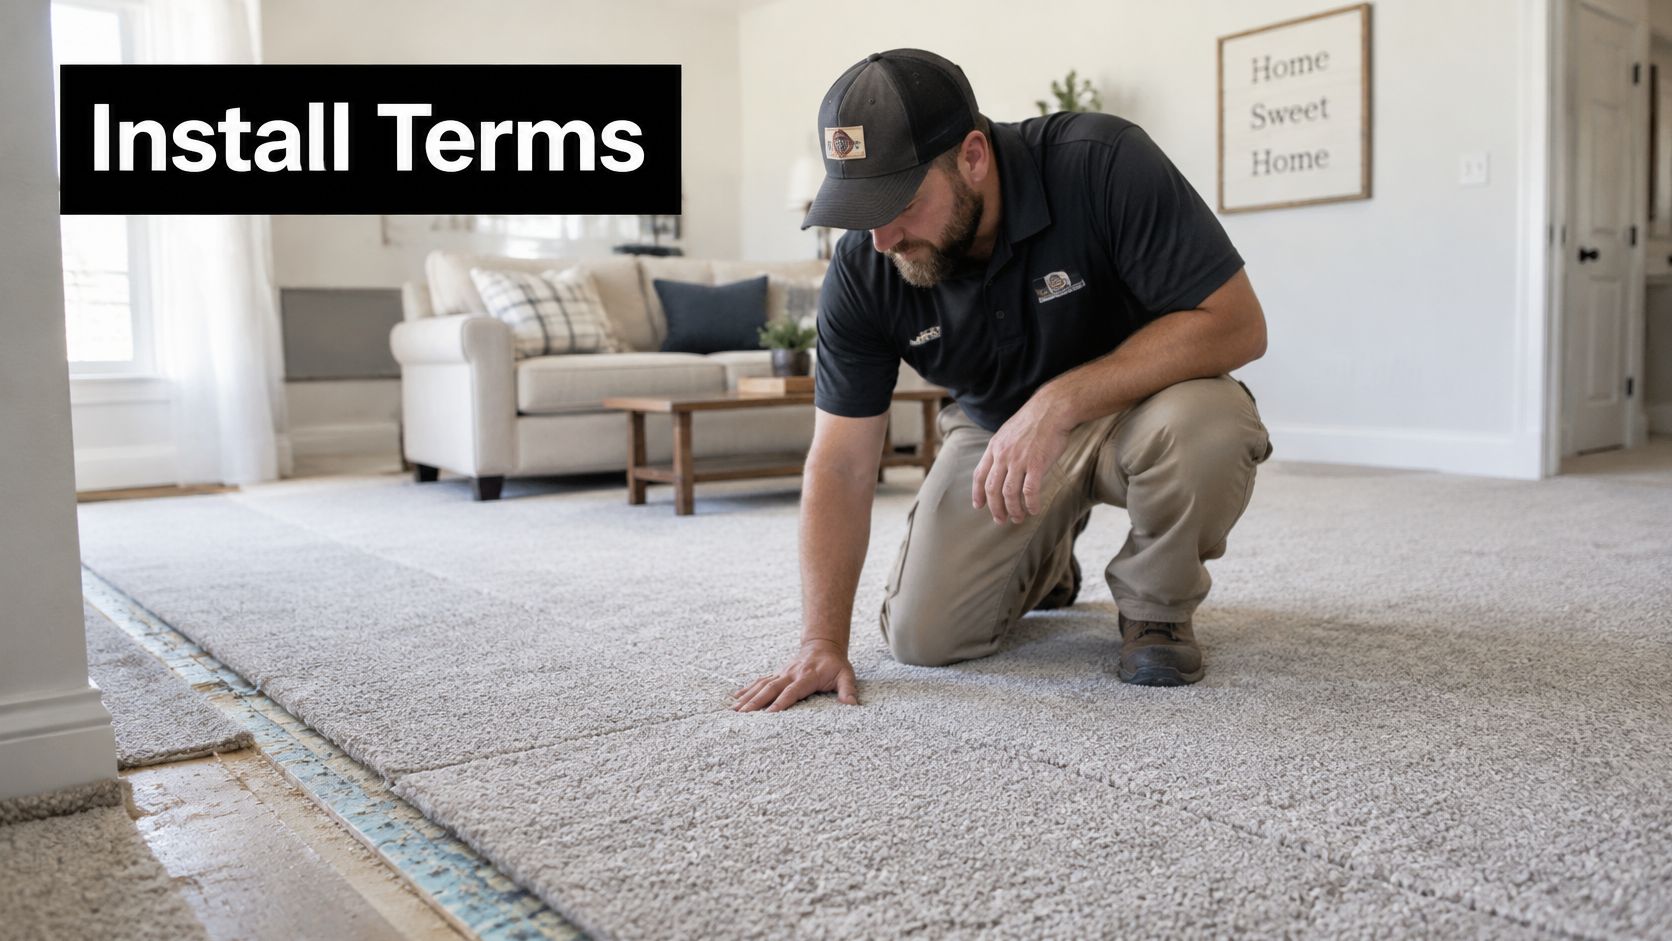
Carpet preparation belongs on the schedule
Before carpet goes over concrete, the slab must be sufficiently cured and dry. Trapped moisture can support mold growth under cushion and adhesive, and that shifts the cost from a manufacturing defect to a site condition. Get the check in writing.
- Verify the slab: Request confirmation that concrete conditions satisfy the carpet system requirements before stretch and seam work begins.
- Control adhesive use: Specify the amount required by the product instructions. Extra adhesive does not fix a damp or uneven slab.
- Plan ventilation: Arrange the air out period before you set the move back date.
For carpet installation versus replacement, also clarify removal, cushion selection, seam placement, and doorway transitions in the quote. A replacement carries old adhesive, tack strip wear, and subfloor patches that a new construction install does not. If those items stay vague, you pay for them later as extras with no coverage.
Tile needs room to move
Tile and its substrate expand and contract at different rates. The International Masonry Institute's tile construction guidance explains movement accommodation, including joints at substrate changes, changes of plane, restraining surfaces, and relevant joints in the substrate.
Those joints must continue through the assembly rather than being bridged with tile or grout. In a small room, a perimeter gap concealed beneath baseboard or shoe molding may provide the necessary accommodation.
For tile and stone quotes, ask the installer to show the joint layout, including where flexible joints replace rigid grout. Pattern choice does not restrain movement. An attractive layout over a locked assembly still cracks, and the repair falls to the homeowner when the joint detail was missing from the agreed scope. Get the proposed layout into the quote before approving the installation.
Confirm the Warranty Terms Before You Sign
Years on paper mean little until you know who pays for what. A useful warranty answers that split in plain terms. Put these questions beside the quote and leave no line blank.
The start date matters more than the length. Ask when coverage begins, when it ends, and what deadline applies for reporting a defect. Then ask what the remedy is: repair, replacement, or refund. Get the labor terms in writing too. Who pays for tear-out, reinstall labor, and furniture moving often decides whether a claim is worth filing.
Responsible party: Who honors the warranty, and what is their mailing address?
Timing: When does coverage begin and end, and what is the defect-reporting deadline?
Remedy: Is the promised outcome repair, replacement, or refund?
Labor and handling: Who pays for removal, reinstall labor, and furniture moving?
Exclusions: Which conditions in your home could prevent coverage?
Evidence: Which receipts, test reports, photographs, and maintenance records are required?
Transfer: What happens if the property is sold?
Compare the complete installed scope
When comparing the cost to install hardwood or LVP, judge the entire job rather than the material price alone. A low material price leaves you exposed if preparation or finishing work is missing from the scope. Apply the same test to factory-direct pricing claims. Compare the final installed scope, not the advertised discount.
At Flacks Flooring, quoted flooring prices are all-inclusive. They include site preparation, a choice of underlayment, installation according to manufacturer specifications, install of necessary trim on floorboards, and full site cleanup and furniture placement to your liking. The in-home process also presents pricing and financing options.
An all-inclusive quote still does not promise that every future repair cost is covered. Keep the purchase scope and the warranty remedy distinct. One describes what you bought. The other describes what happens if it fails.
Use the home visit to resolve uncertainties
Our same flooring specialist brings samples to the pre-install visit, takes precise measurements, and then issues a custom quote. Use that visit to pin down subfloor questions and request documentation of relevant moisture conditions. That record, plus your maintenance receipts and photos, is what keeps coverage valid if a failure involves moisture.
For homes in Cumming, Johns Creek, Milton and Forsyth County, apply the same comparison to each bid. Ask whether a flooring repair can address the problem before you commit to full floor replacement.
Request the written warranty before signing, schedule a FREE In-Home consultation at your convenience, and call Flacks Flooring at 770-889-9753 to clarify any unresolved terms.
How to File a Flooring Warranty Claim
Start a claim when you discover the problem, not after you've decided exactly who caused it. Your job is to preserve evidence and notify the warrantor; an inspection can establish responsibility.
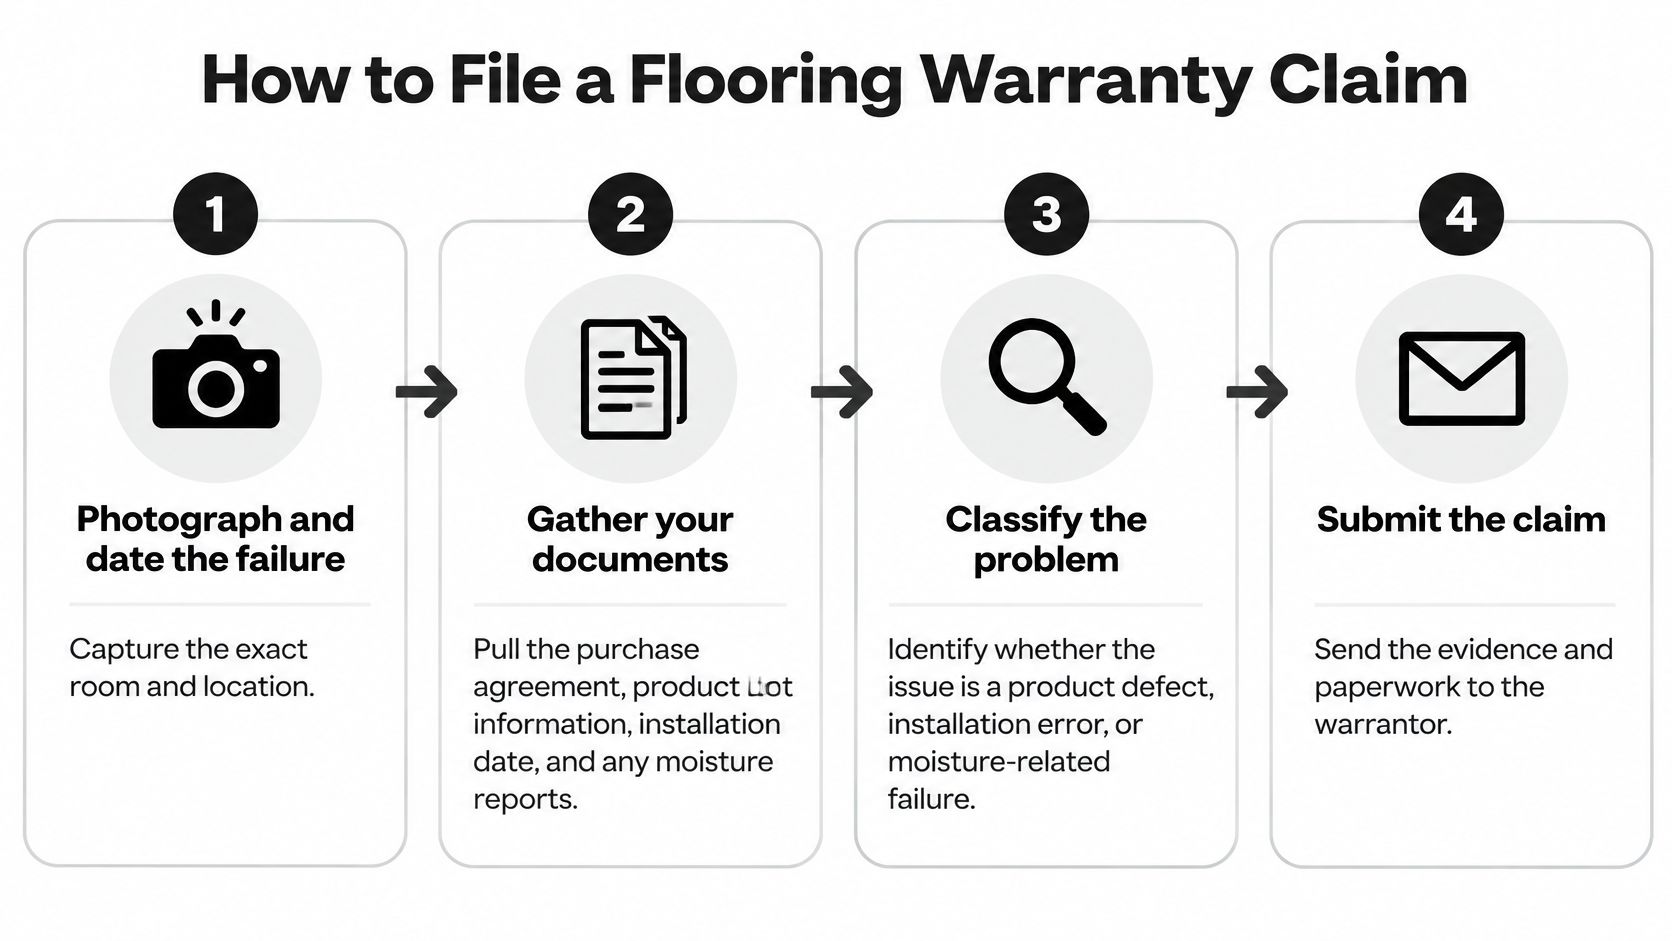
Build a claim file that someone can evaluate
Photograph and date the failure. Take an overall room view and close-ups, then mark the exact location. Record when you first noticed it so the inspector can distinguish the reported defect from older wear.
Gather the installation file. Pull the purchase agreement, product name and lot information, installation date, and moisture reports. Missing product identification can make it difficult to establish which warranty applies.
Describe the likely category. Identify whether the concern appears related to material, workmanship, moisture, or structure. Describe what you can observe without presenting an unverified diagnosis as fact.
Notify the appropriate party. Send a product-defect concern to the manufacturer through the specified channel and an installation concern to the installer. Notify both when the cause appears mixed.
Submit the request in writing. Include photographs, supporting documents, and the remedy you're requesting. Save the submission and any acknowledgment rather than relying on a phone conversation.
Check notice requirements immediately. Confirm the reporting deadline and the warrantor's name and address. Waiting past the deadline is a preventable mistake, even when the damage itself might qualify.
Clarify costs before inspection. Ask what is covered for removal, replacement labor, and furniture handling, and whether any inspection charge applies. Don't authorize nonemergency repairs that could remove evidence before receiving instructions.
Keep the inspection and decision. Request the report and written coverage determination. If water is involved, document necessary source control and discuss water-damaged floor repair without assuming the warranty pays for it.
Request a written denial explanation. Compare the stated reason with the actual exclusion or condition in your document. Ask for clarification when the decision doesn't identify the applicable wording.
A good claim outcome is a written decision naming the responsible party, the remedy, and the costs the homeowner must pay.
Keep every approval and scope change with that decision. A verbal promise to take care of it isn't specific enough to authorize demolition or replacement.
Flacks Flooring offers in-home consultations and installation planning that help you connect flooring choices with preparation requirements and written warranty terms. Visit Flacks Flooring to arrange a consultation, compare samples in your space, and review the complete installation scope before you commit.